Horizontal Stabiliser Parts Prep
a.k.a. I learn metalworking from YouTube...
First step in the KAI is the horizontal stabiliser, so that's a good place to start.
Front Spar Parts
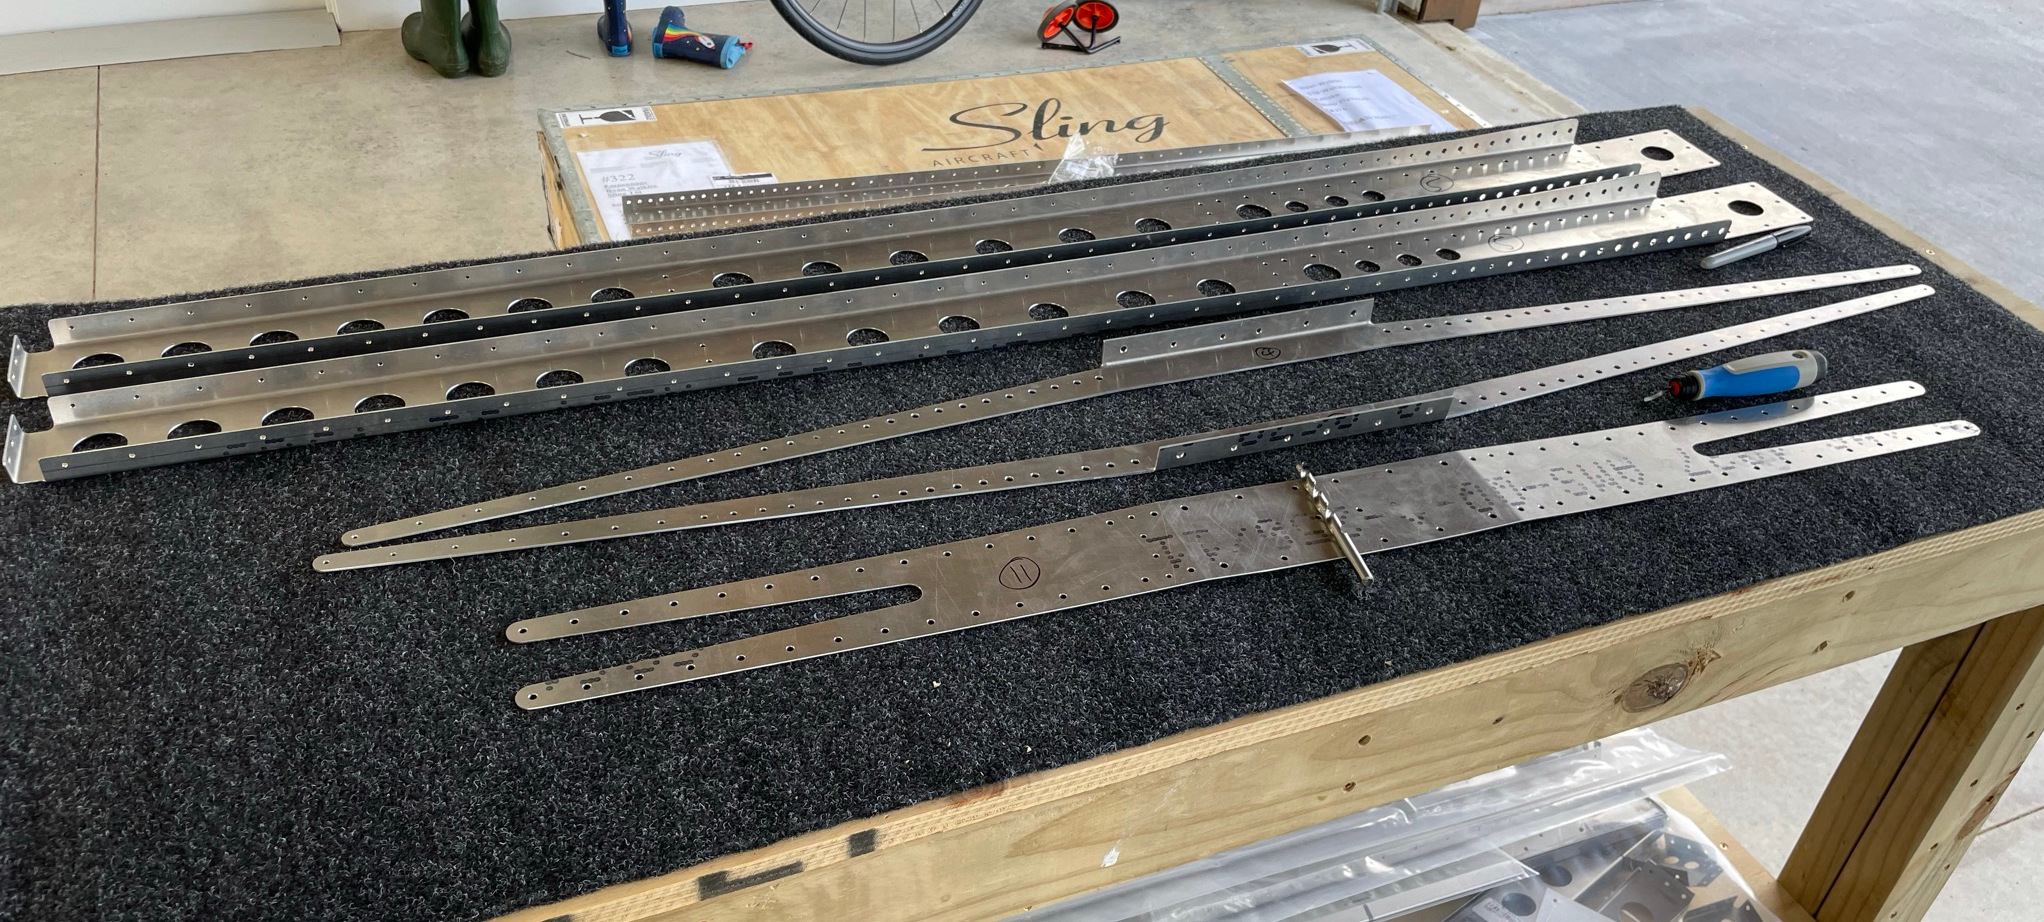
There are two halves of the front spar, a centre stiffener, and top and bottom angle channels to deburr and clean.
After a bit of experimentation I've settled on fairly common deburring techniques for edges and large holes using a rotary hand deburring tool, and an oversized drill bit for rivet and bolt holes. The parts so far are very well milled and need only minimal deburring.
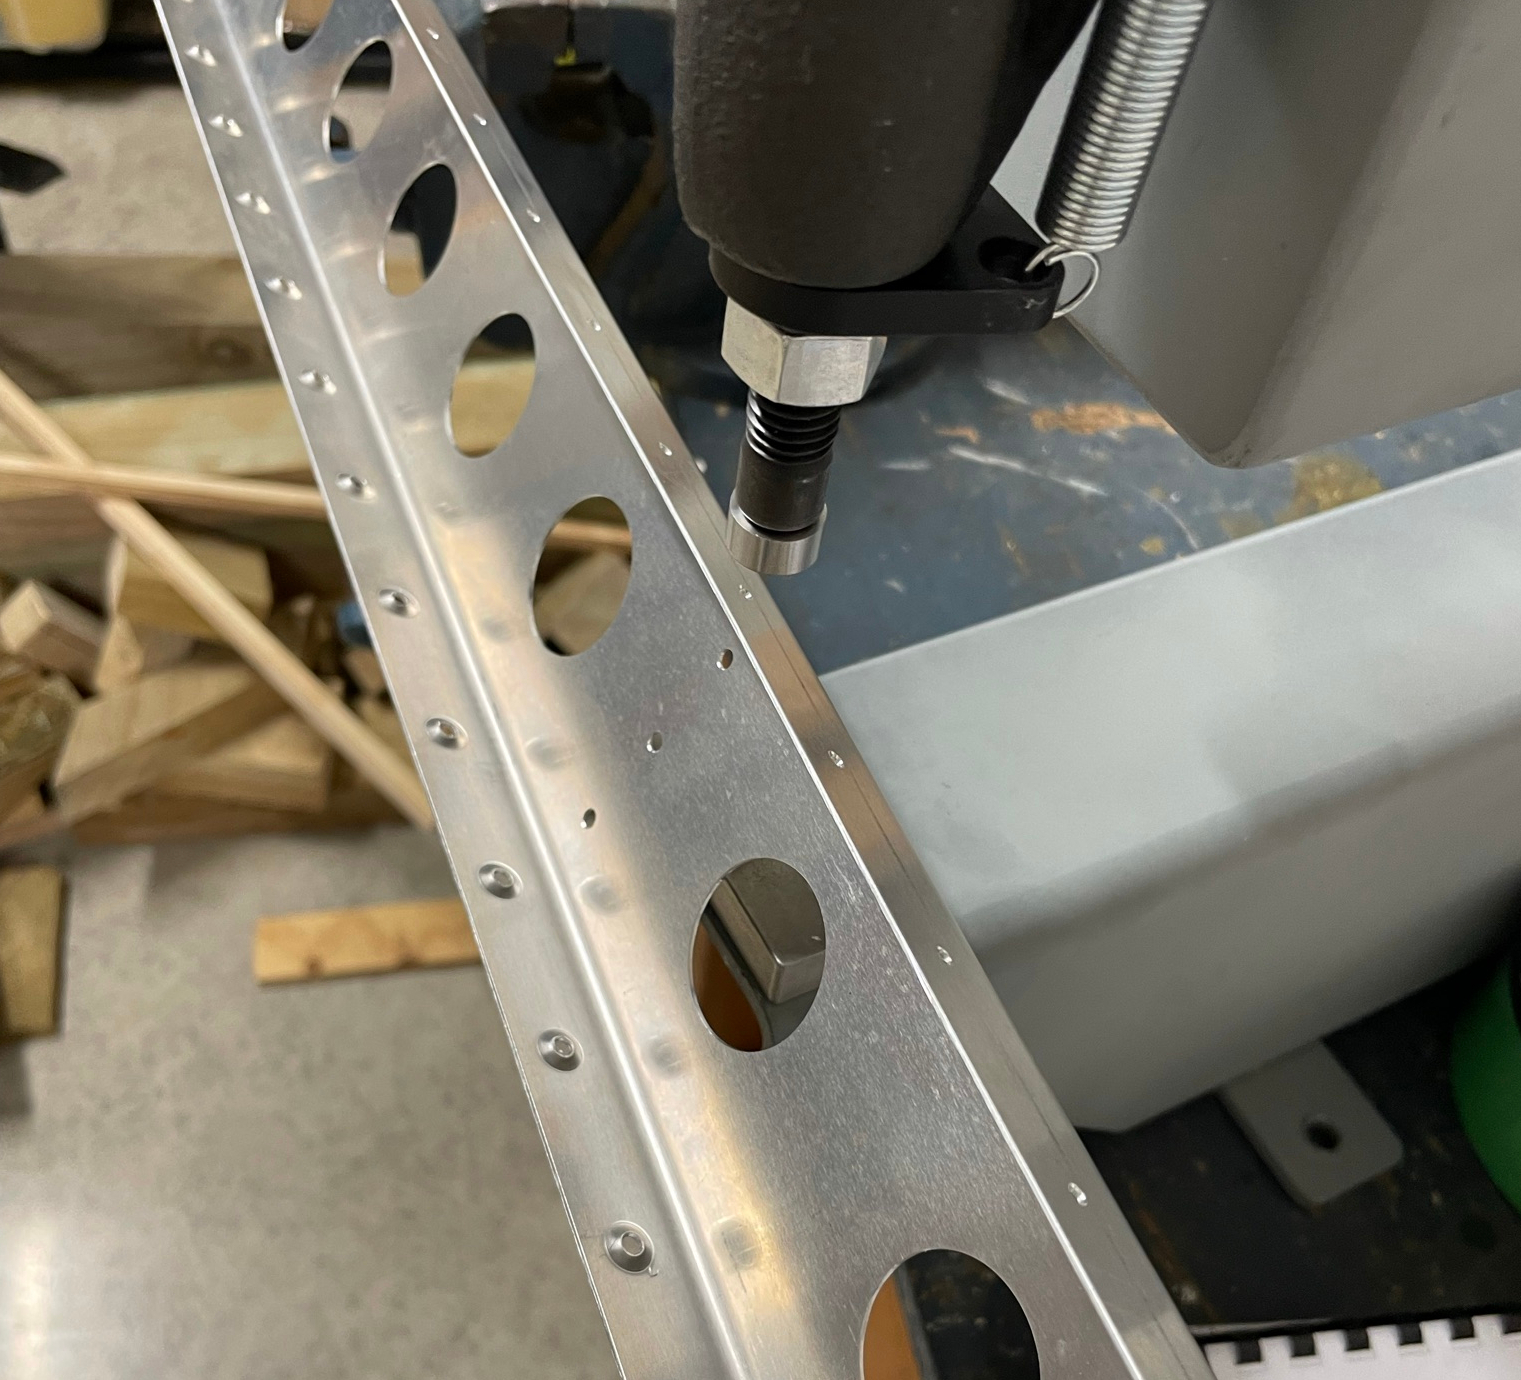
Dimpling with the DRDT-2
The outer spar needs dimpling as the skins will attach here and are flush riveted on the leading edges. Time to crack out the DRDT-2...
...after some troubleshooting. The dimple dies (3.2 and 4.0mm) provided with the kit initially seemed to work well and the alignment issue I was concerned about with my frame didn't seem to be an issue, as the dies engaged smoothly. After setting up a little bit of overpress as per the instructions, the first row and a half of dimples came out nicely.
However the top 3.2mm die then started getting stuck in the bottom one. At first it came right after a bit of cleaning out of a few small aluminium shavings, but then became impossible to use as each press would result in the dies jamming together. The receiver and pin didn't seem to be deformed at all but there was some persistent interference. I couldn't find anyone who had previously had this problem online.
There didn't seem to be any issue with the DRDT-2's alignment, so I figured I'd need a new dimple die set anyway and took the risk of putting the receiver in a clamp and reaming it out to 3.0mm, which worked a treat, and removed the interference with the pin without adding any malalignment or movement into the dies when opposed. After that the dimpling was highly successful, however there are a few places the DRDT-2 can't reach.
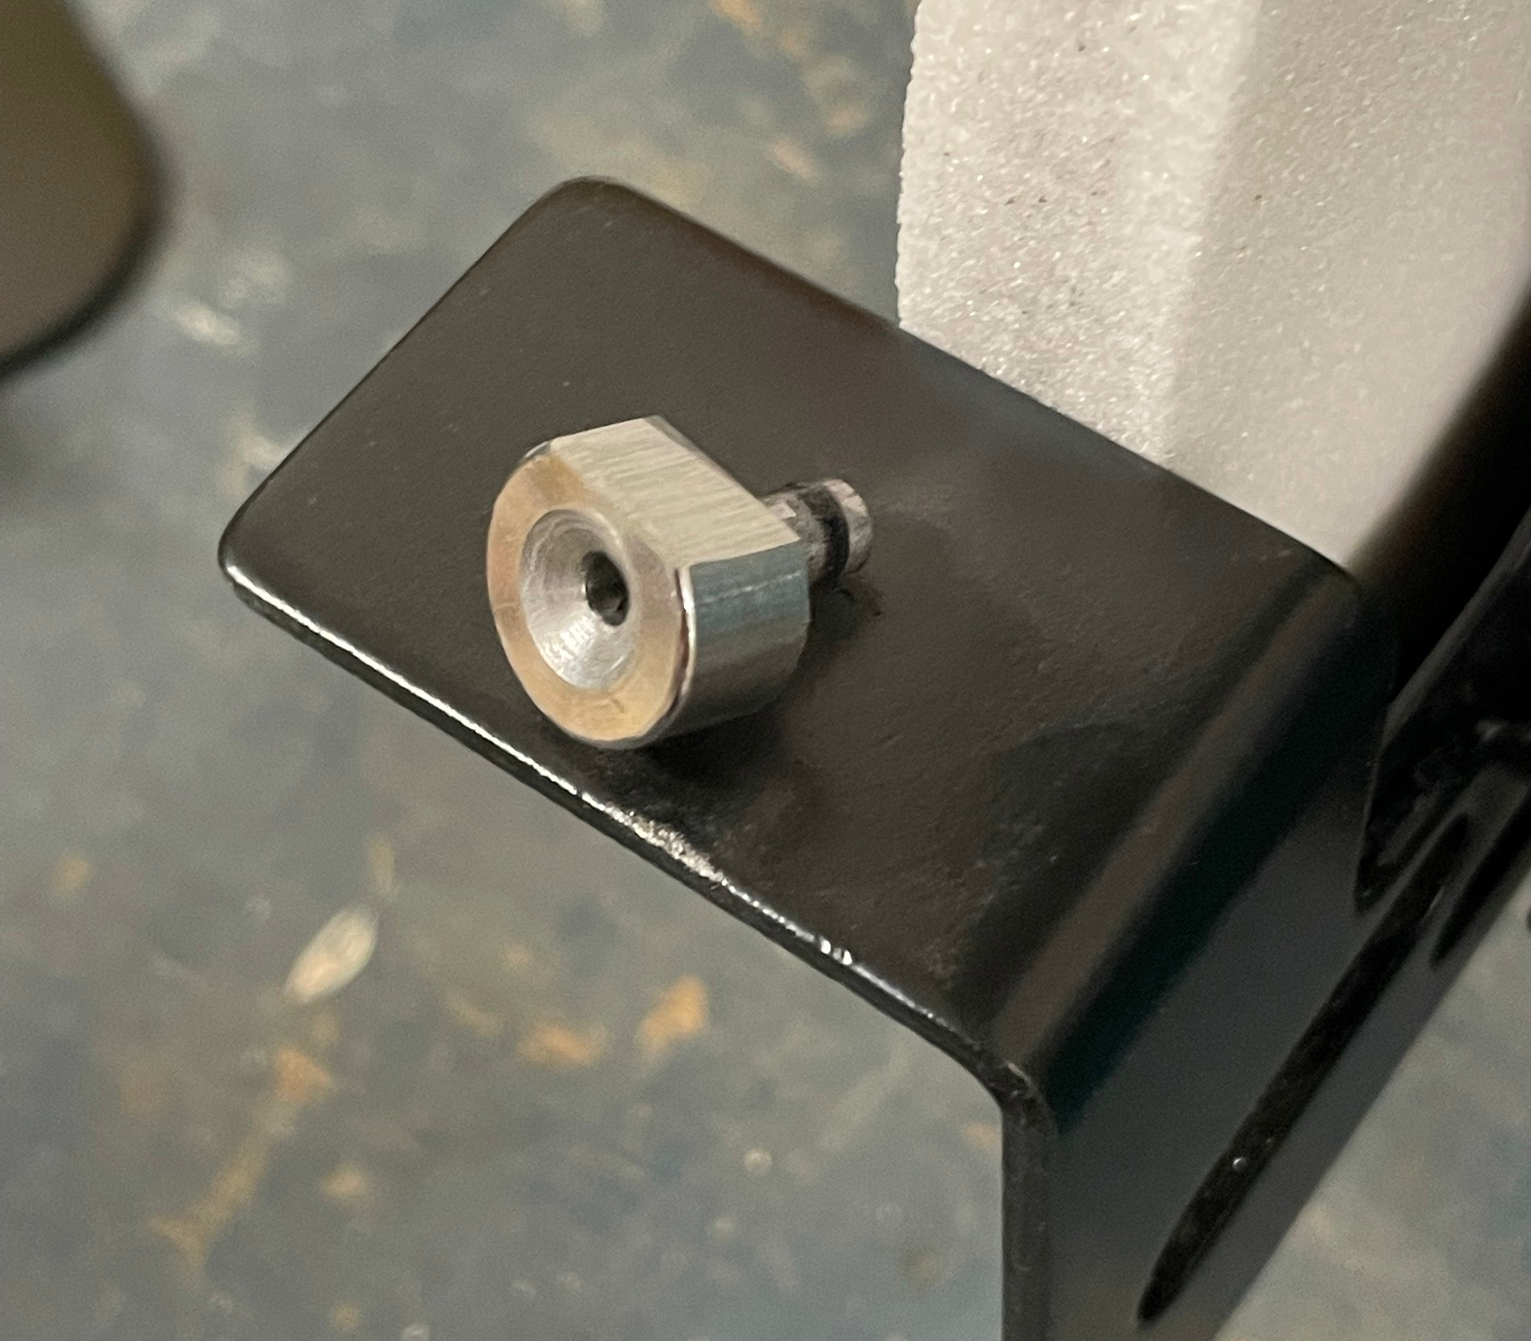
Hand dimpling with the ATS hand squeezer
I got myself a hand squeezer from Aircraft Tool Supply which is a very nicely made and robust unit. The small jaws allow it into smaller parts and complex angles where the DRDT-2 die will interfere.
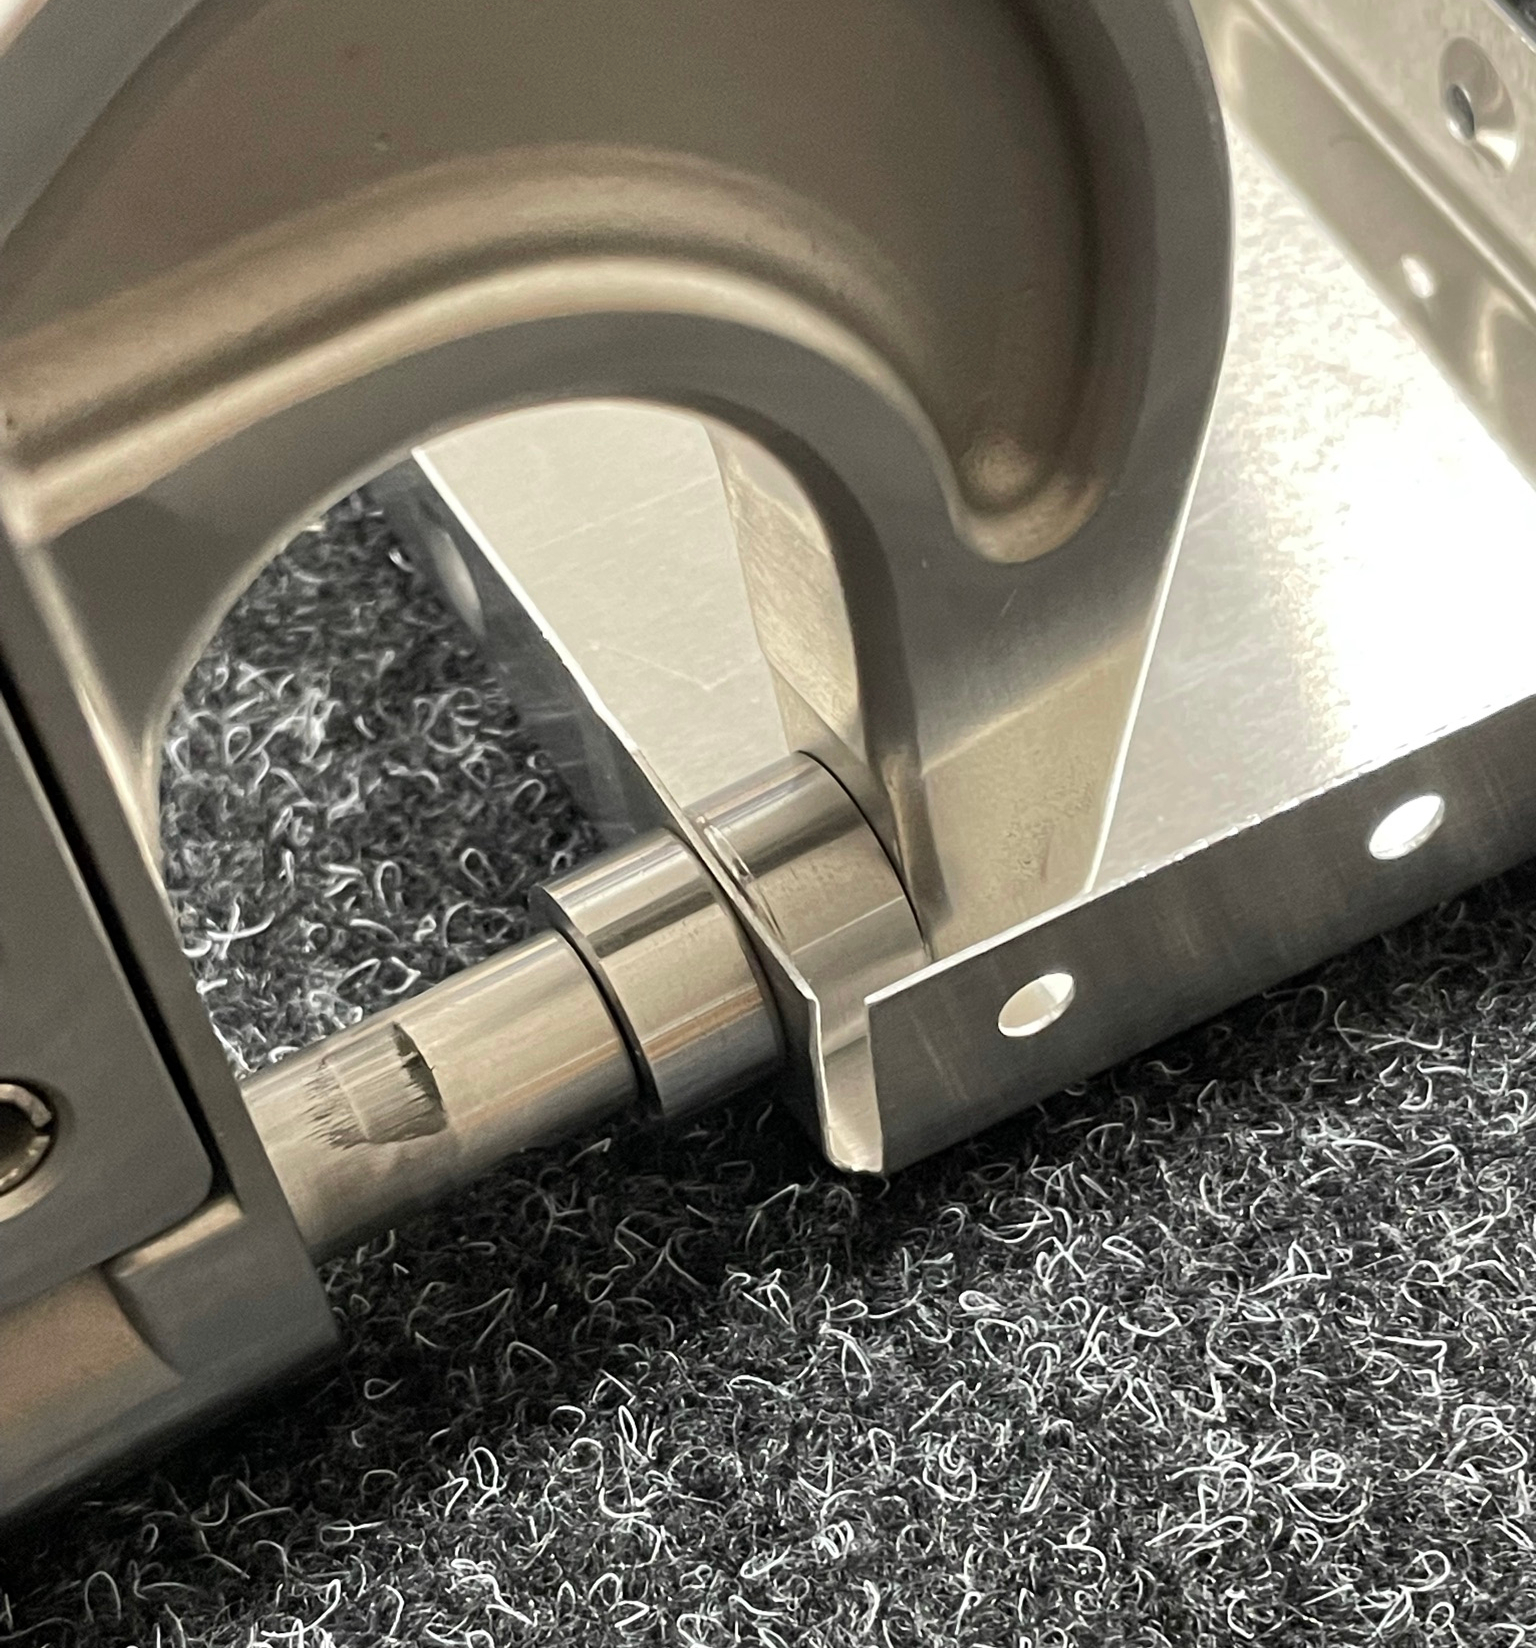
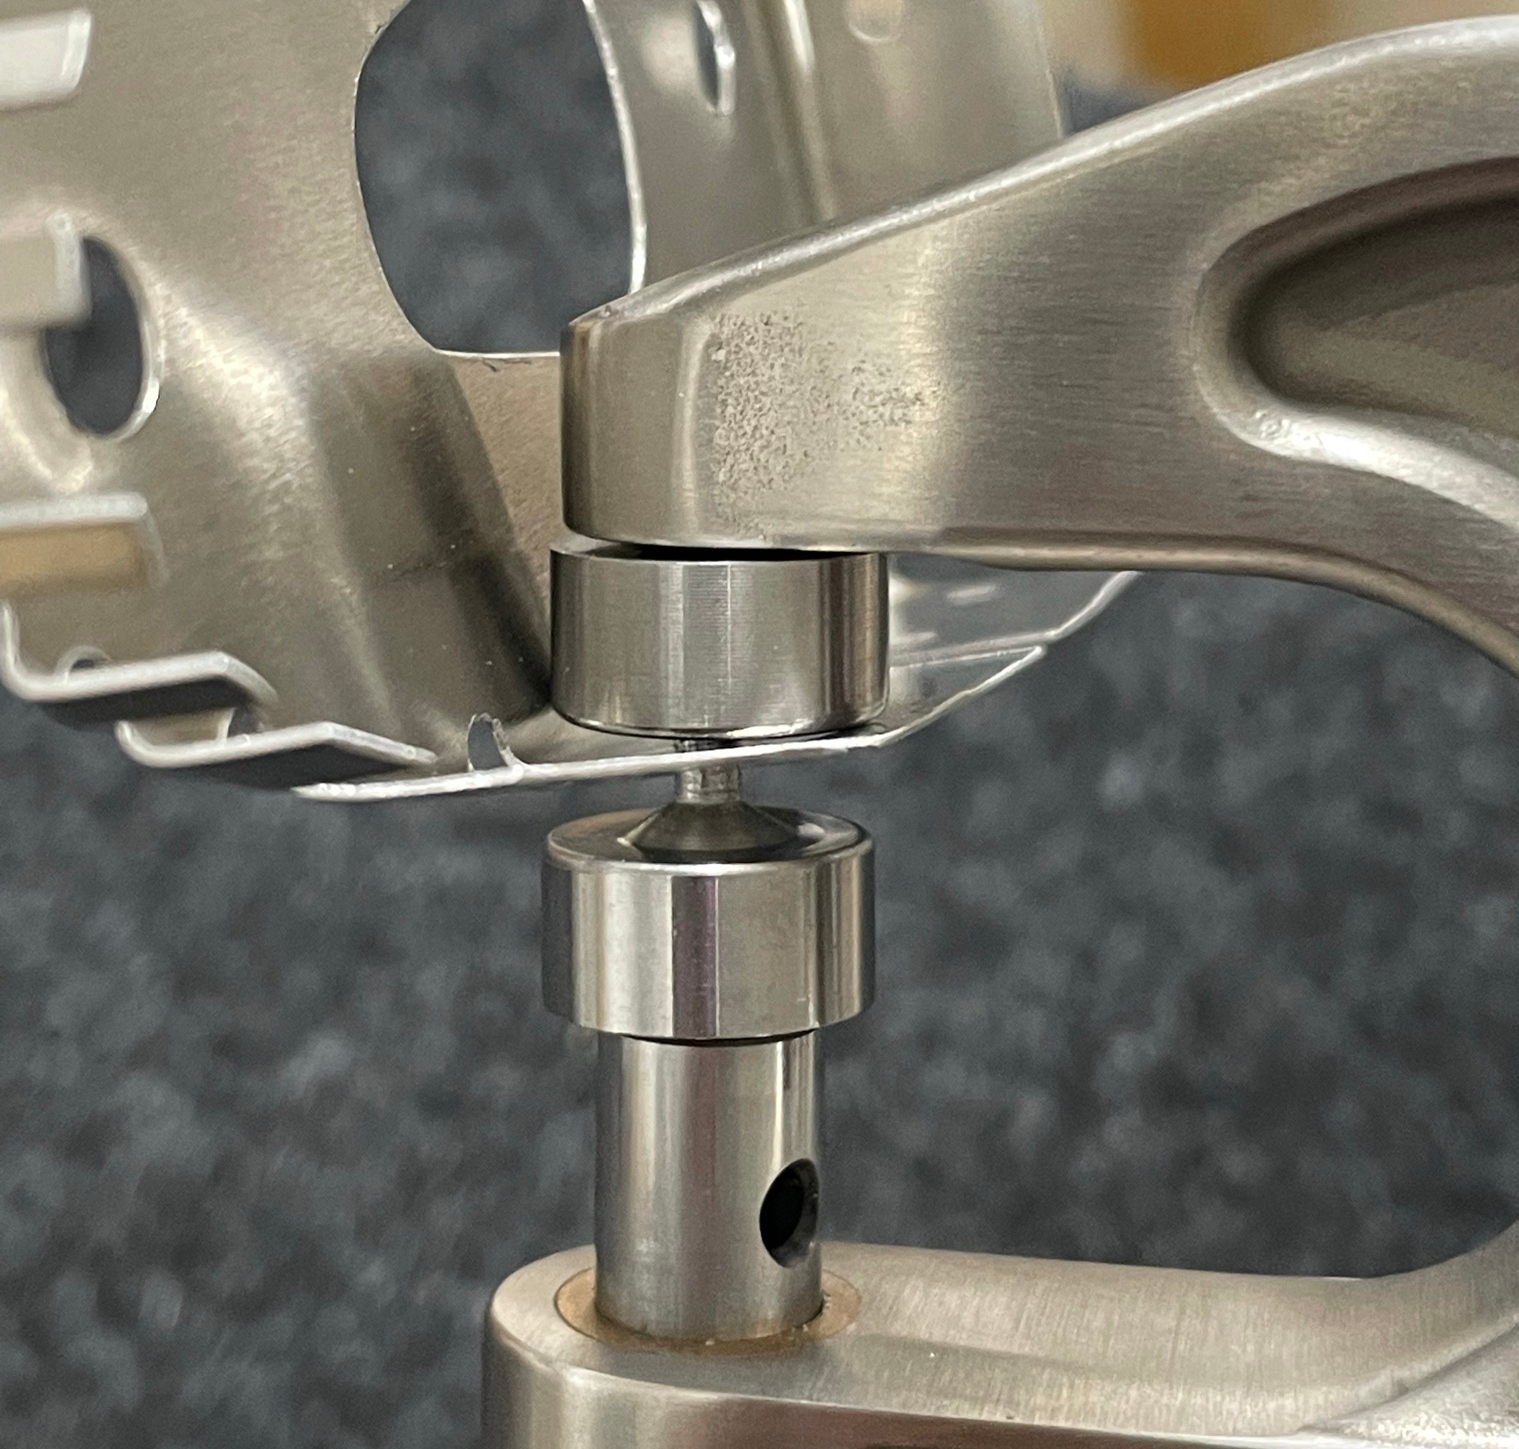
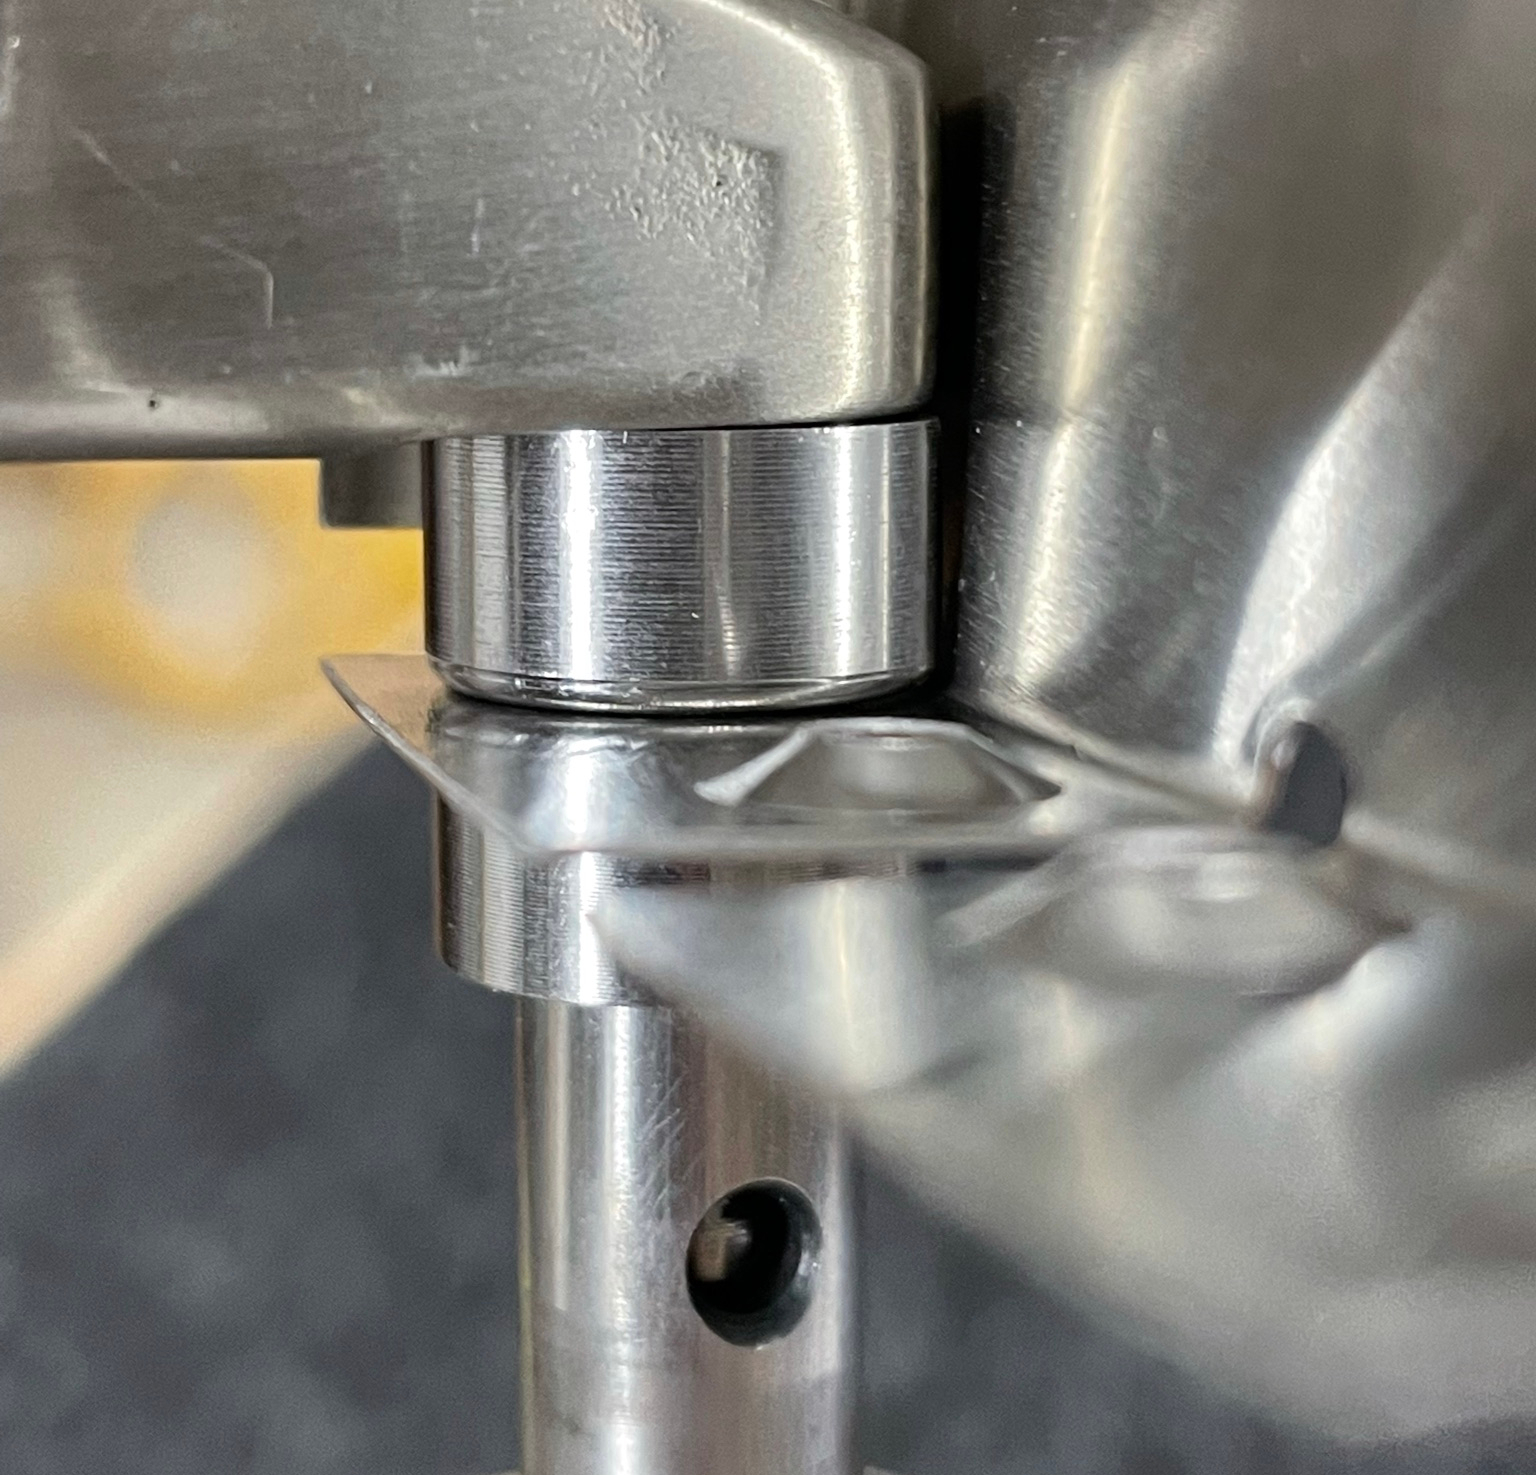
The lower pin rotates to adjust height and set tension. While the DRDT-2 is great for large numbers of dimples and obviously will be mandatory to complete the skins, the hand squeezer is very satisfying and also produces excellent results.
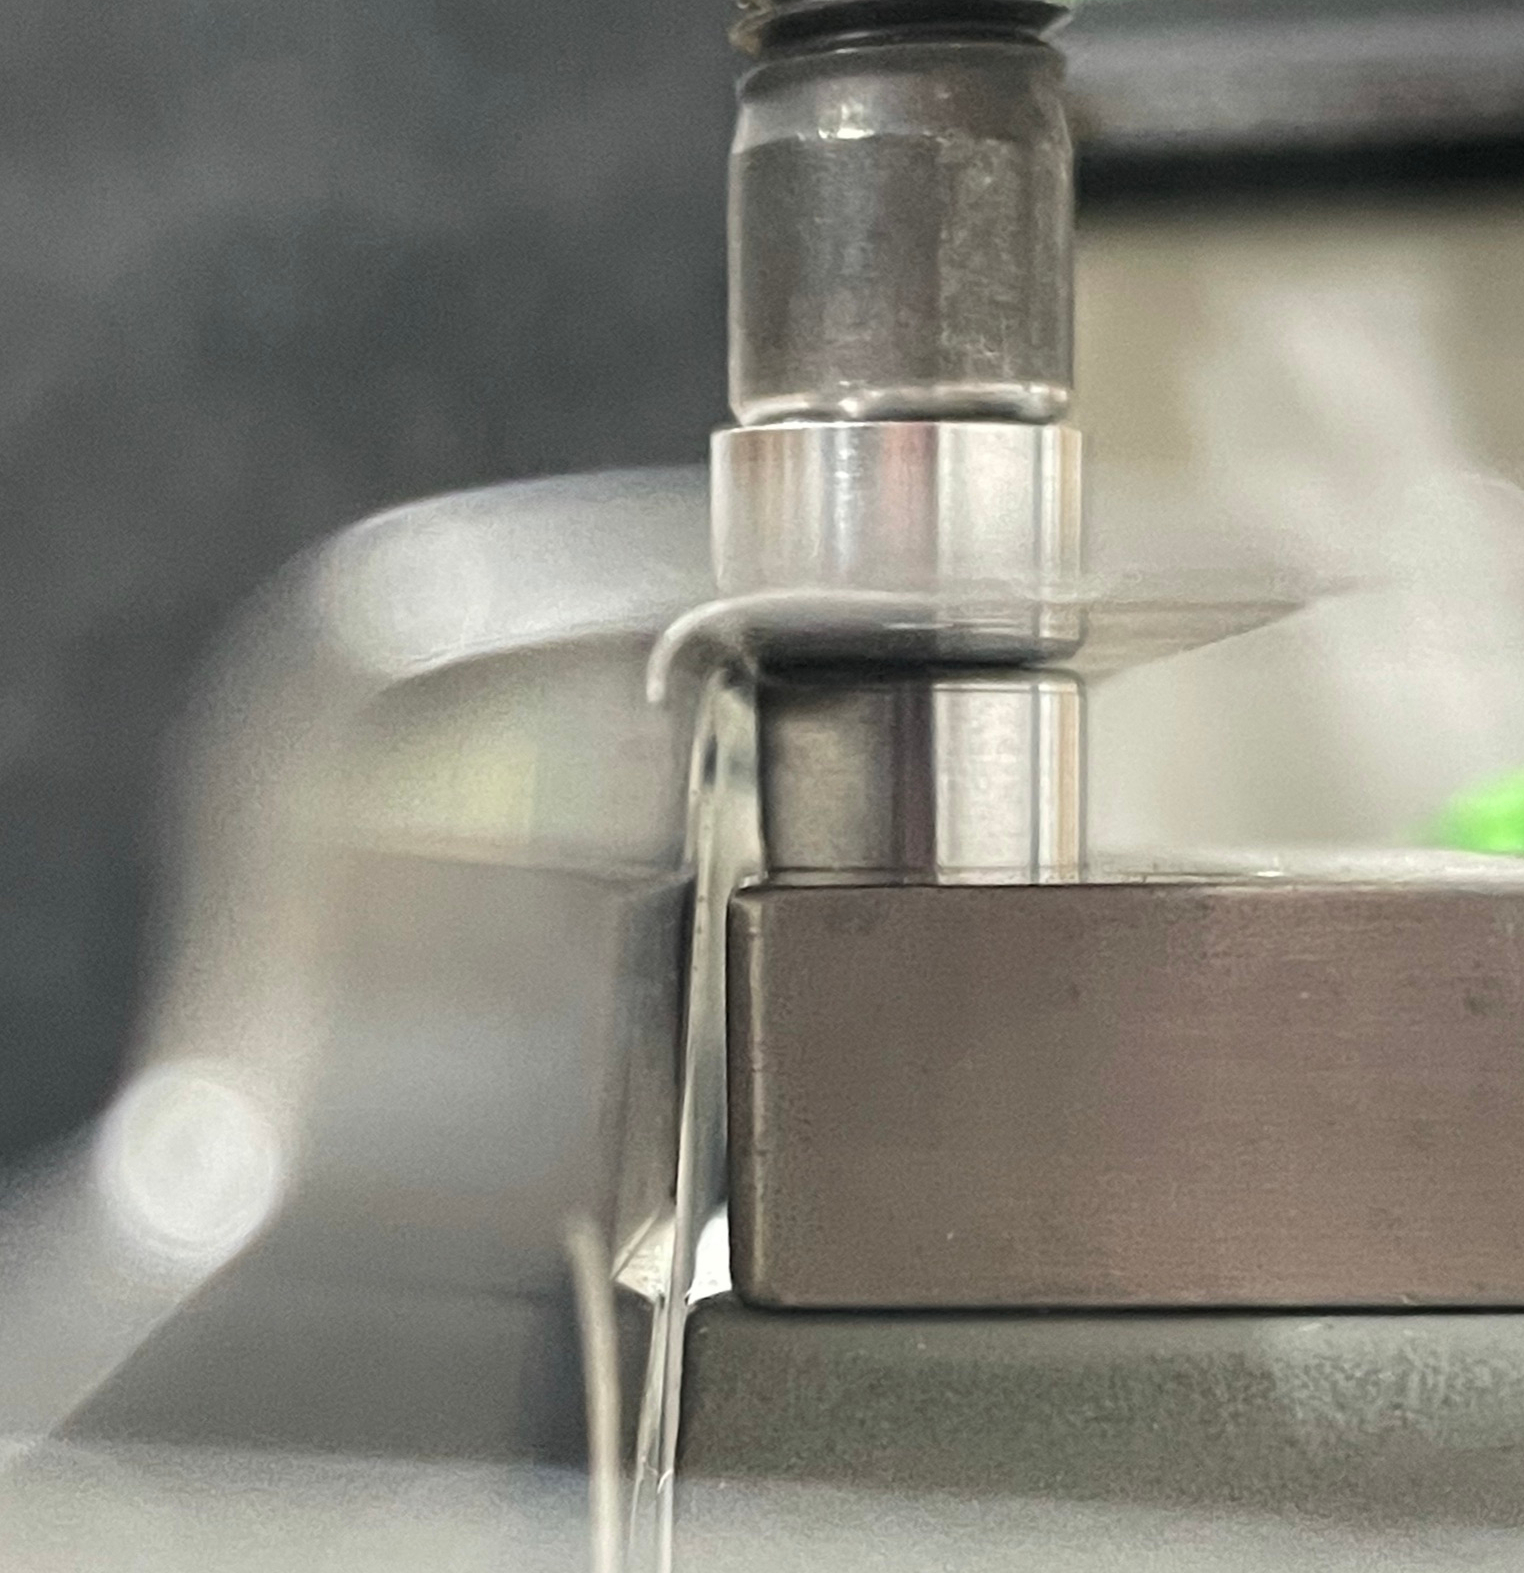
However with the dies as supplied, there are some places it can't get either, where the rivet holes on a flange are placed very close to the bend in the part.
Modifying the dimple dies
The KAI suggests grinding down one side of the receiver die to accommodate this, so out comes the bench grinder...
With that modification I could get on with the rest of the required dimpling for the HS. It seems so essential I'm not sure why the dies don't come like this.
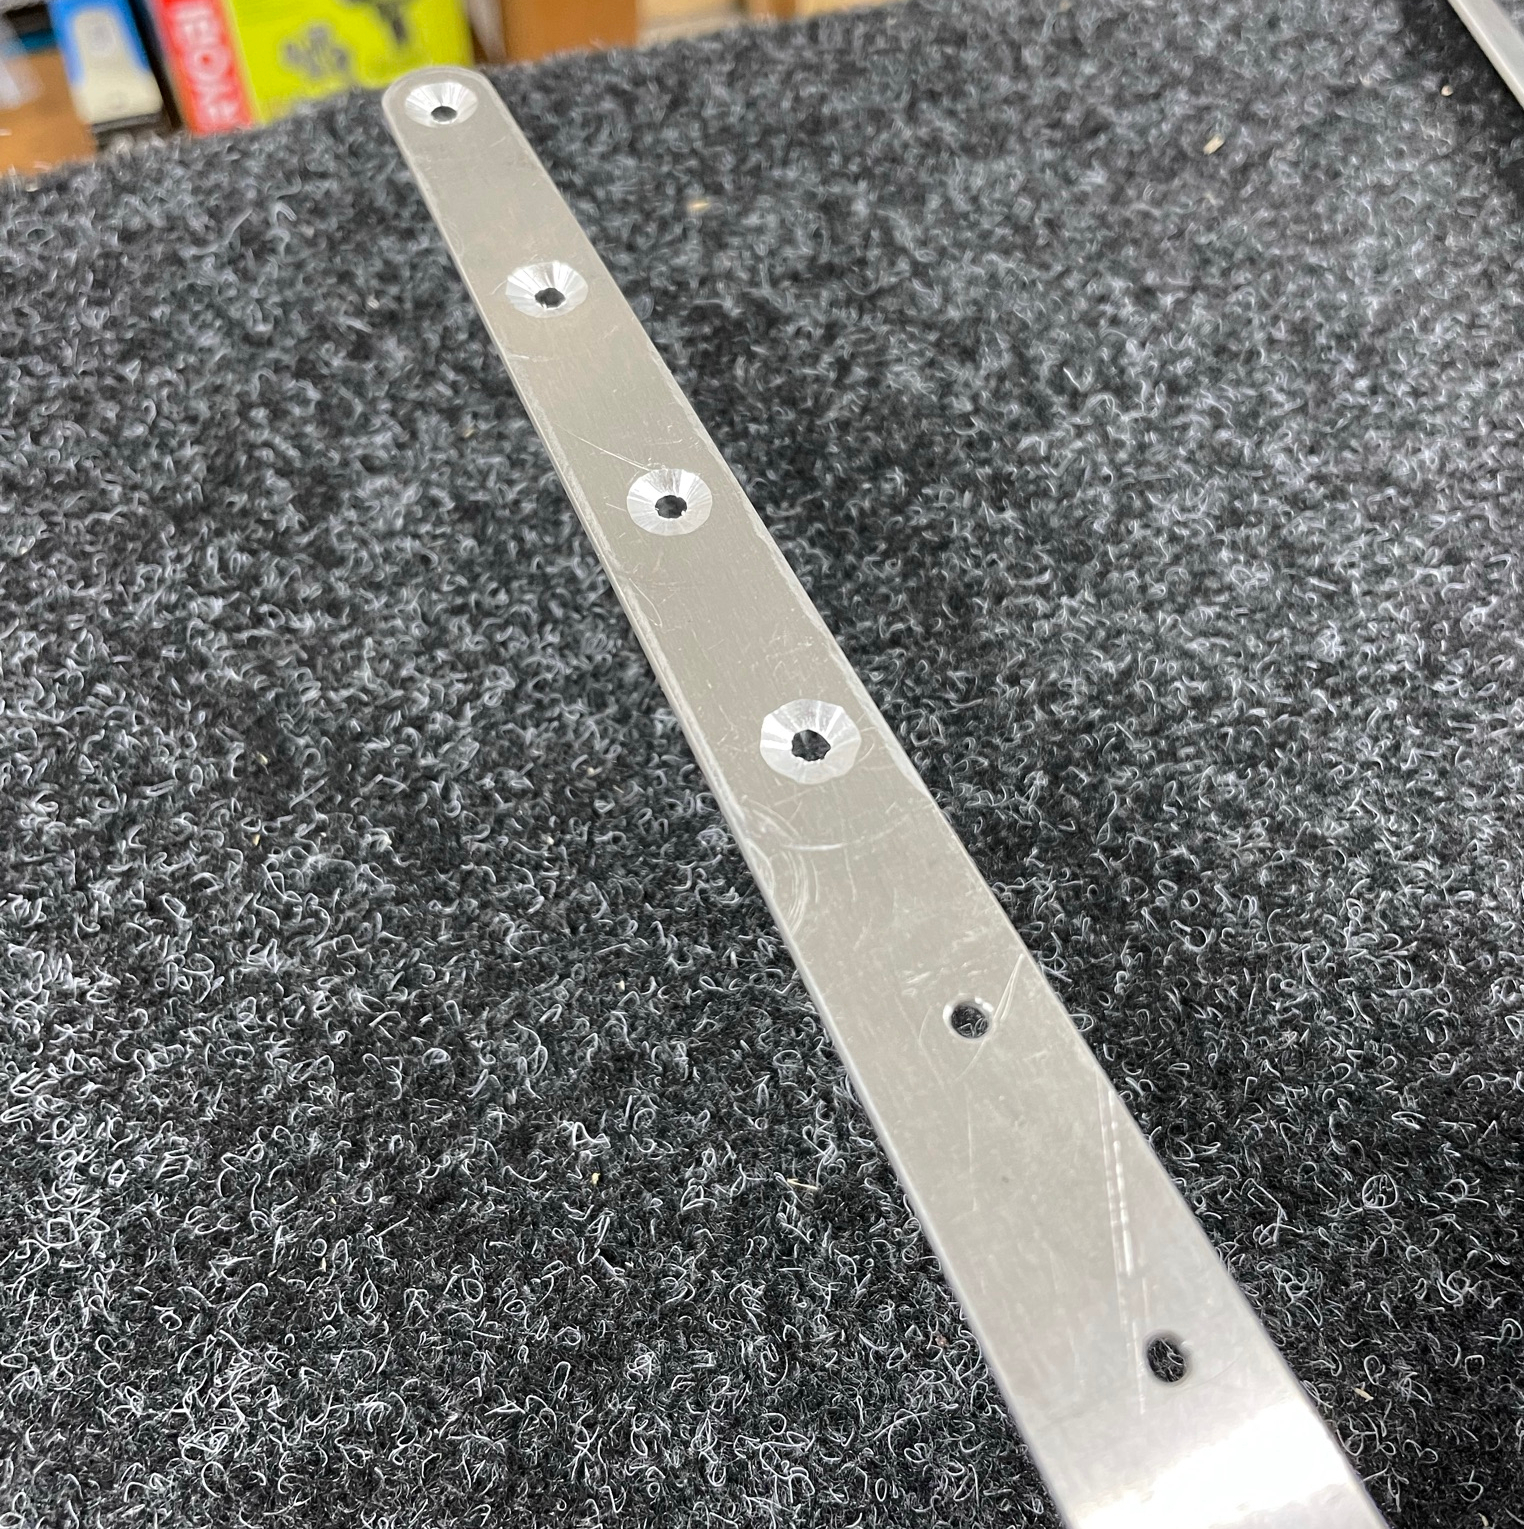
Countersinking
The front spar angles are too thick to dimple so need countersinking to match the dimpled spar halves.
I have the appropriate 120° countersink bits and nylon microstop cage from Aircraft Spruce, but still found no better way to measure progress than by starting with a very shallow countersink and gradually deepening and test-mating the countersunk hole with the dimpled spar.
With clecos in it is possible to get a reasonable fit (hopefully) without over-countersinking. Once the holes are match drilled with a reamer they should end up with a nice straight hole to provide the correct purchase for the rivet.
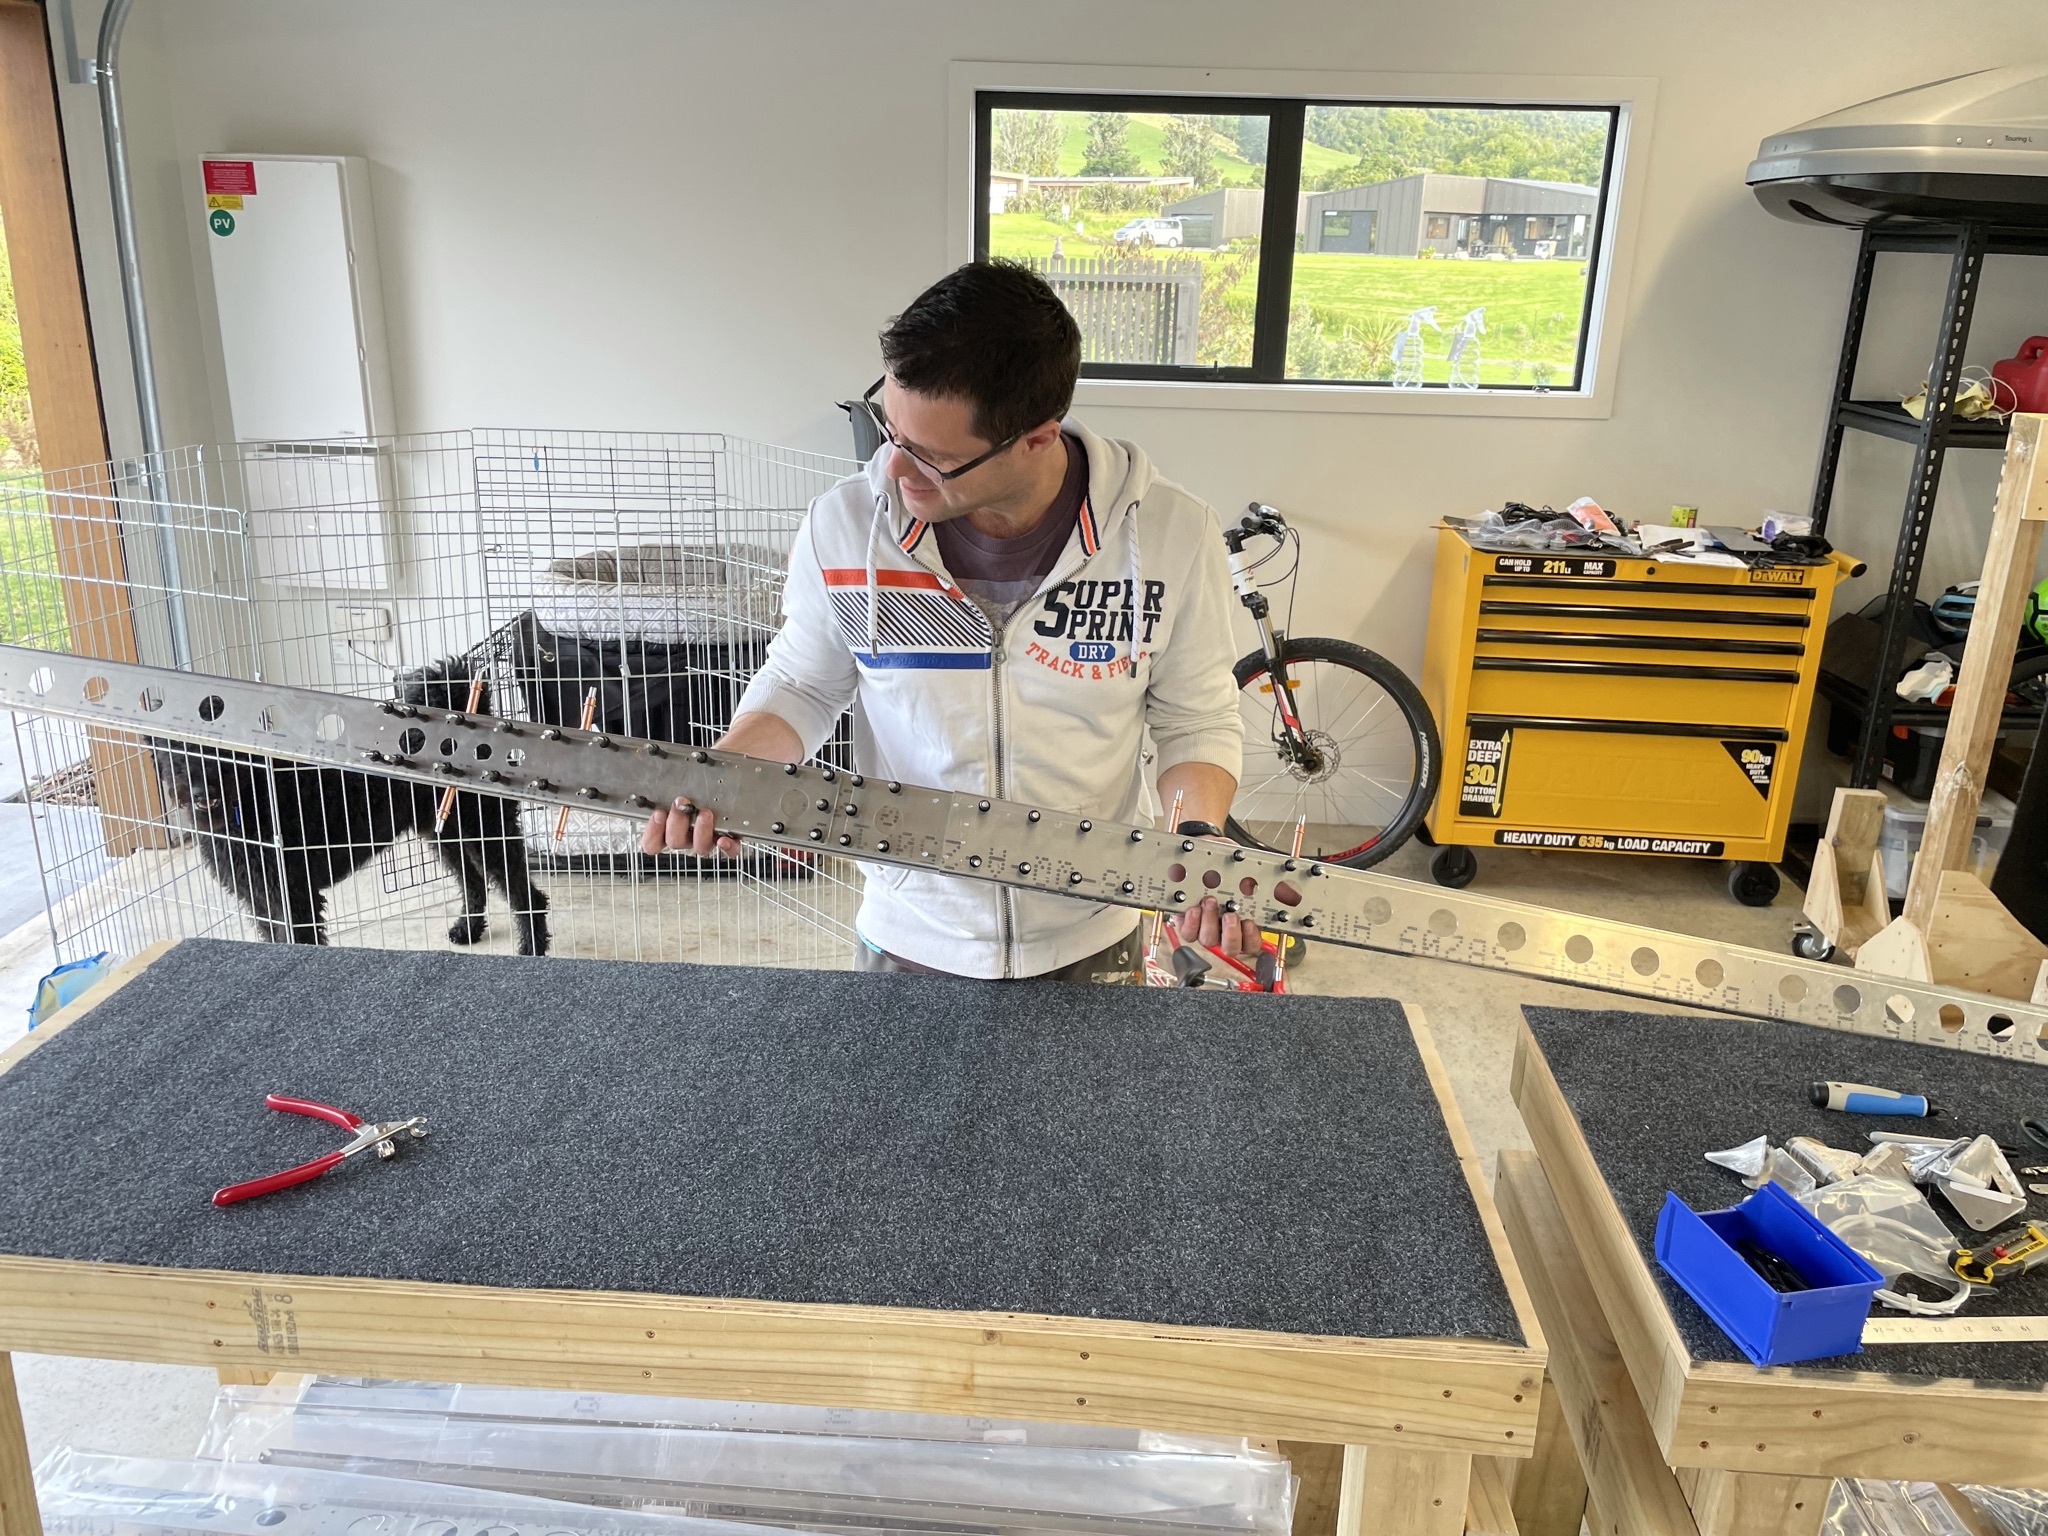
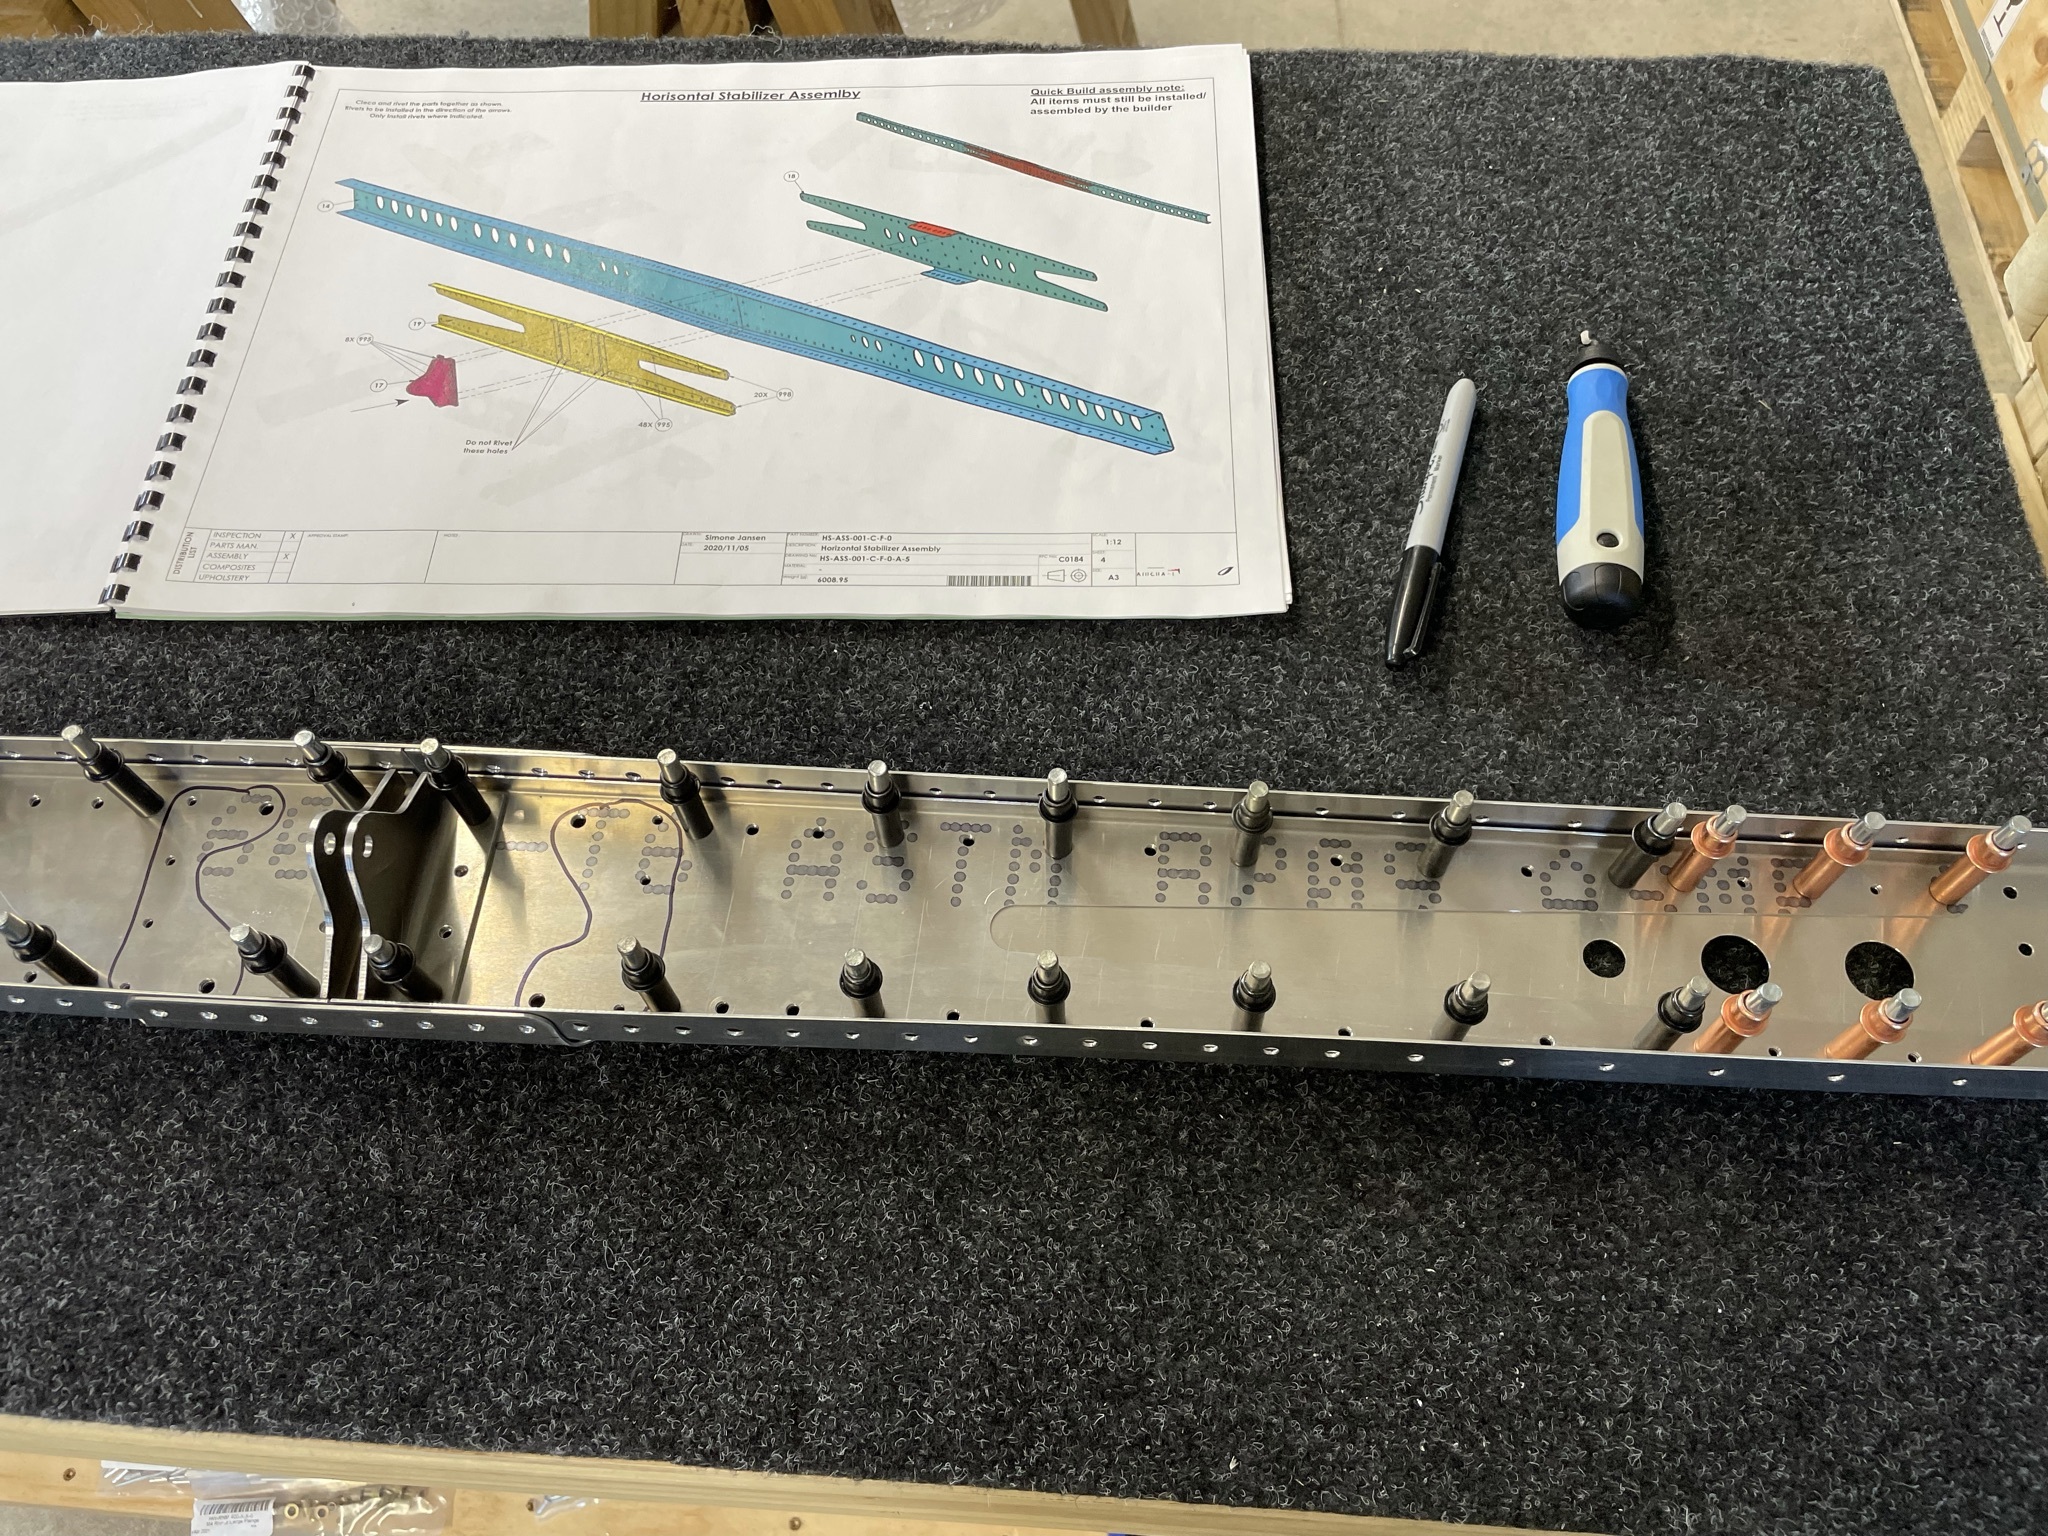
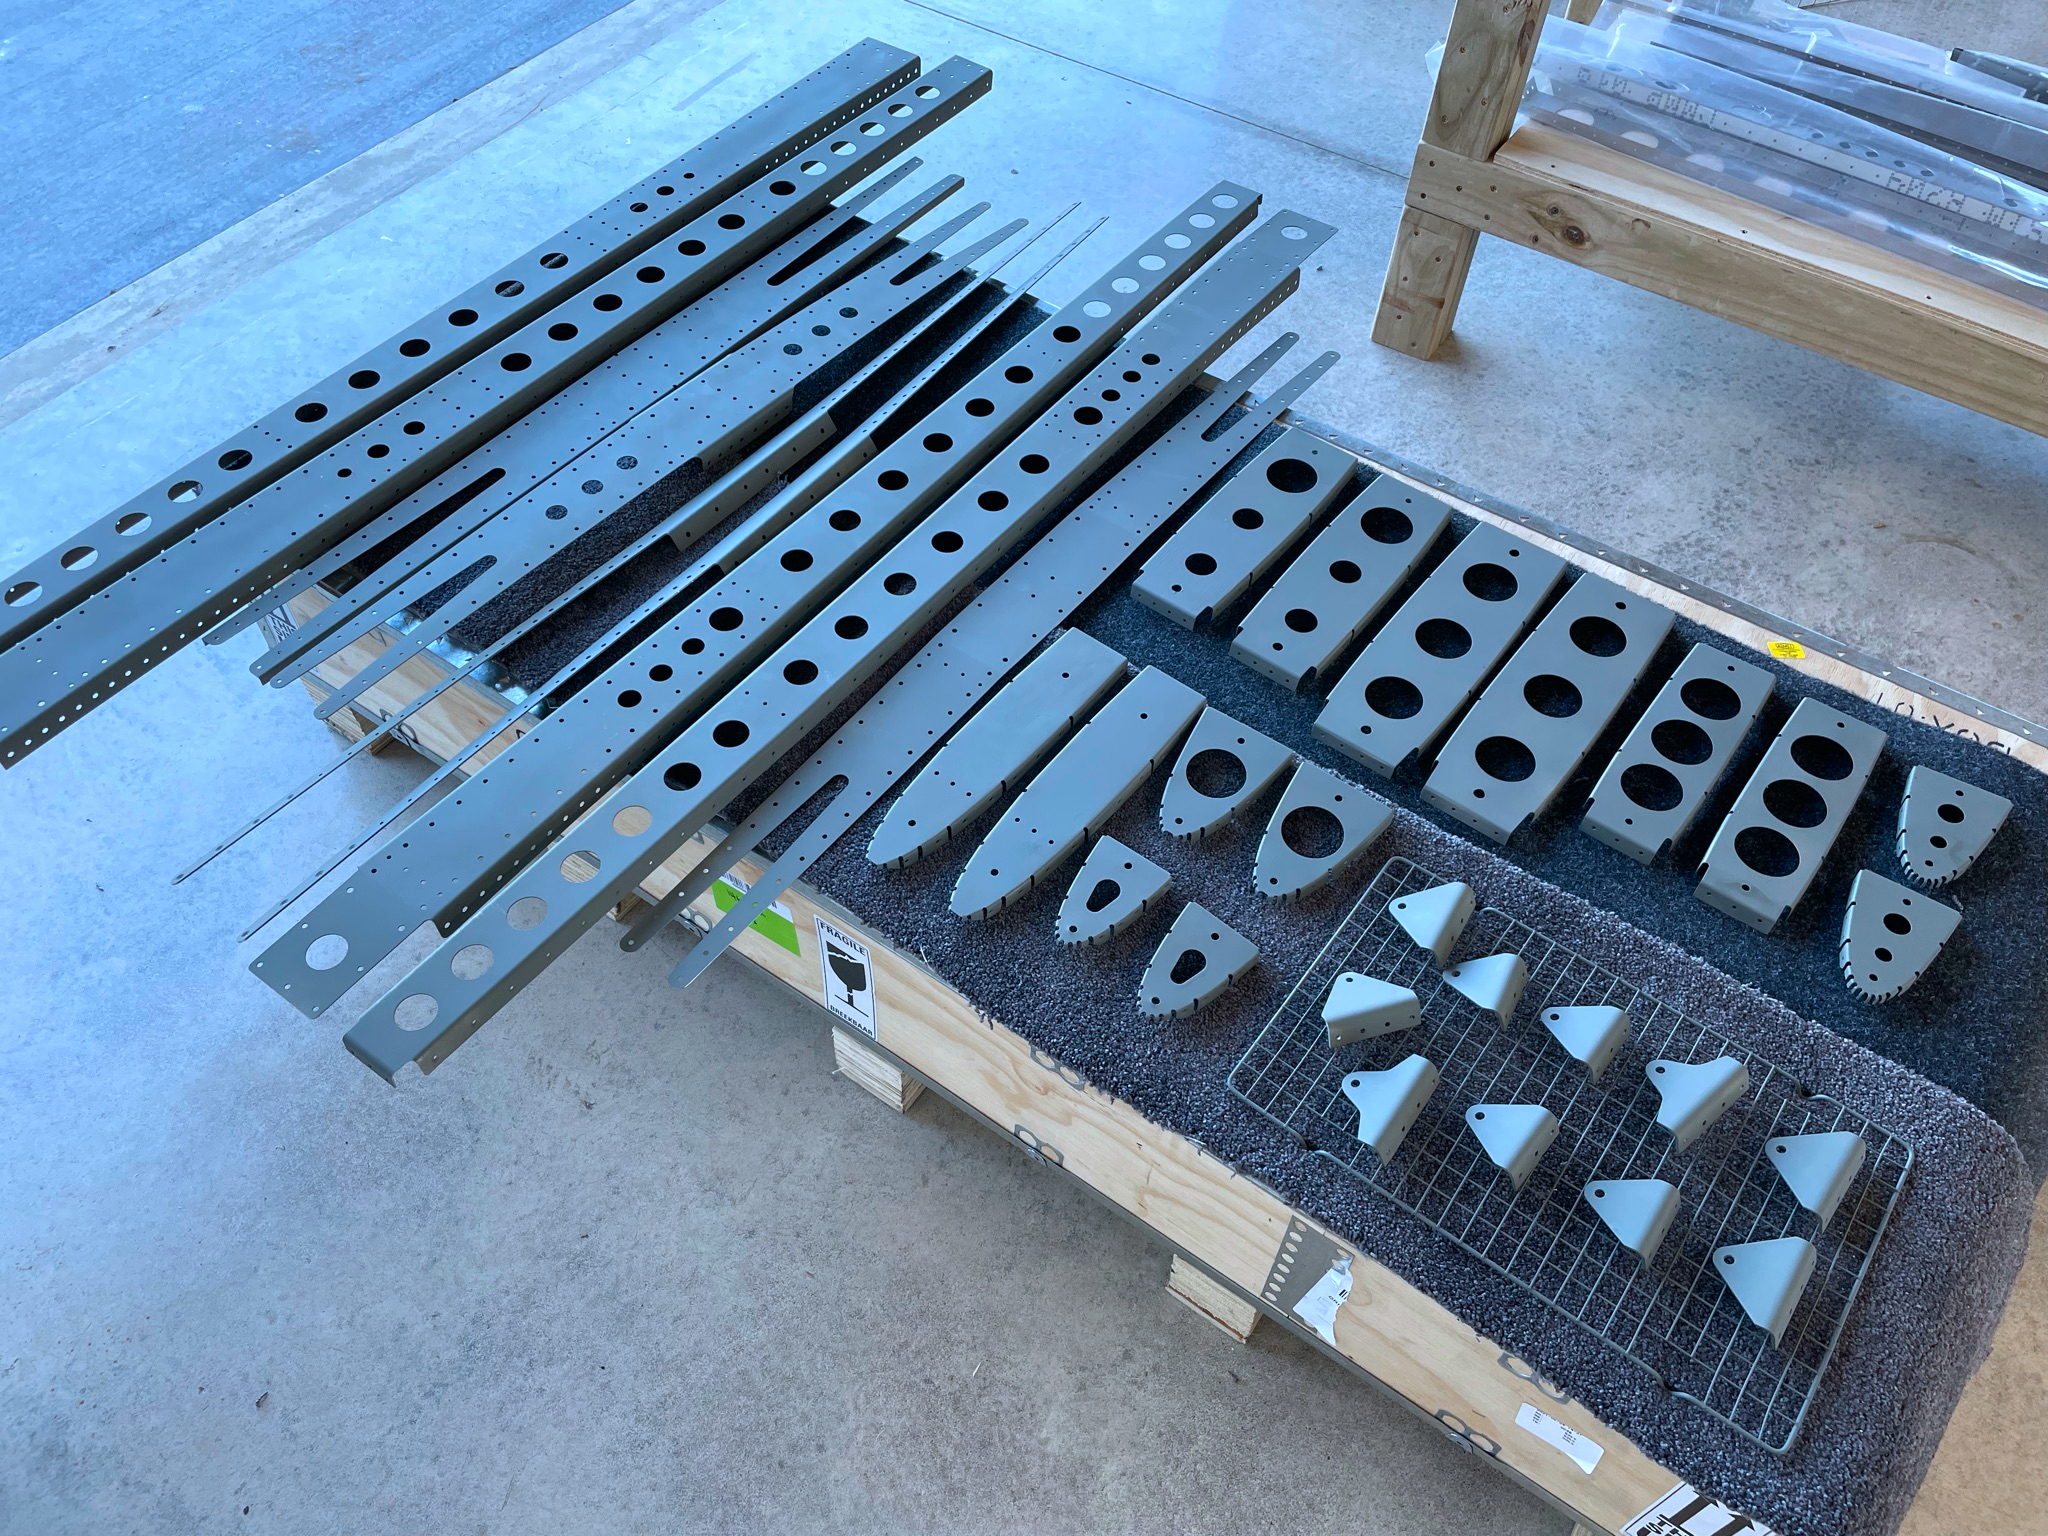
Test assembly

Once the parts are deburred, countersunk and dimpled as per the plans, I test assembled the front and rear spars to check for alignment. I can't imagine what building a plane must have been like before CNC milling and routing, but having all the holes line up precisely is very satisfying.
Cleaning and priming
After the test fit, the parts are disassembled. The general recommendation is to use Simple Green Aircraft Cleaner to clean and degrease the parts. Some are using MEK (methyl ethyl ketone) to degrease but Simple Green seems to give good results and MEK is quite toxic.
Because the factory is now alodining the QB components I've decided it's better to also provide some corrosion protection for the parts I'm putting together.
Alodining at home is problematic as the chemicals are also fairly toxic and very hard to dispose of, so I'm compromising on Rustoleum self-etching spray primer.
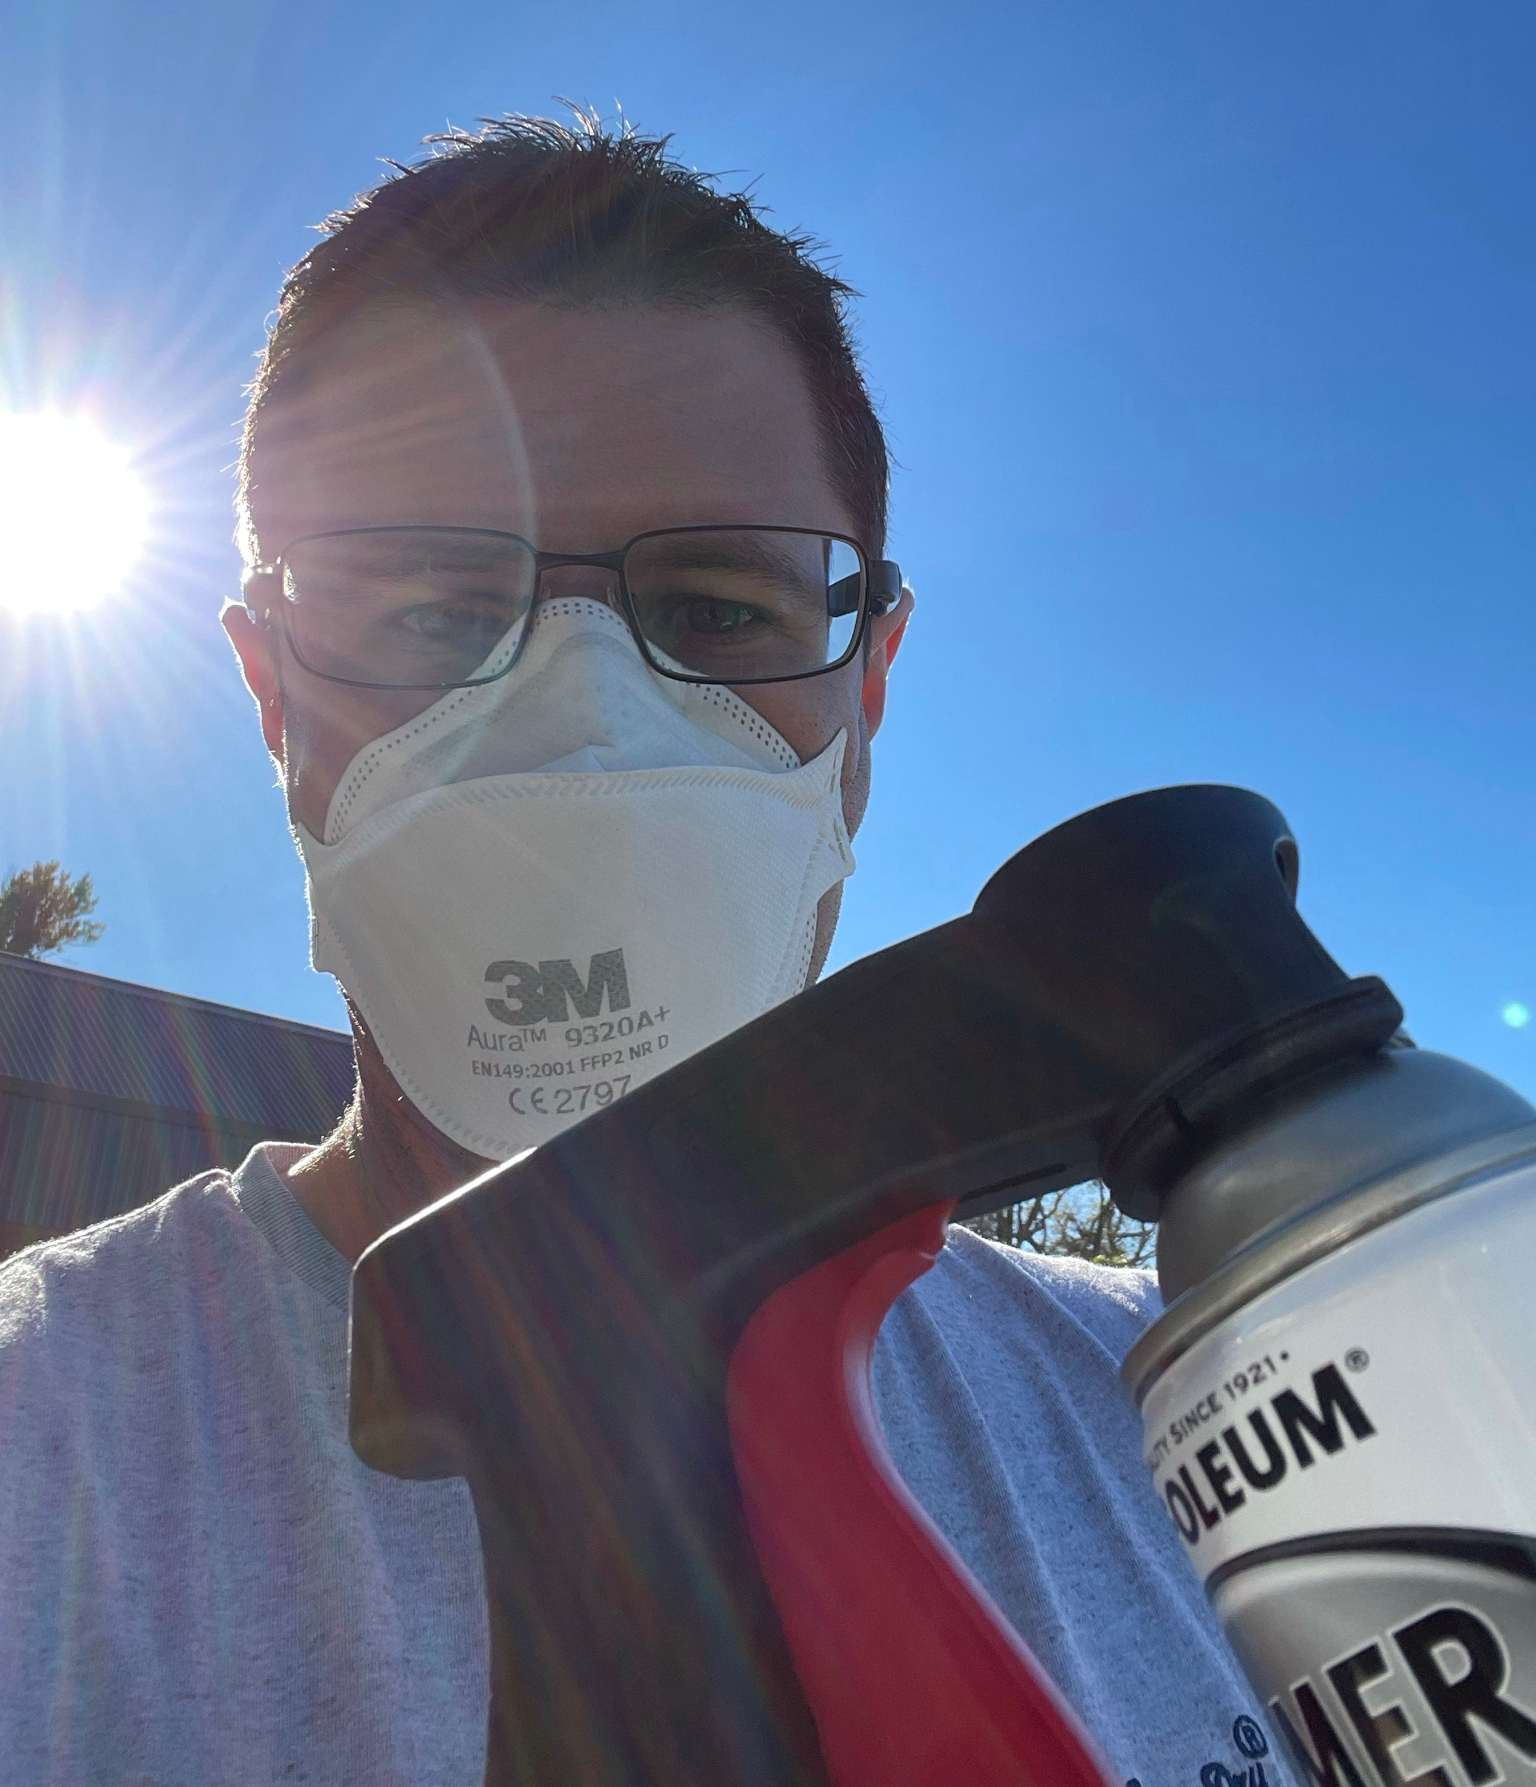
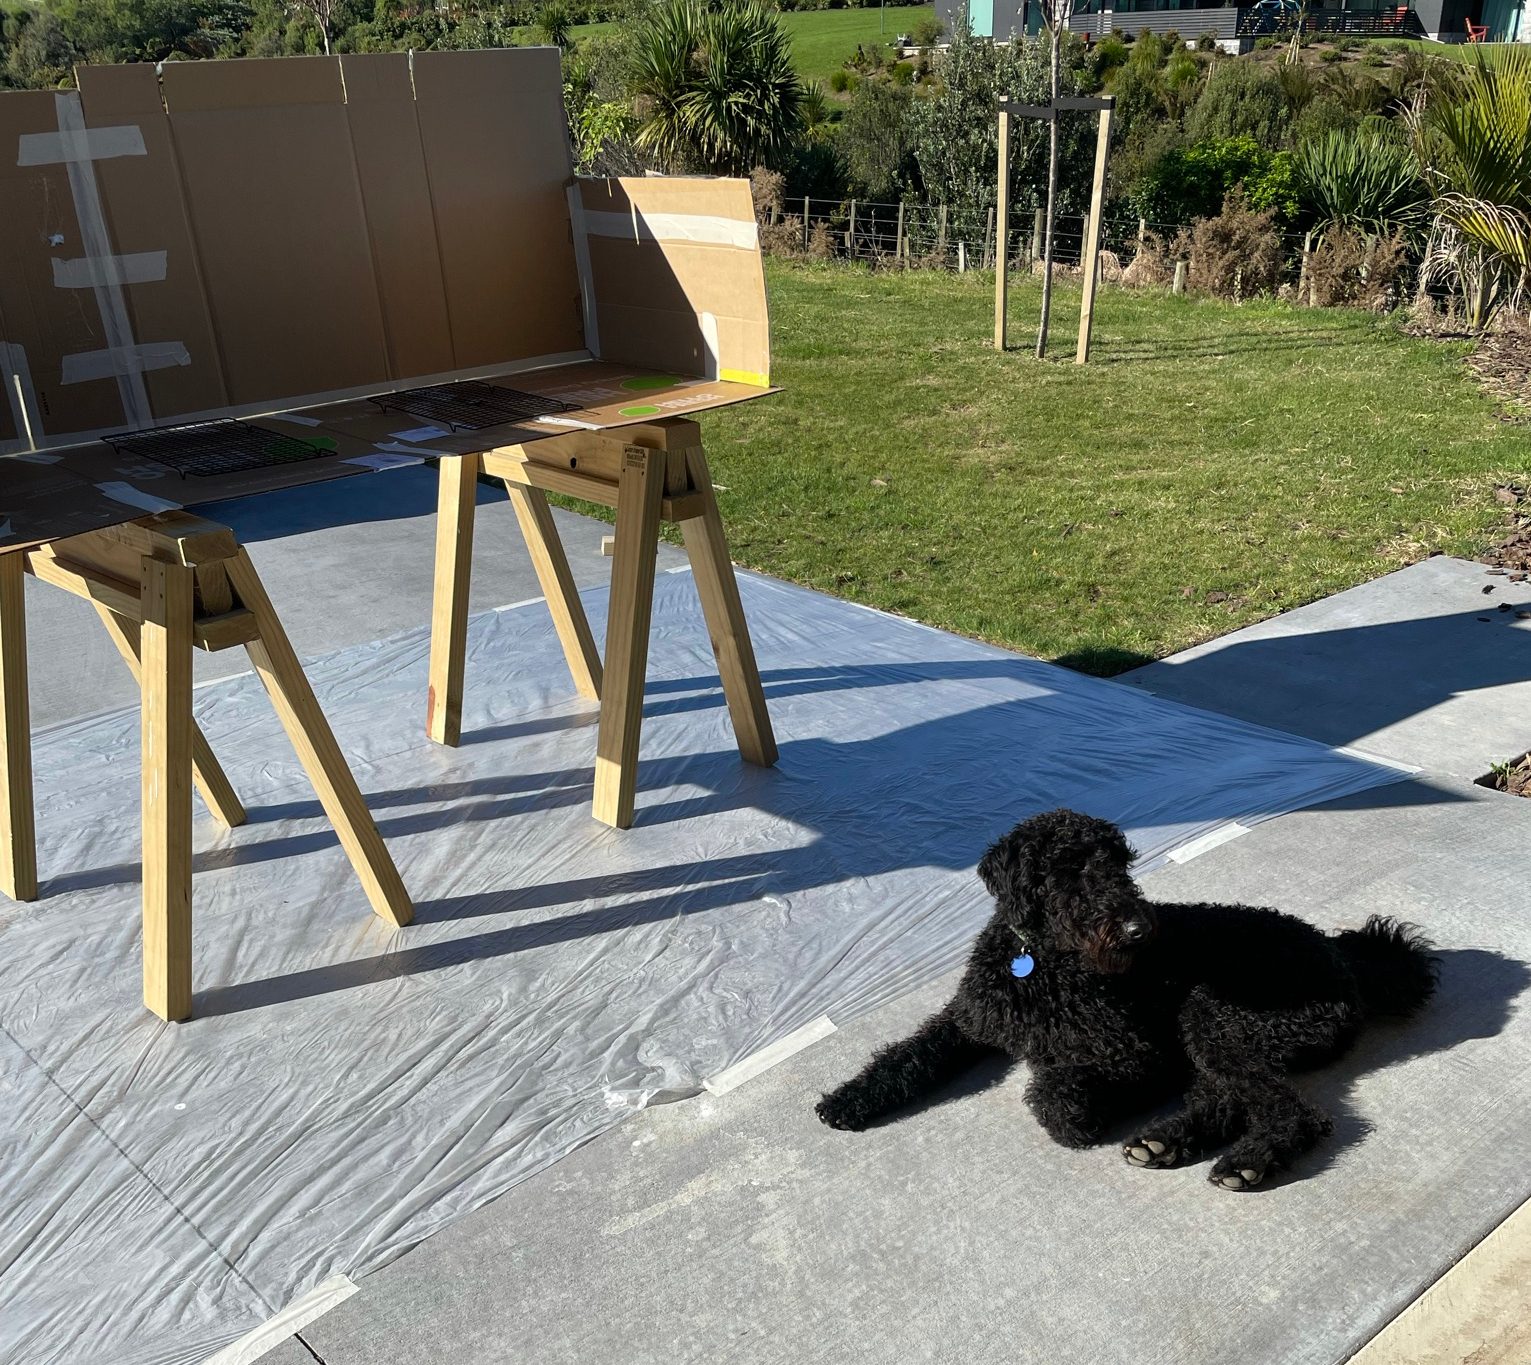
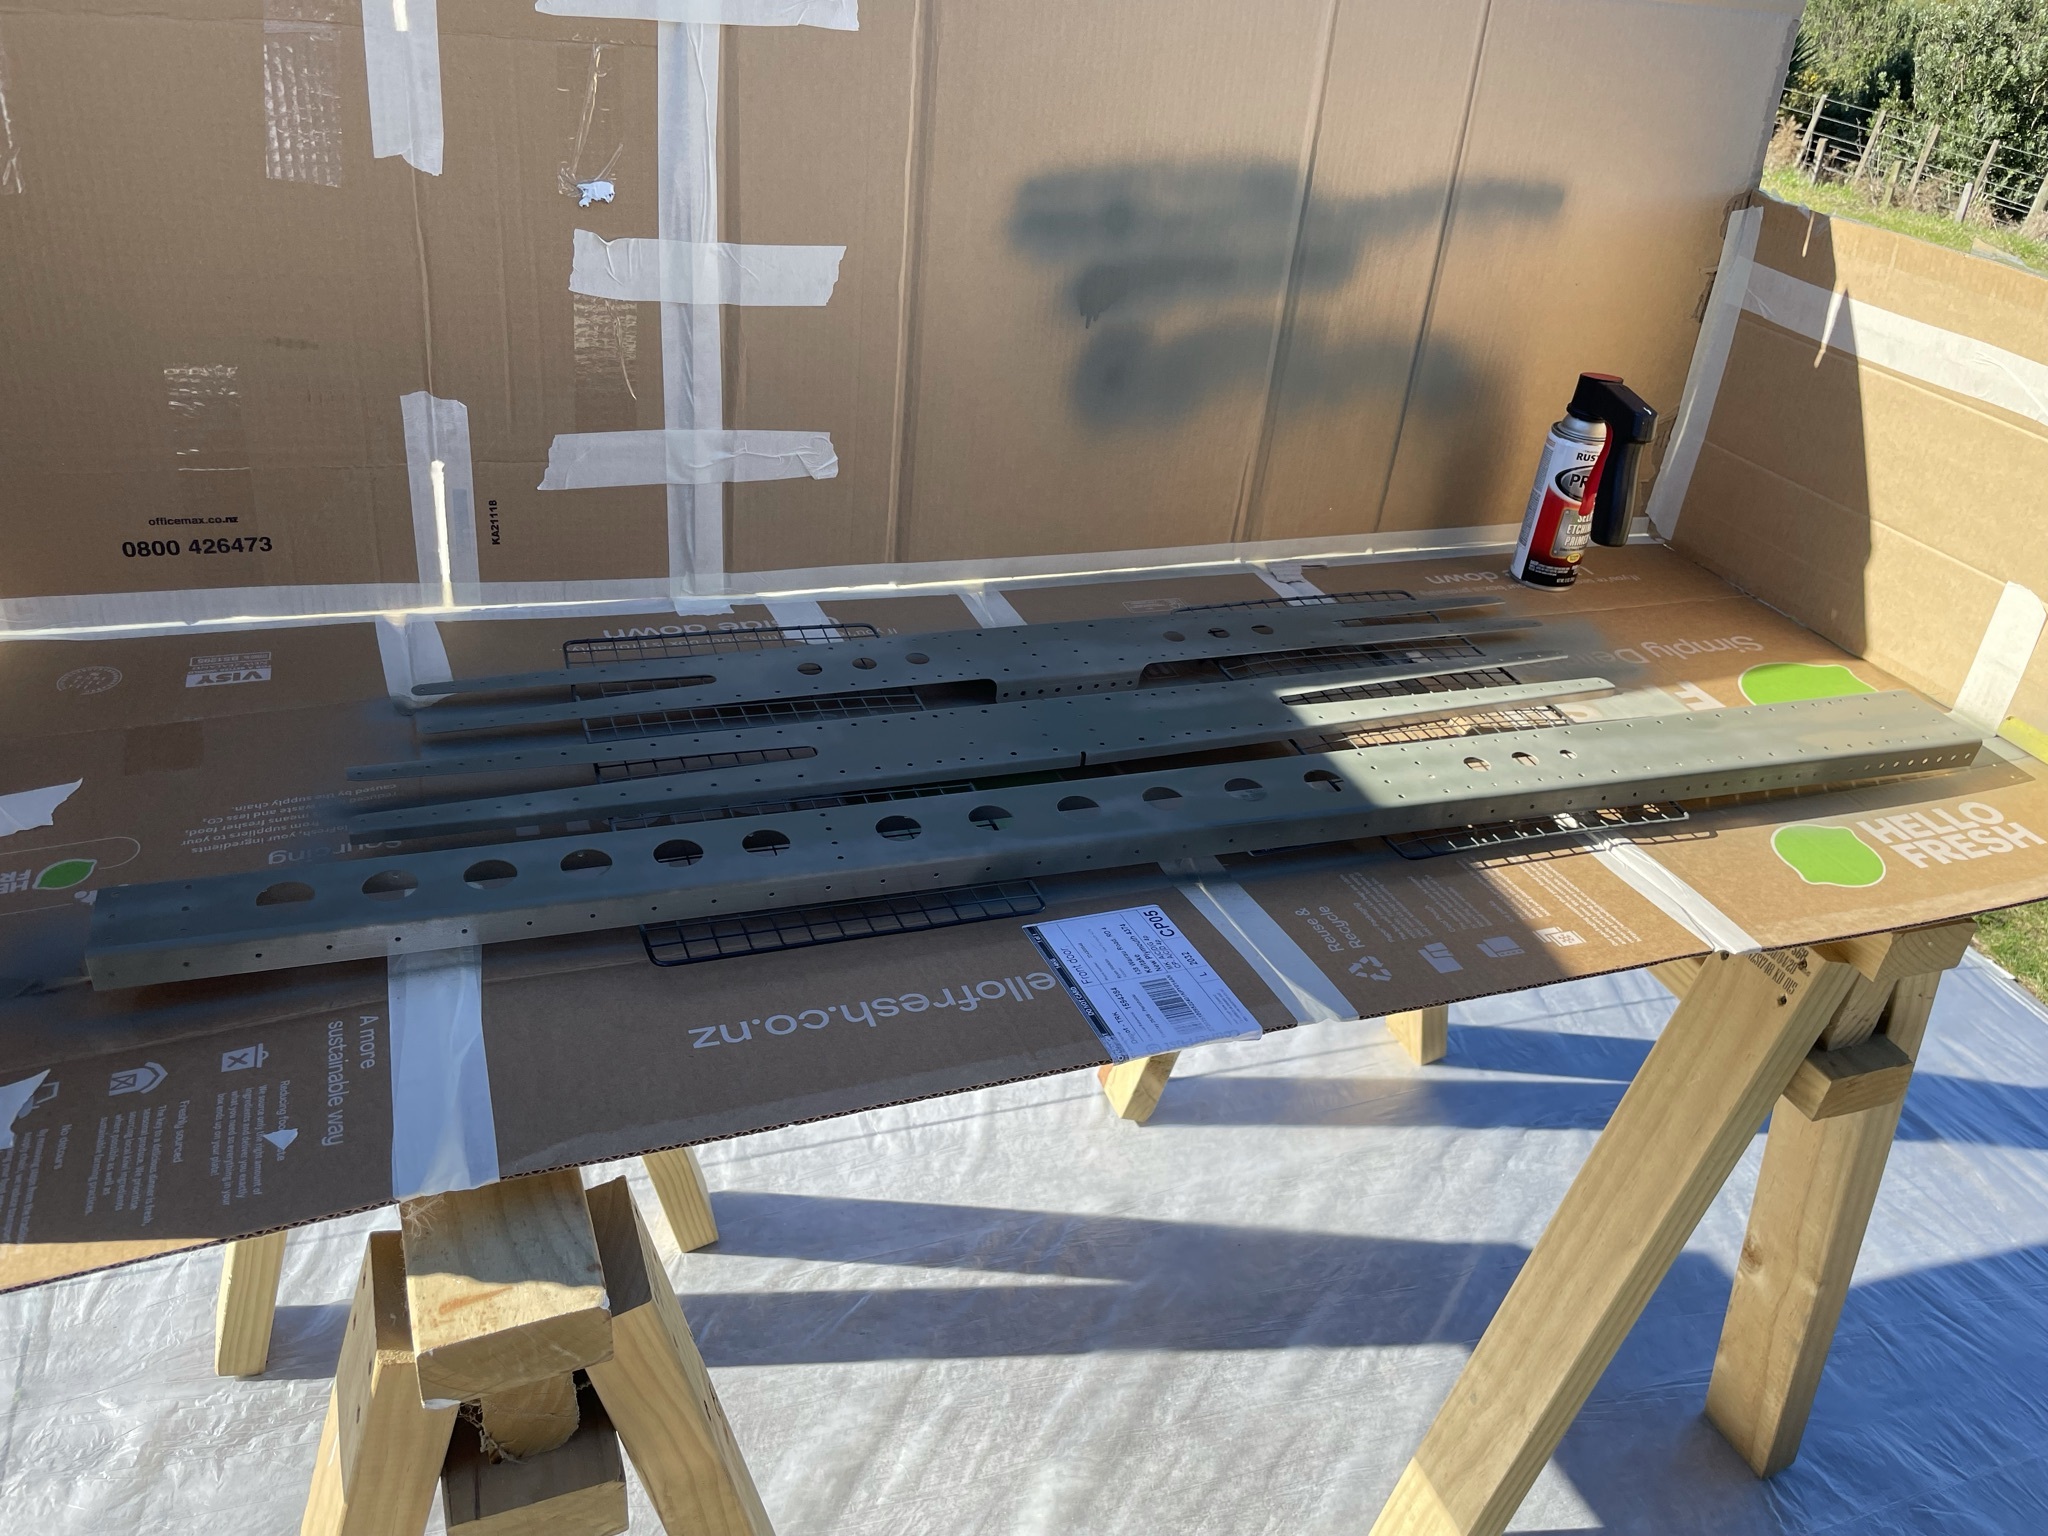
Now it just needs 24 hours to cure and I'll be ready to rumble rivet!