Horizontal Stabiliser Assembly and Skin Prep
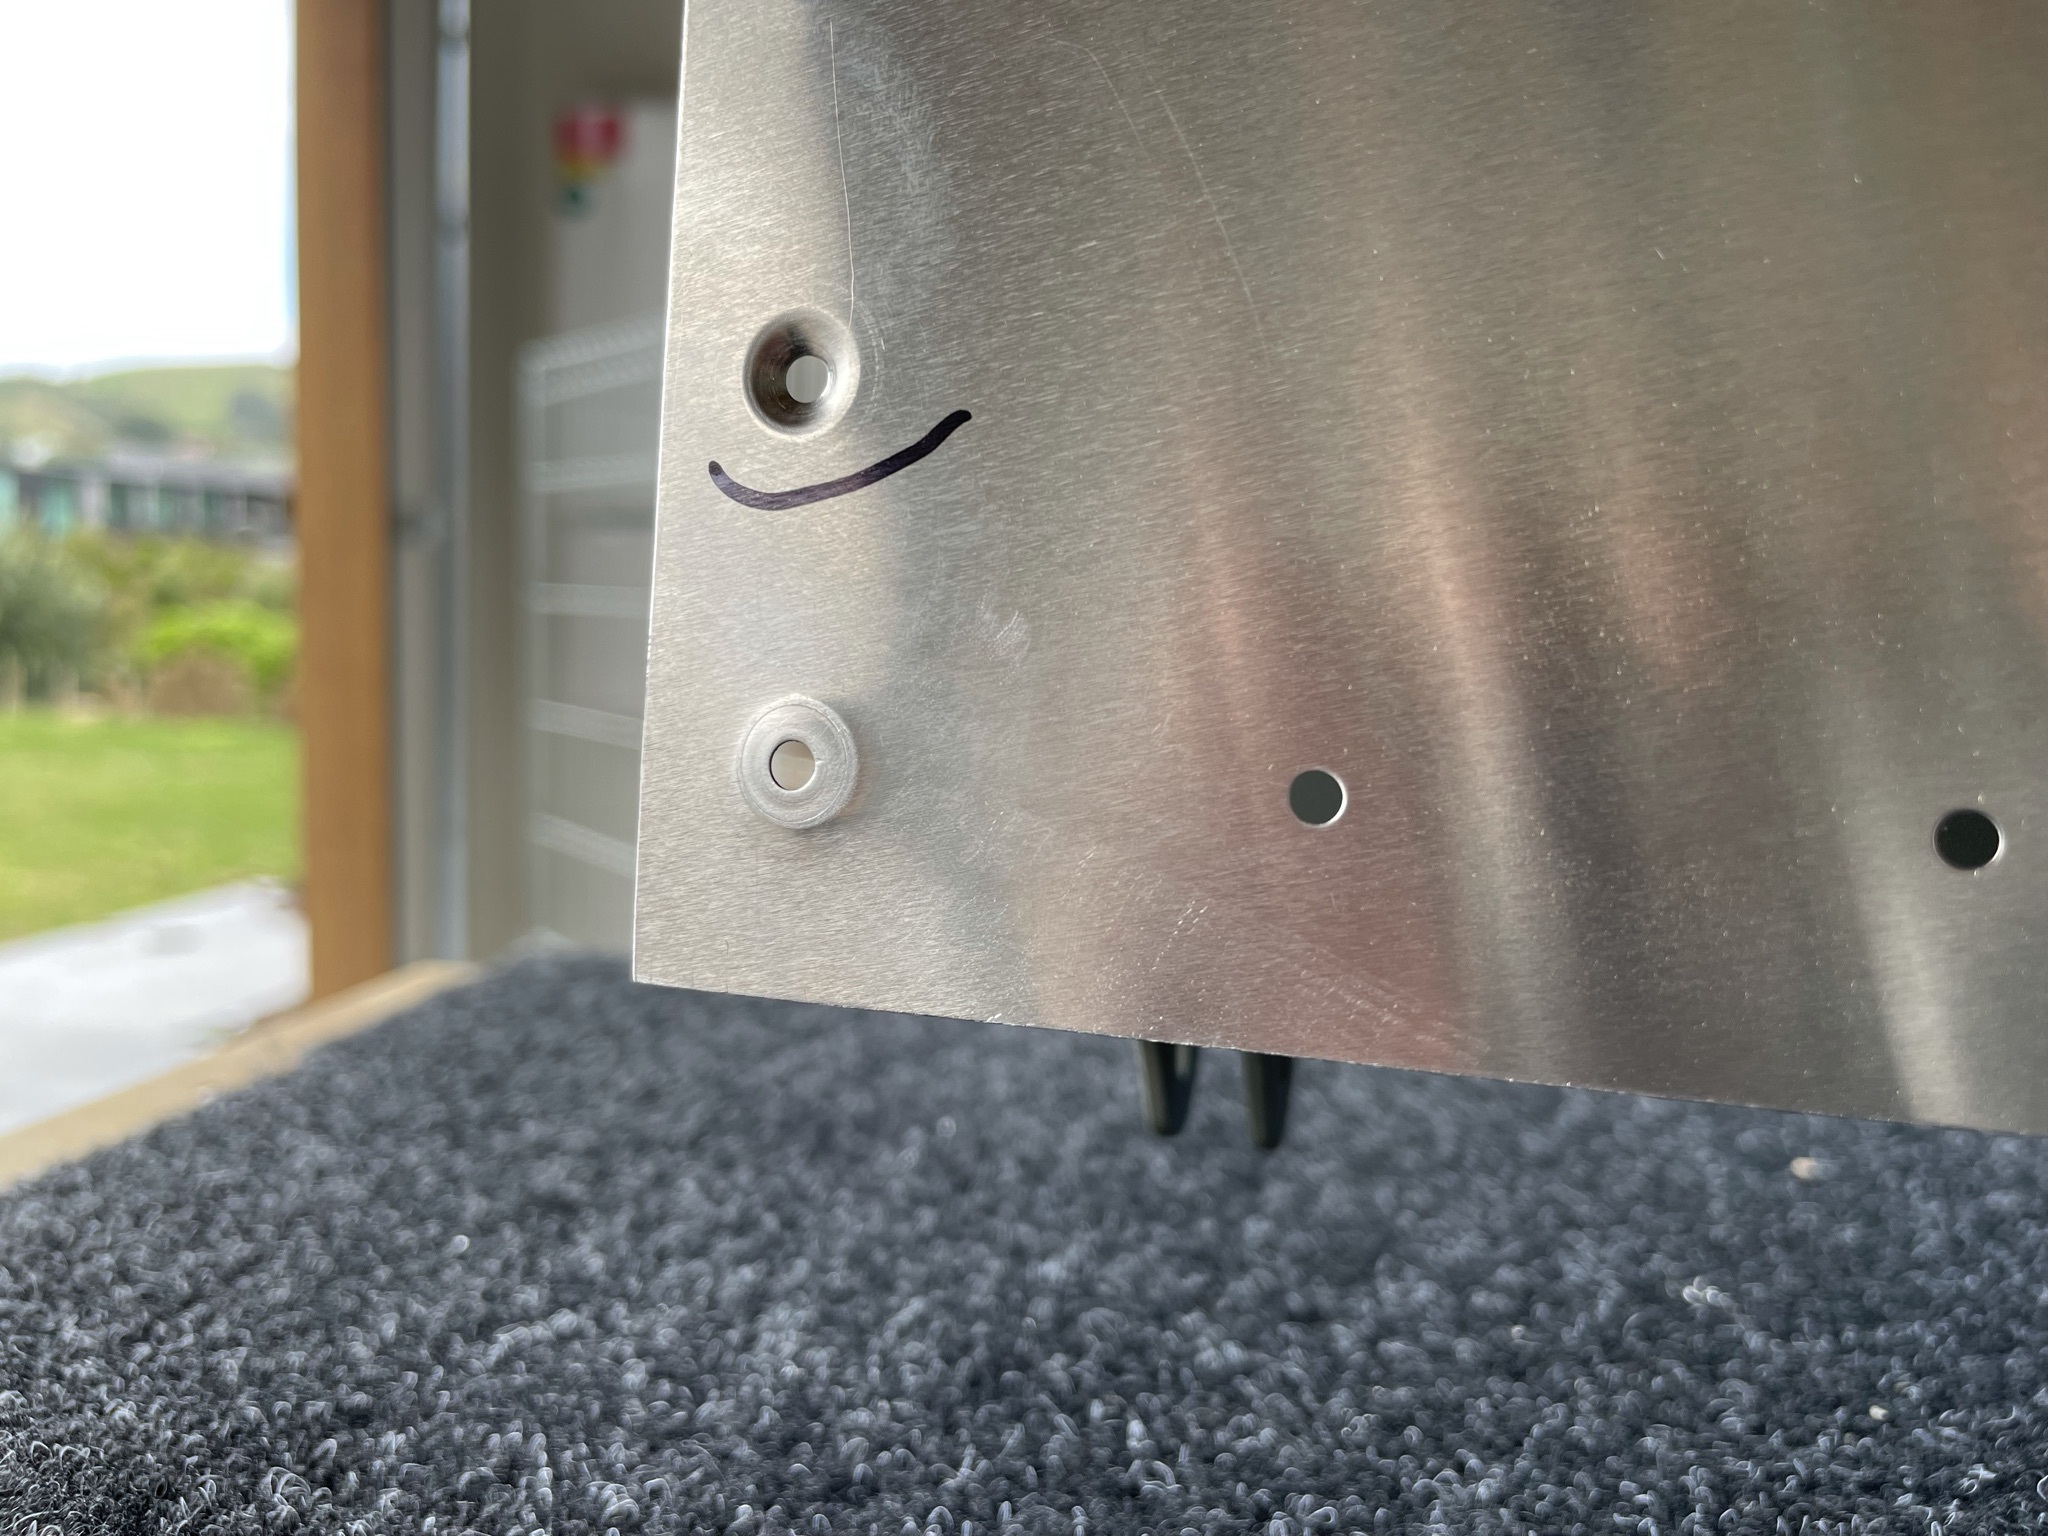
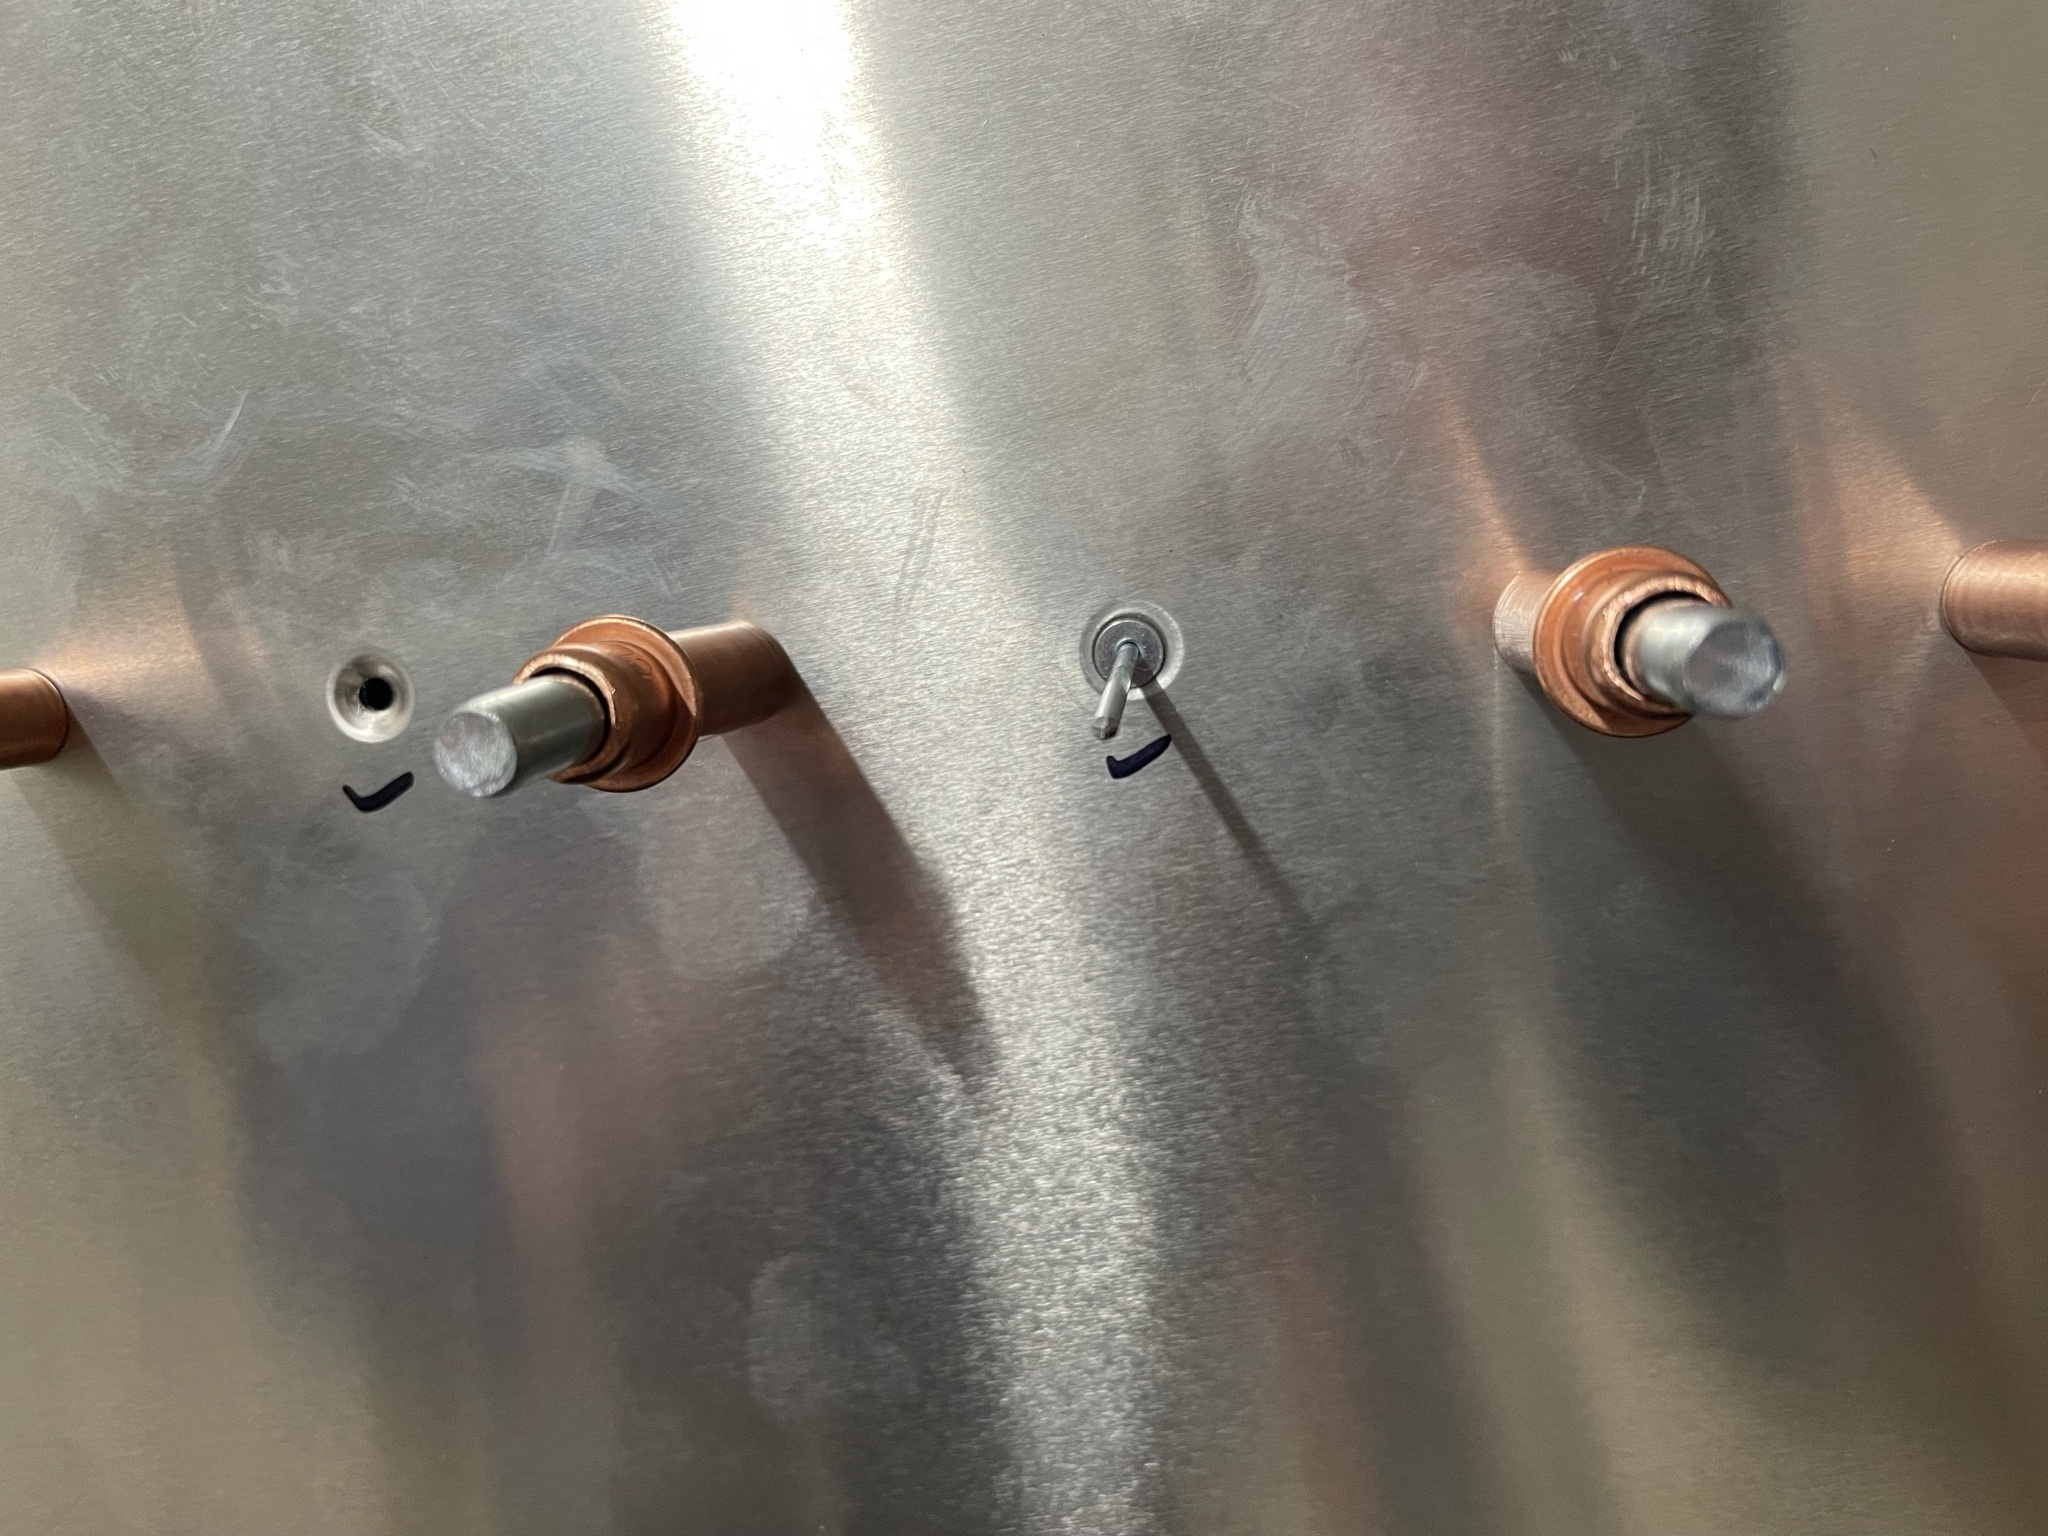
Looking like a plane now...
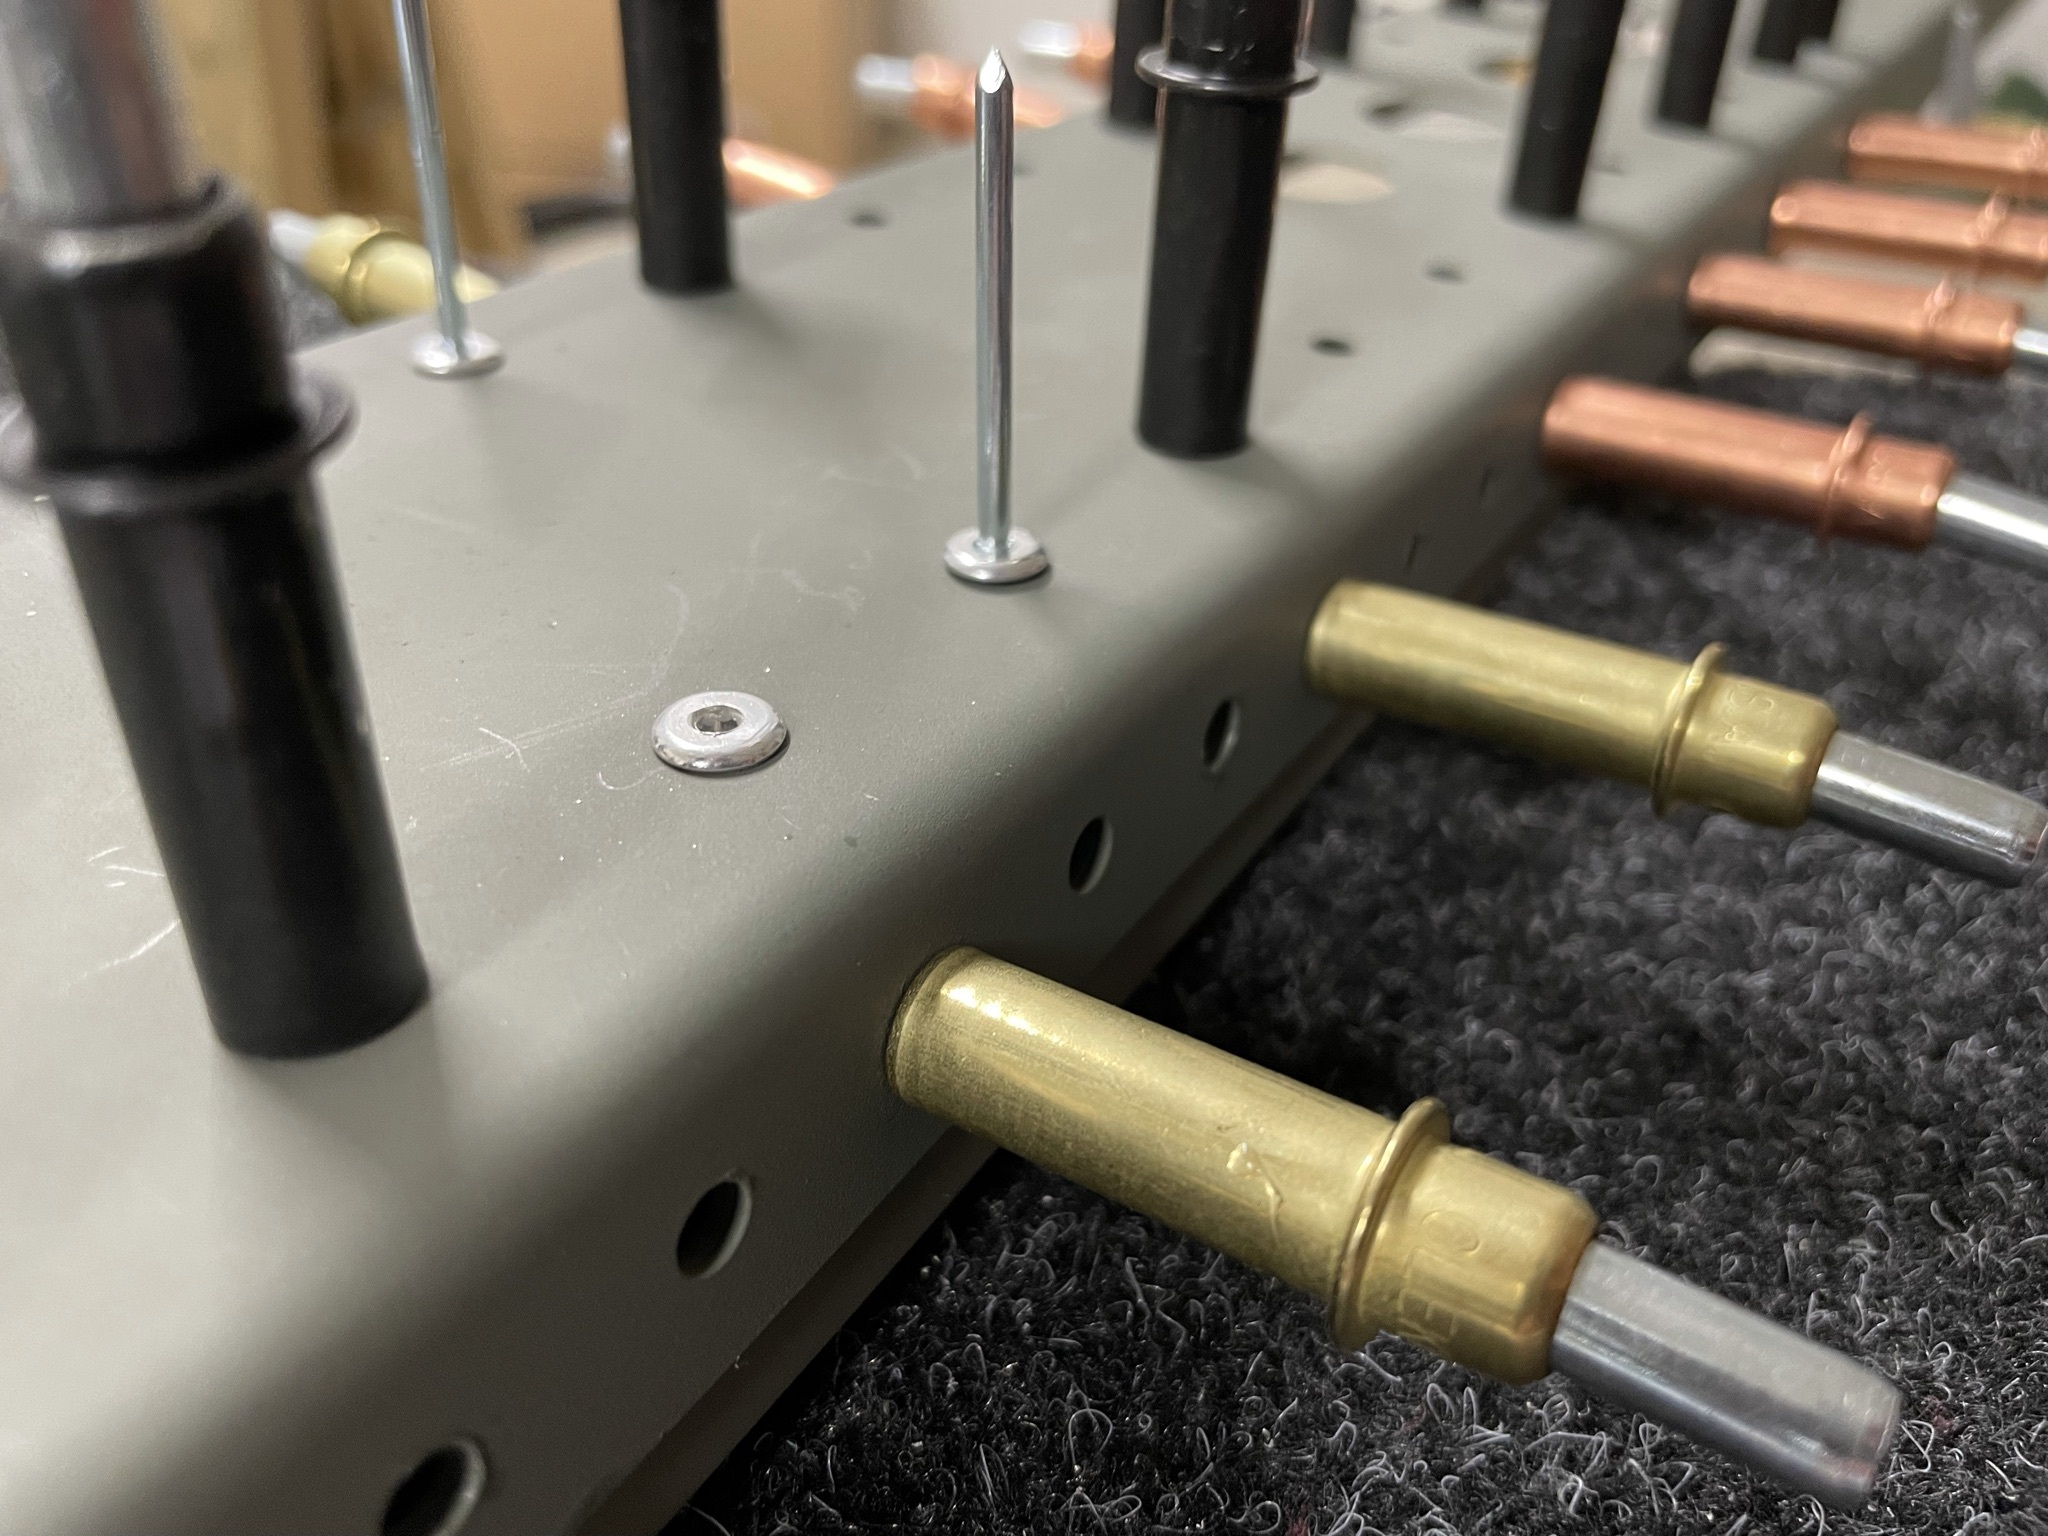
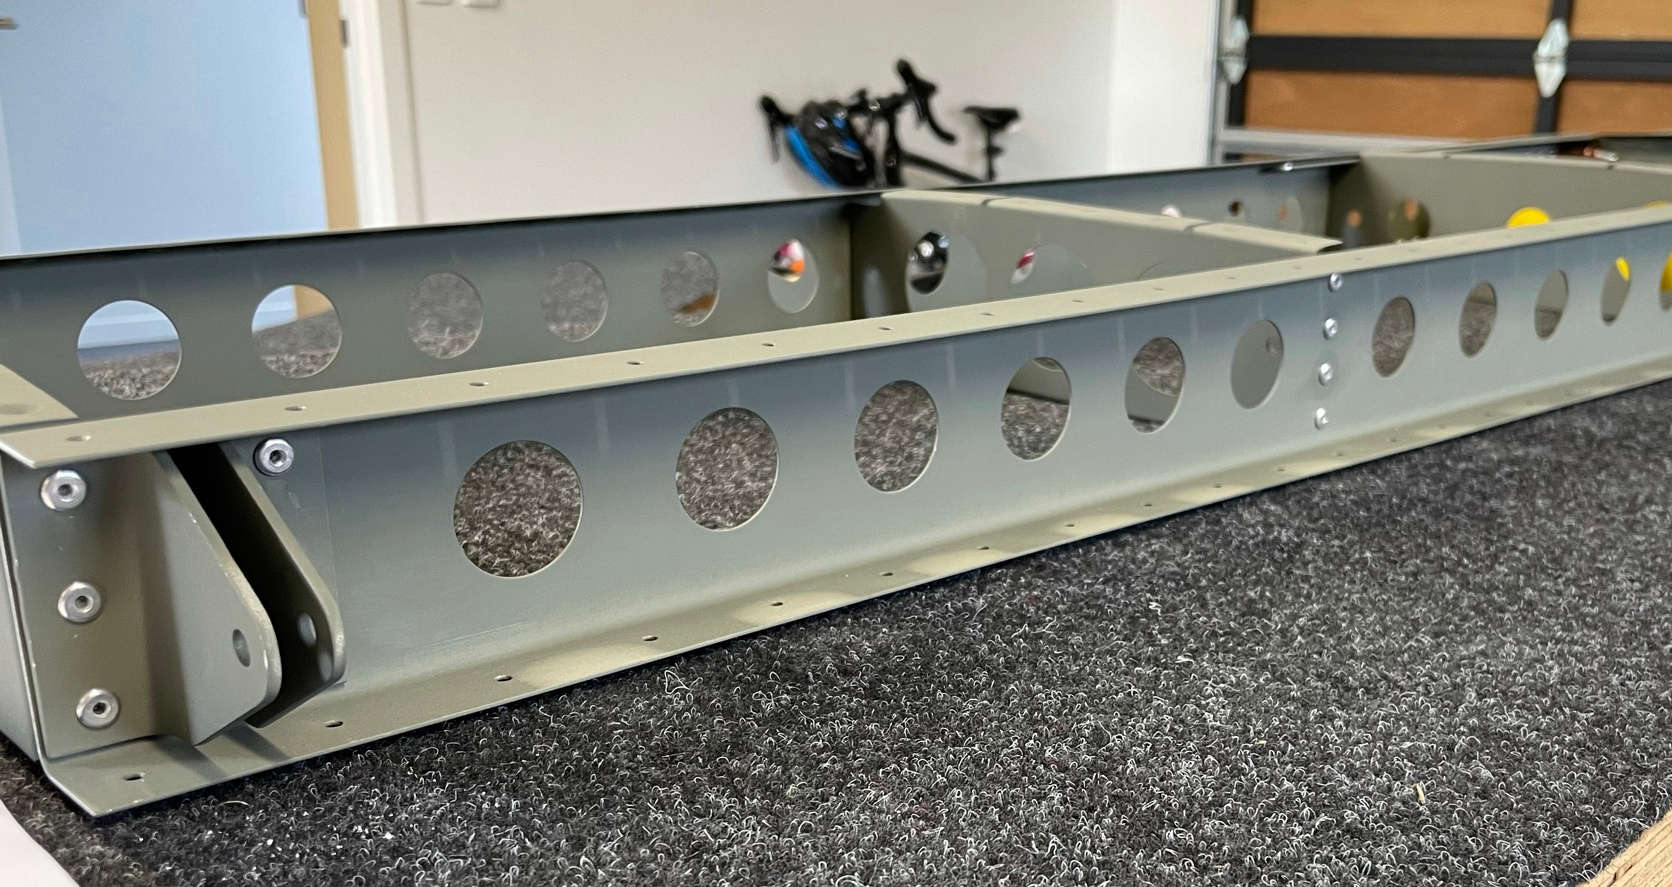
HS Structure Assembly
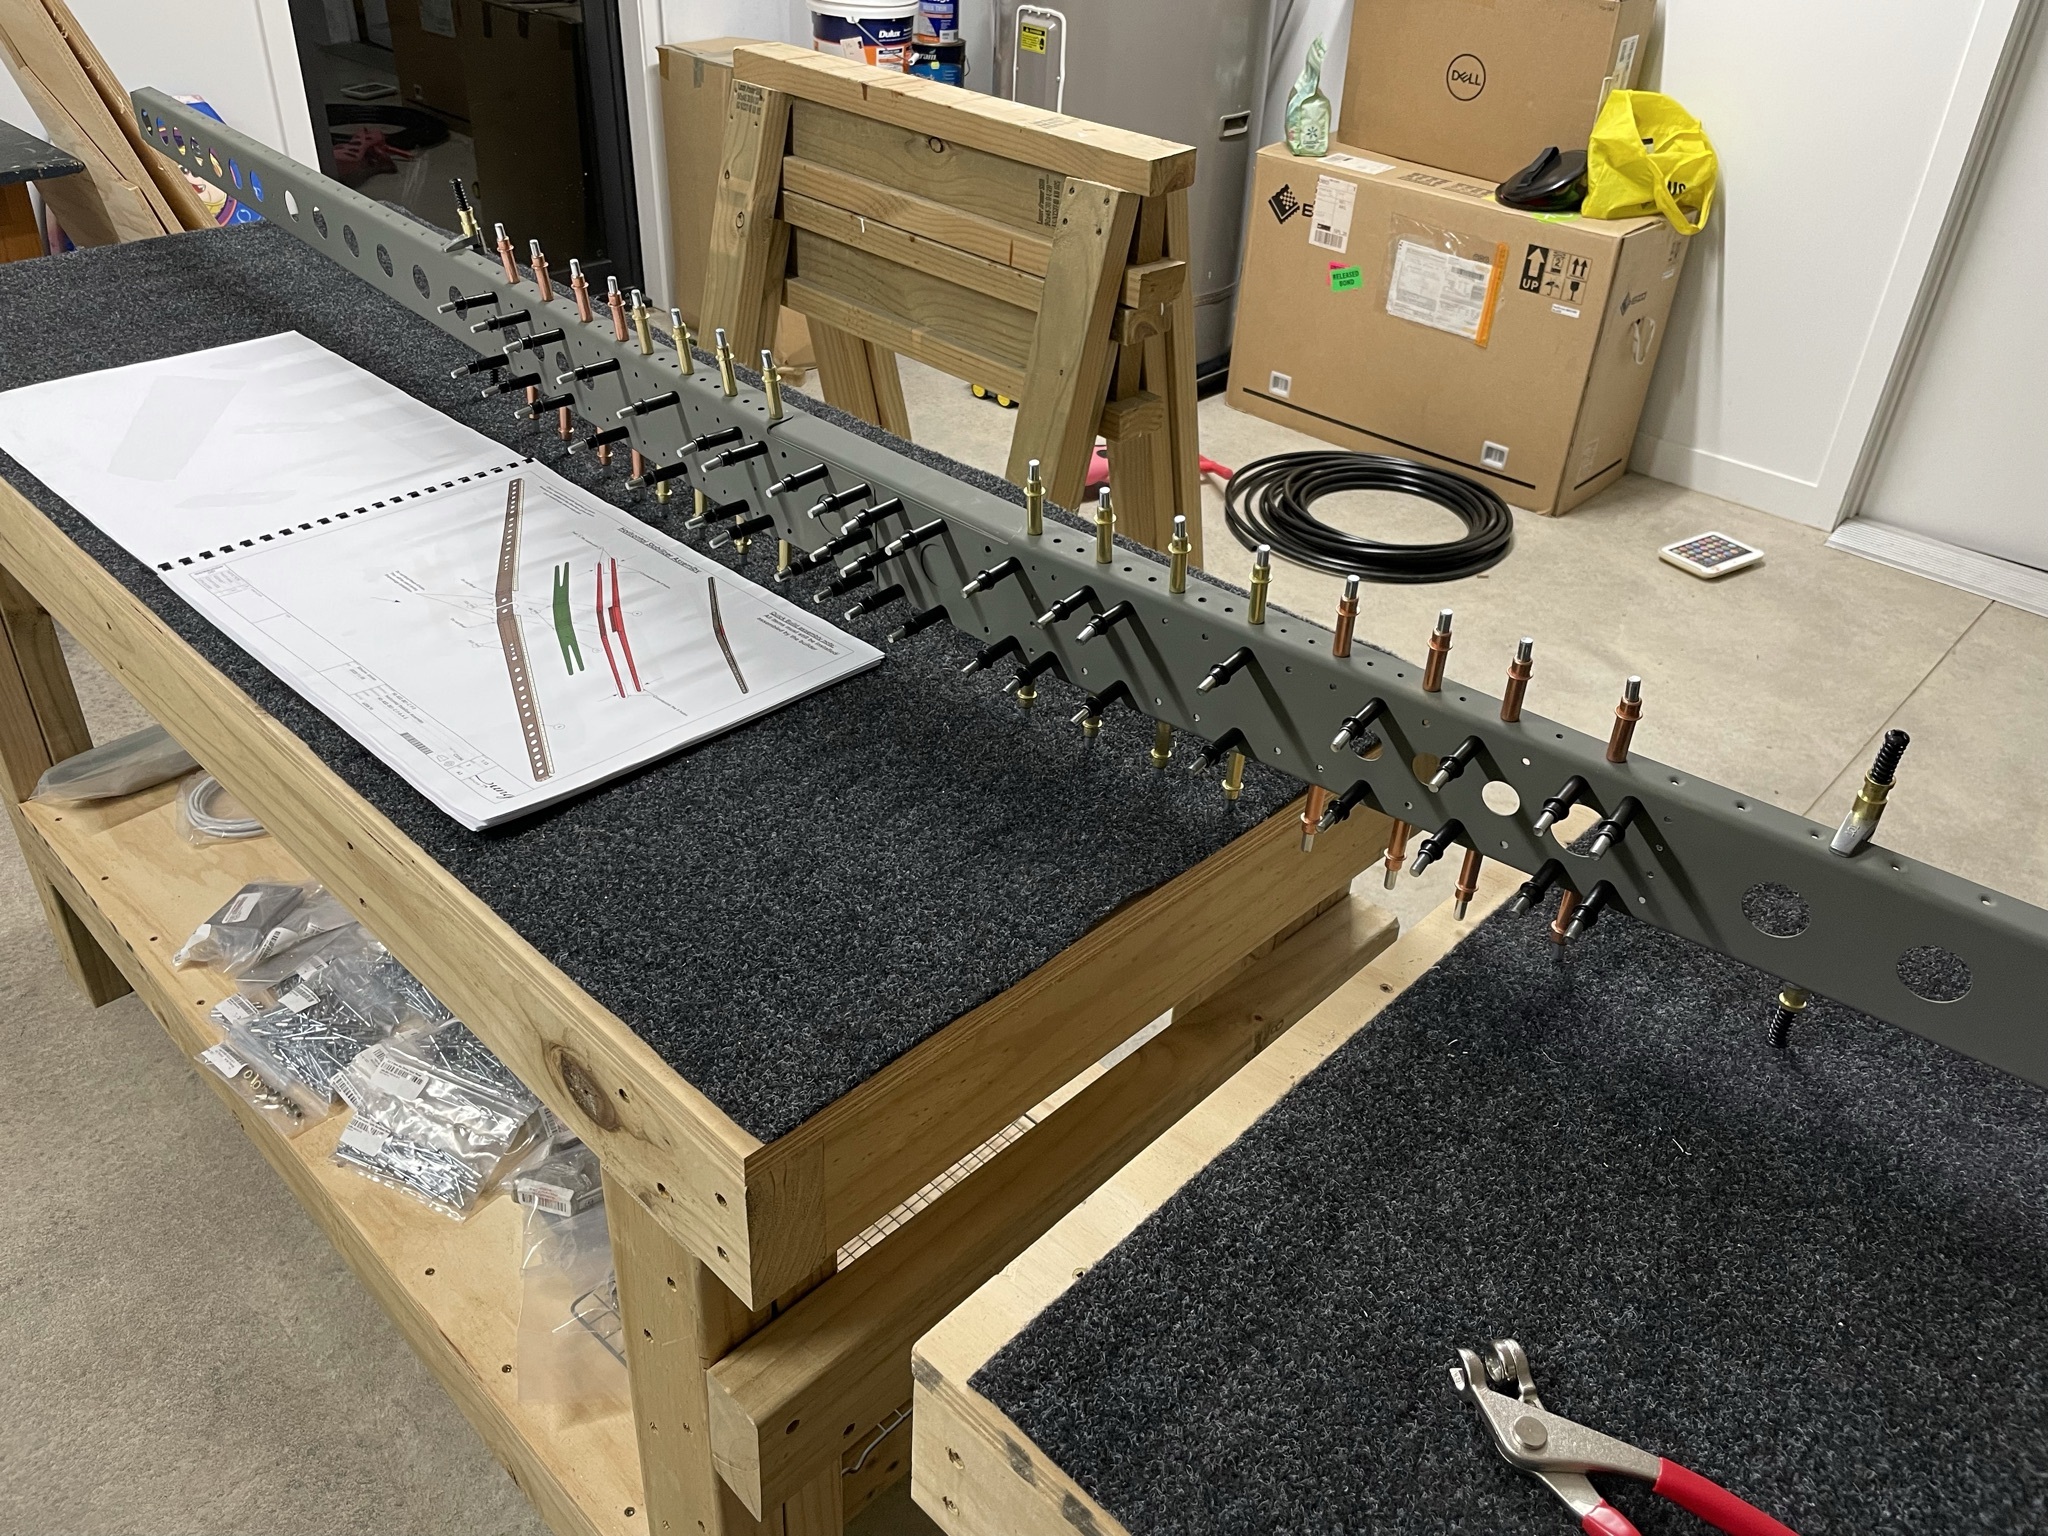
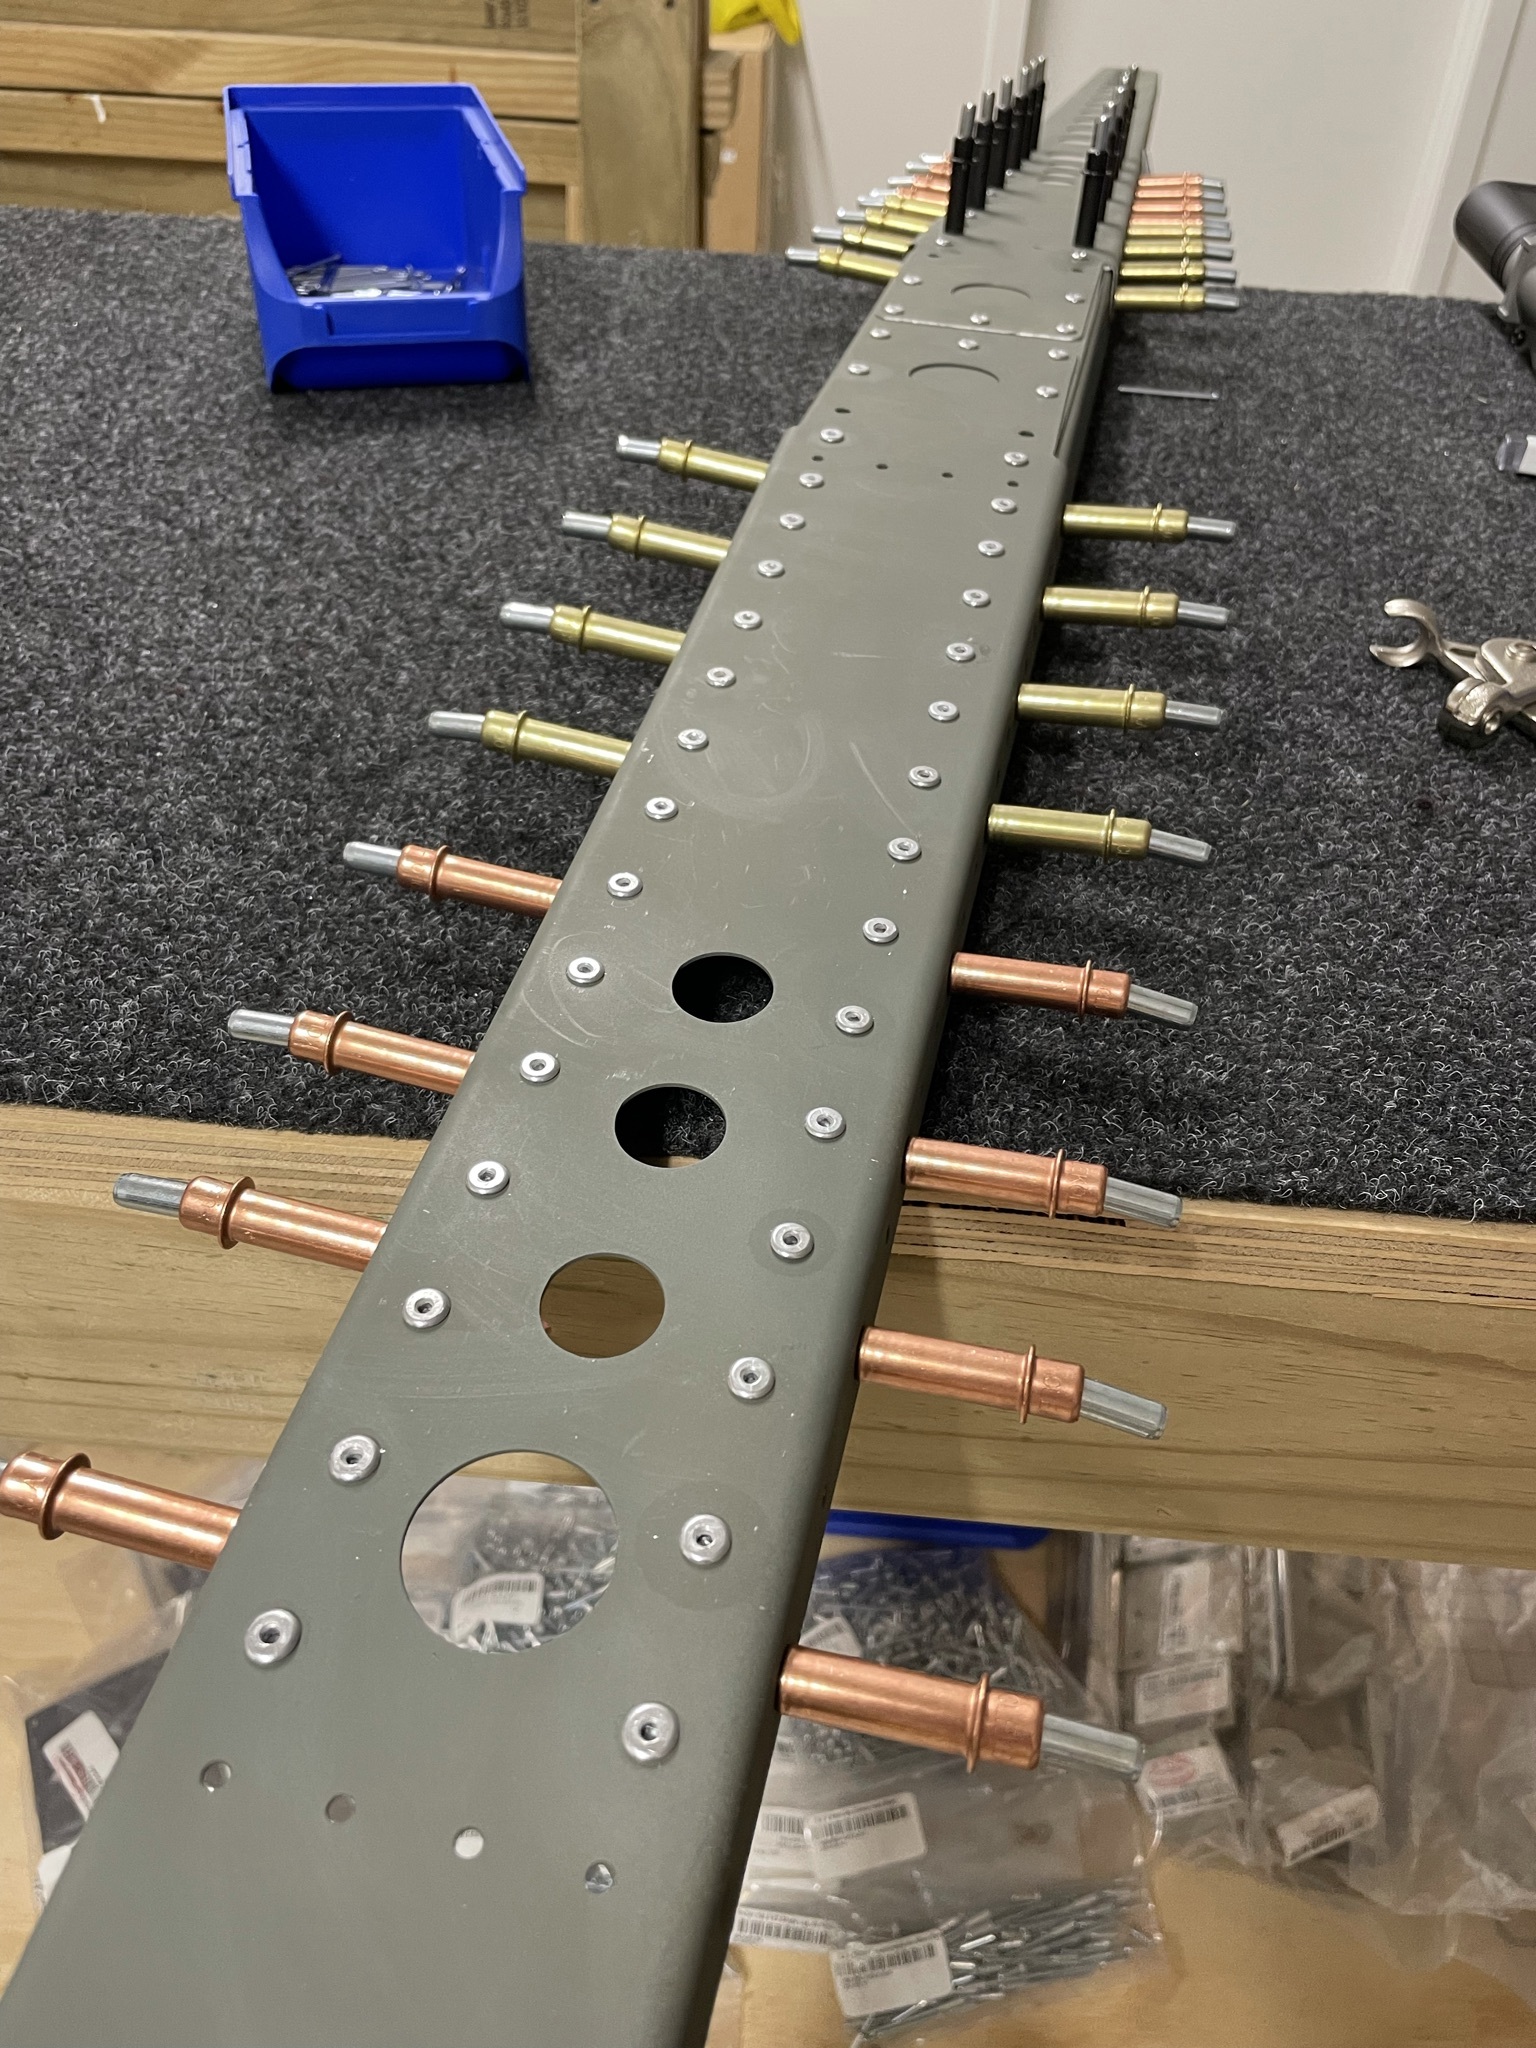
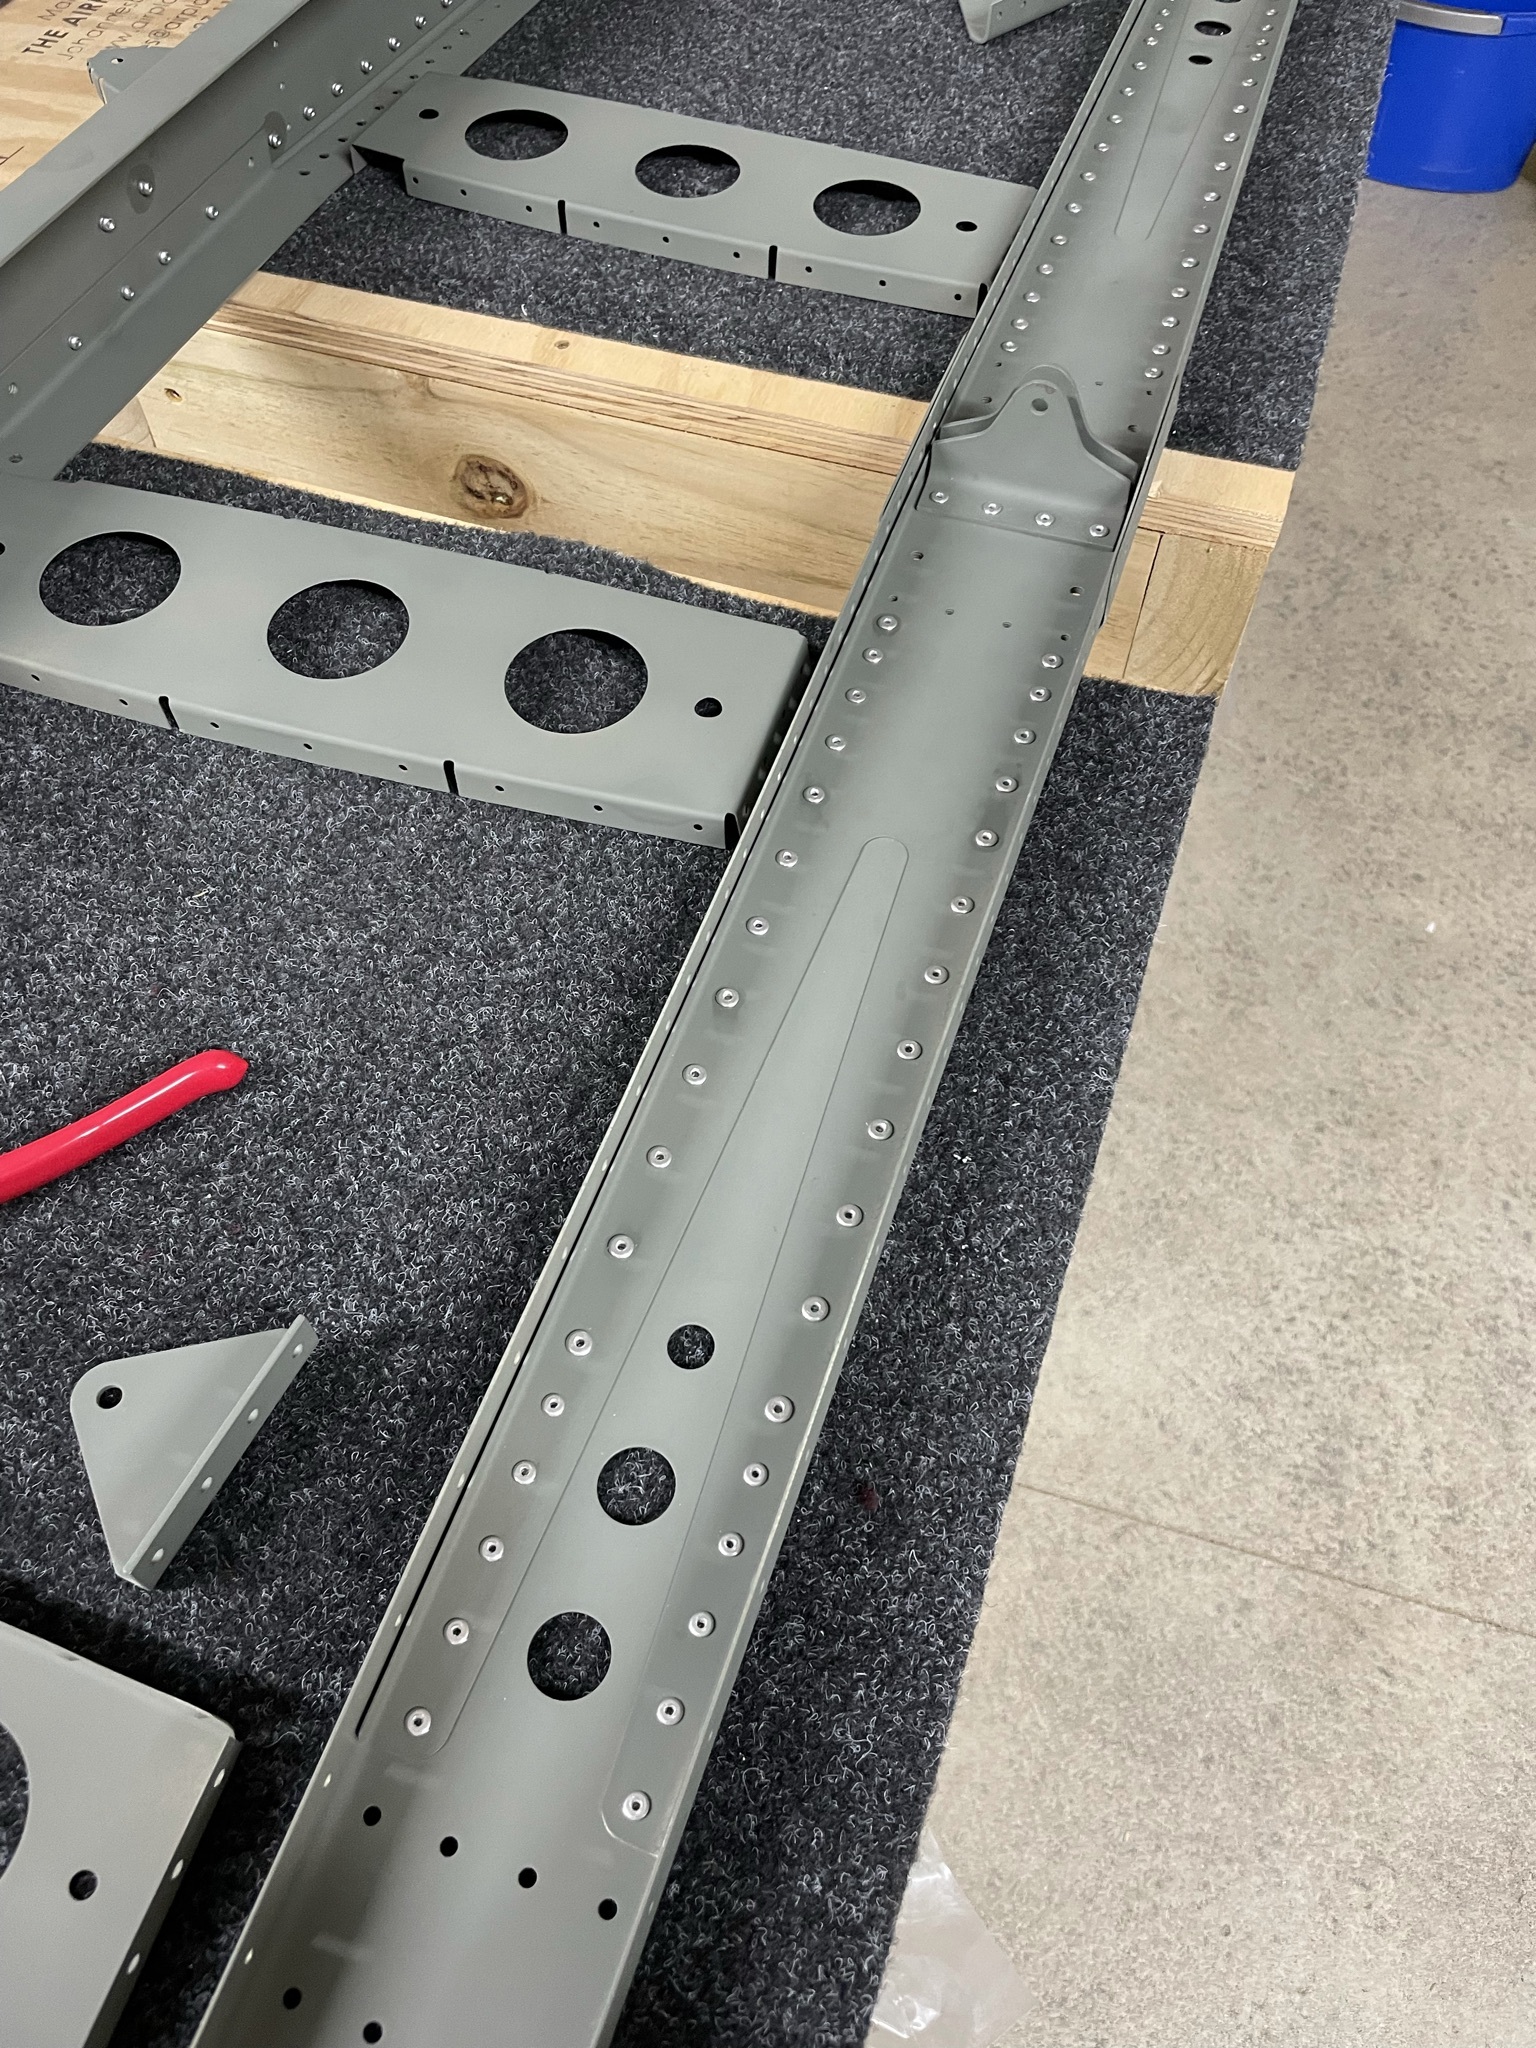
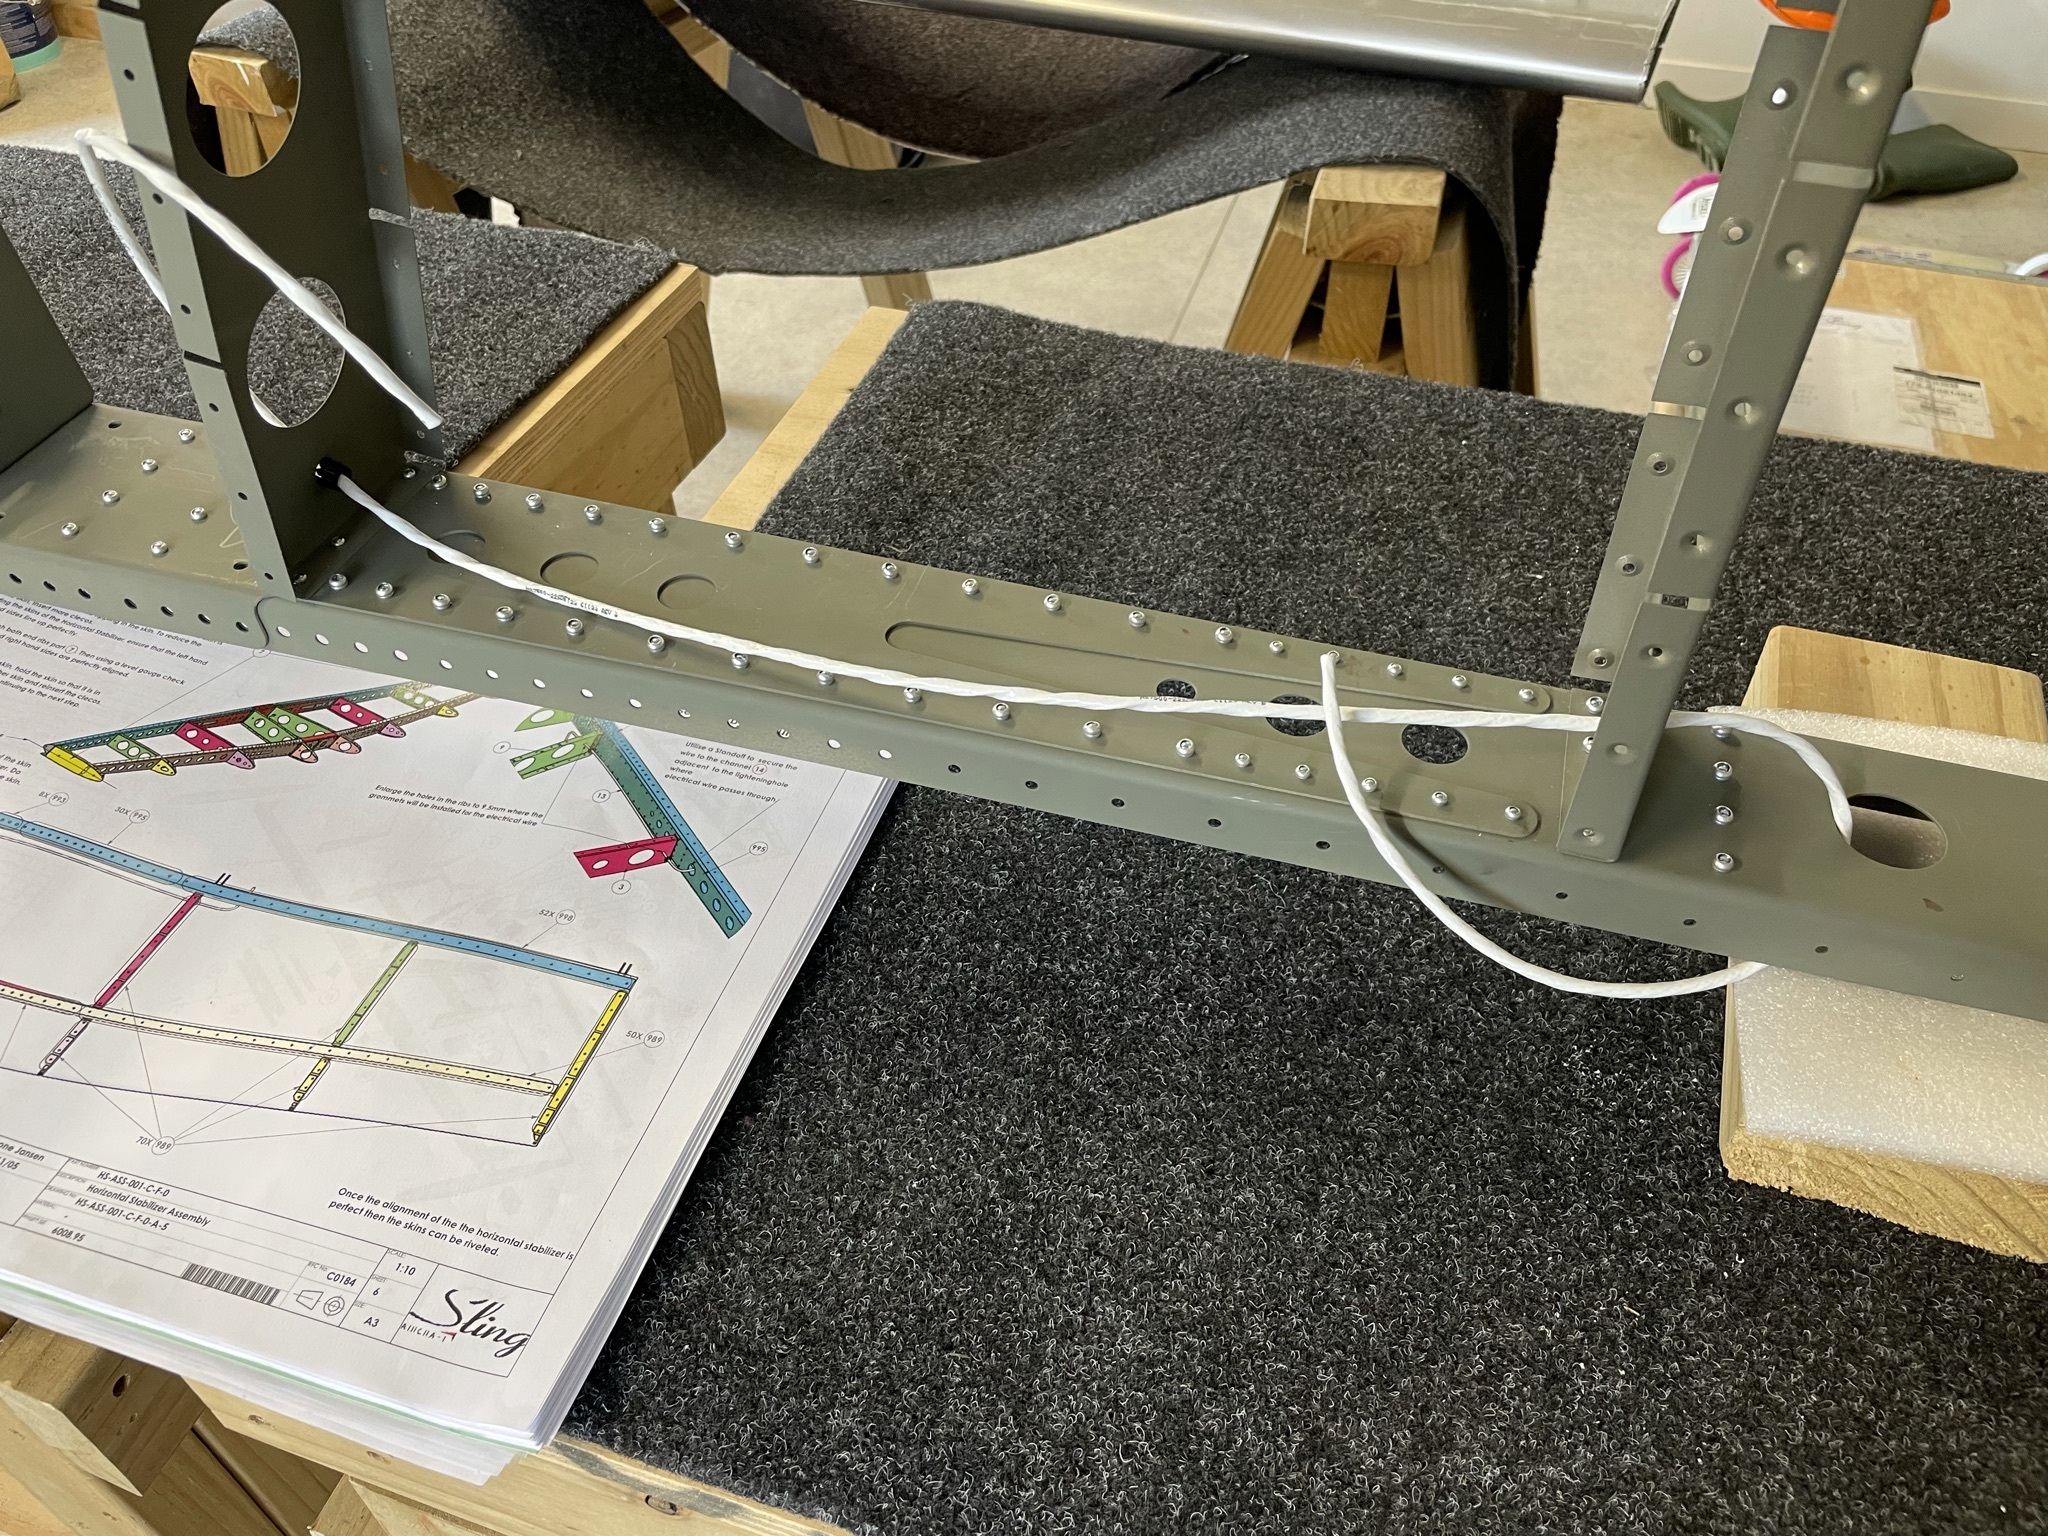
The ribs and spars for the HS are all primed to time to start assembling. The main spar is clecoed together ready for dimpling.
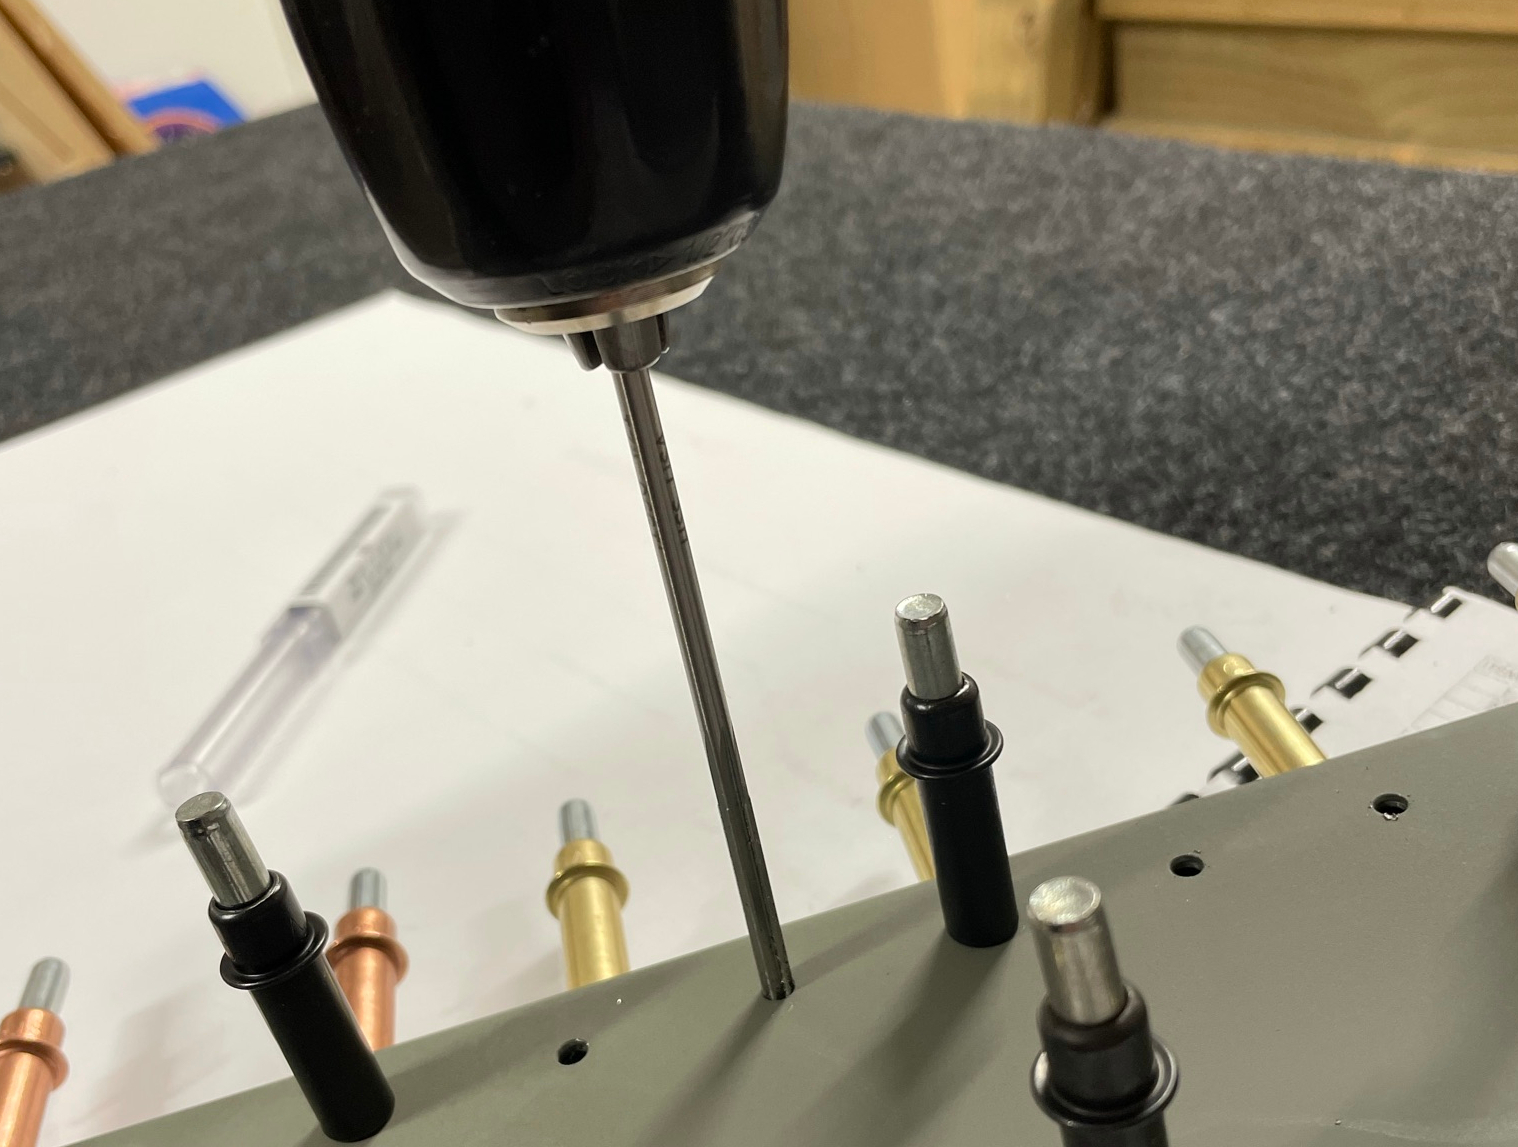
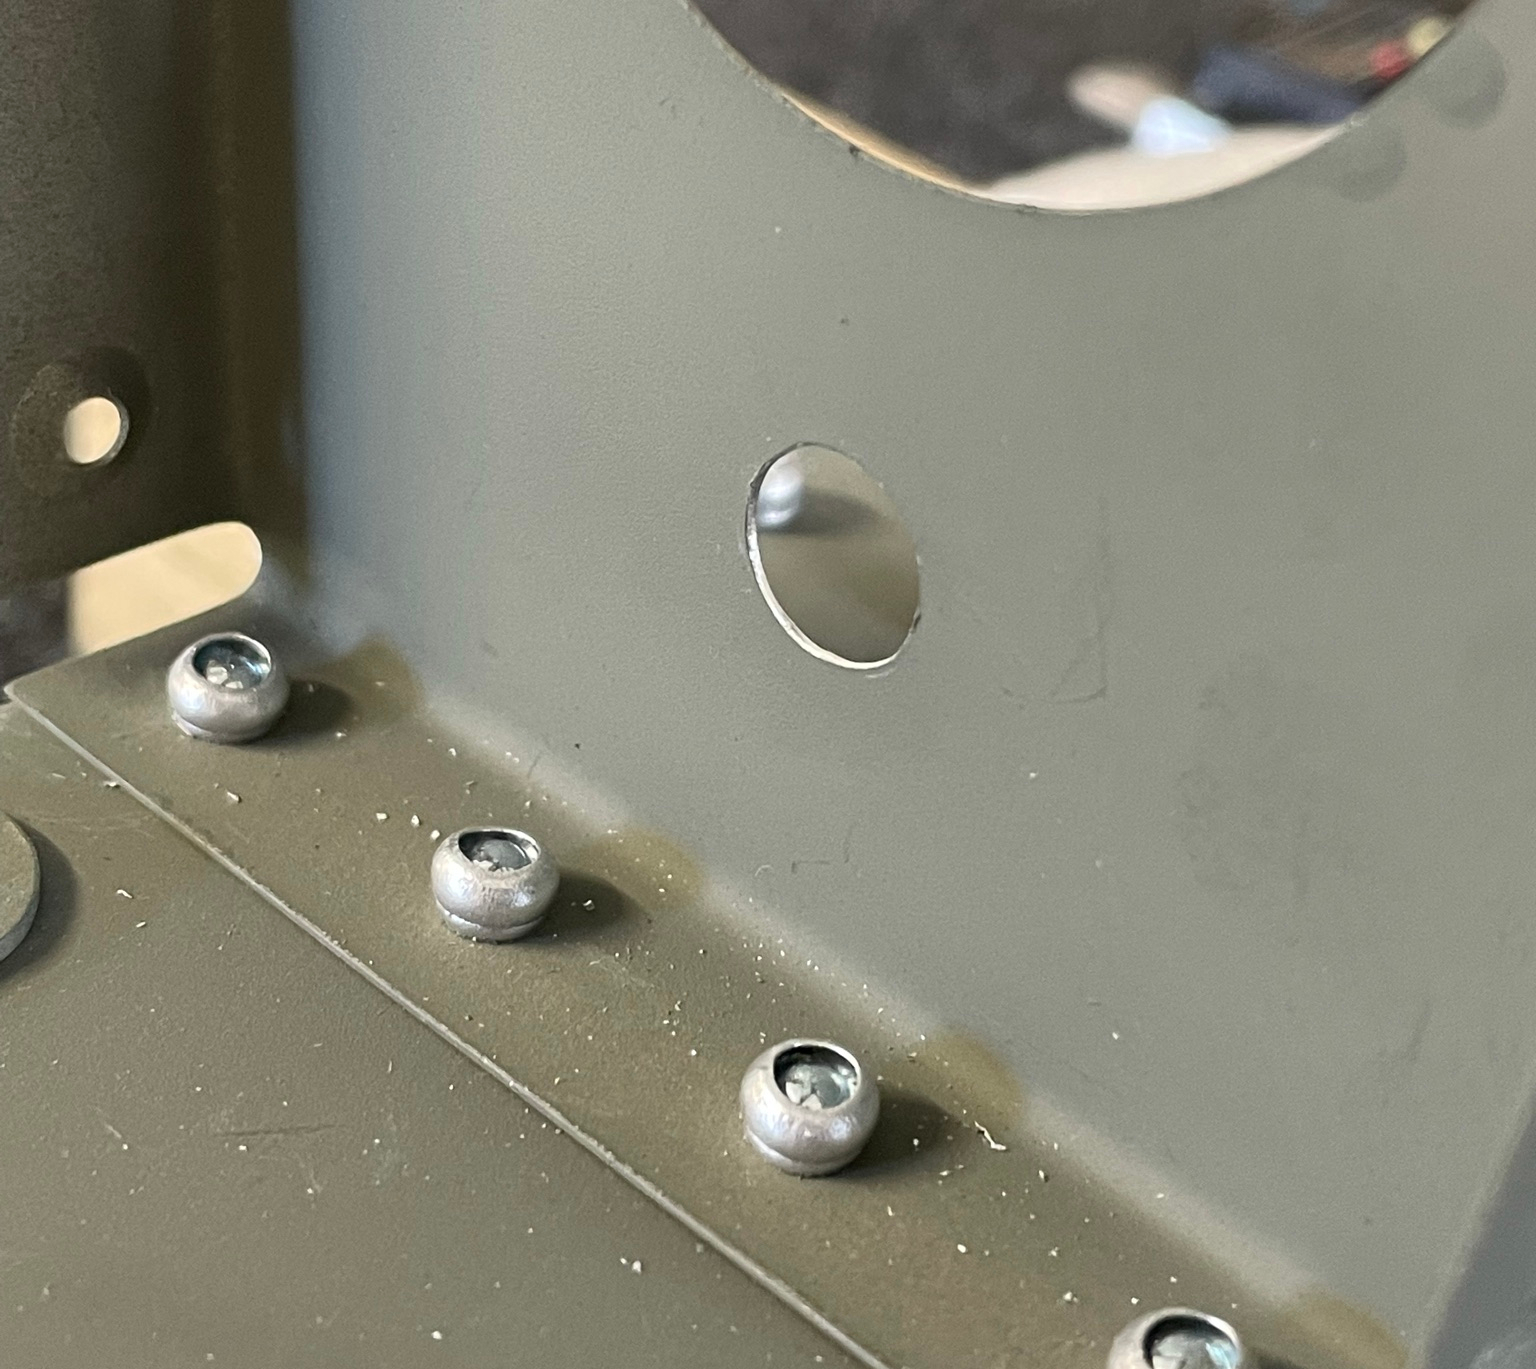
Despite the fine tolerances on the parts, a number of holes still need match drilling. I'm using chucking reamers rather than drill bits as they give a cleaner hole which will hold the rivets better.
They won't upsize a hole more than a fraction of an inch however so a set of standard bits and step drill bits are still required in places.
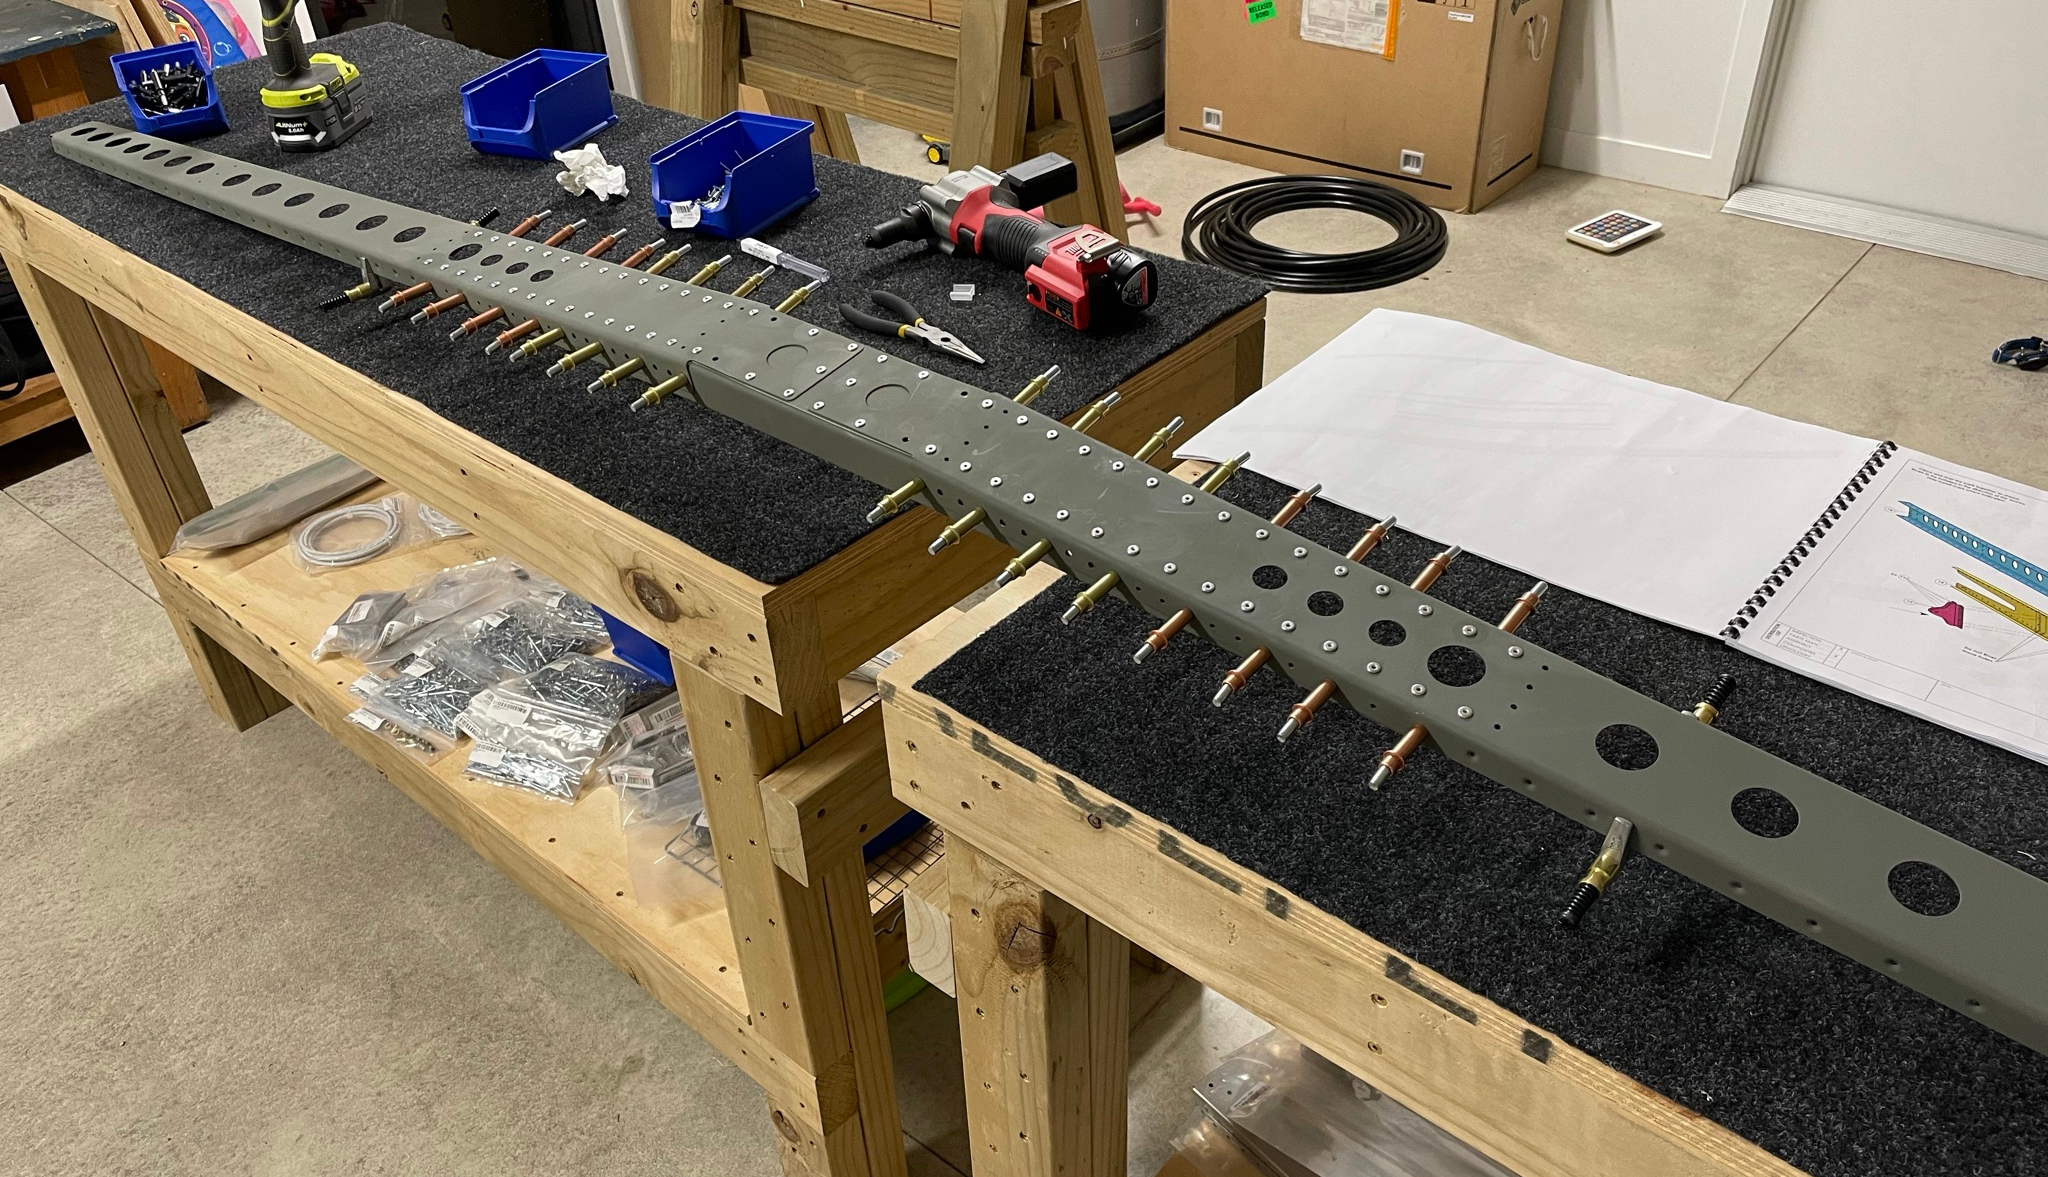
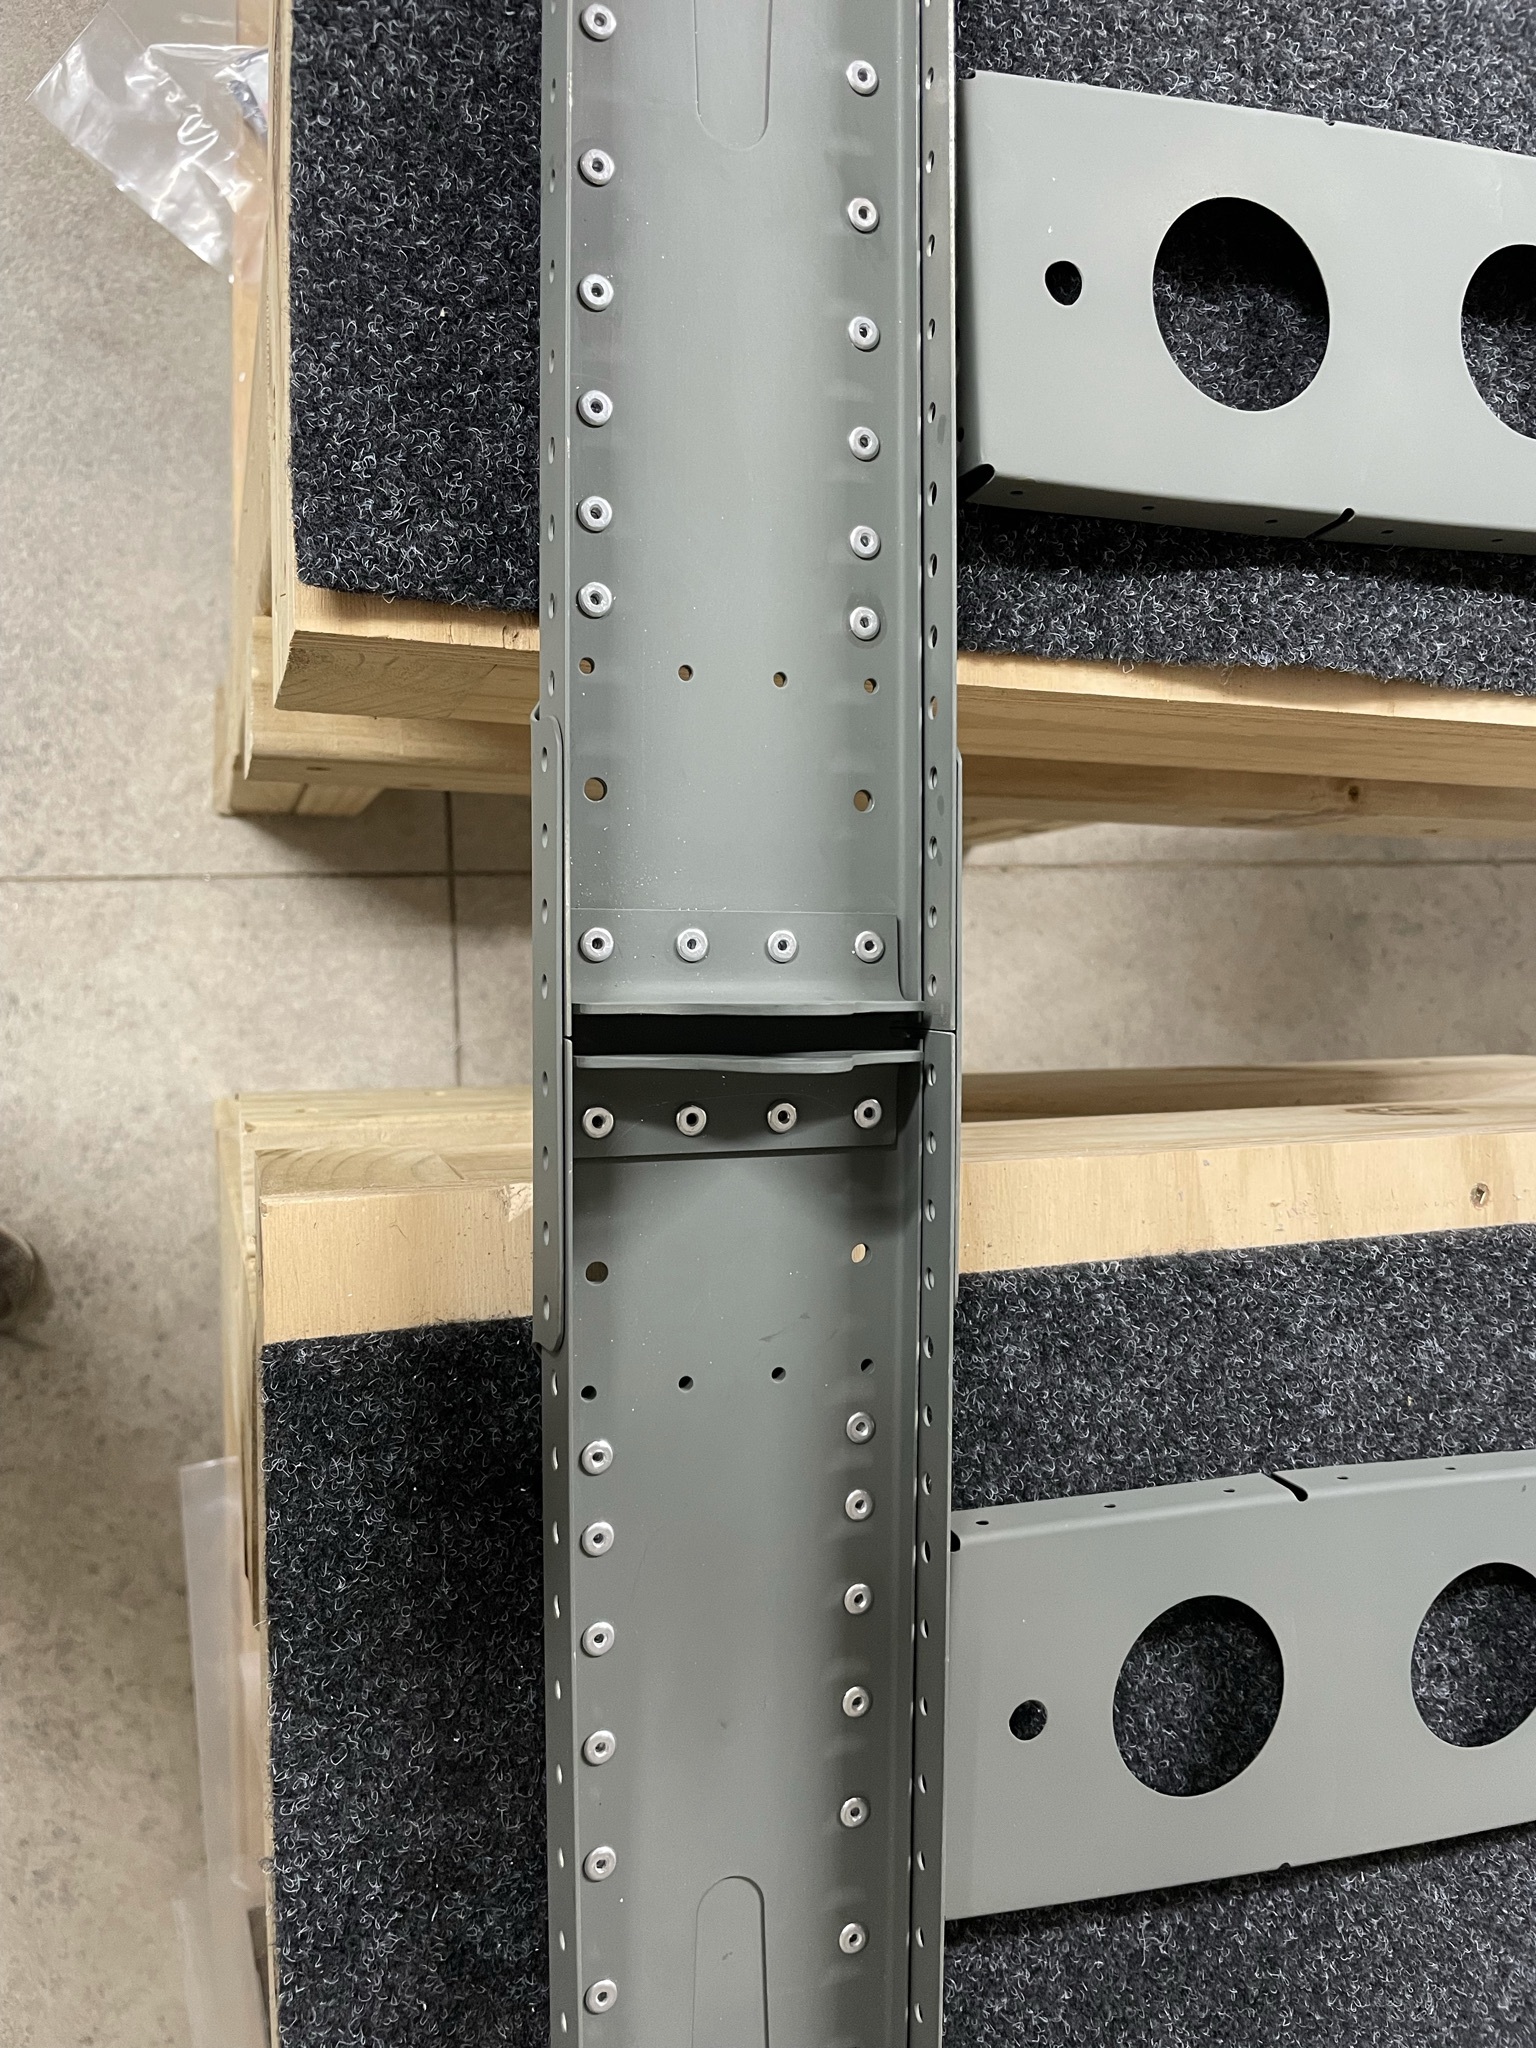
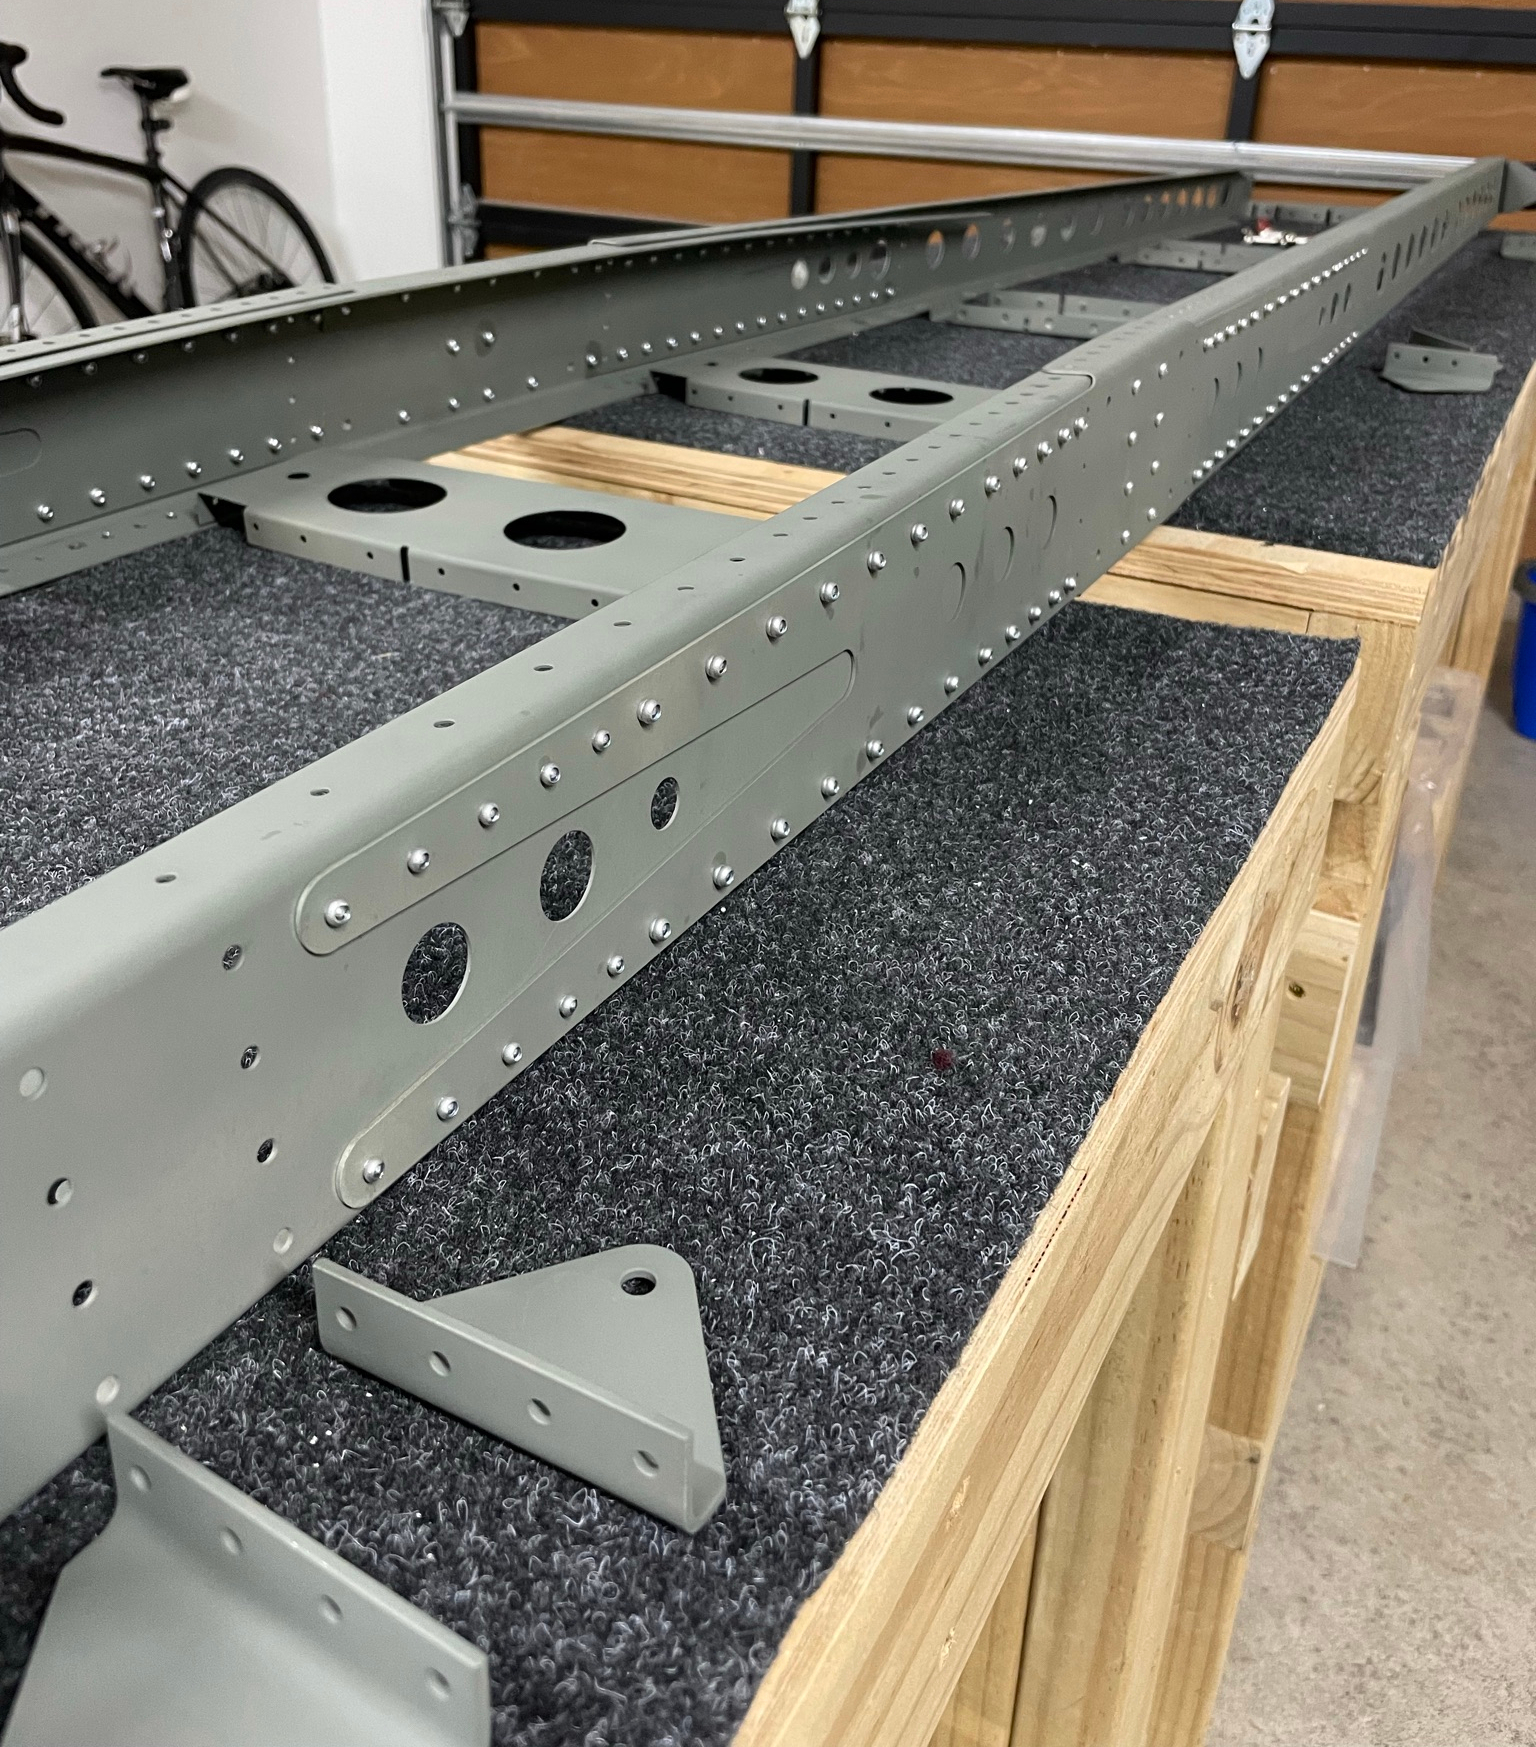
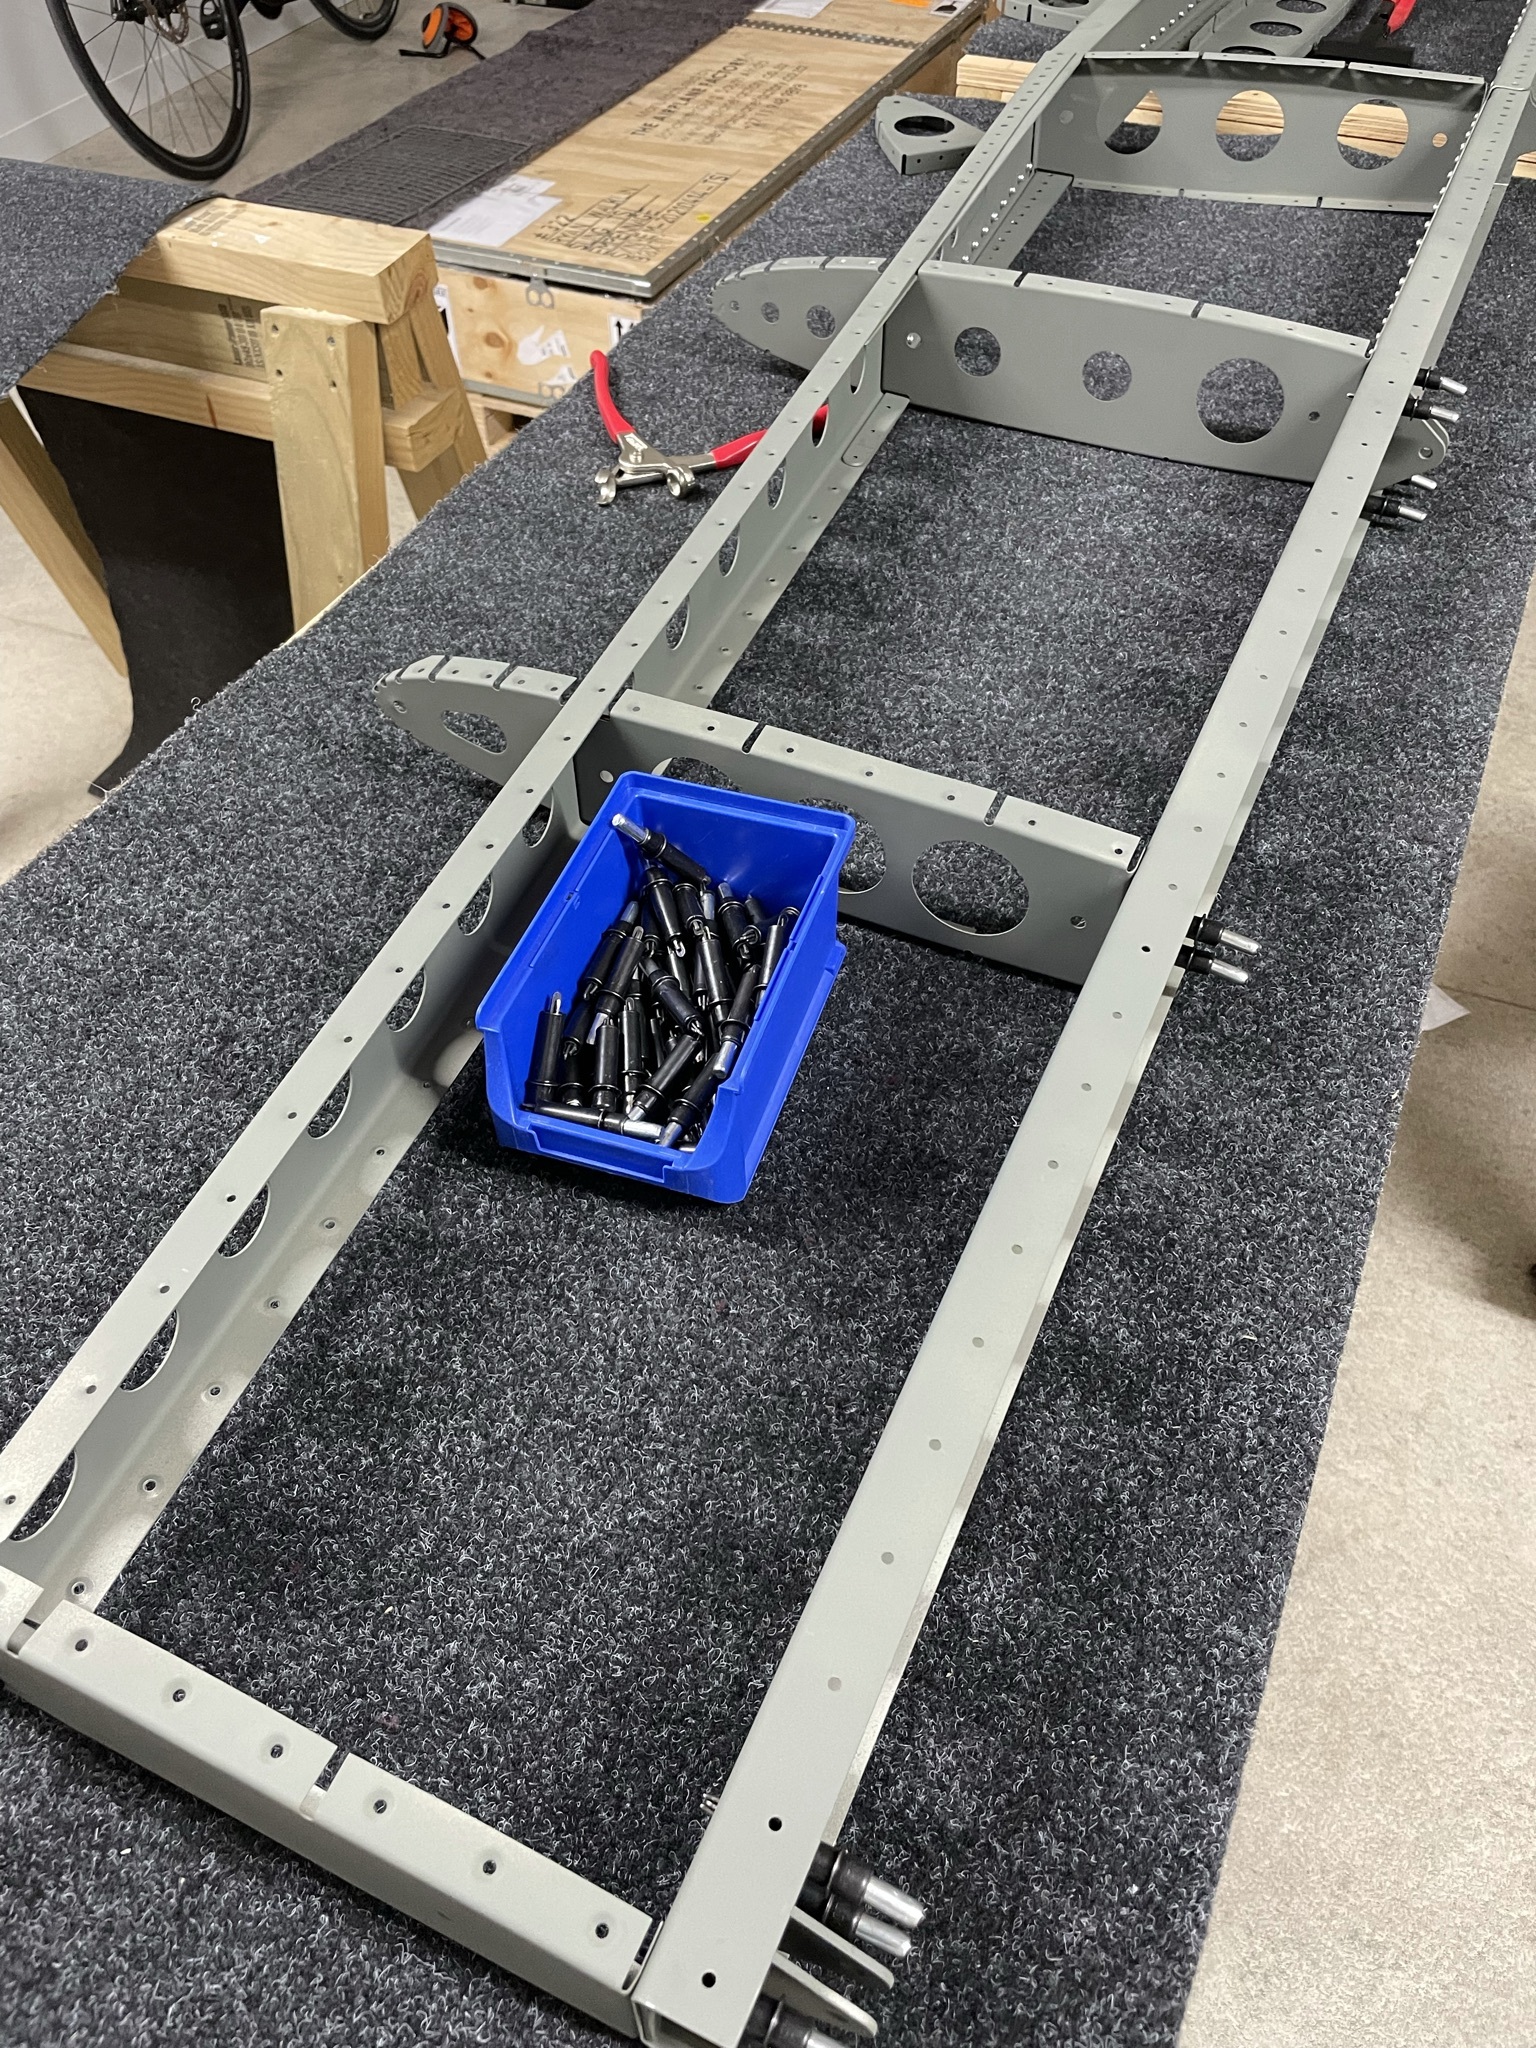
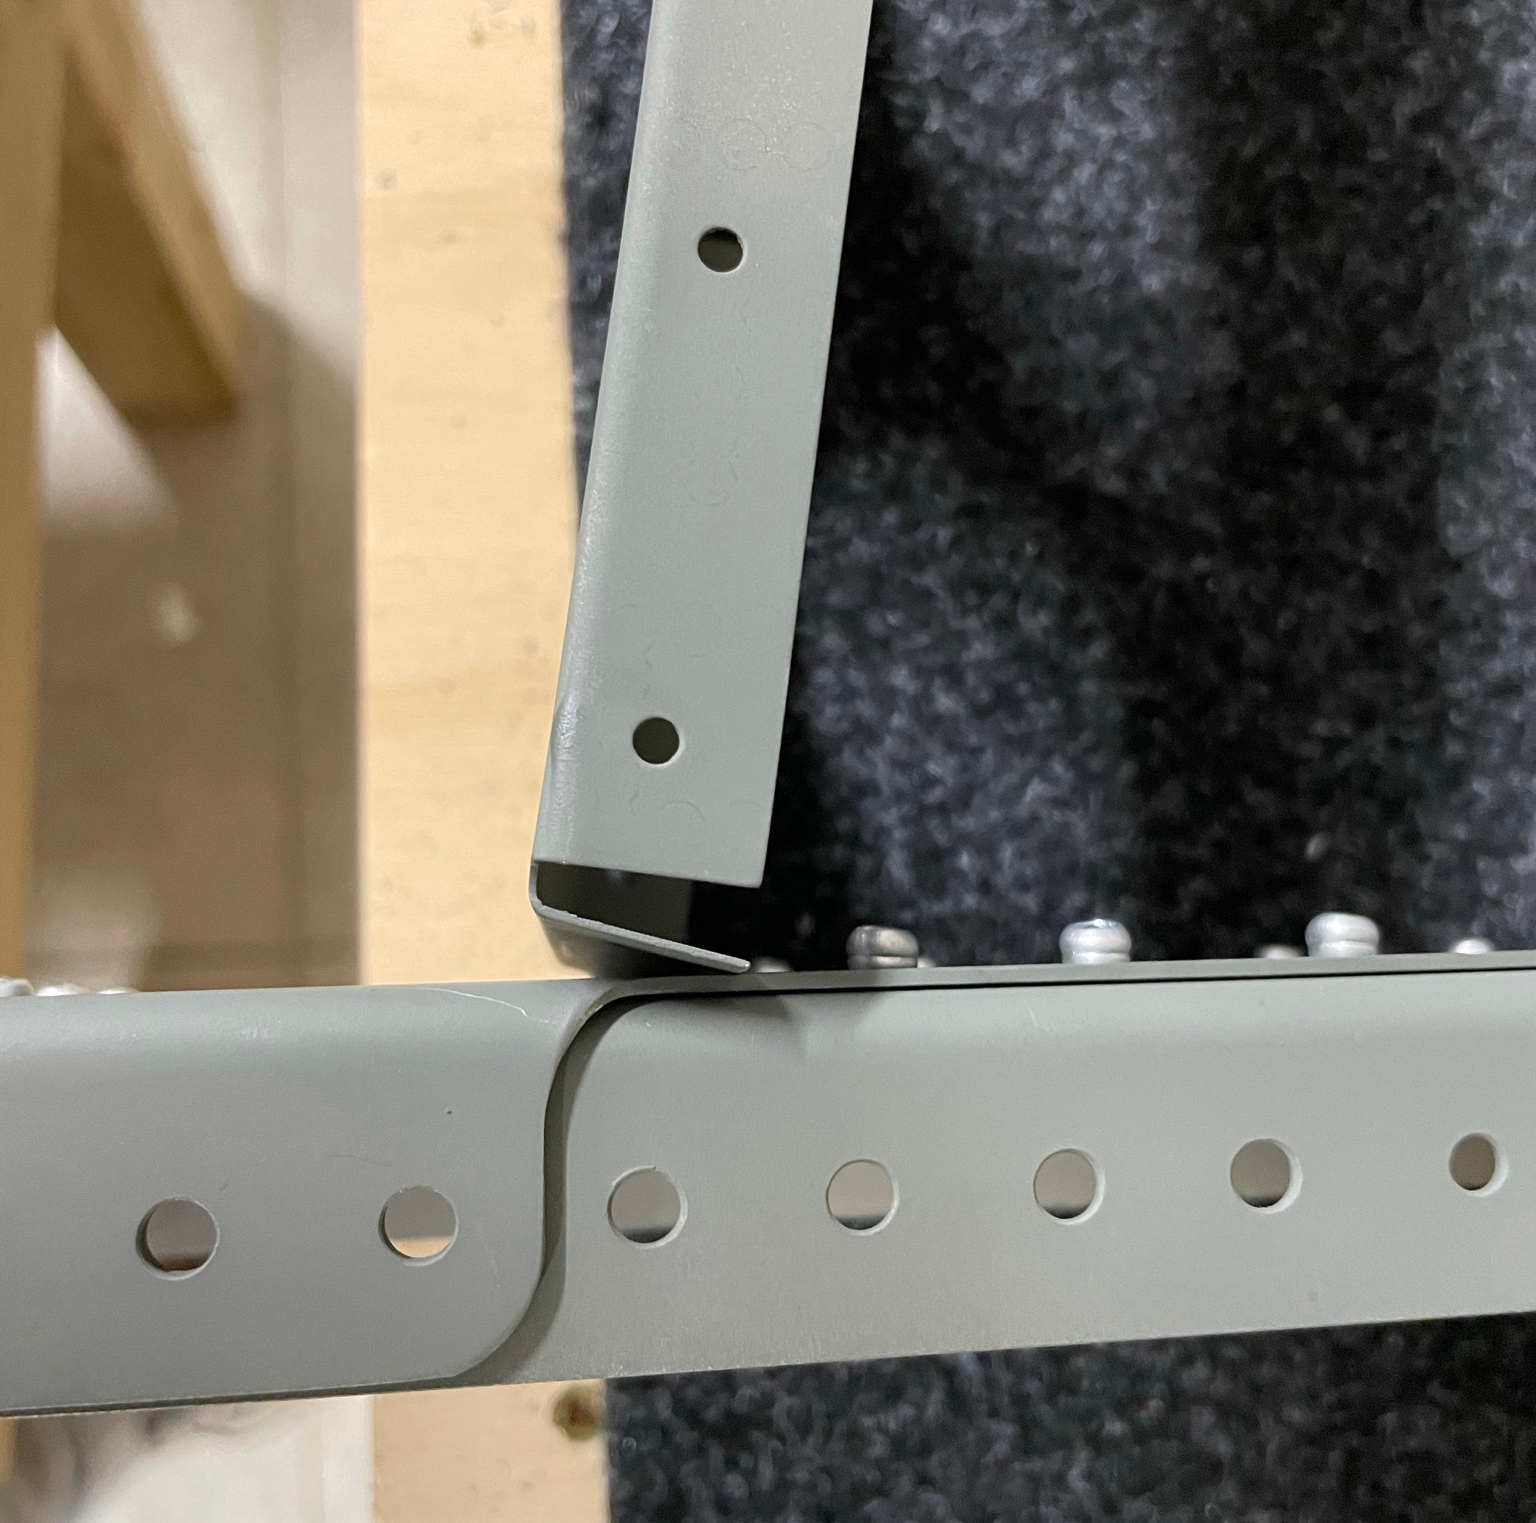
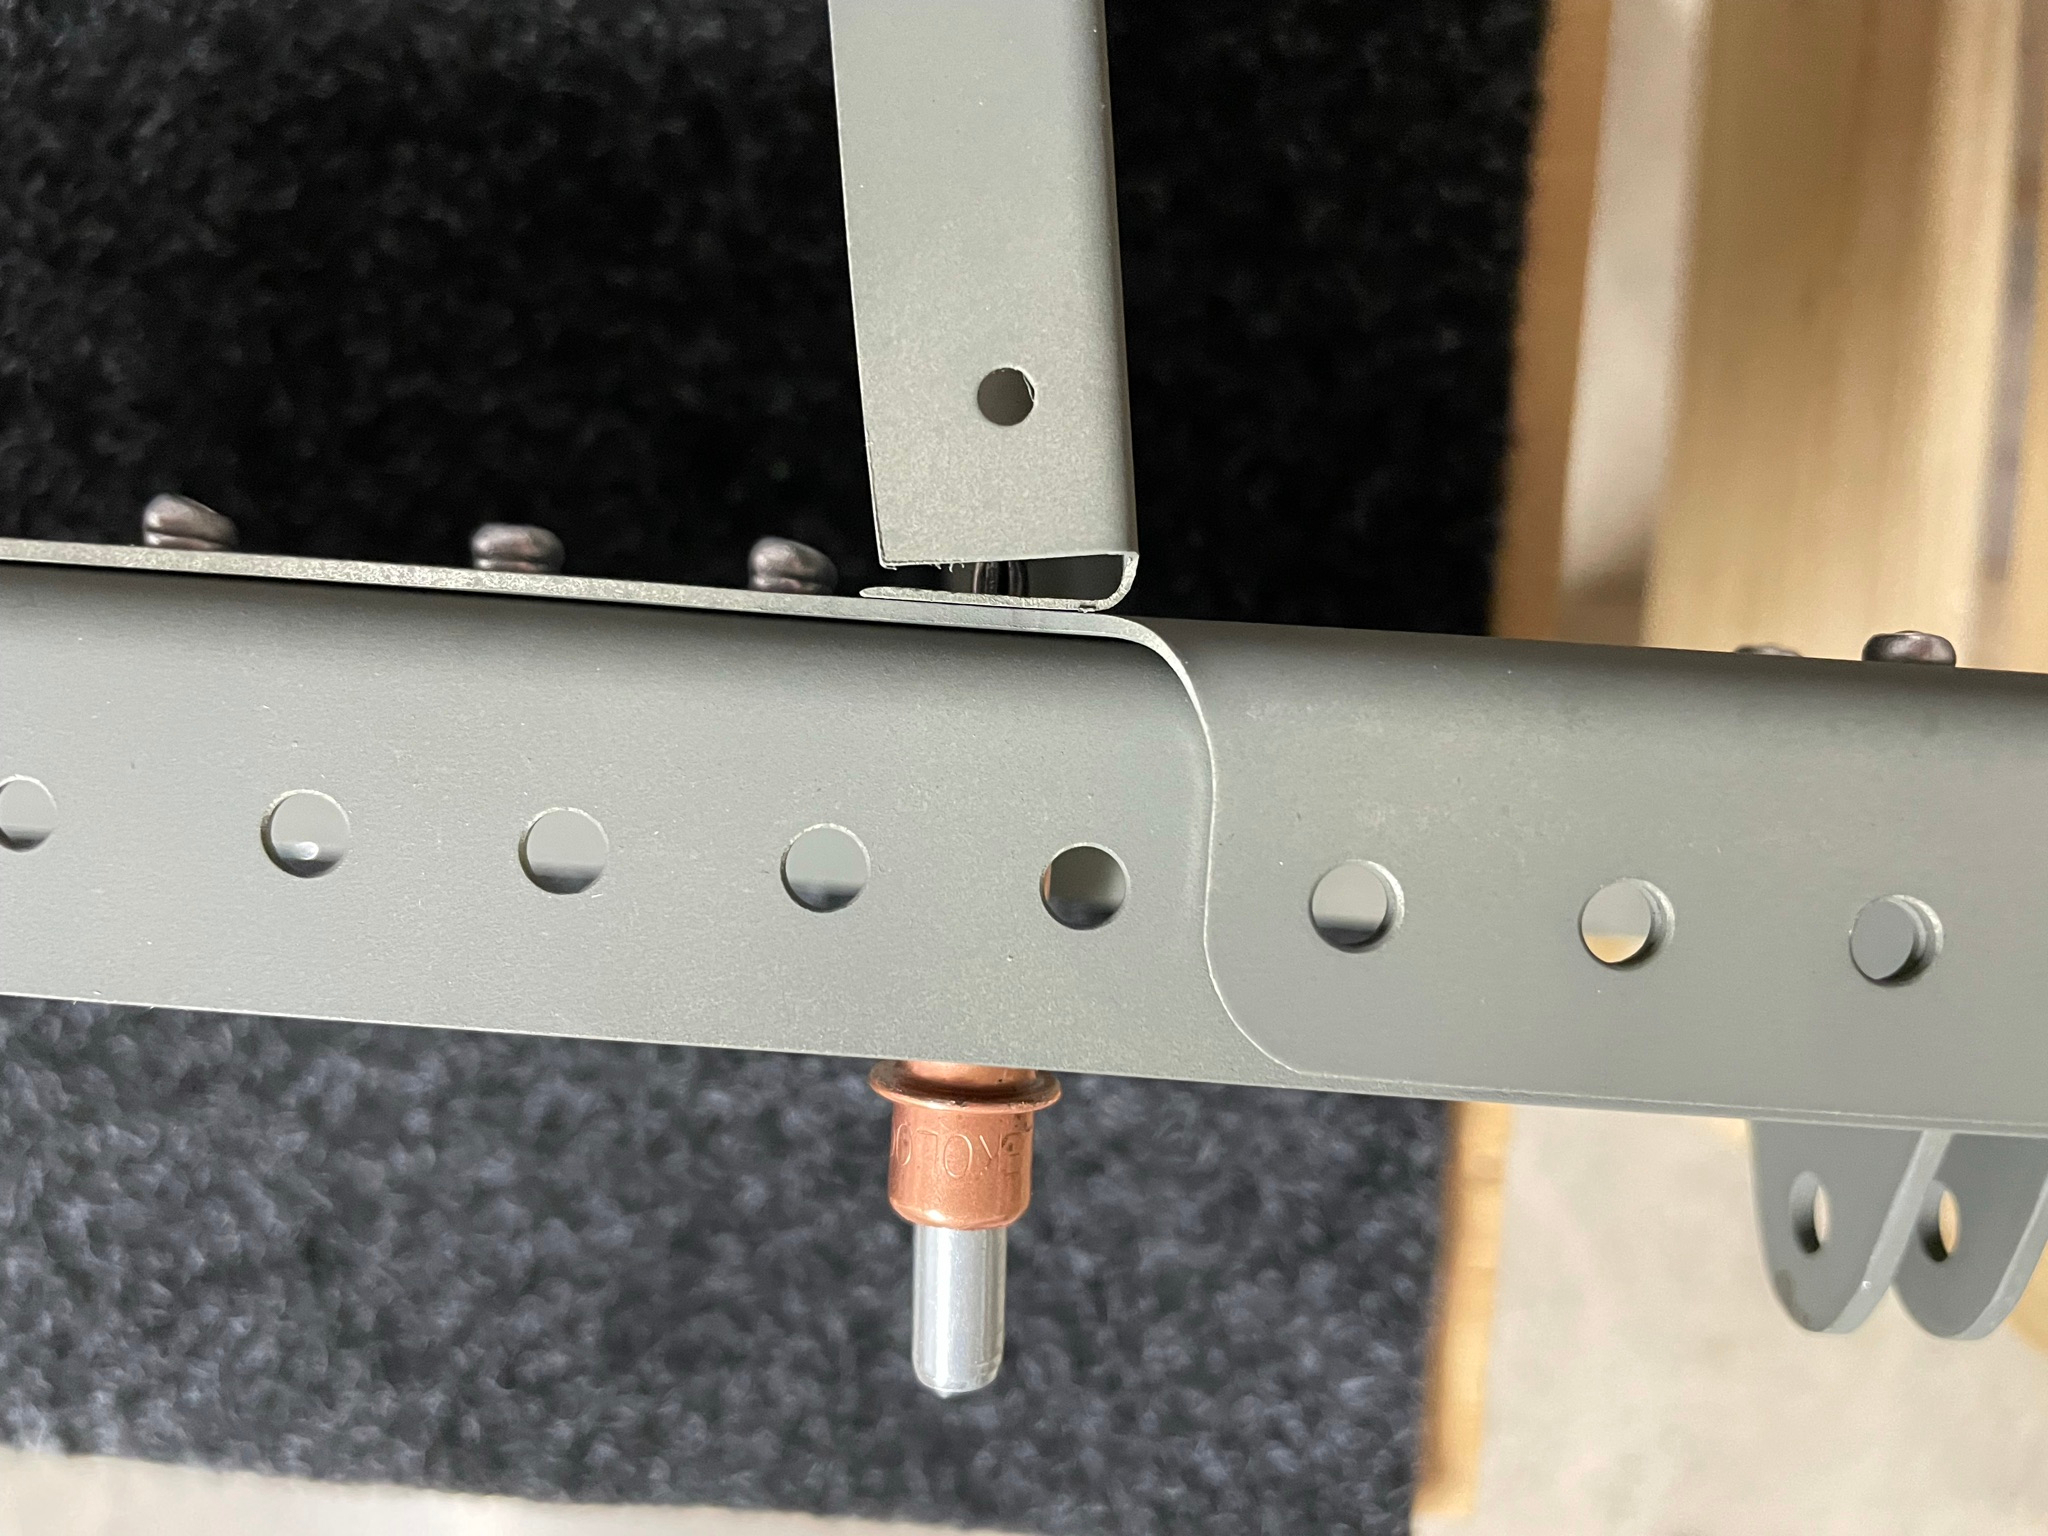
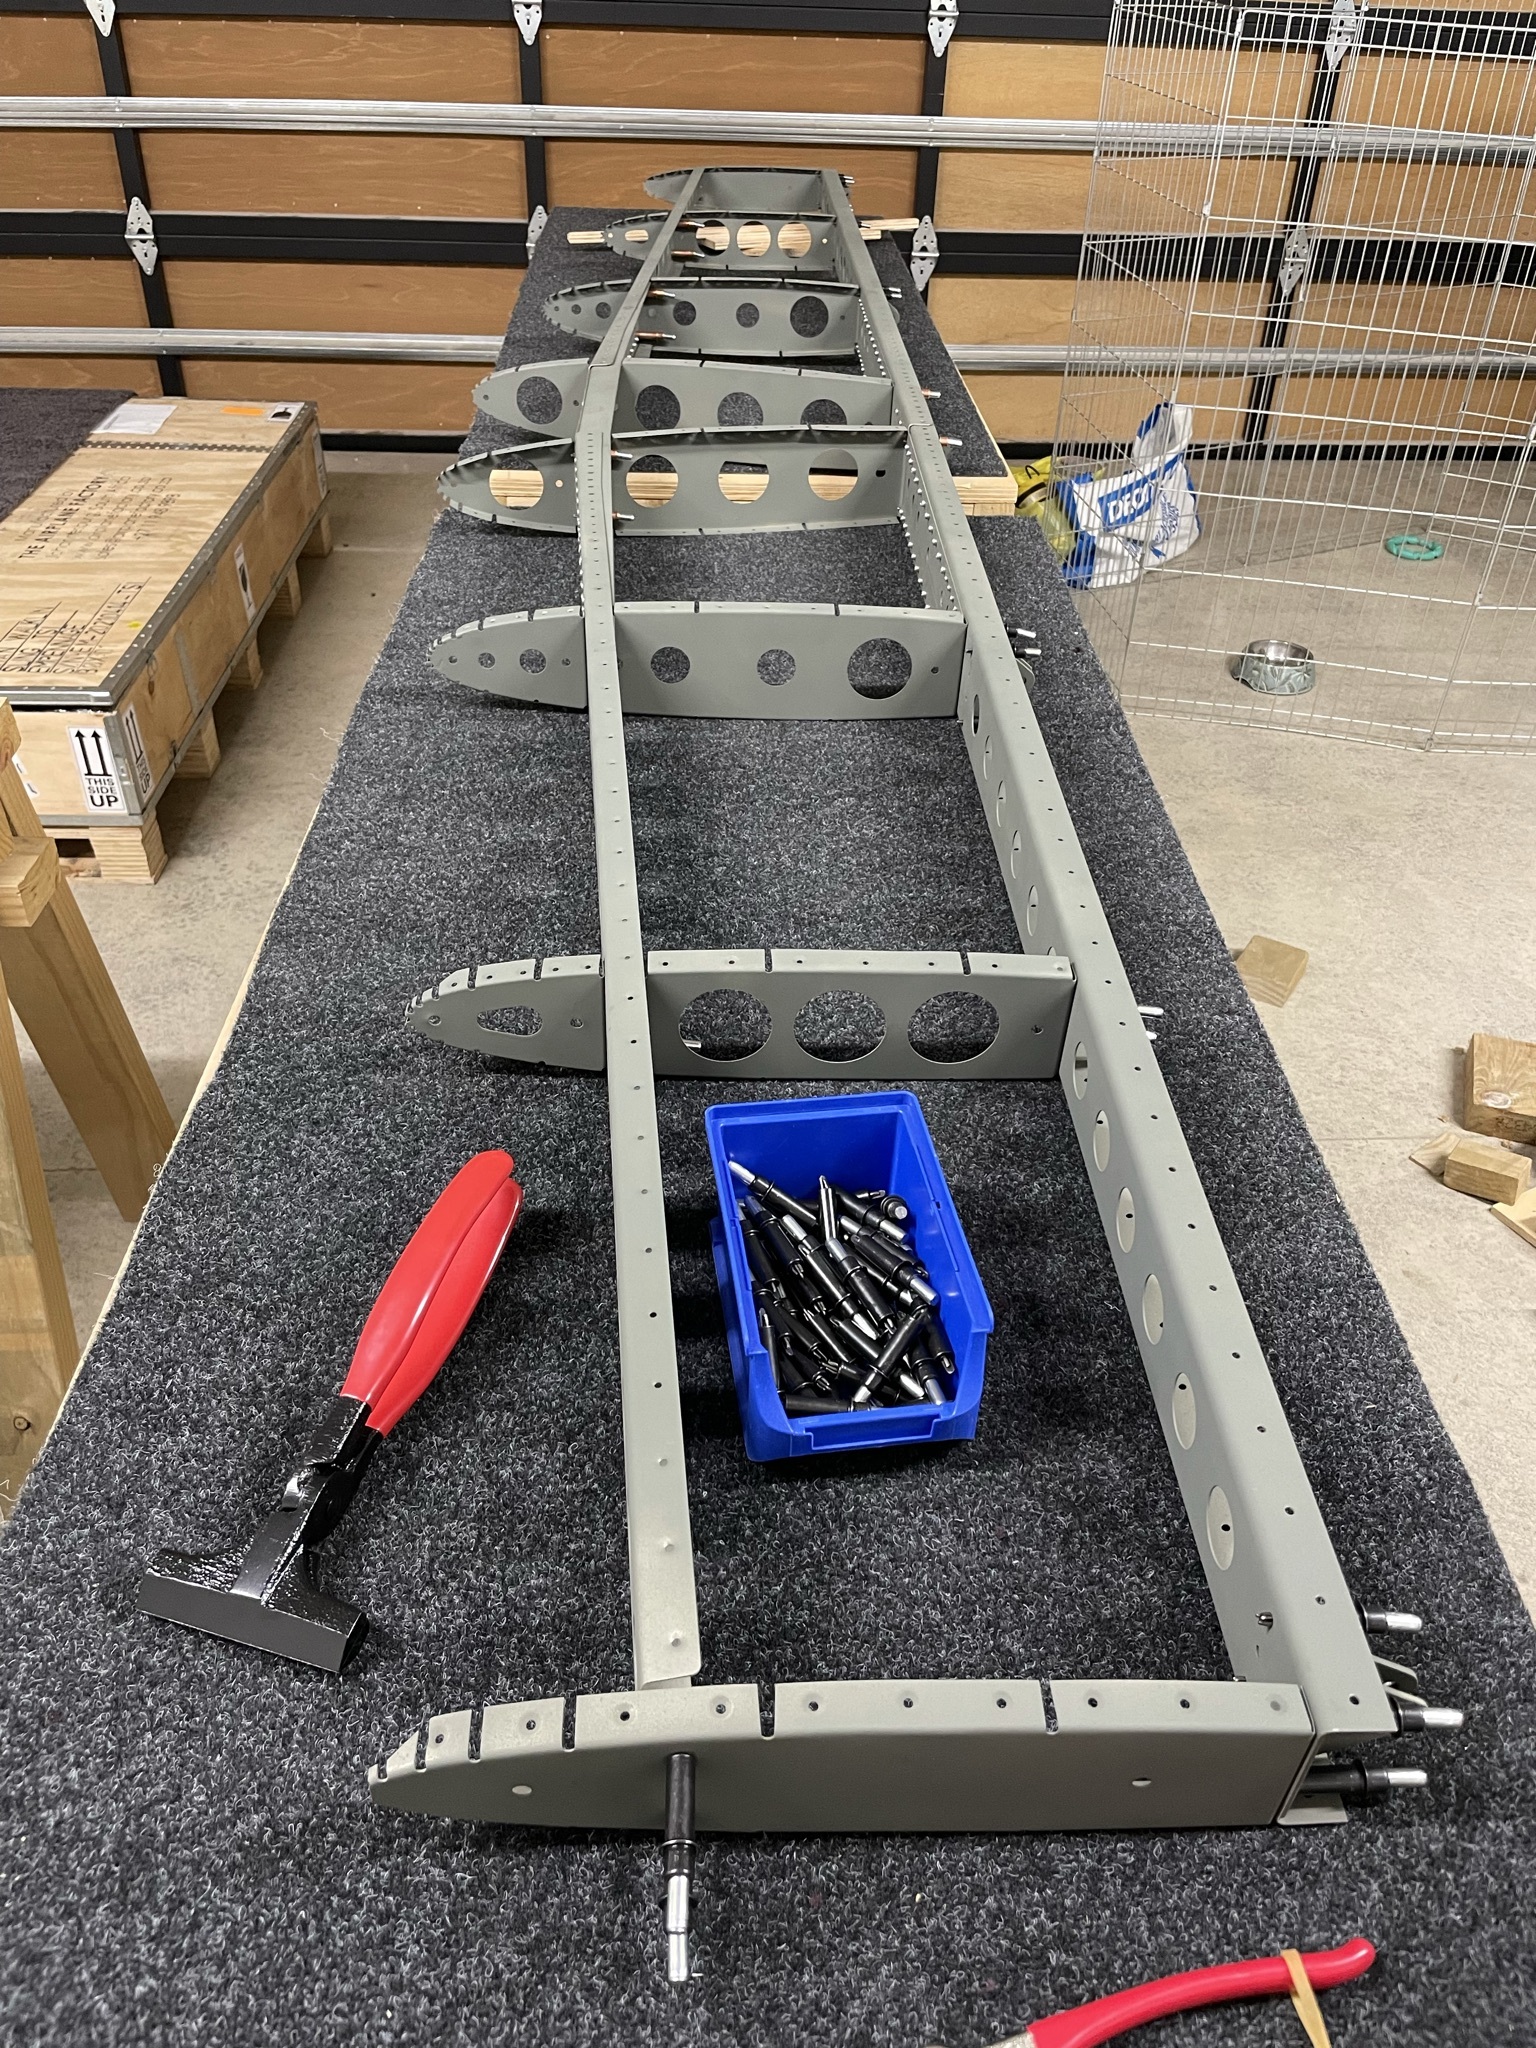
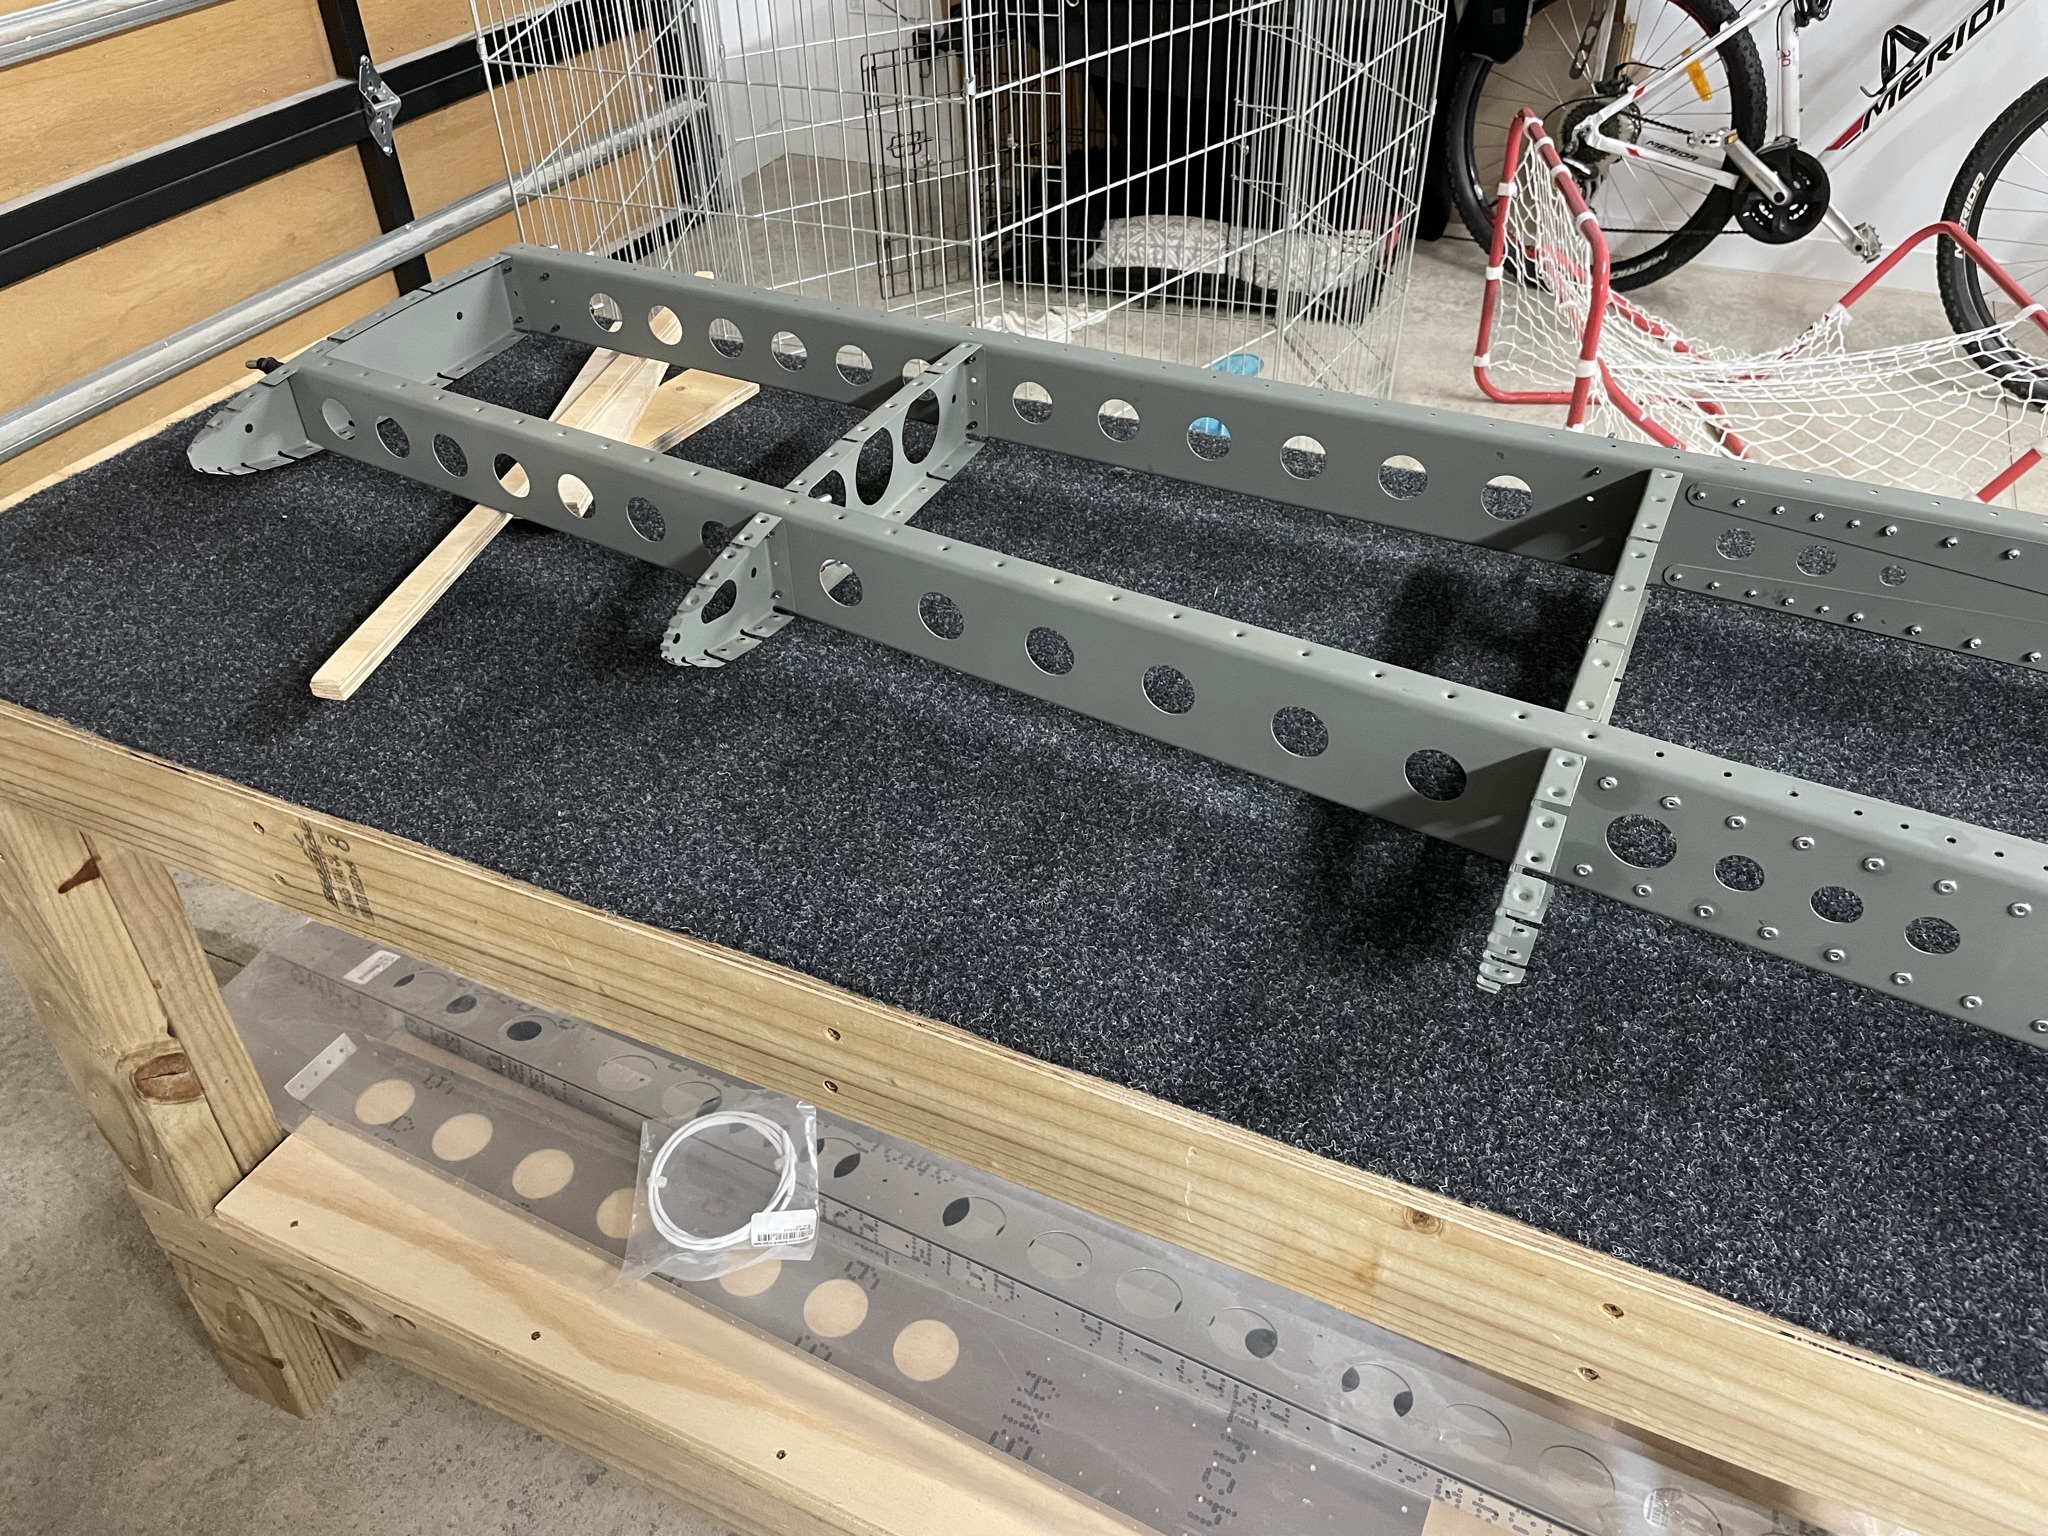
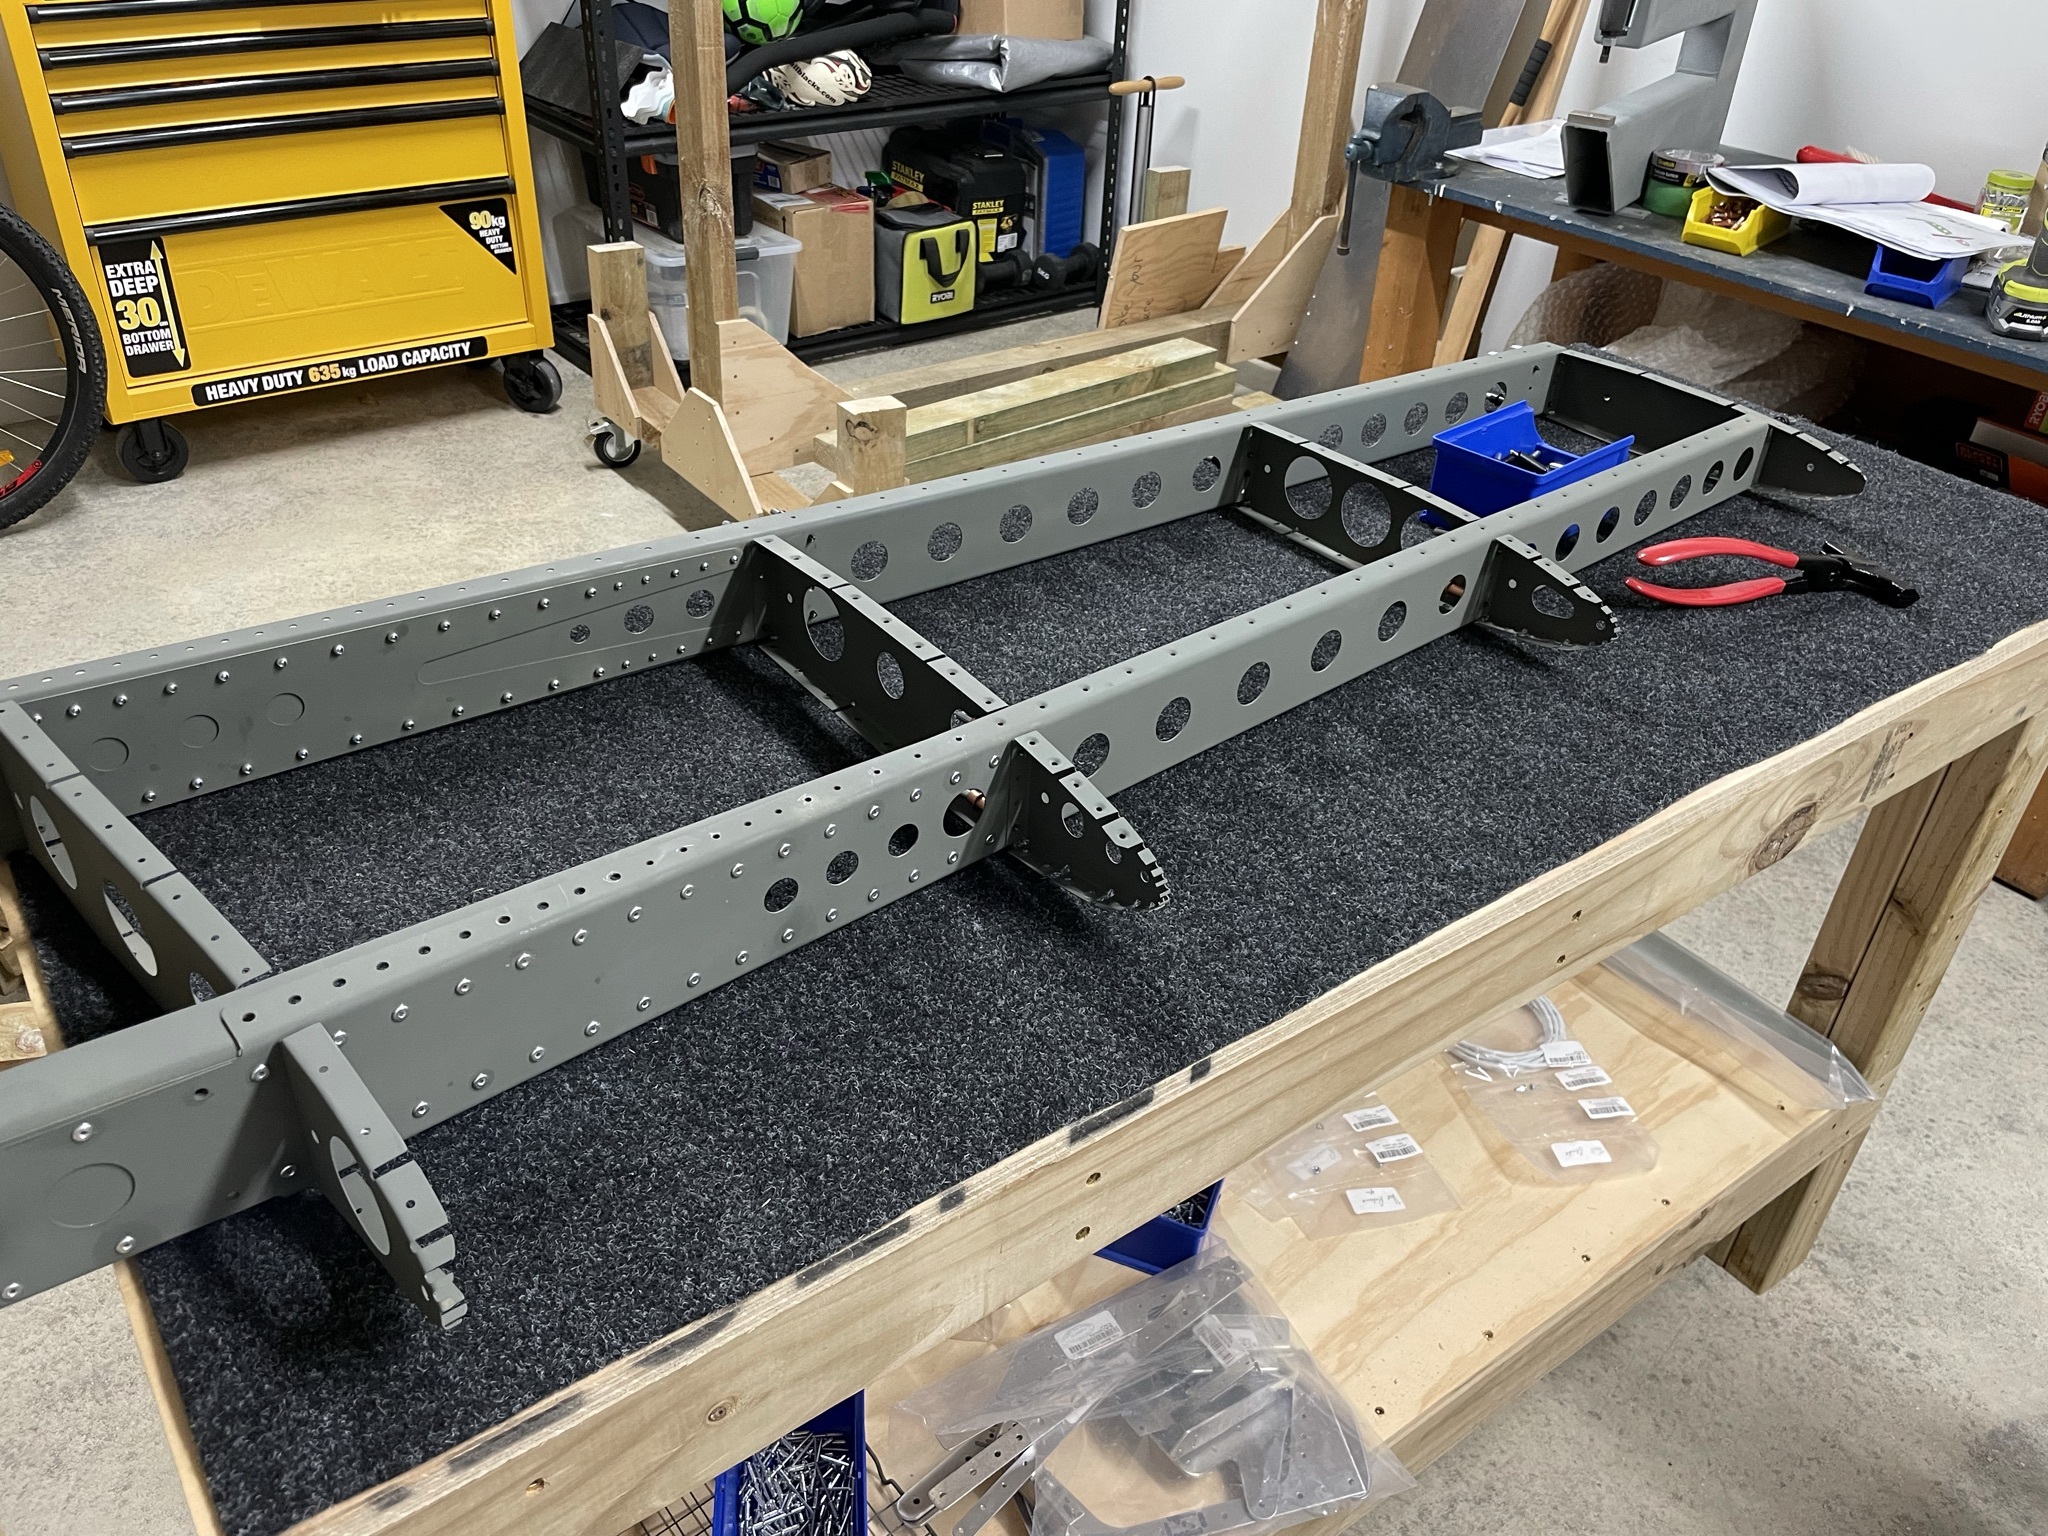
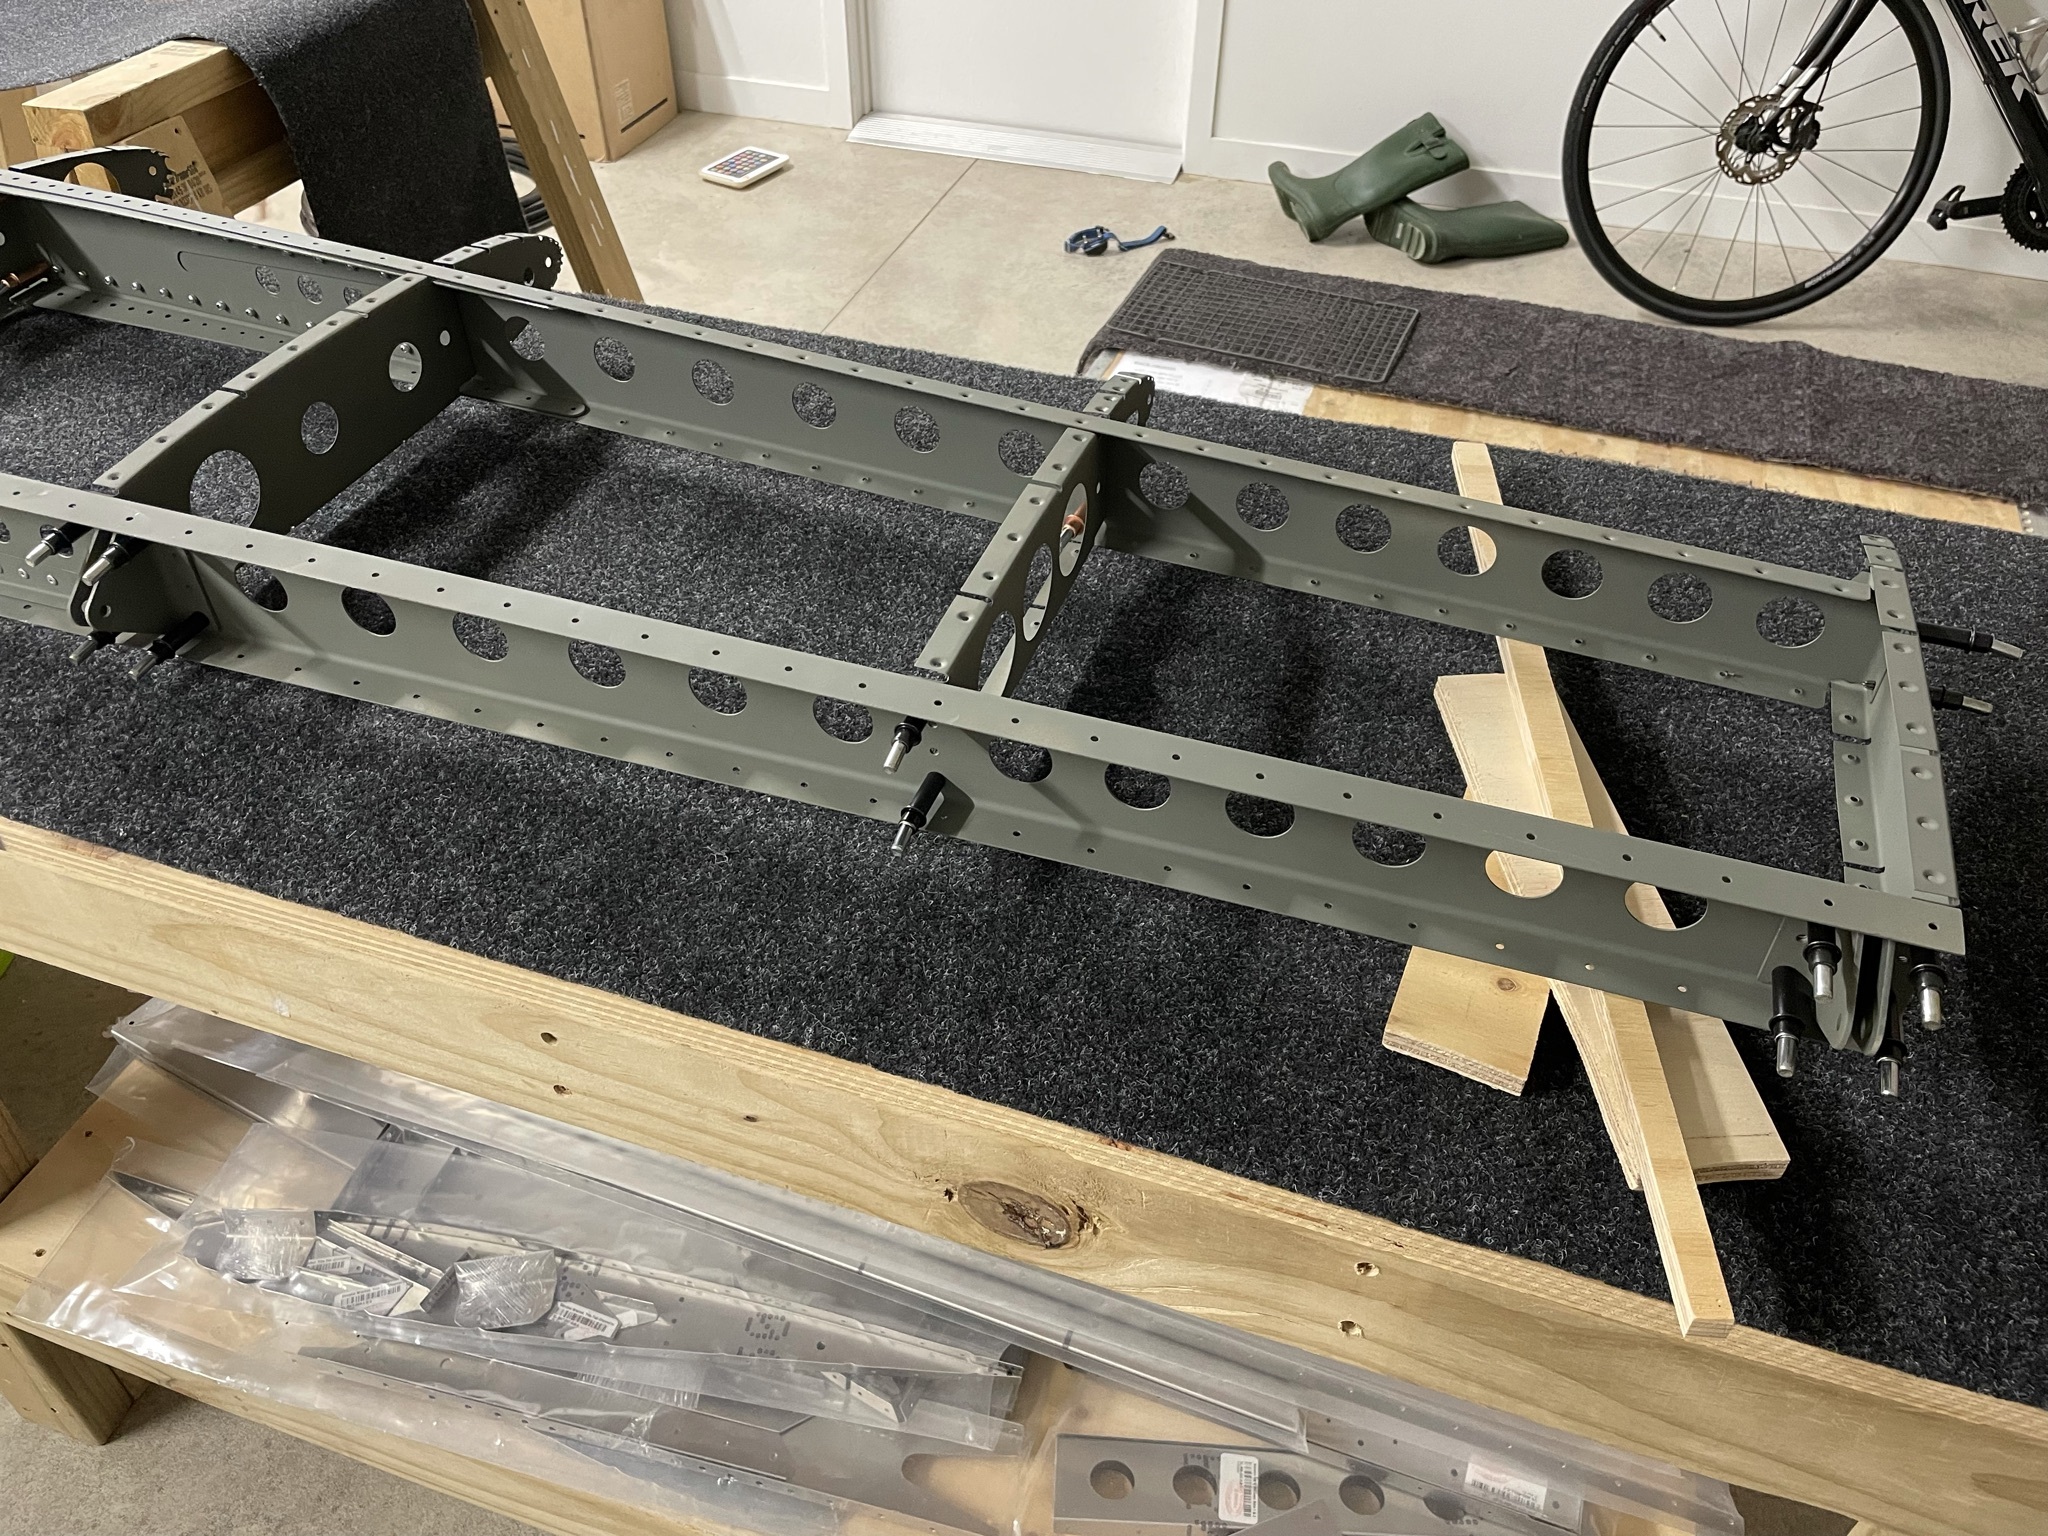
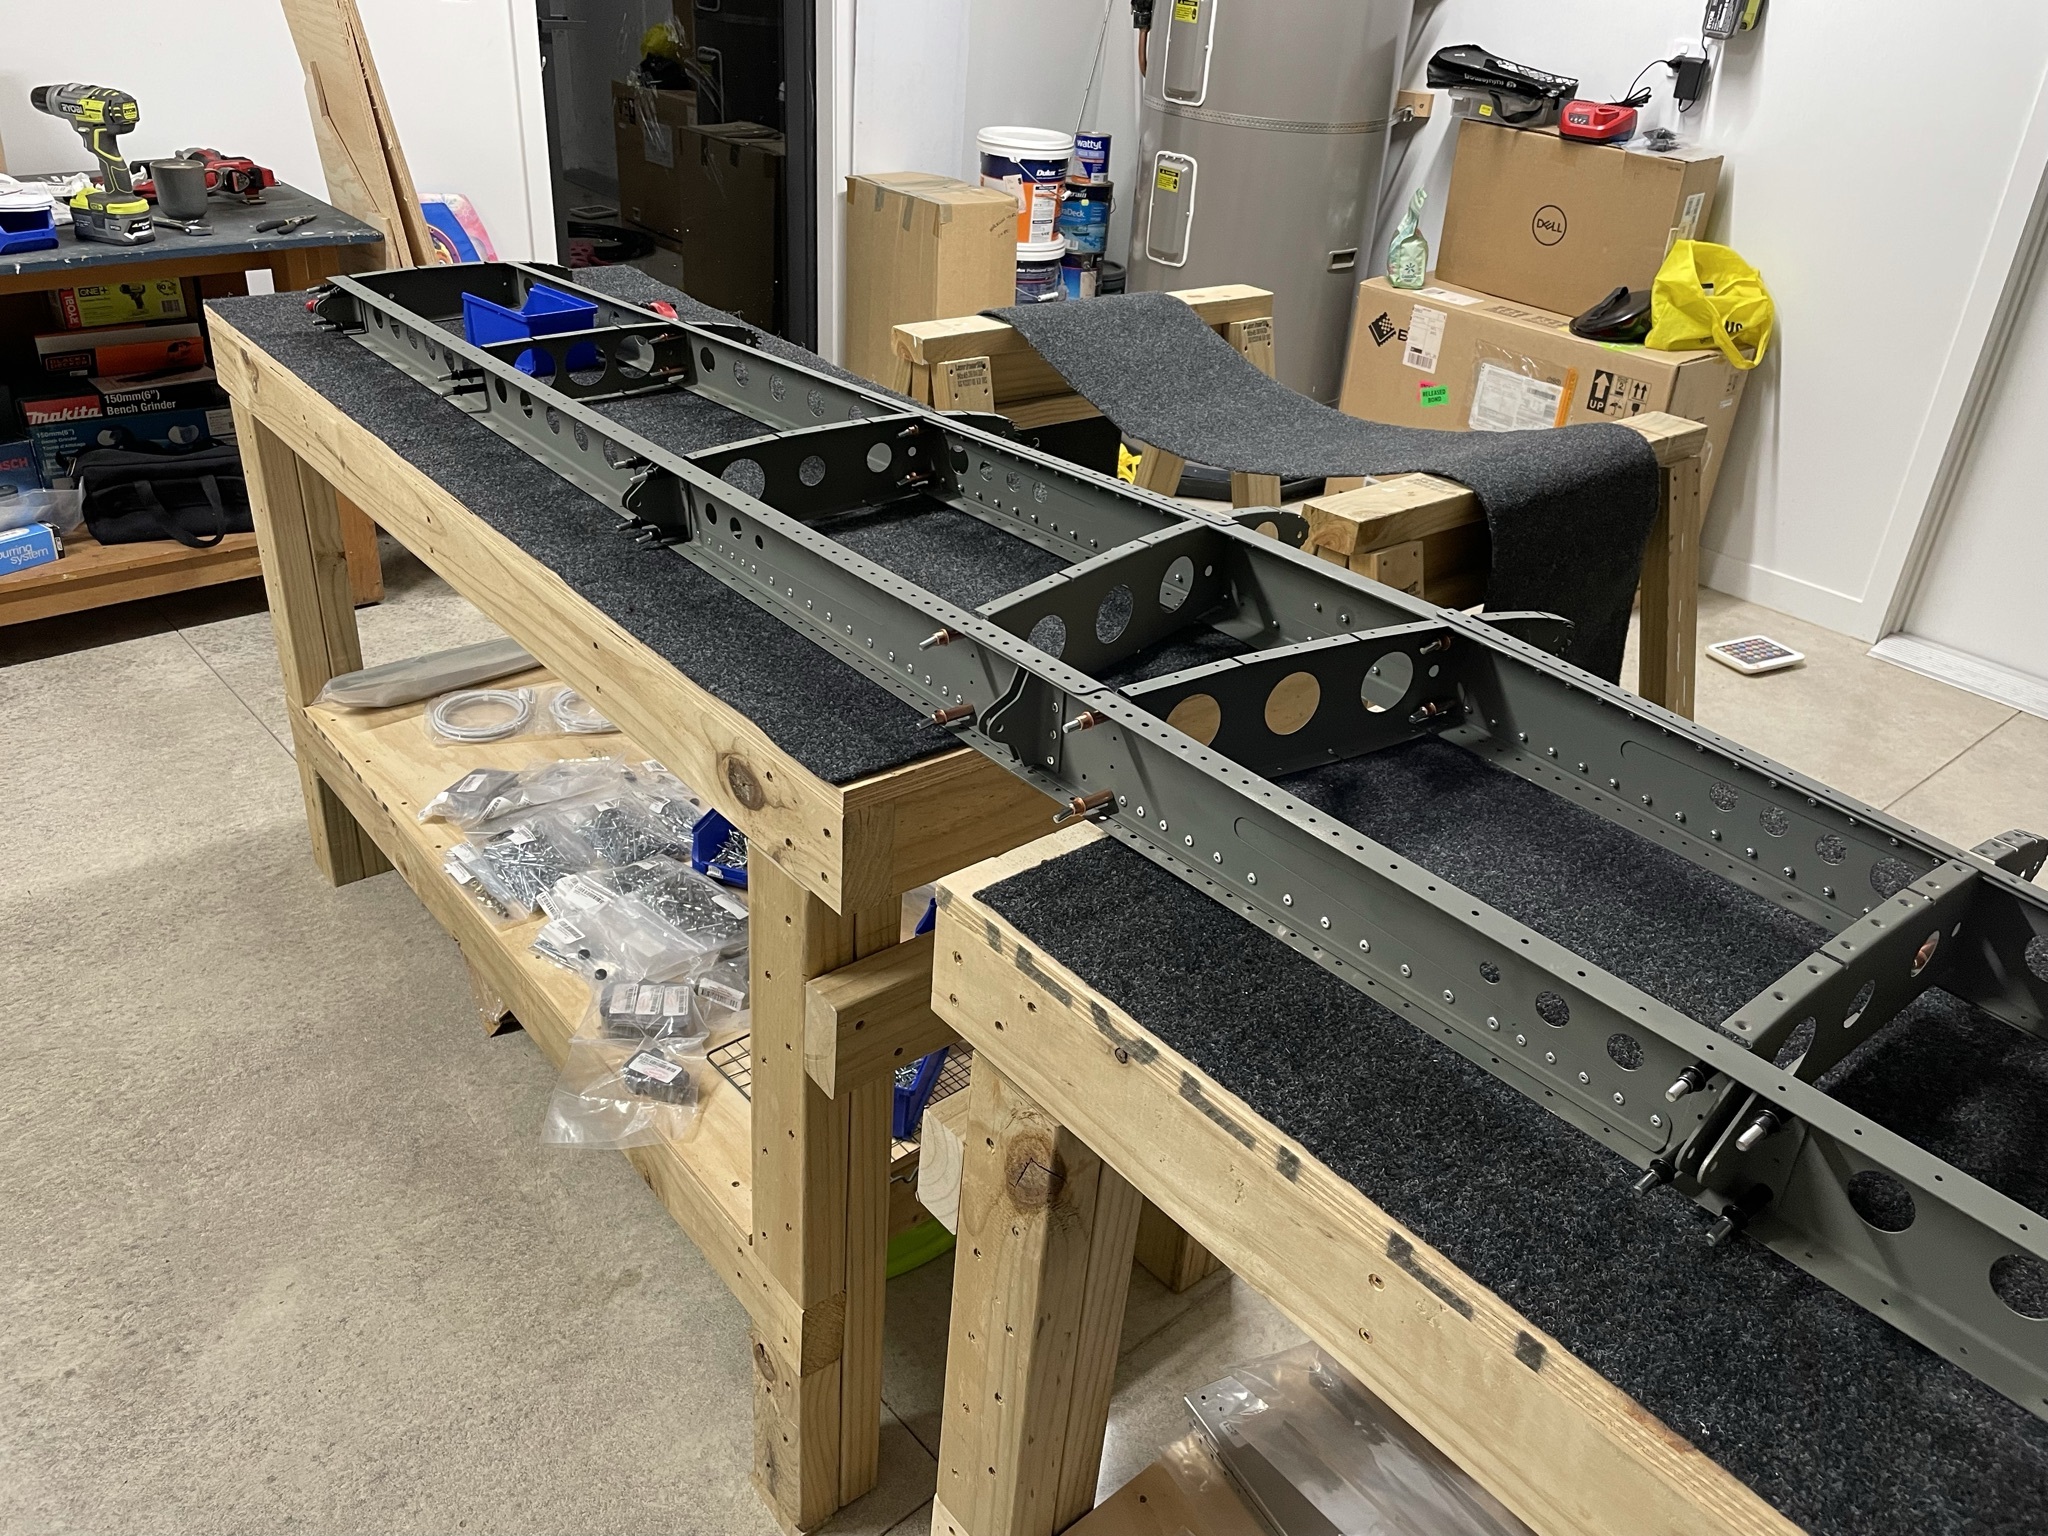
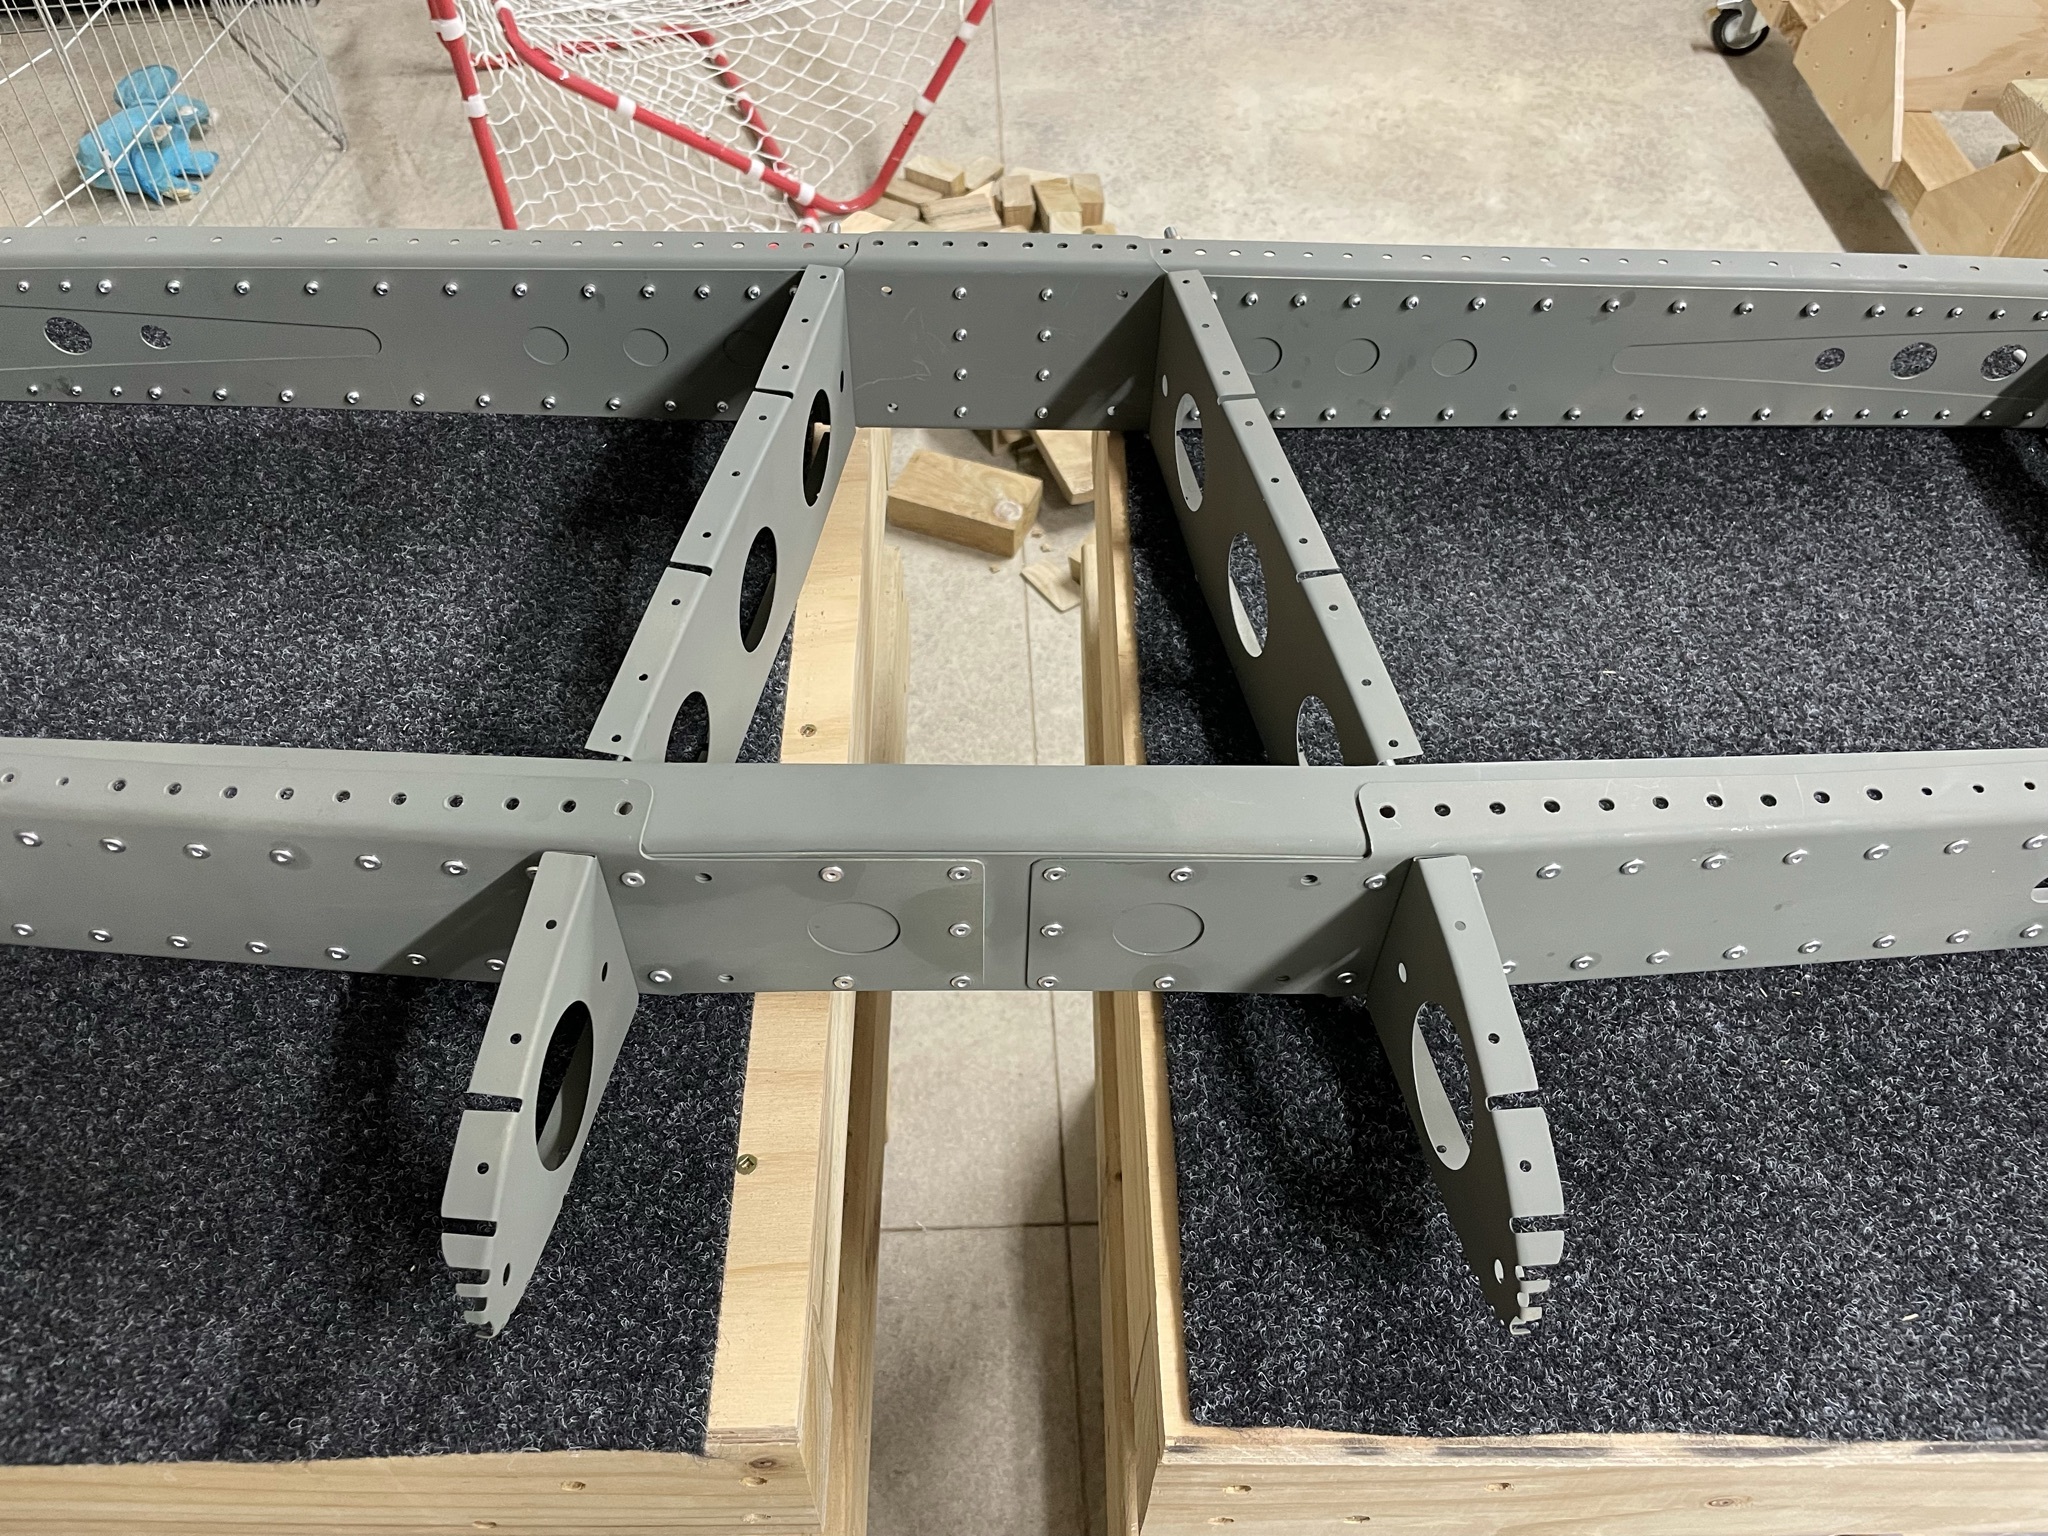
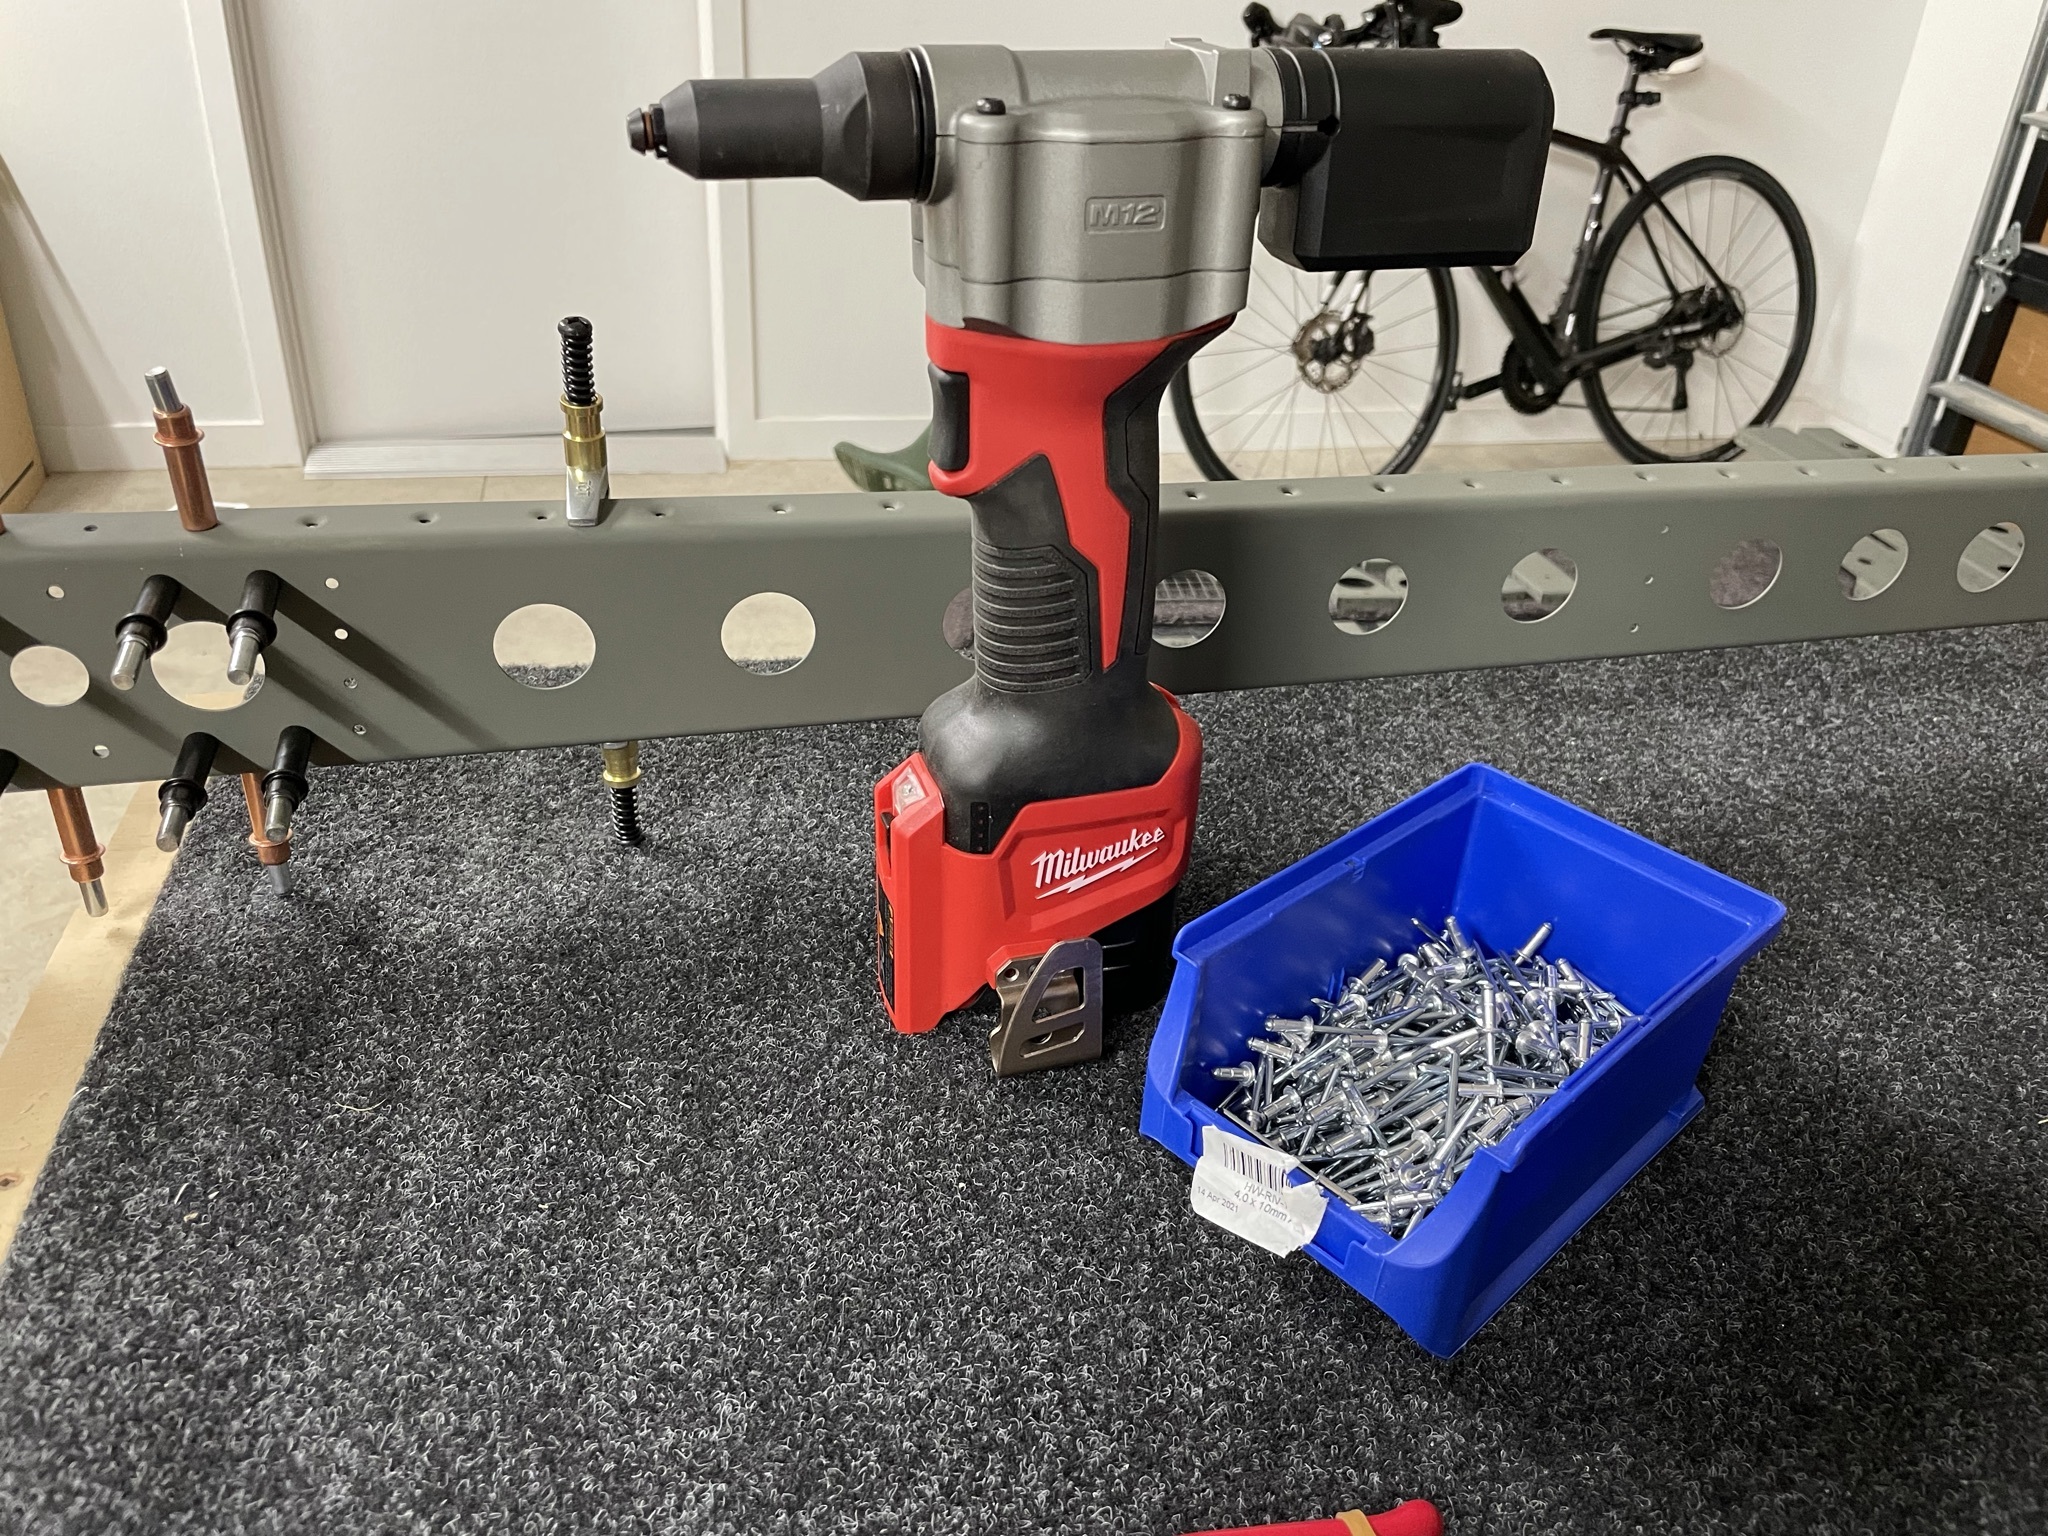
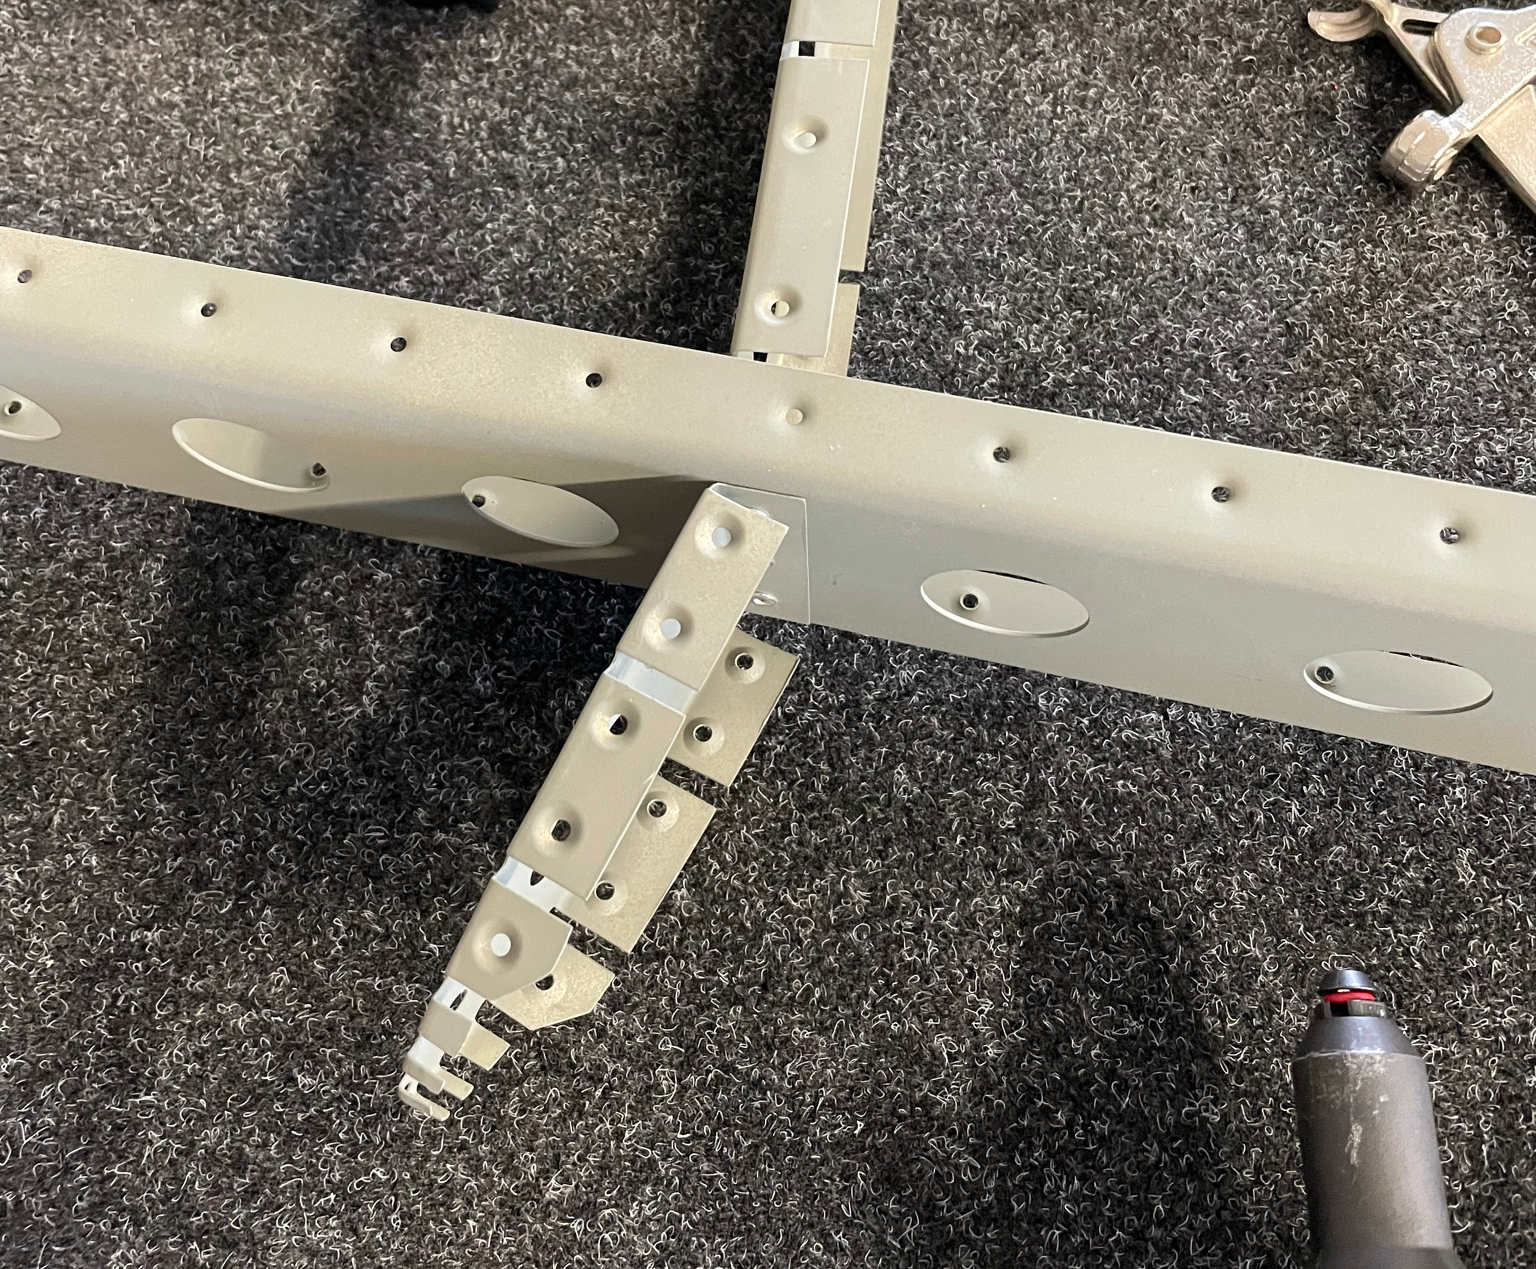
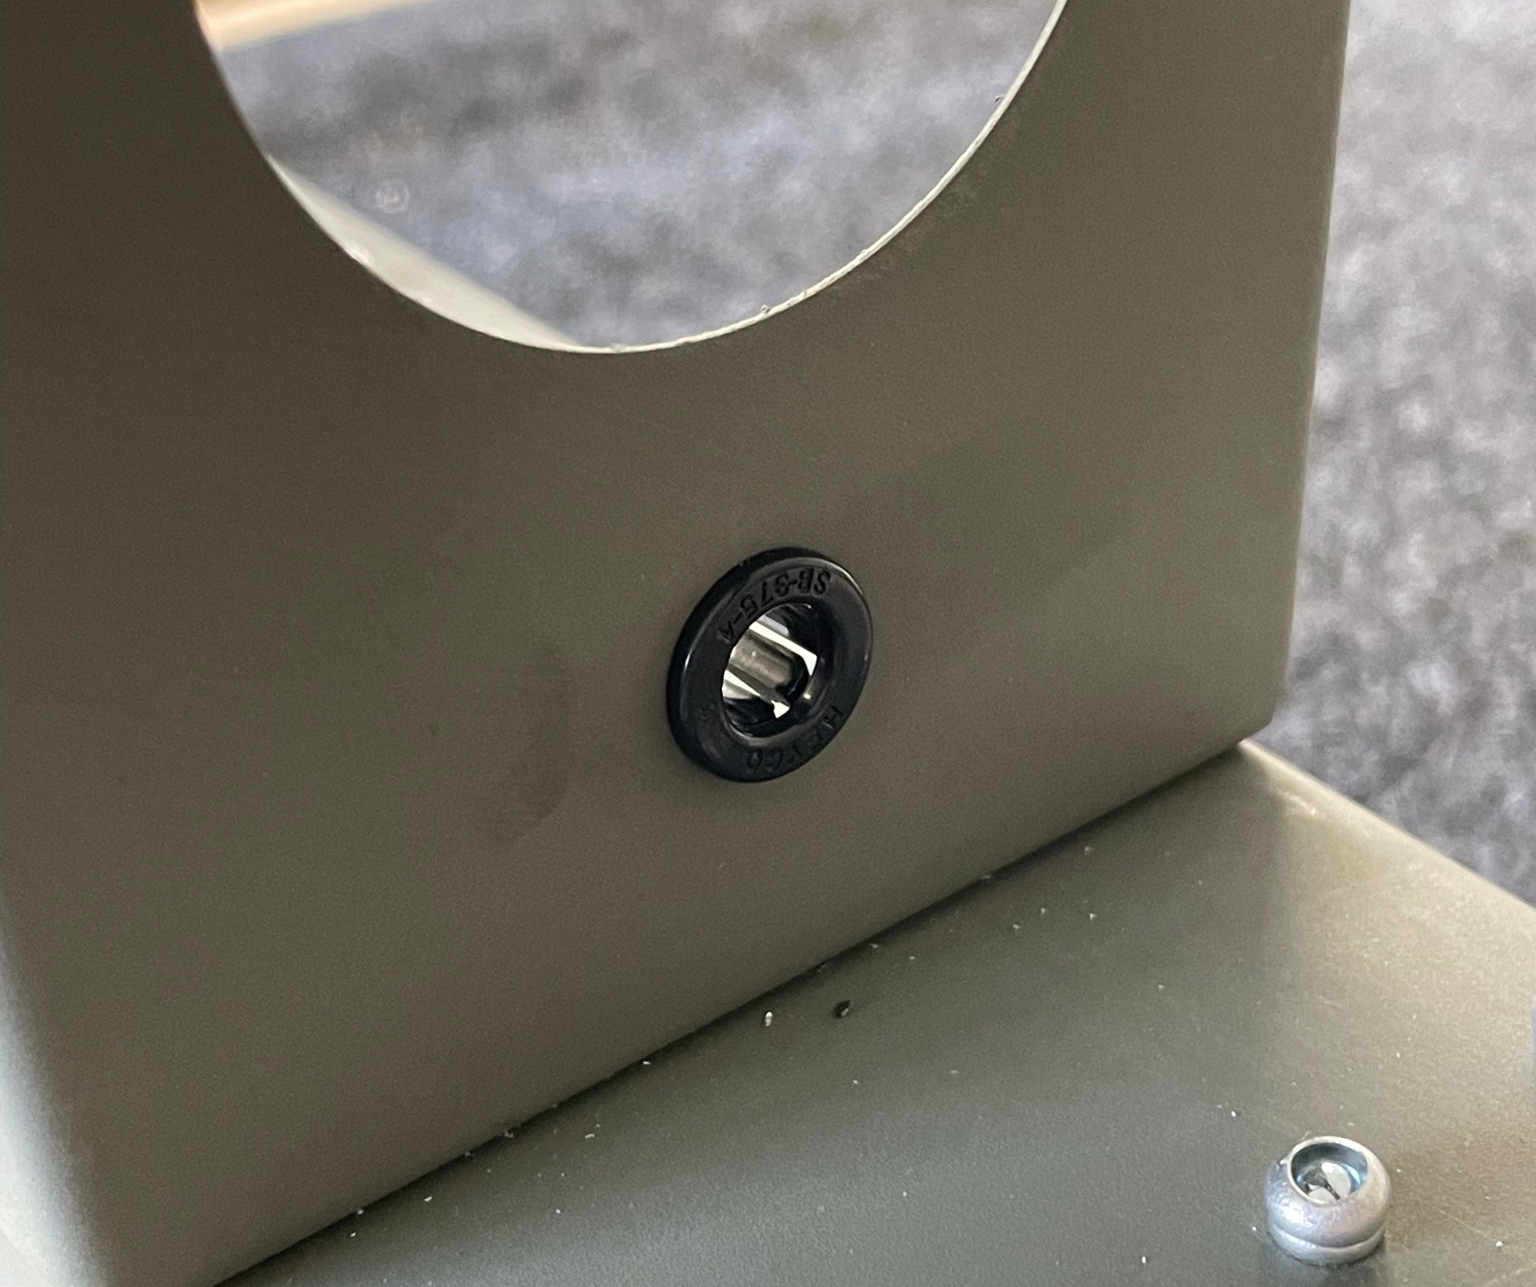
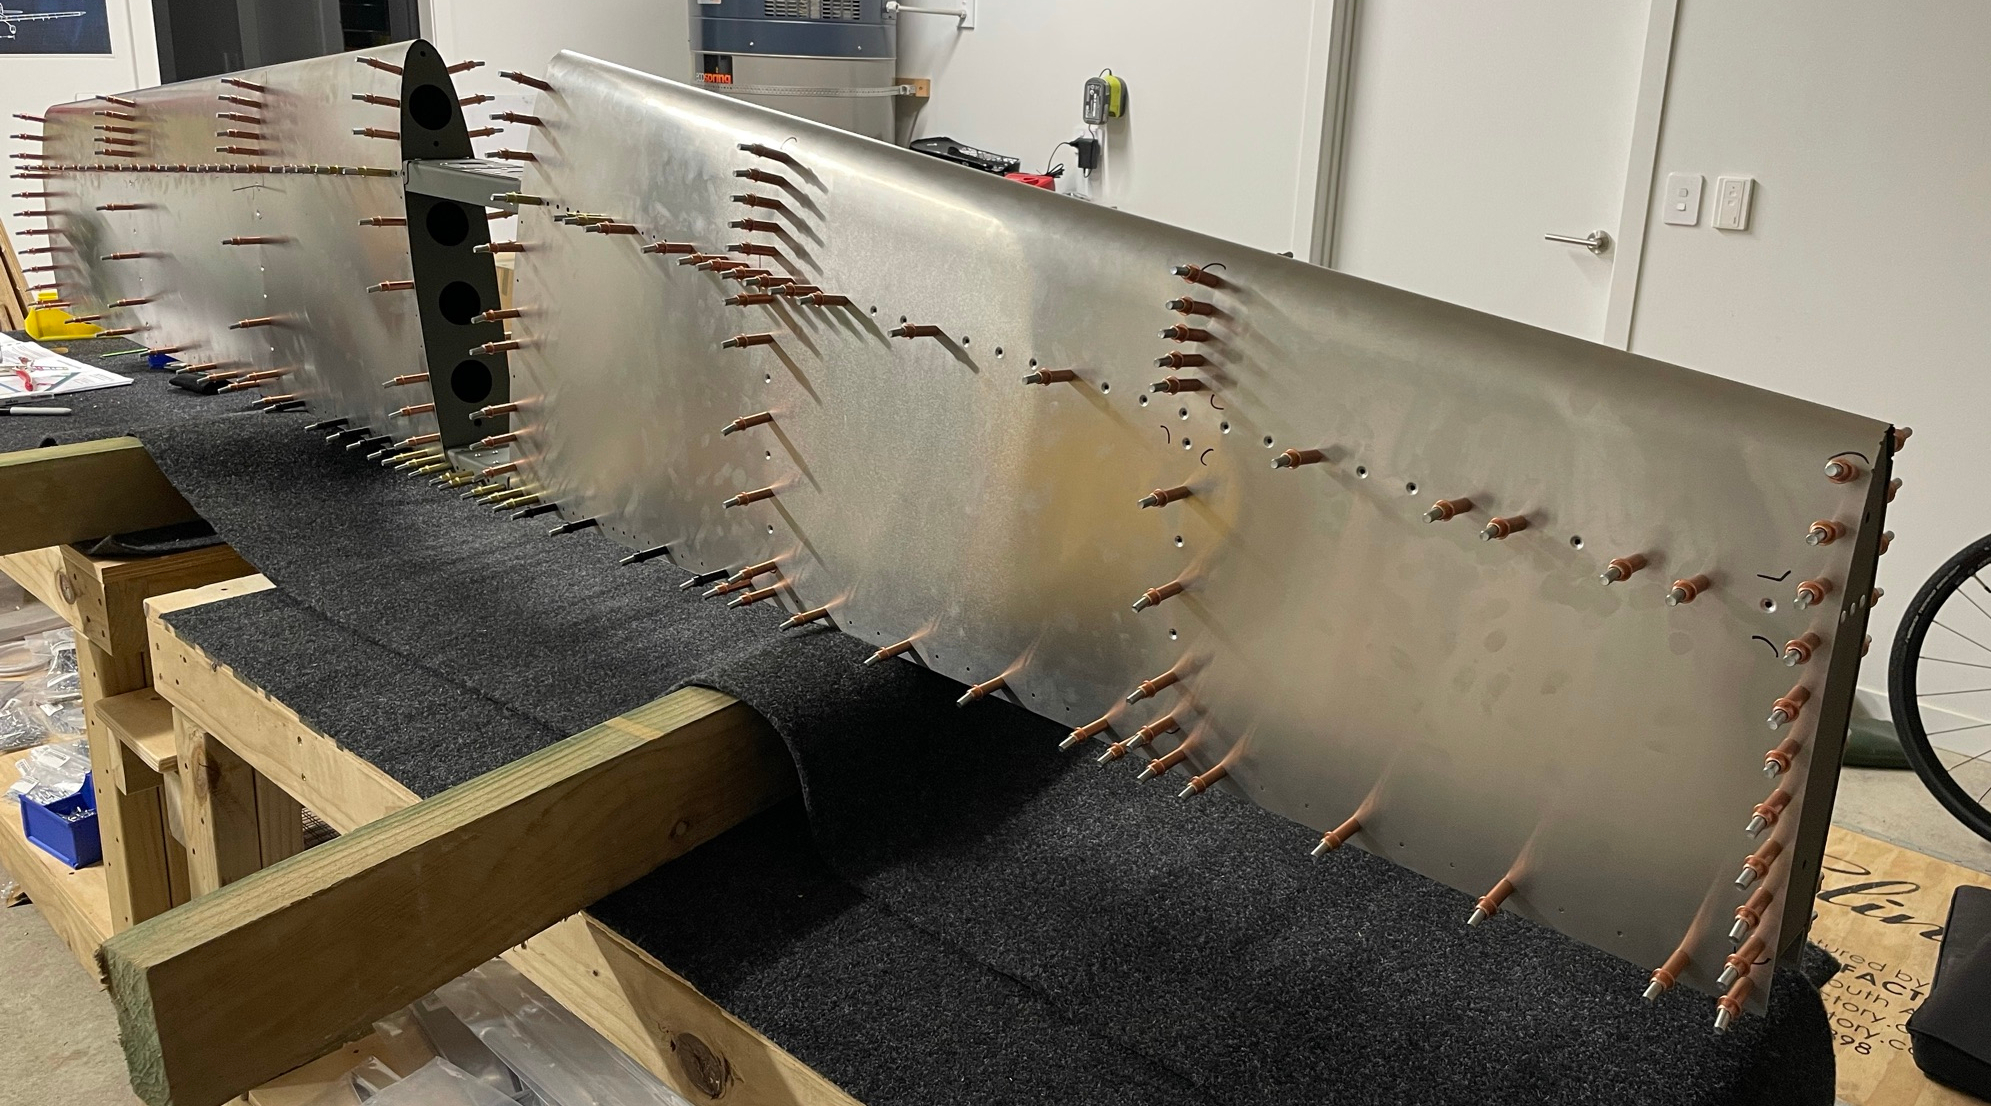
Once assembled, time to rivet!
It's difficult to get into the interior of the front ribs with either a hand rivet puller or the Milwaukee gun. There is a bent rivet puller which realigns the mandrel, which I've ordered, but it won't be here from the US for a couple of weeks, so I found an acceptable way to work around the awkward access by gently bending the rivet out while cleco'ed in, pulling the rivets, and then bending it back.

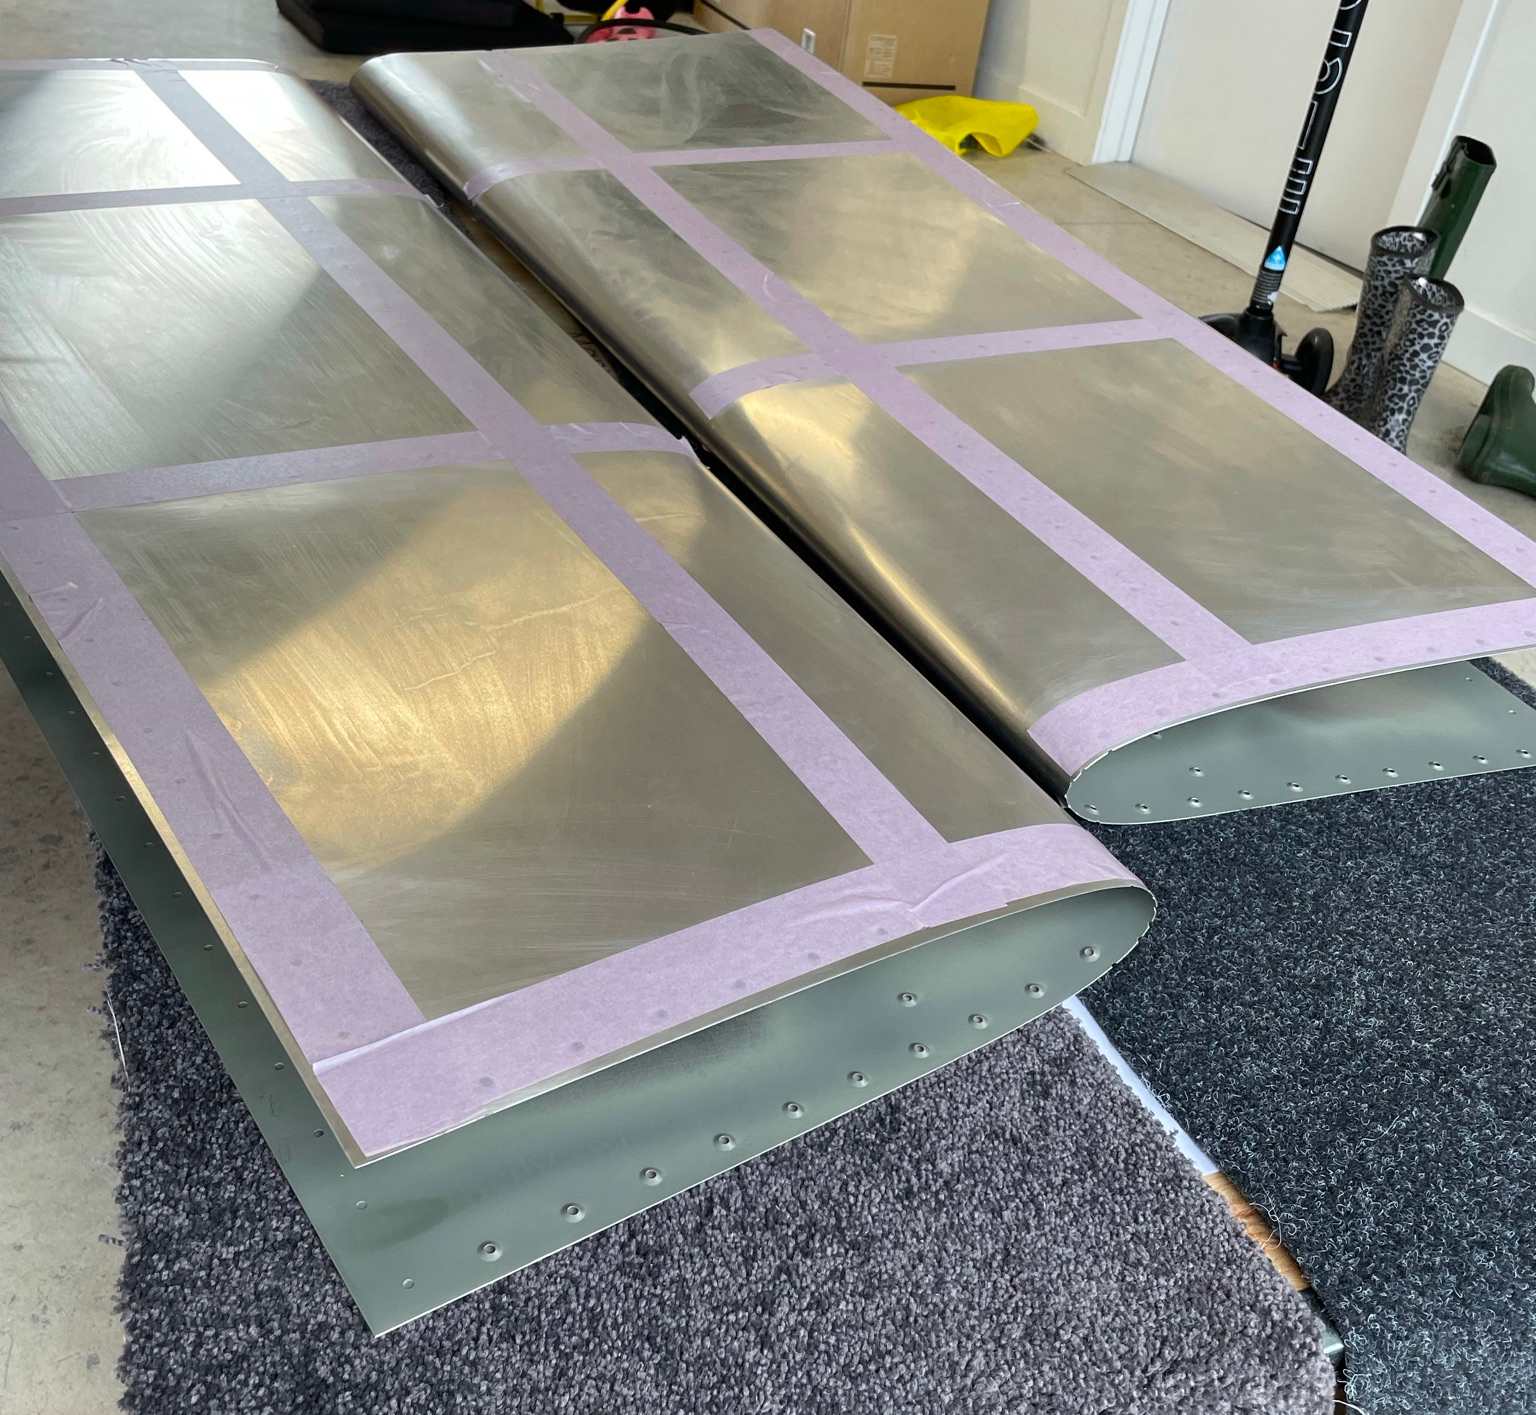
HS Skin Prep
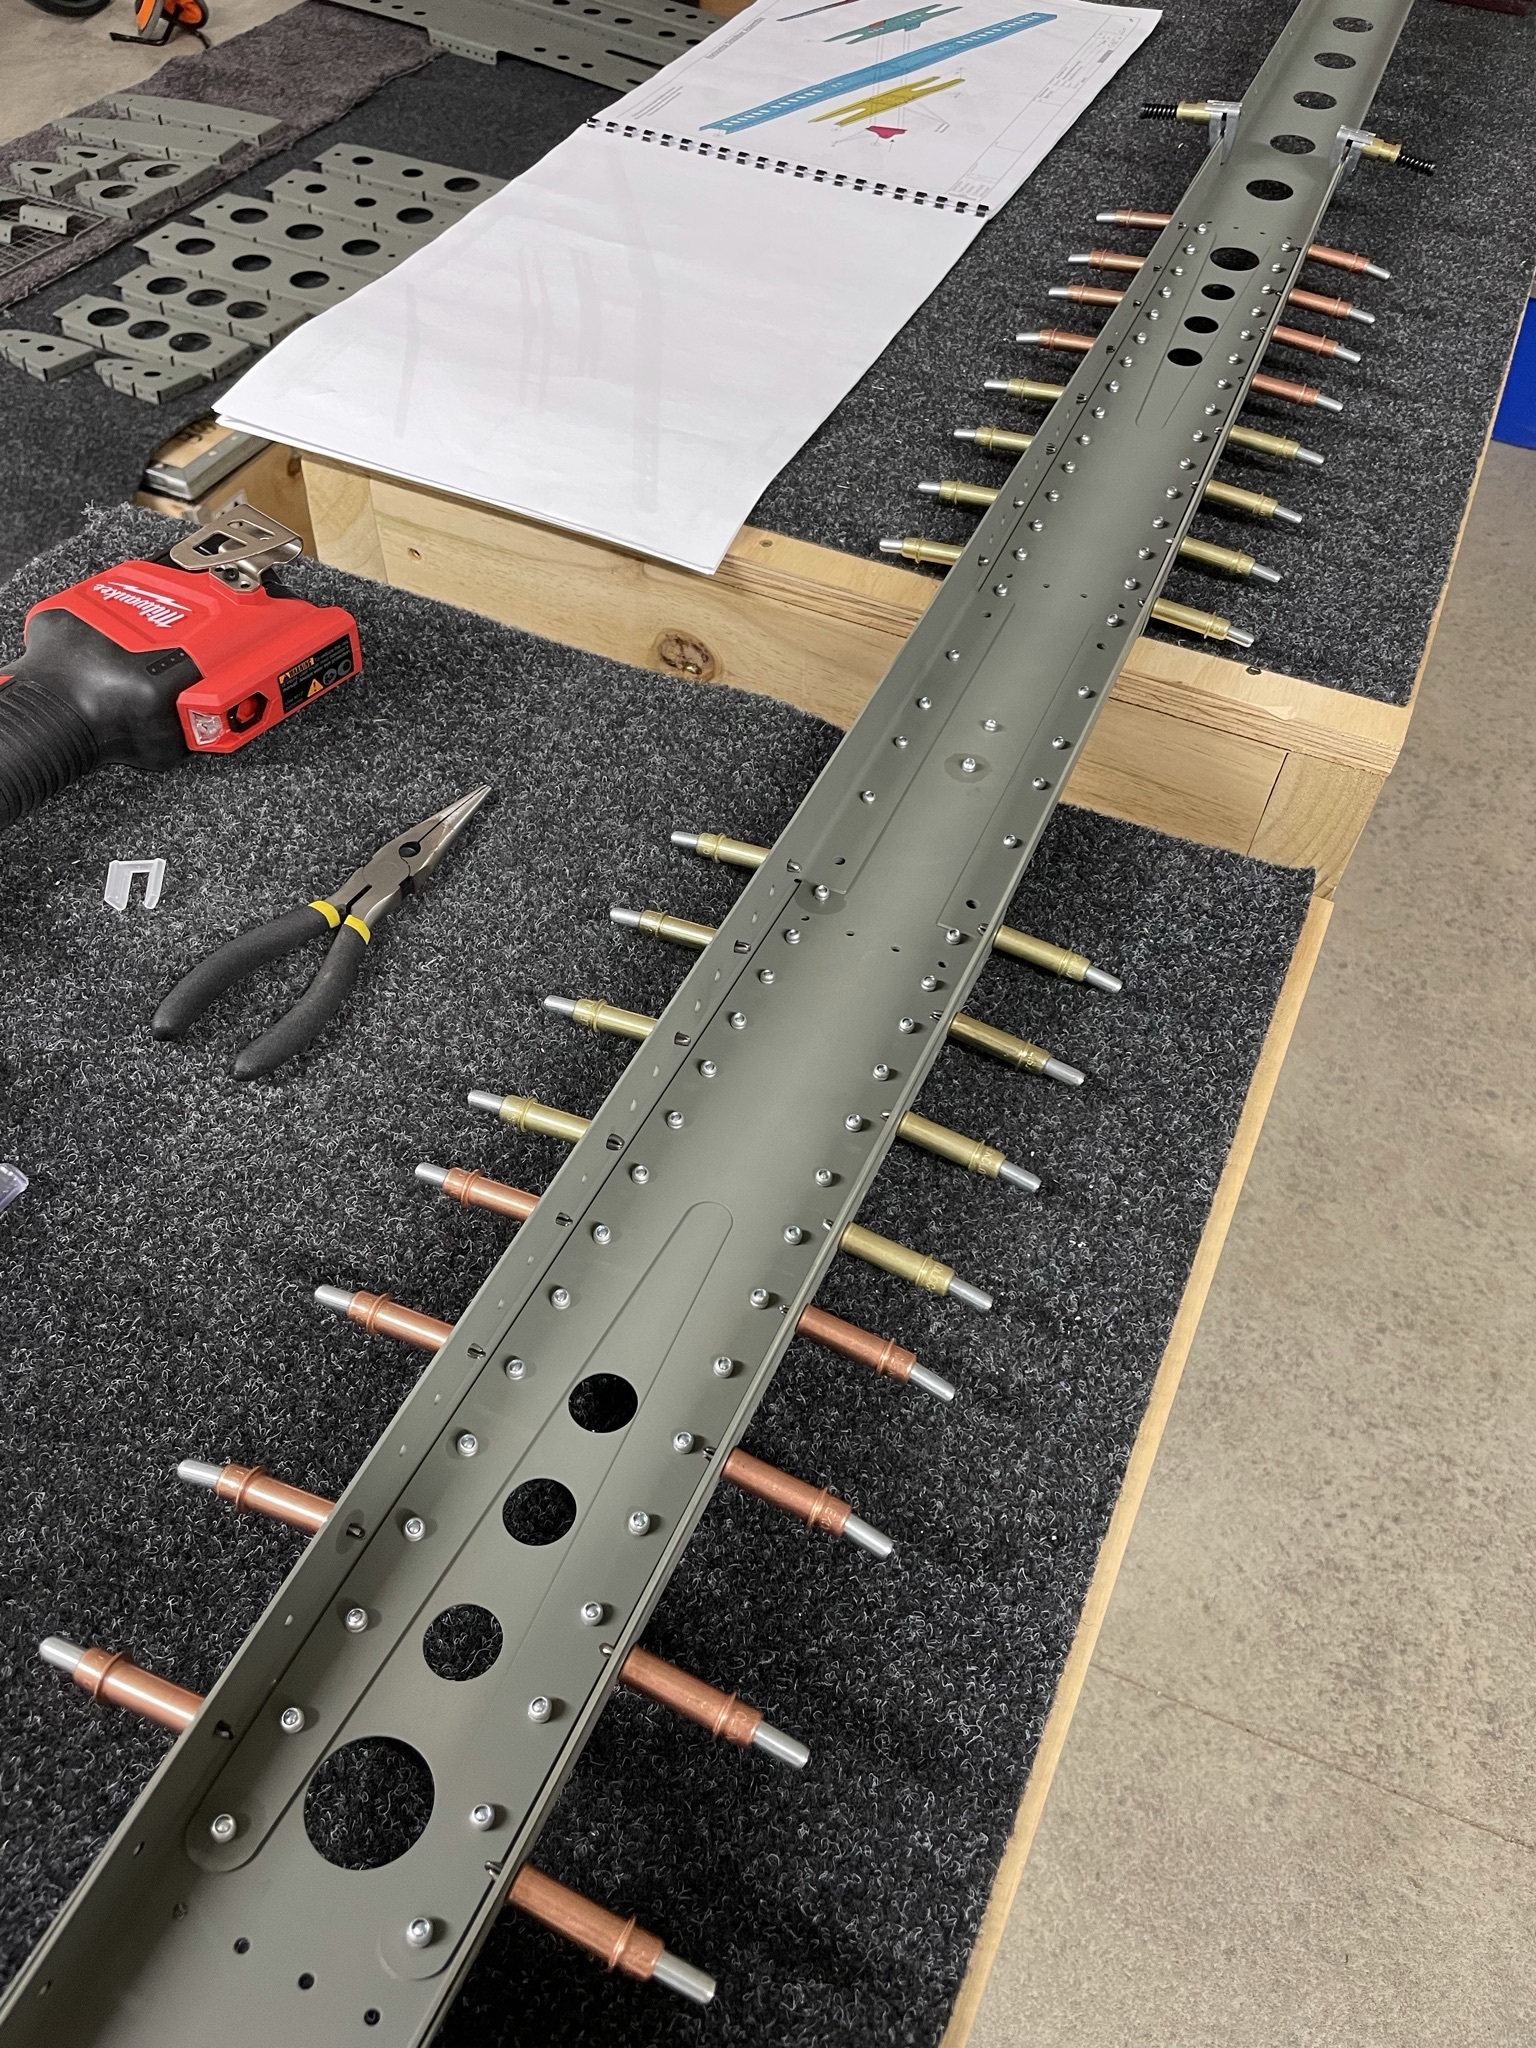
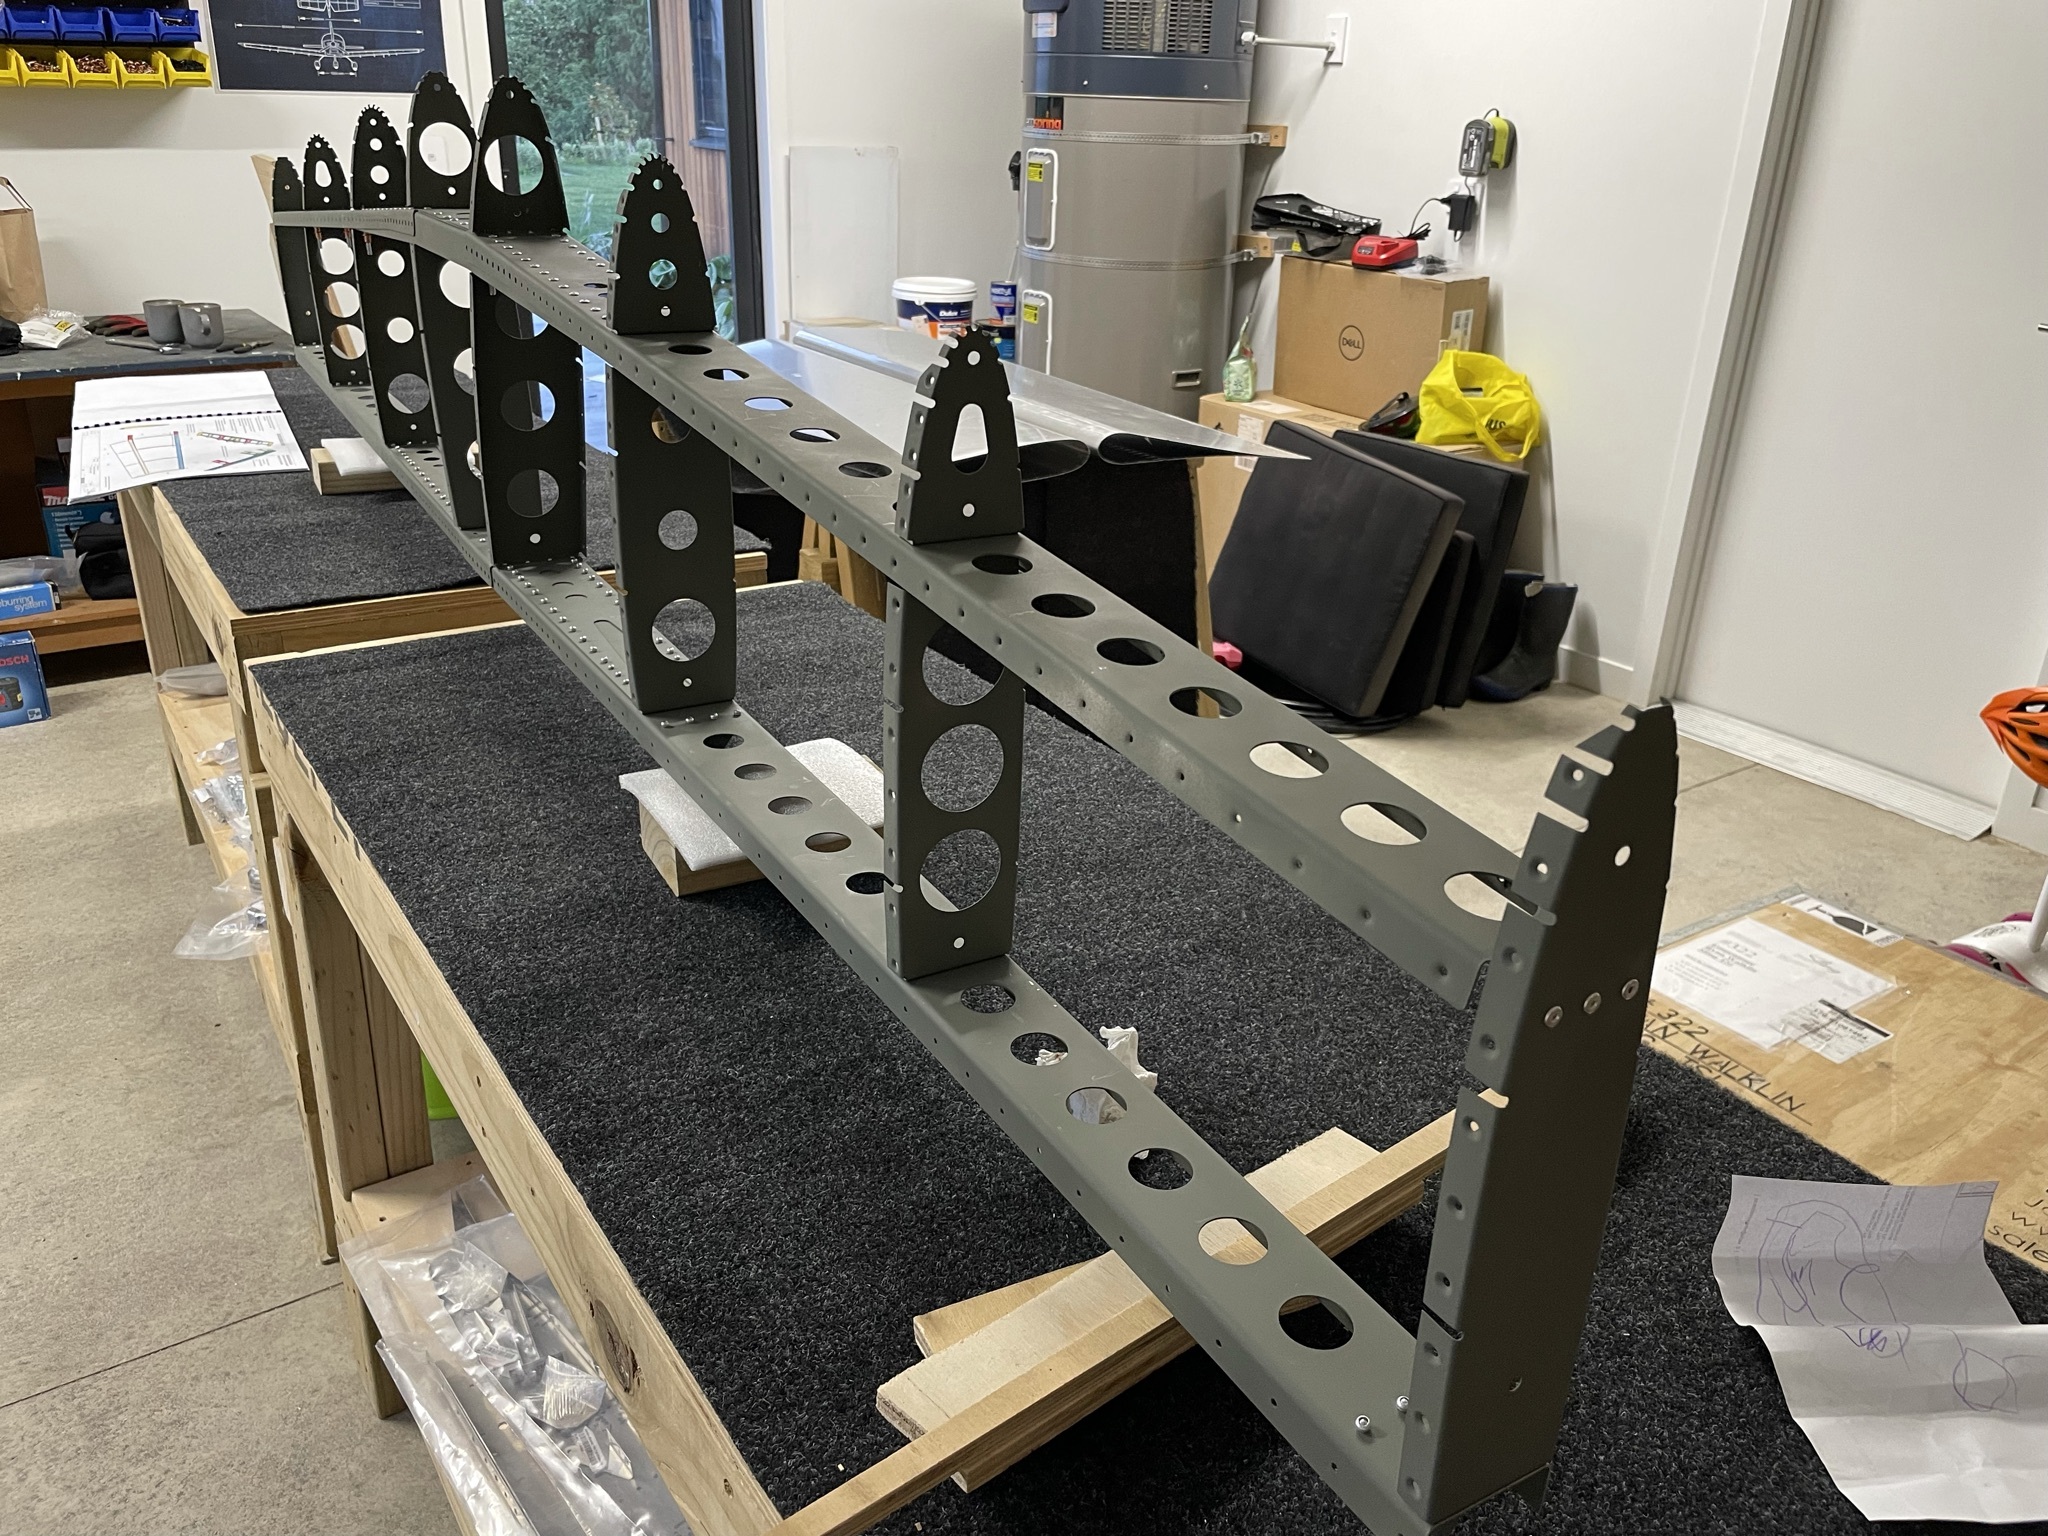
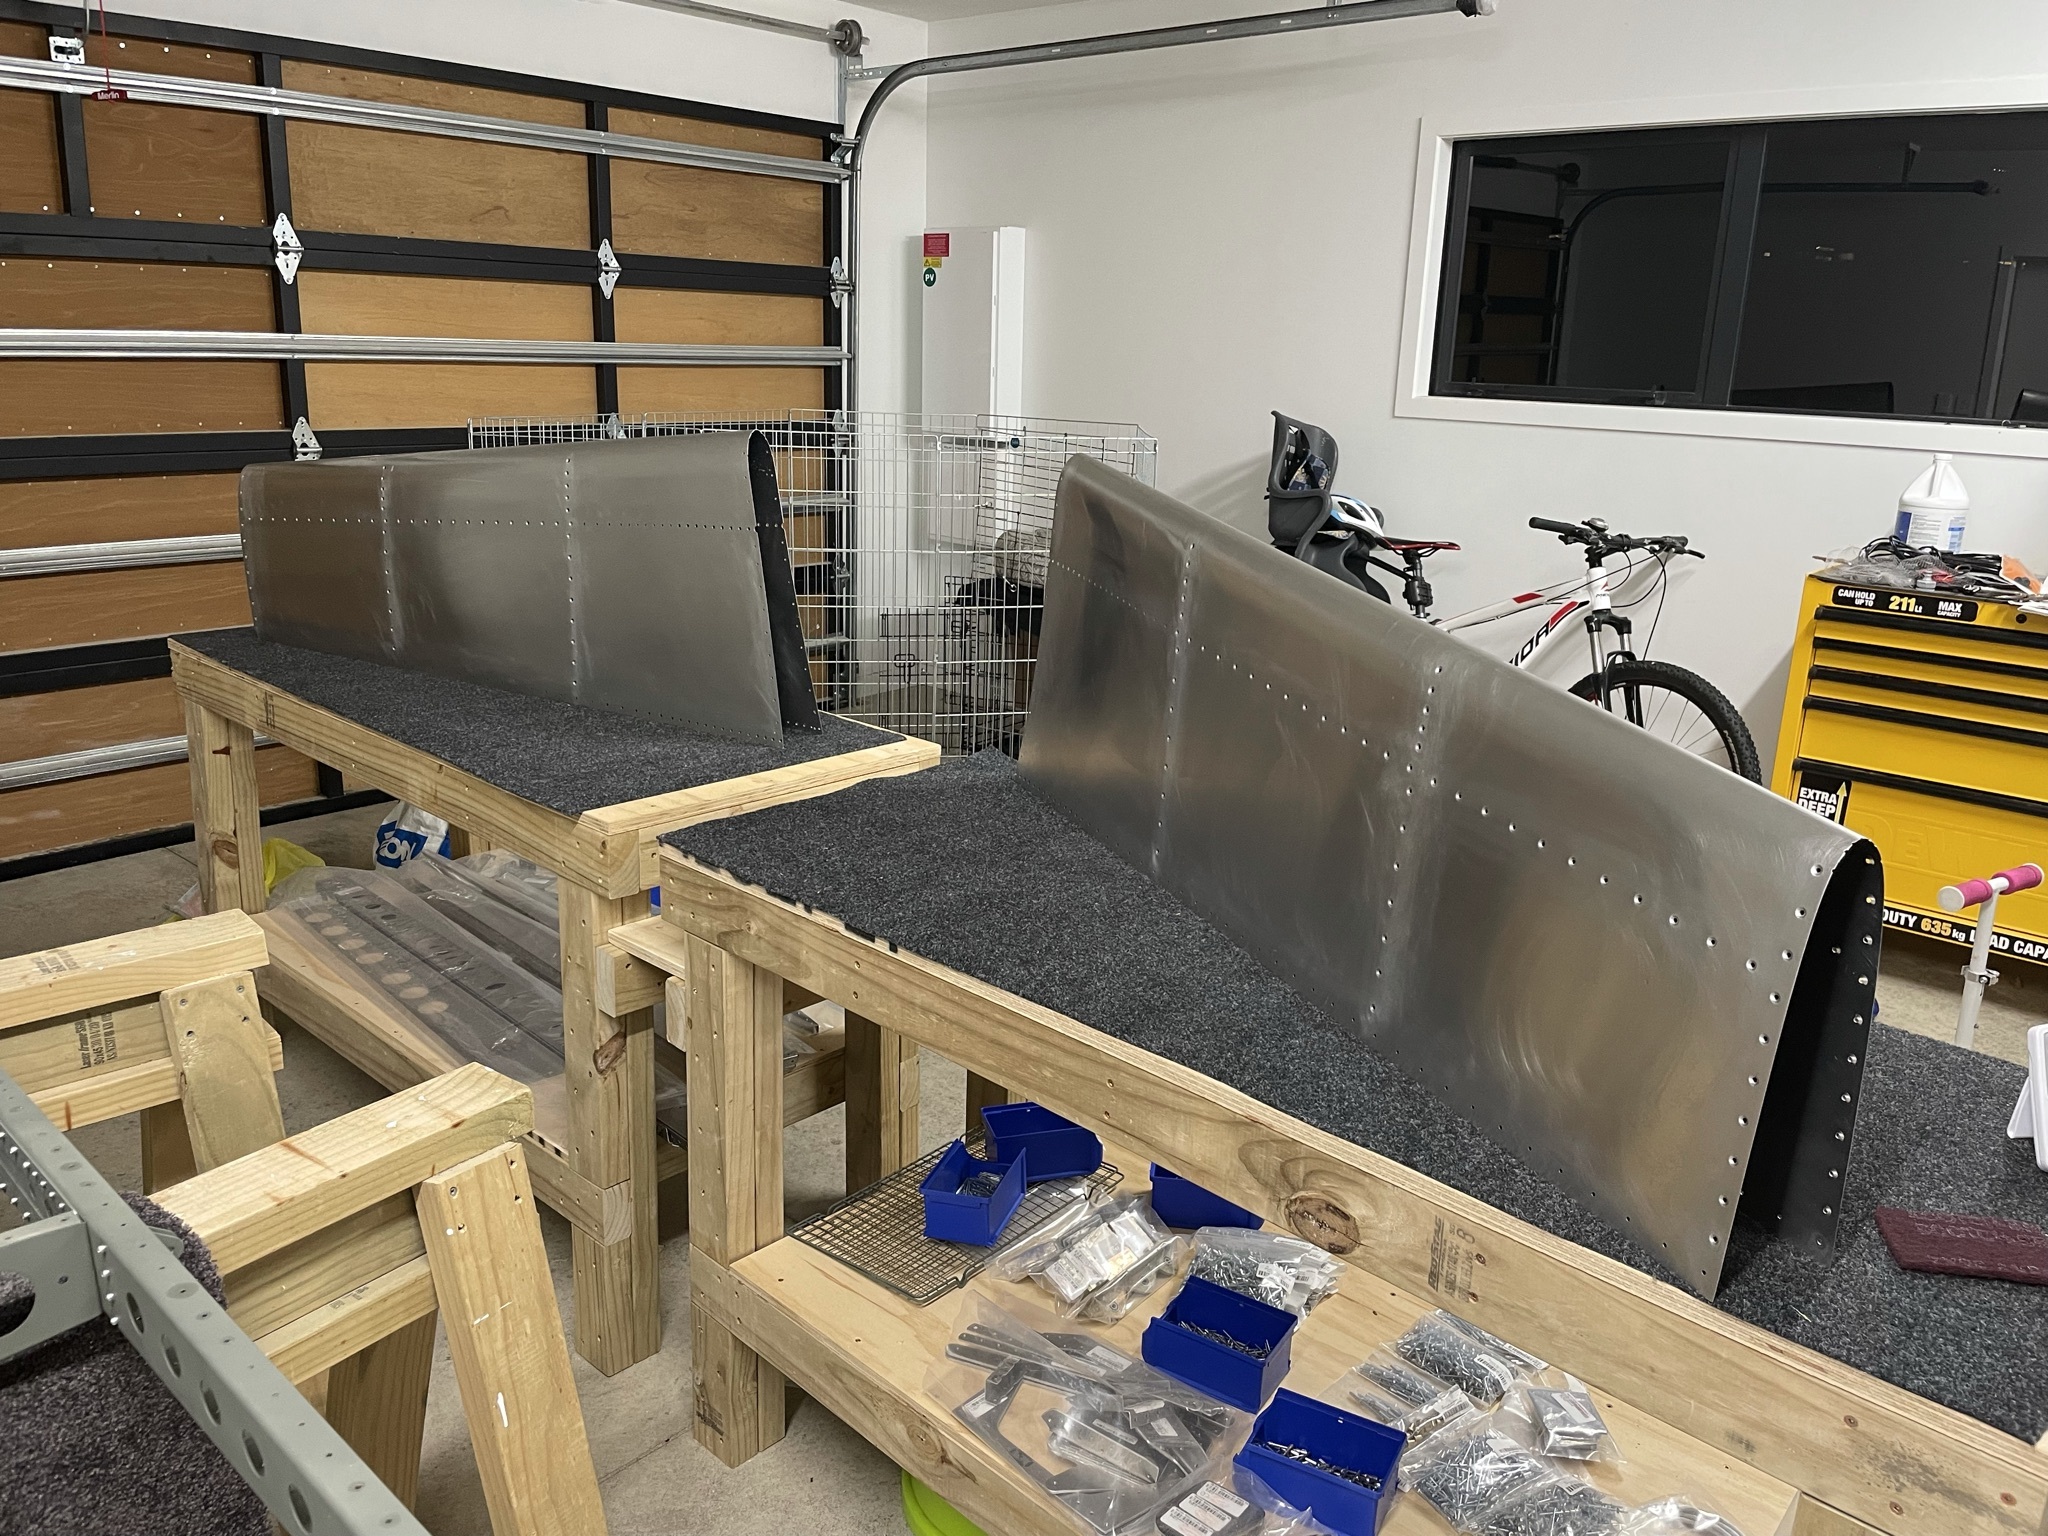
With the structure completed, it's time to get the skins on.
These are a bit tricker to get through the dimpler but I've used an approach I've seen elsewhere, which is to mount the DRDT-2 on a piece of plywood on runners between my EAA-1000 workbenches, so it's flush with the table surface. This works a treat and makes dimpling without a helper much easier...
...until you dimple one hole too many! The last row of dimples in the skin are domed rather than flush, but despite knowing this and marking the last dimpled hole I got on a roll and went one over.
Frantically consulting the internet suggests I can just flatten it (one time only) without weakening the metal, so reversing the dimple dies and giving it a gentle squeeze popped the dimple back more-or-less flat. A tweak with the hand seamers and it settled back nicely, and is completely flat when clecoed on.

I get a nice tight fit after clecoing the skins on to test, however there is a bit of flex in the trailing edge sections between the rivet lines. The boffins on the Sling FB group assure me this should settle with the tighter toleranced rivets once they are in, and the issue isn't structural.
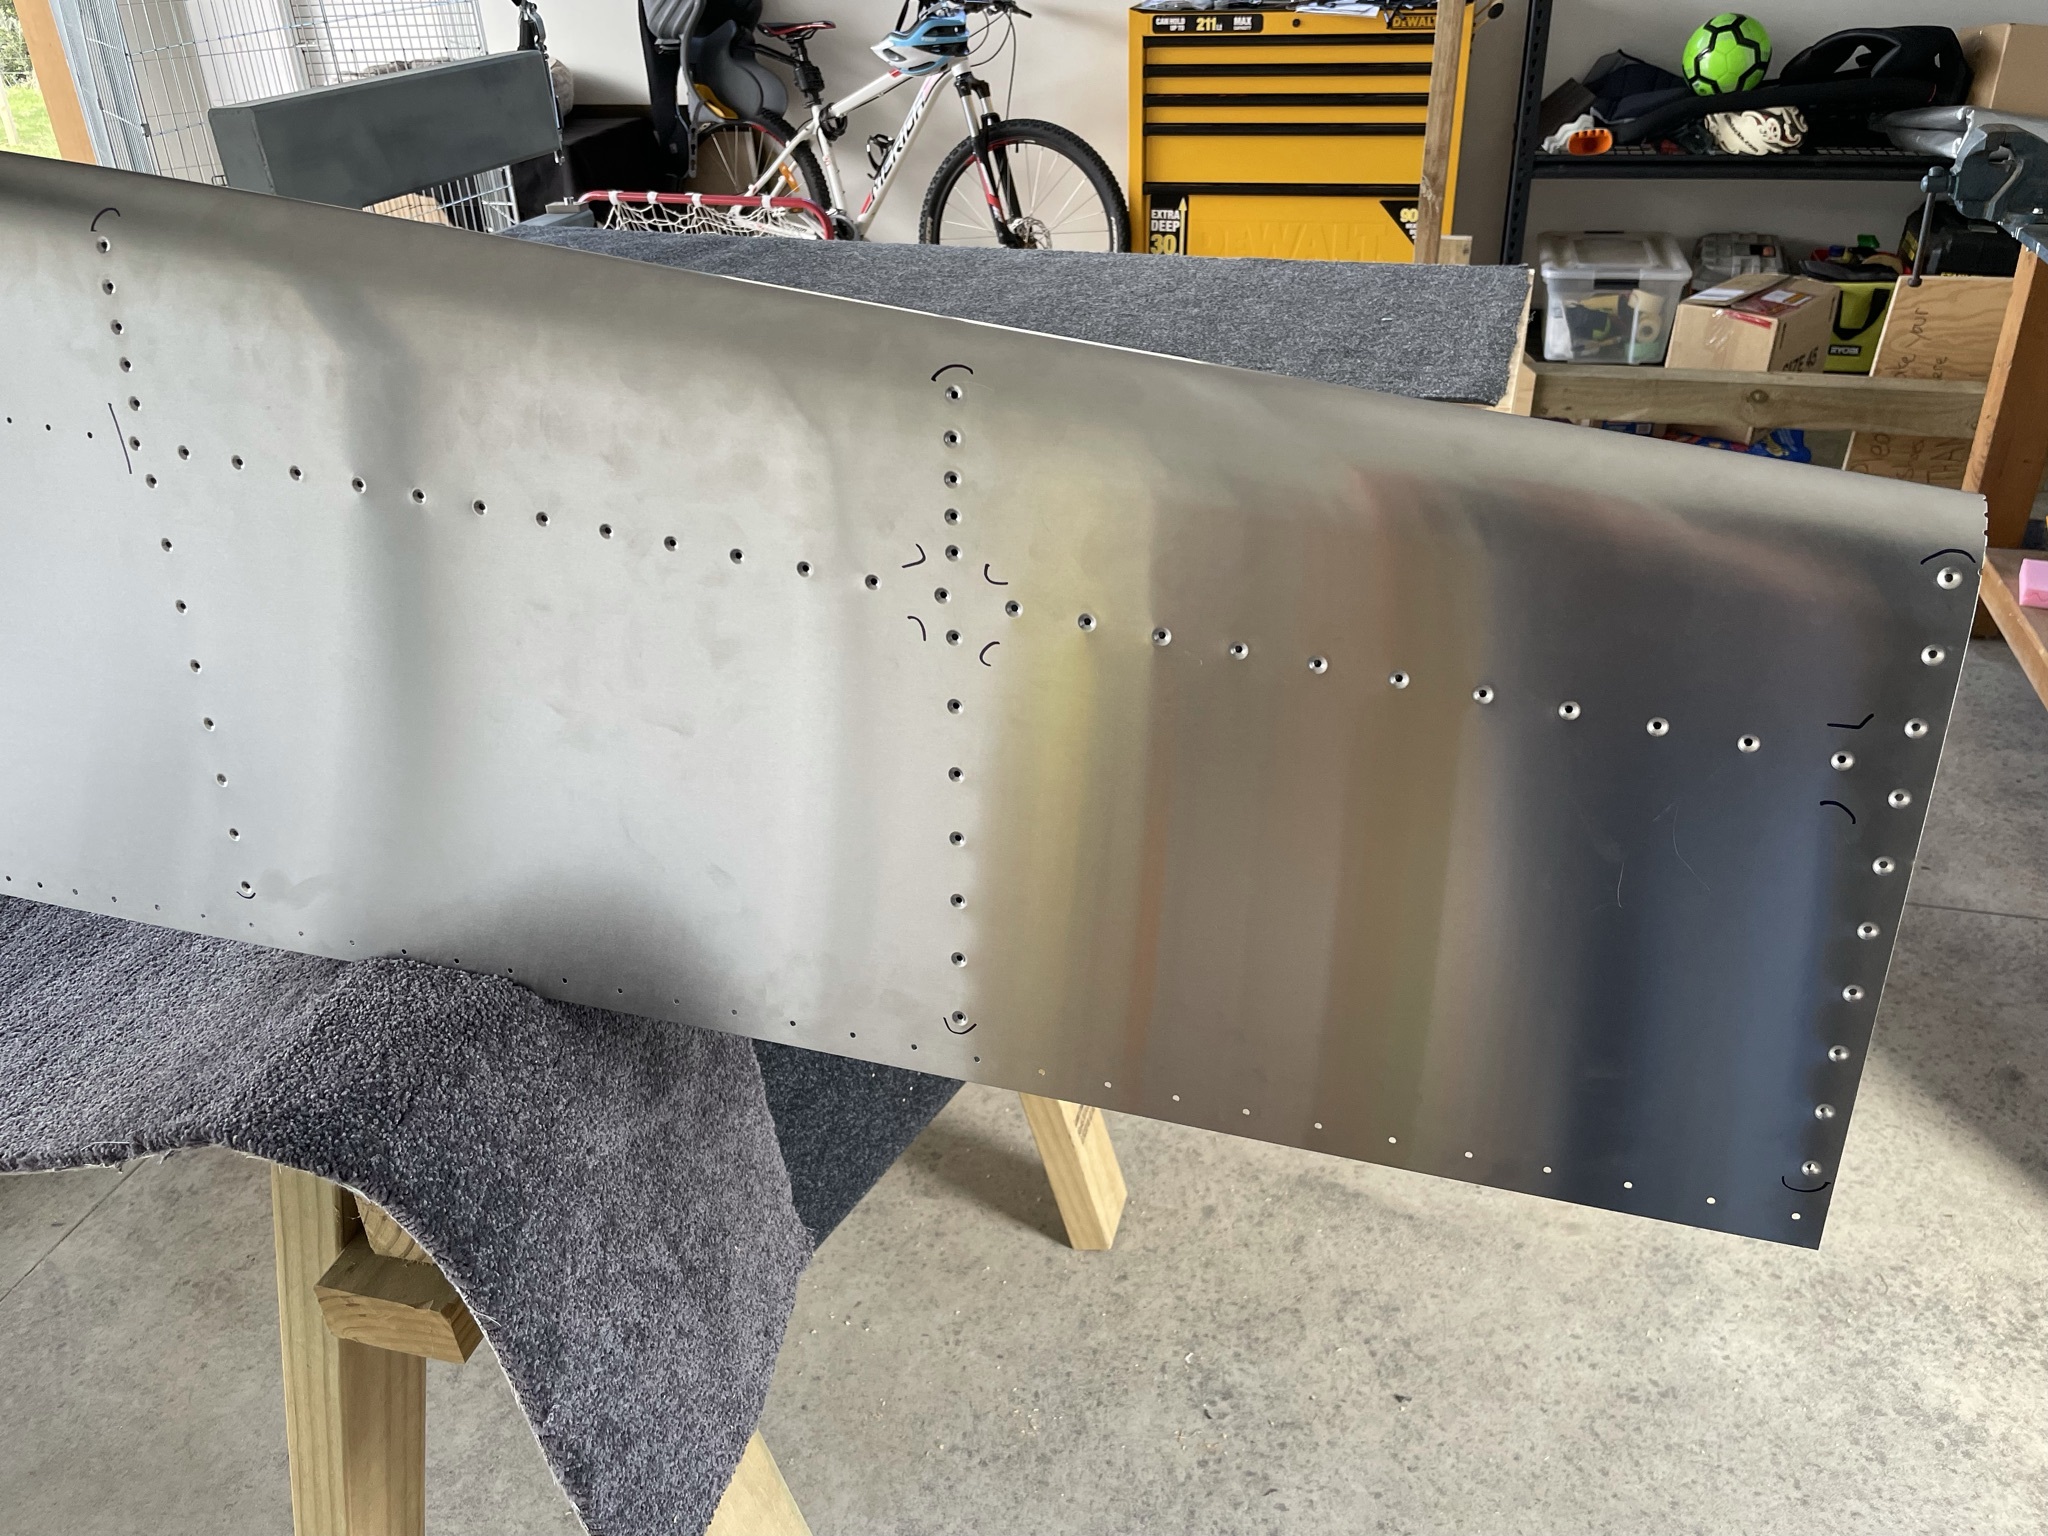
After that all that's left is to match drill all the dimpled holes up to 3.2mm (technically 3.3mm), however I've found that essentially all the holes need match drilling after primer, which occupied several hours.
With that done, the skins are pulled back off and cleaned ready for priming. As has been suggested elsewhere, I've leaned into the Scotch-Brite a bit more along the rivet lines to facilitate eventual primer adherence.
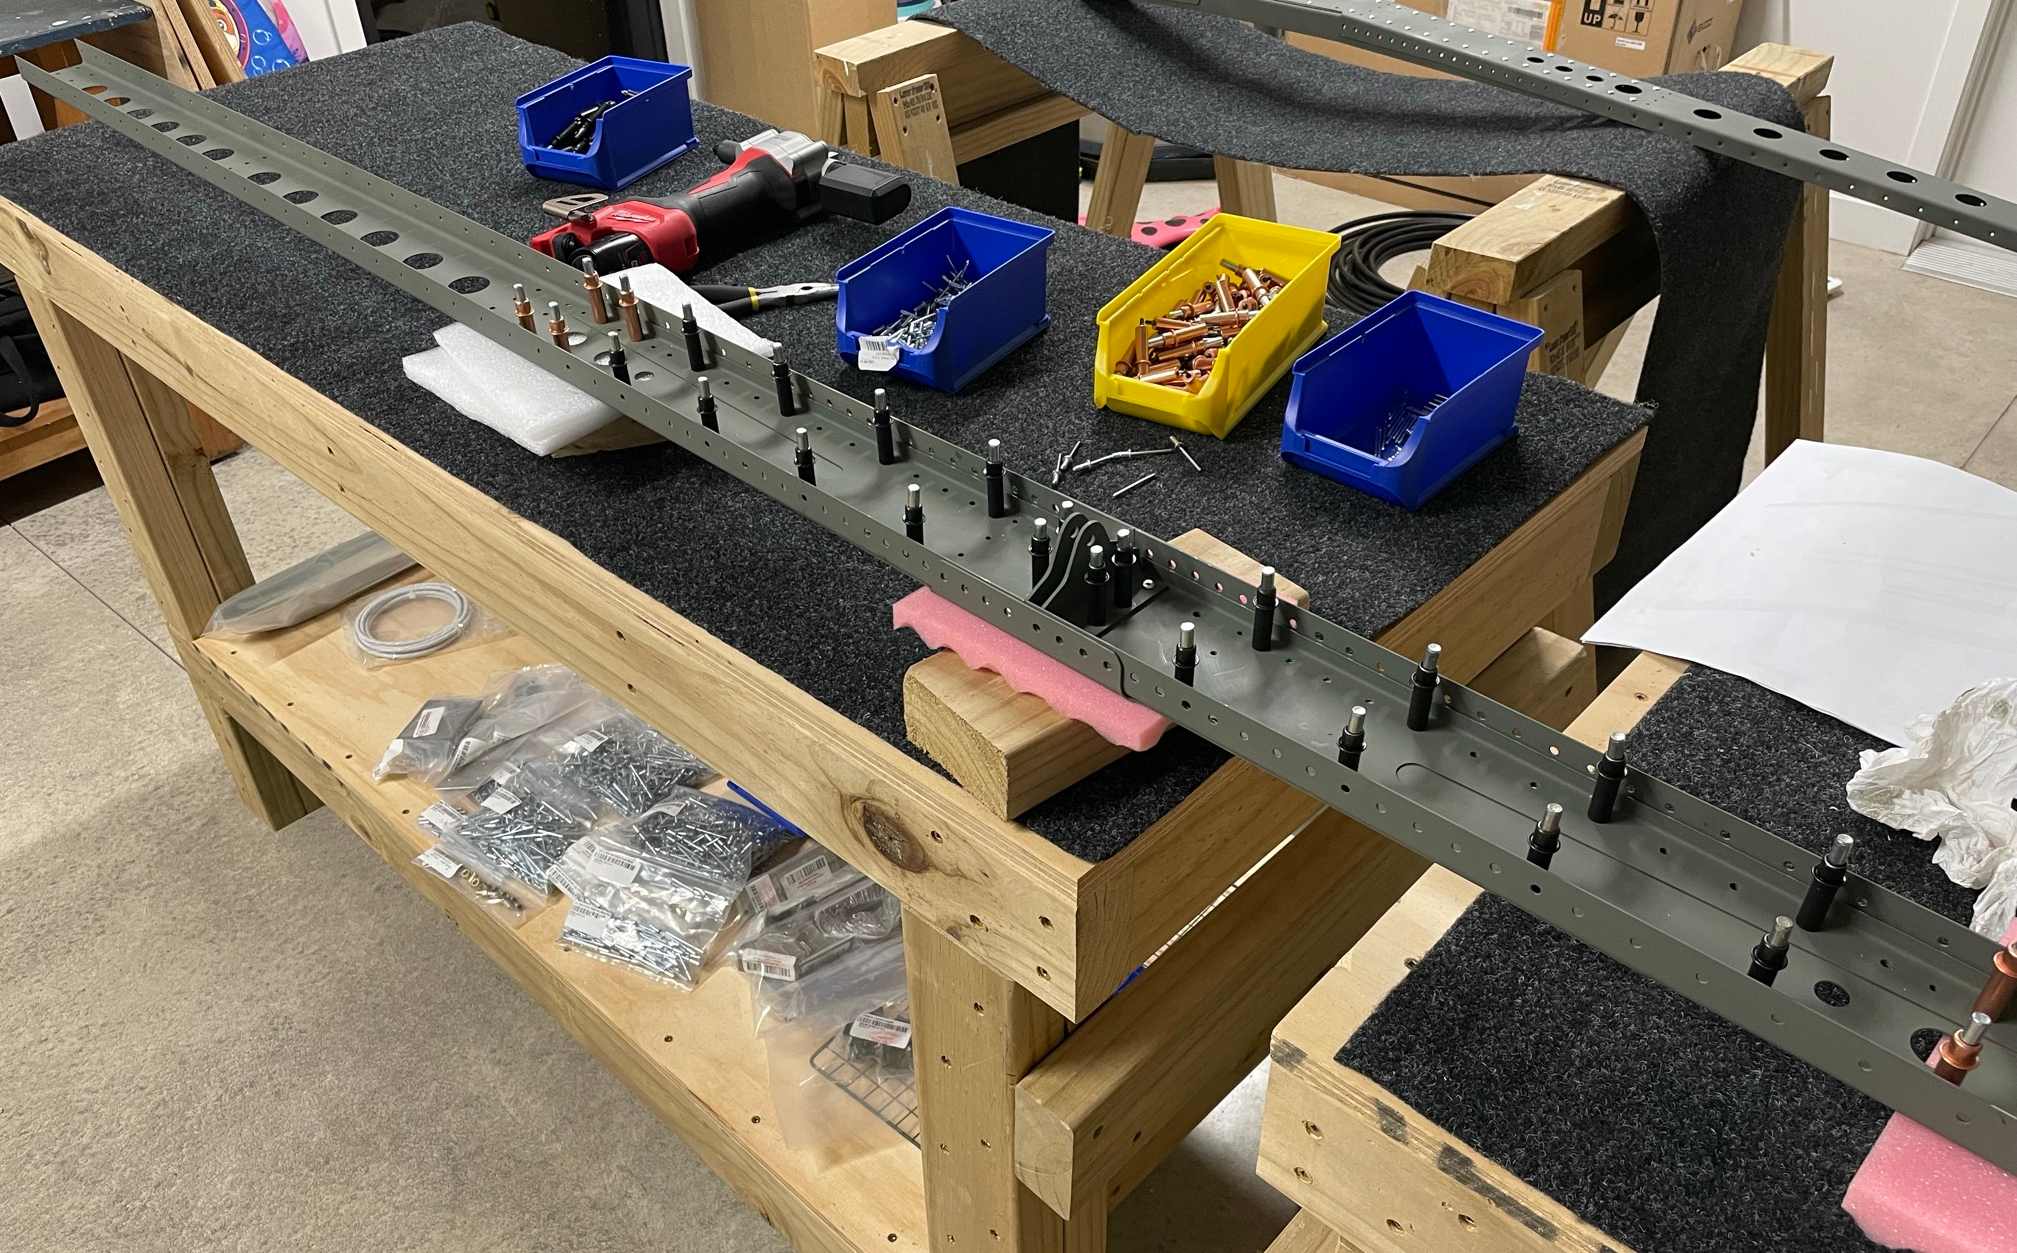
After a couple of days' hiatus waiting to be home during the day, I was able to get the rivet lines on the inside of the skins primed, so all ready to be riveted on and the HS complete!
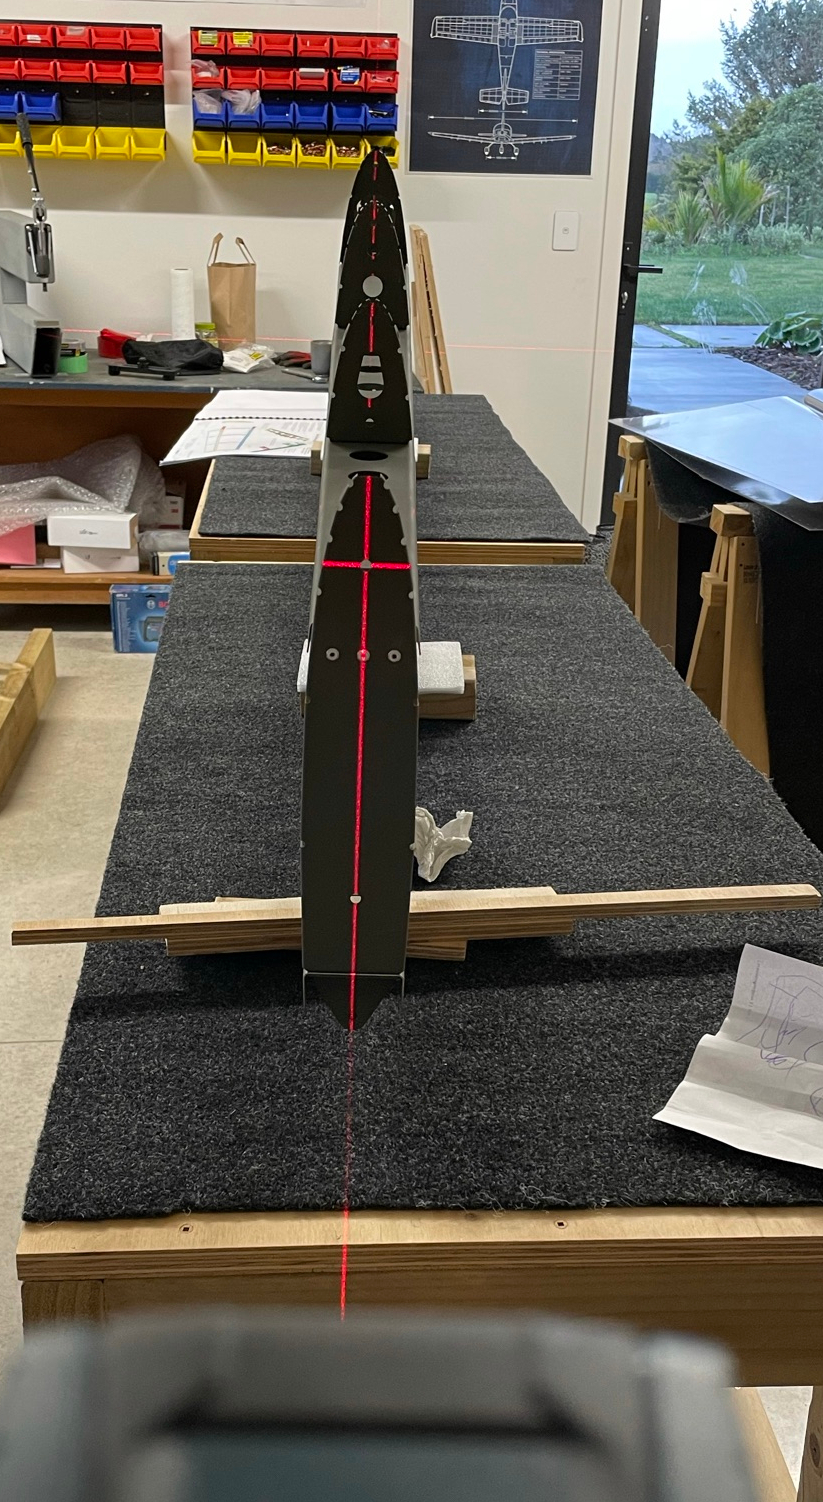
Vertical Stabiliser Parts Prep
While I wait 24 hours for those to cure, I thought I'd not waste my evening and got all the parts together for the VS, and did a little bit of dimpling and deburring.
Apparently my VOR antenna is my birthday present and I can't have it til next week, so will get everything prepped in the meantime before test-fitting it. The factory have sent the rib doubler and extra hardware as I'd told them I'd be putting one in, but I still need to updrill the ribs and cut a notch in the skin for the antenna to pass through.
