Nose Gear and Main Gear Leg
QB Kit arrival
Finally here!
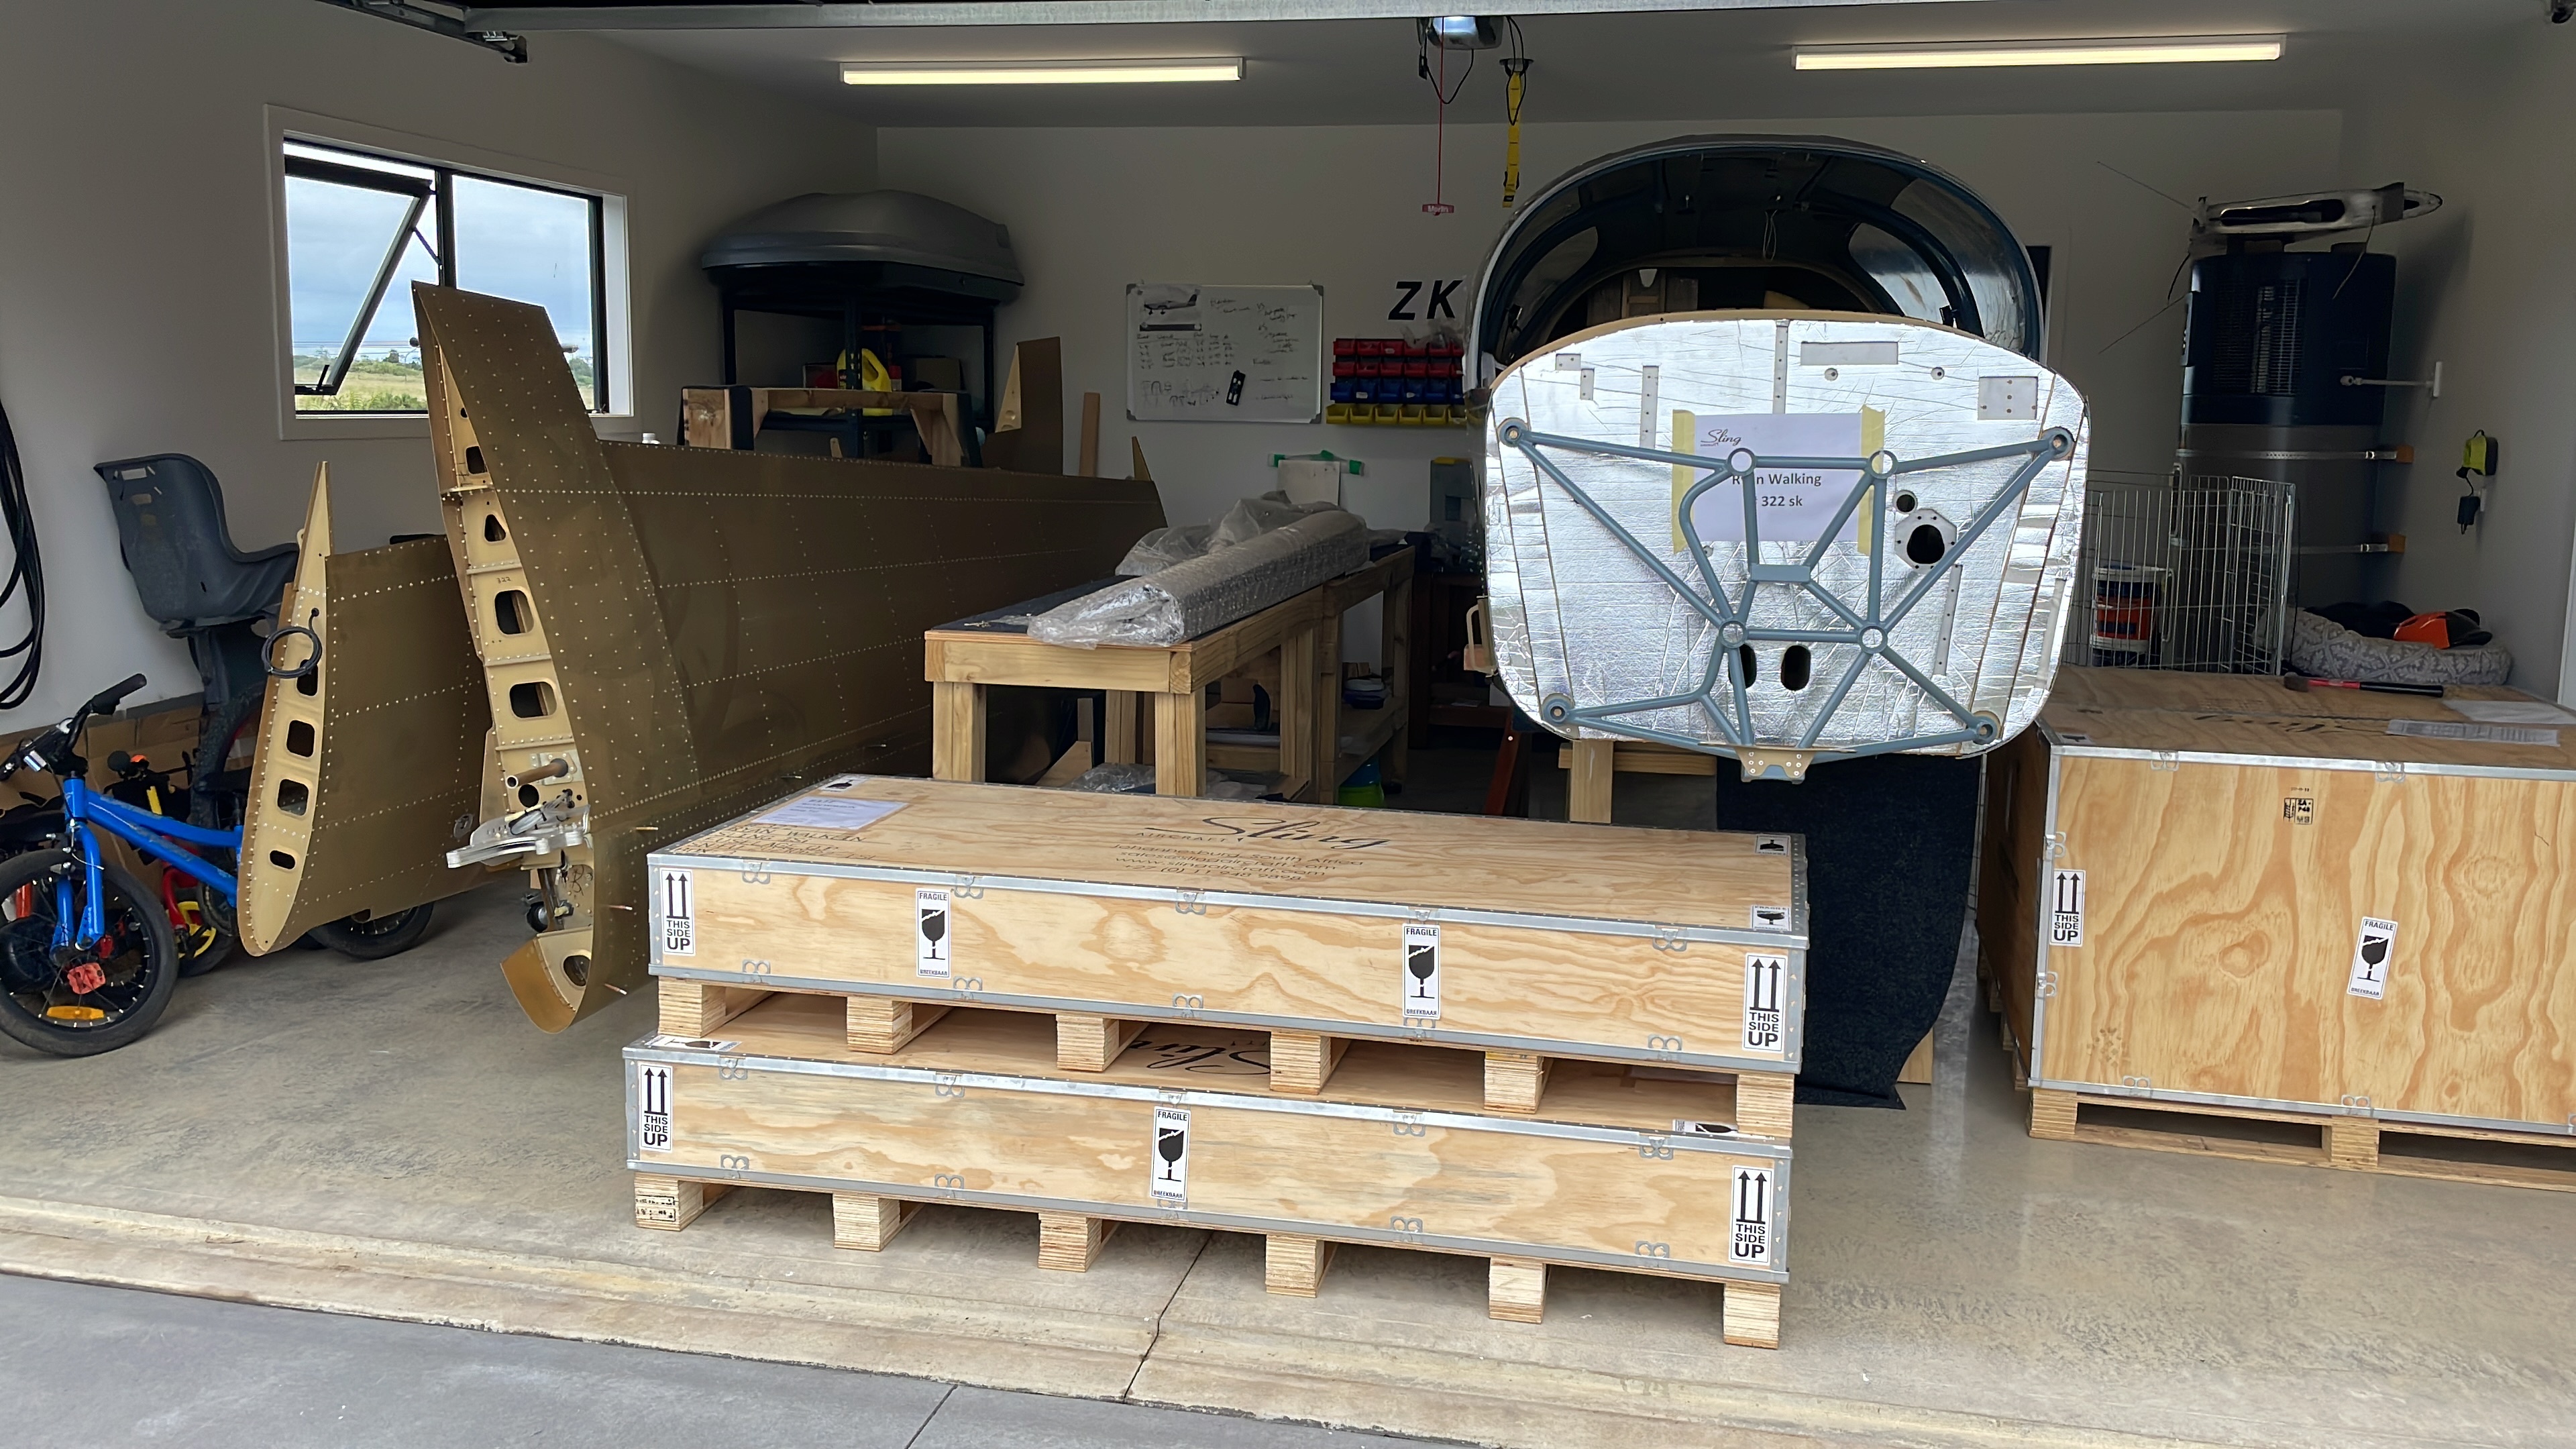
Thanks to Brad from Sling NZ for delivering the QB kit, and helping me get it into the garage! Tight fit until I can get started on some of these boxes.
The kit assembly looks to be very high quality, particularly things like the canopy and window installation which would have been messy and difficult to do solo. There was one casualty of the trip from SA, the wings were shipped alongside the fuselage and during the trip the tape holding the luggage door failed and the door had been banging against the wing, and has left a moderate dent/scratch in the wing skin.
Inventory
More or less all accounted for, just missing a few bits and pieces I have put into the factory to get shipped out.
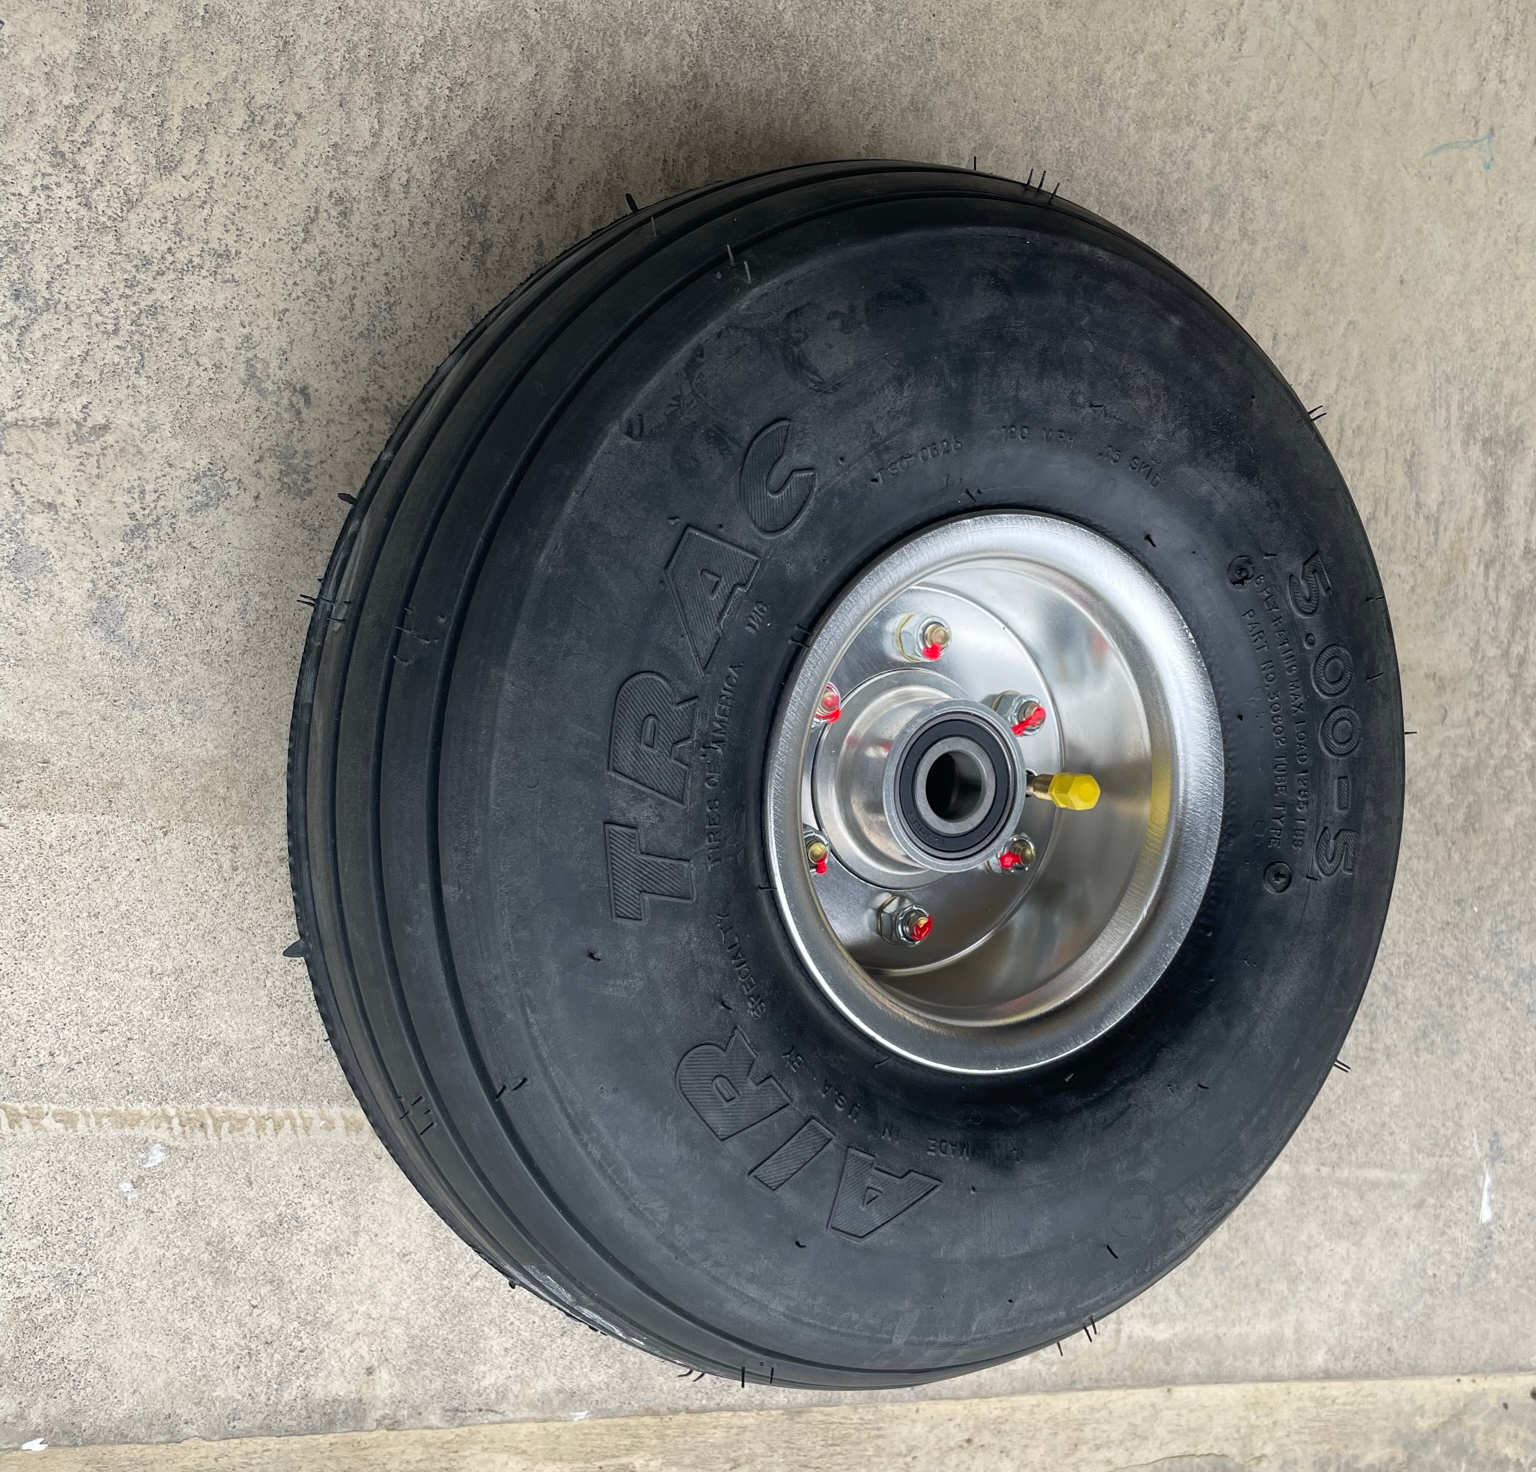
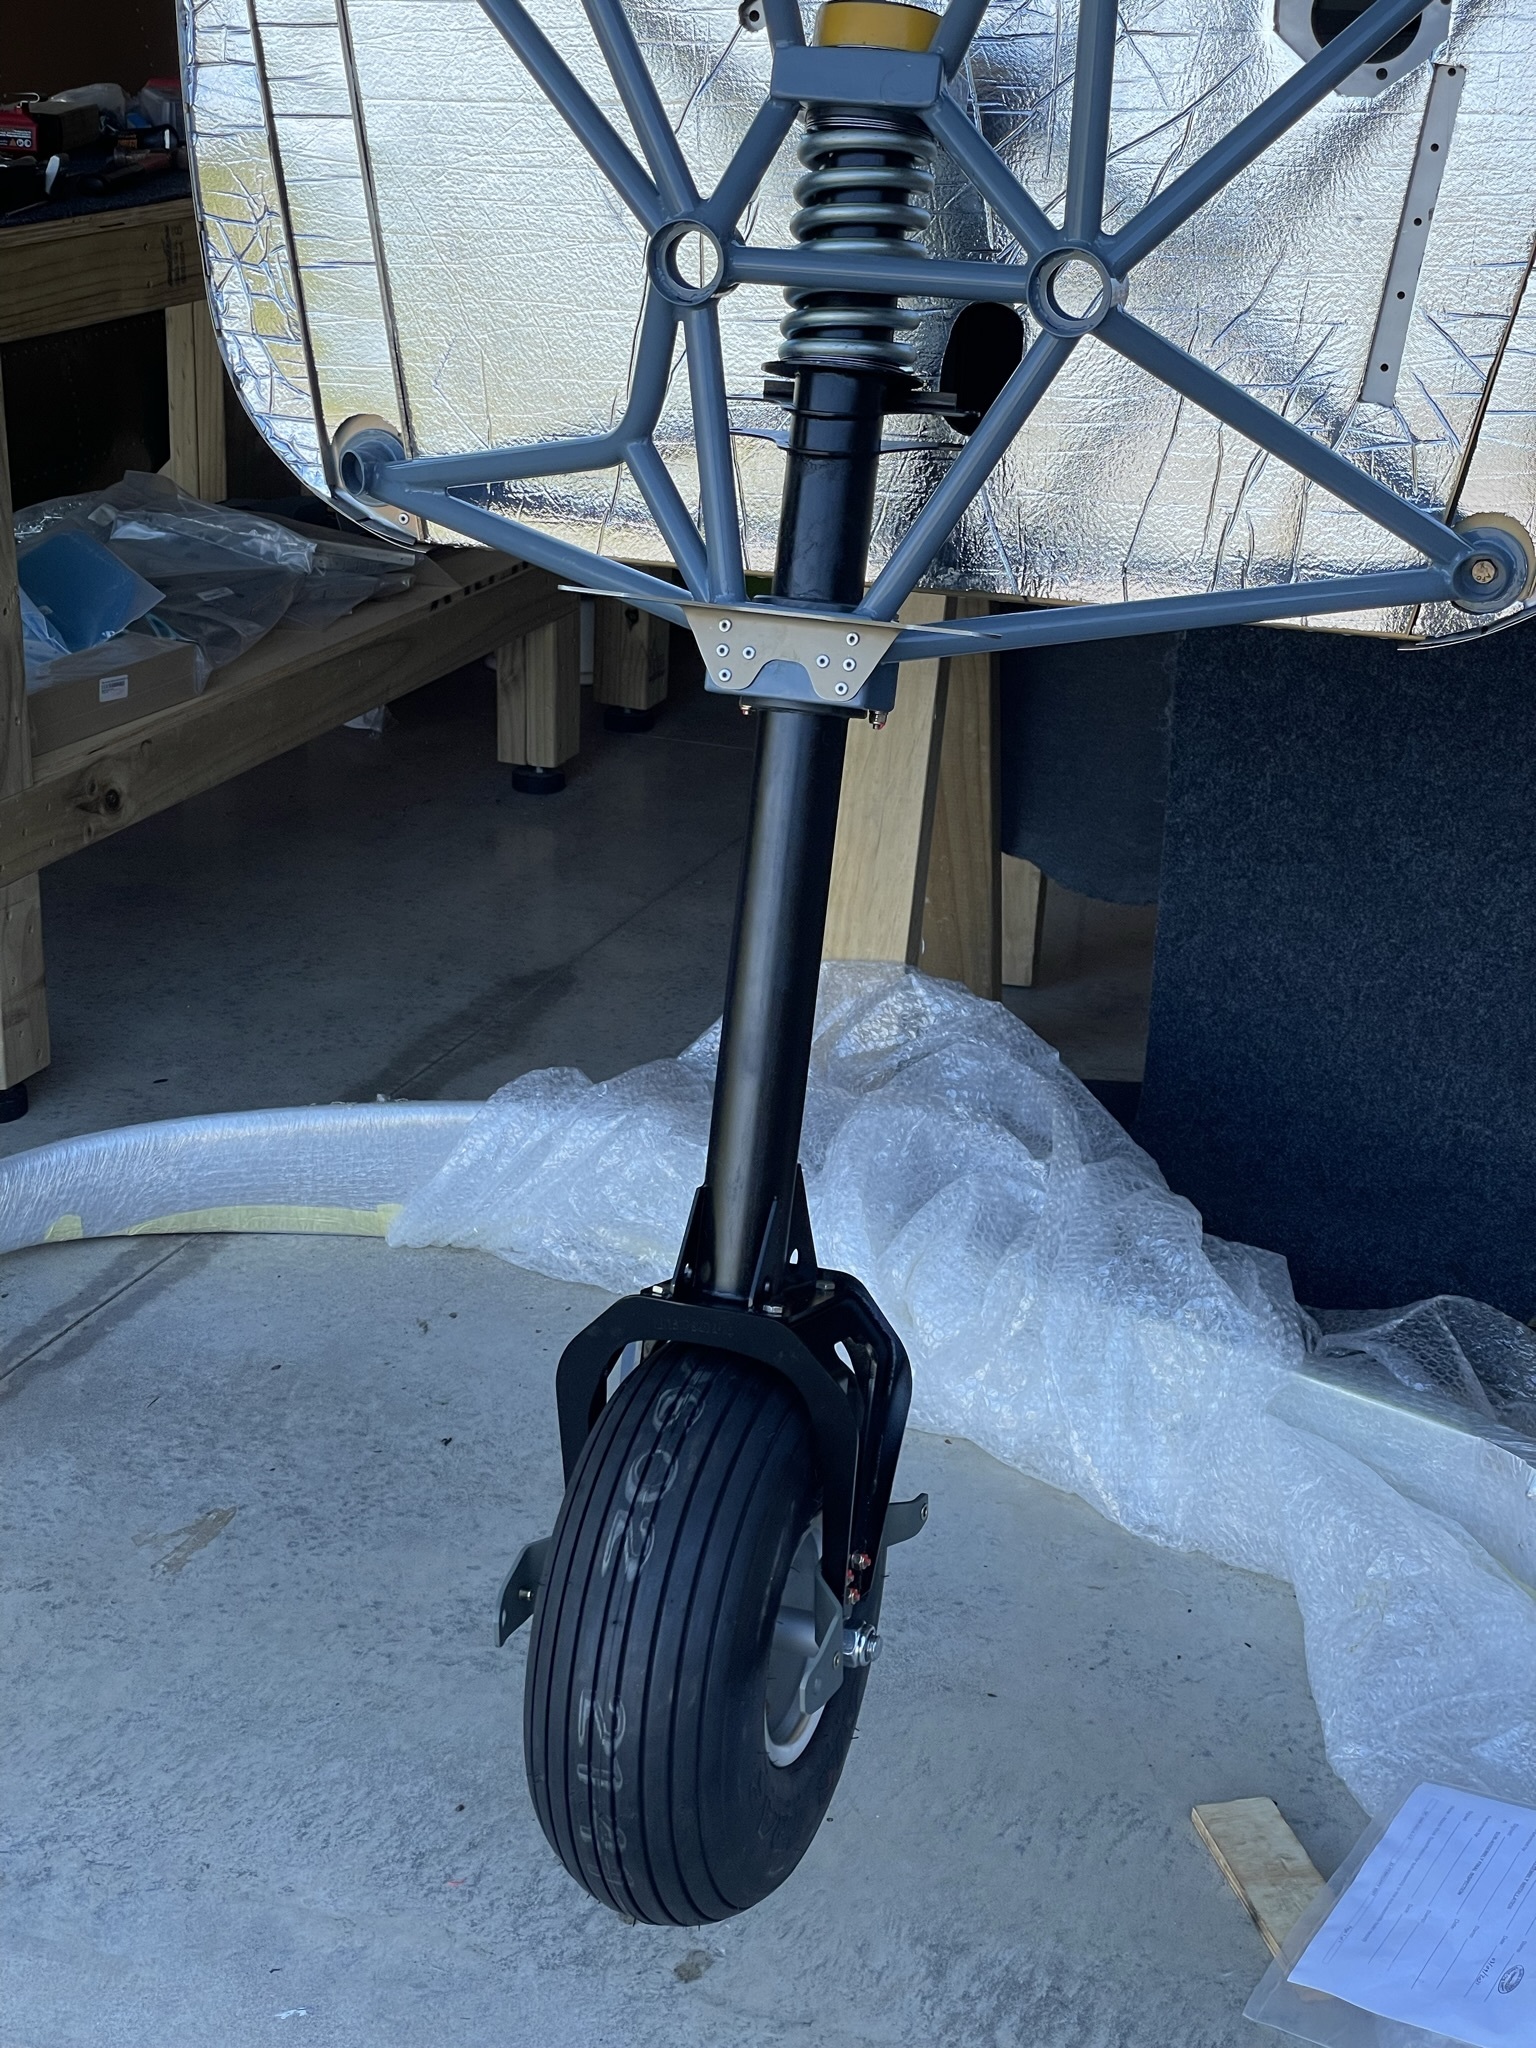
Nose Wheel
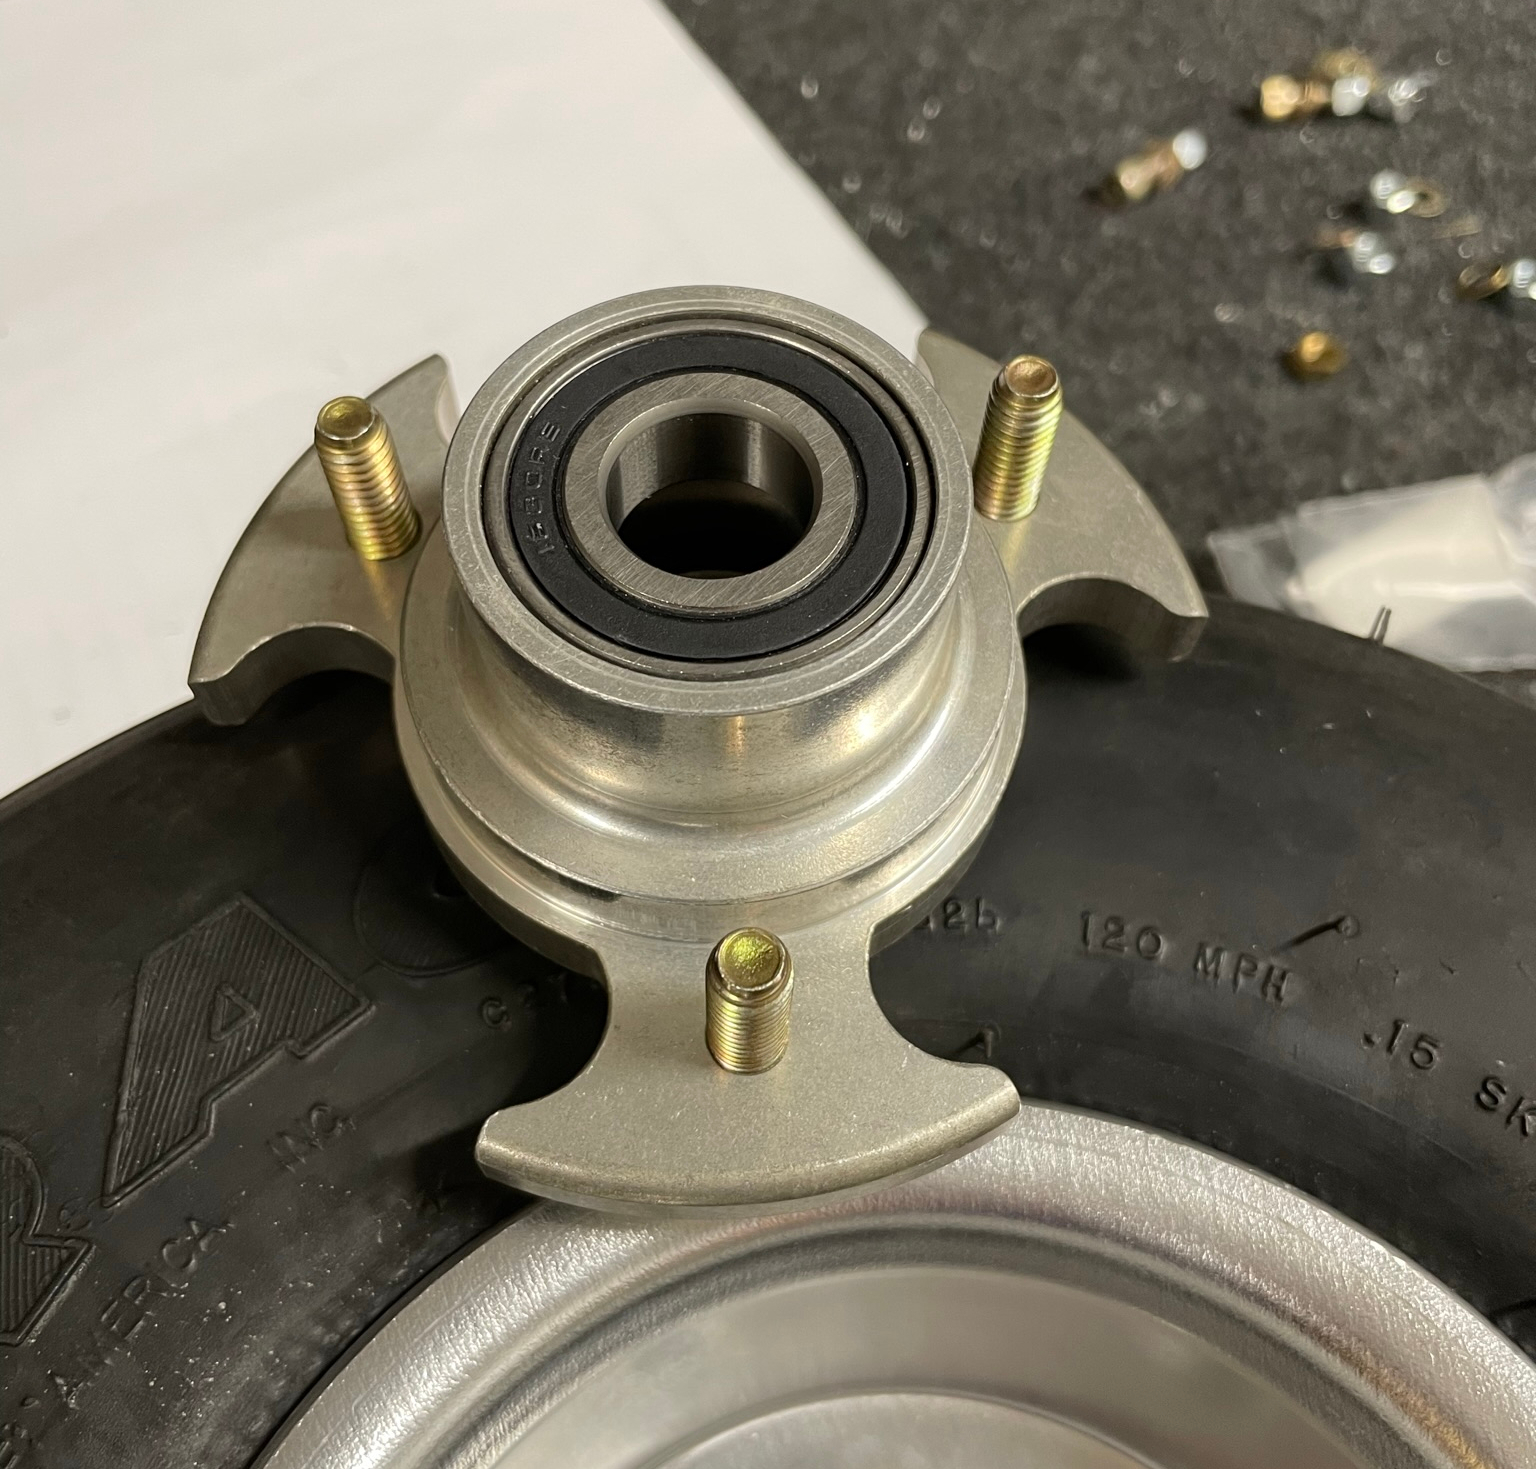
Got to start somewhere, and it will be good to be on wheels as soon as possible.
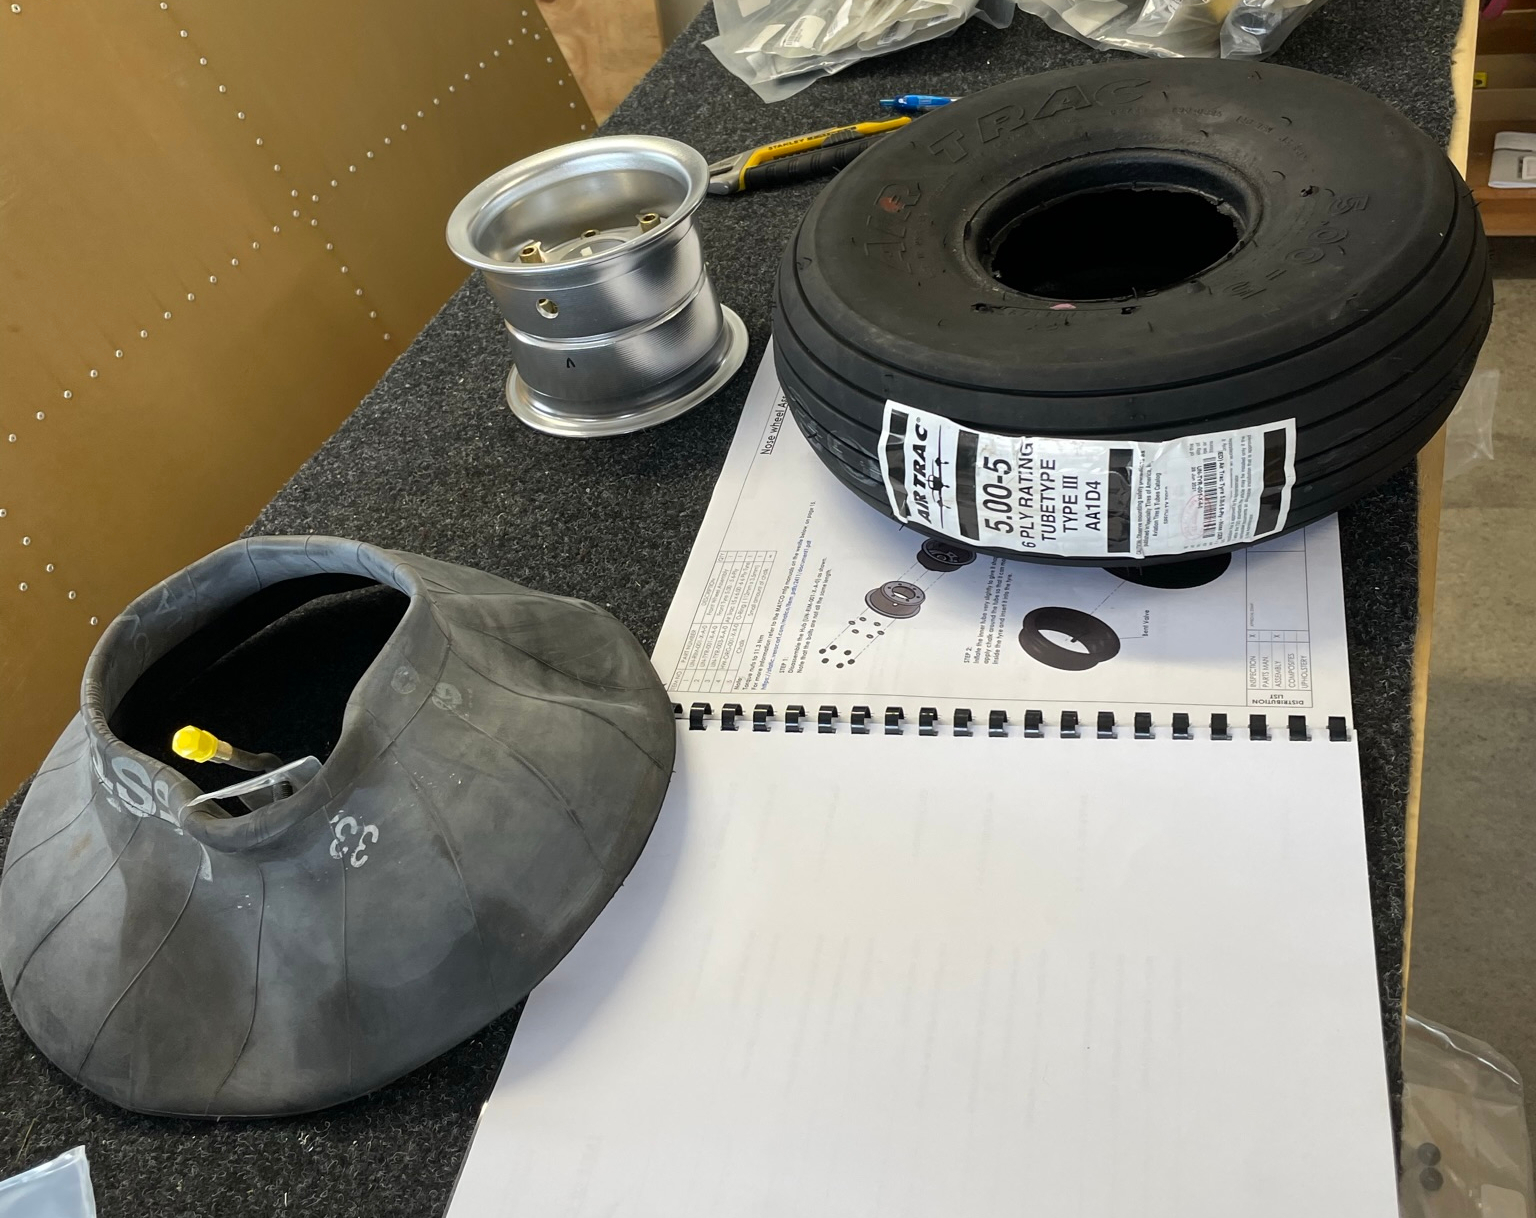
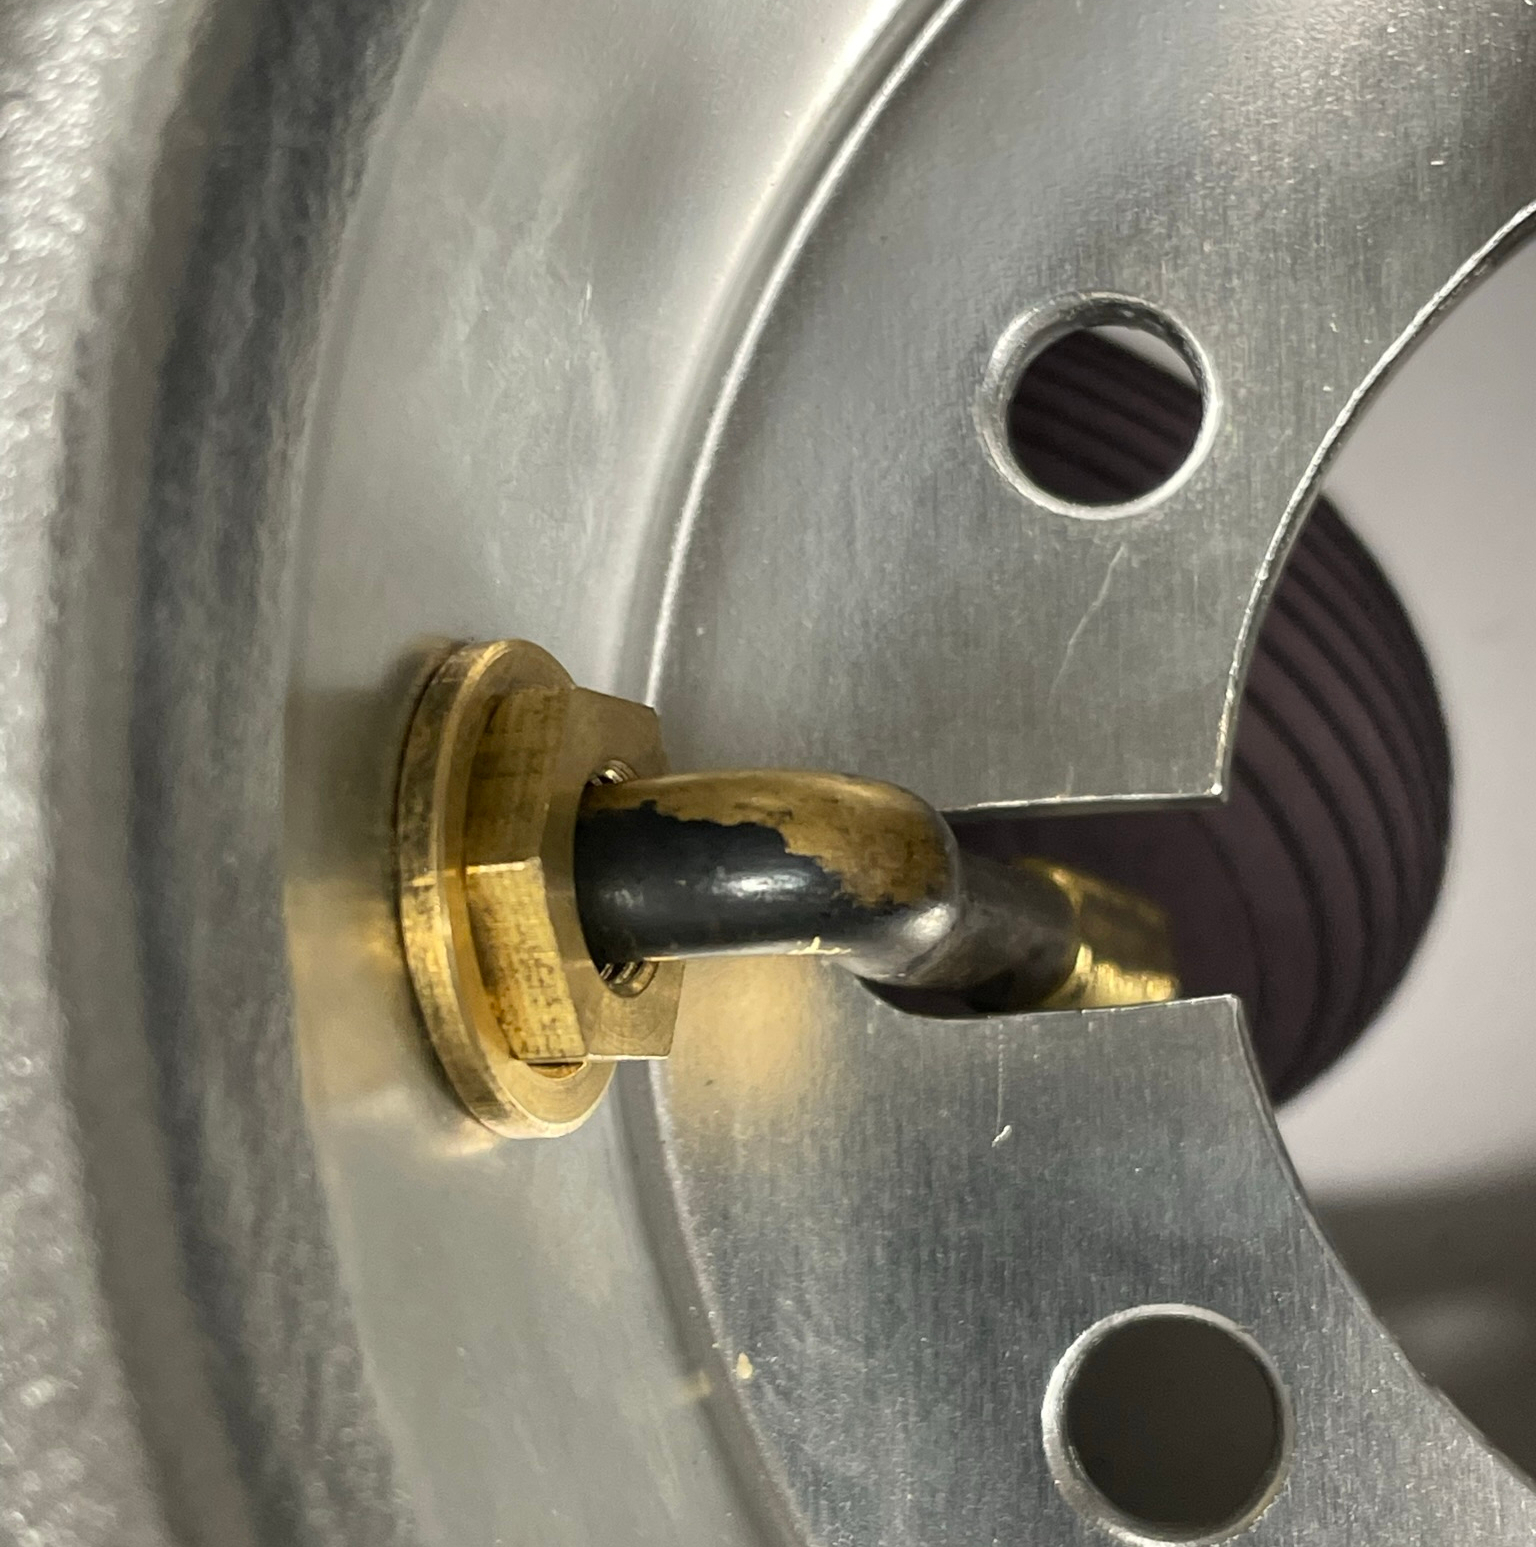
The nose gear is straightforward to assemble, just needs a different set of skills. The wheel hub needs to be removed from the wheel halves to fit the valve on the inner tube.
Nose Gear Leg
The bolt tolerances are tight on the main gear leg after powdercoating, and needed very gentle reaming.
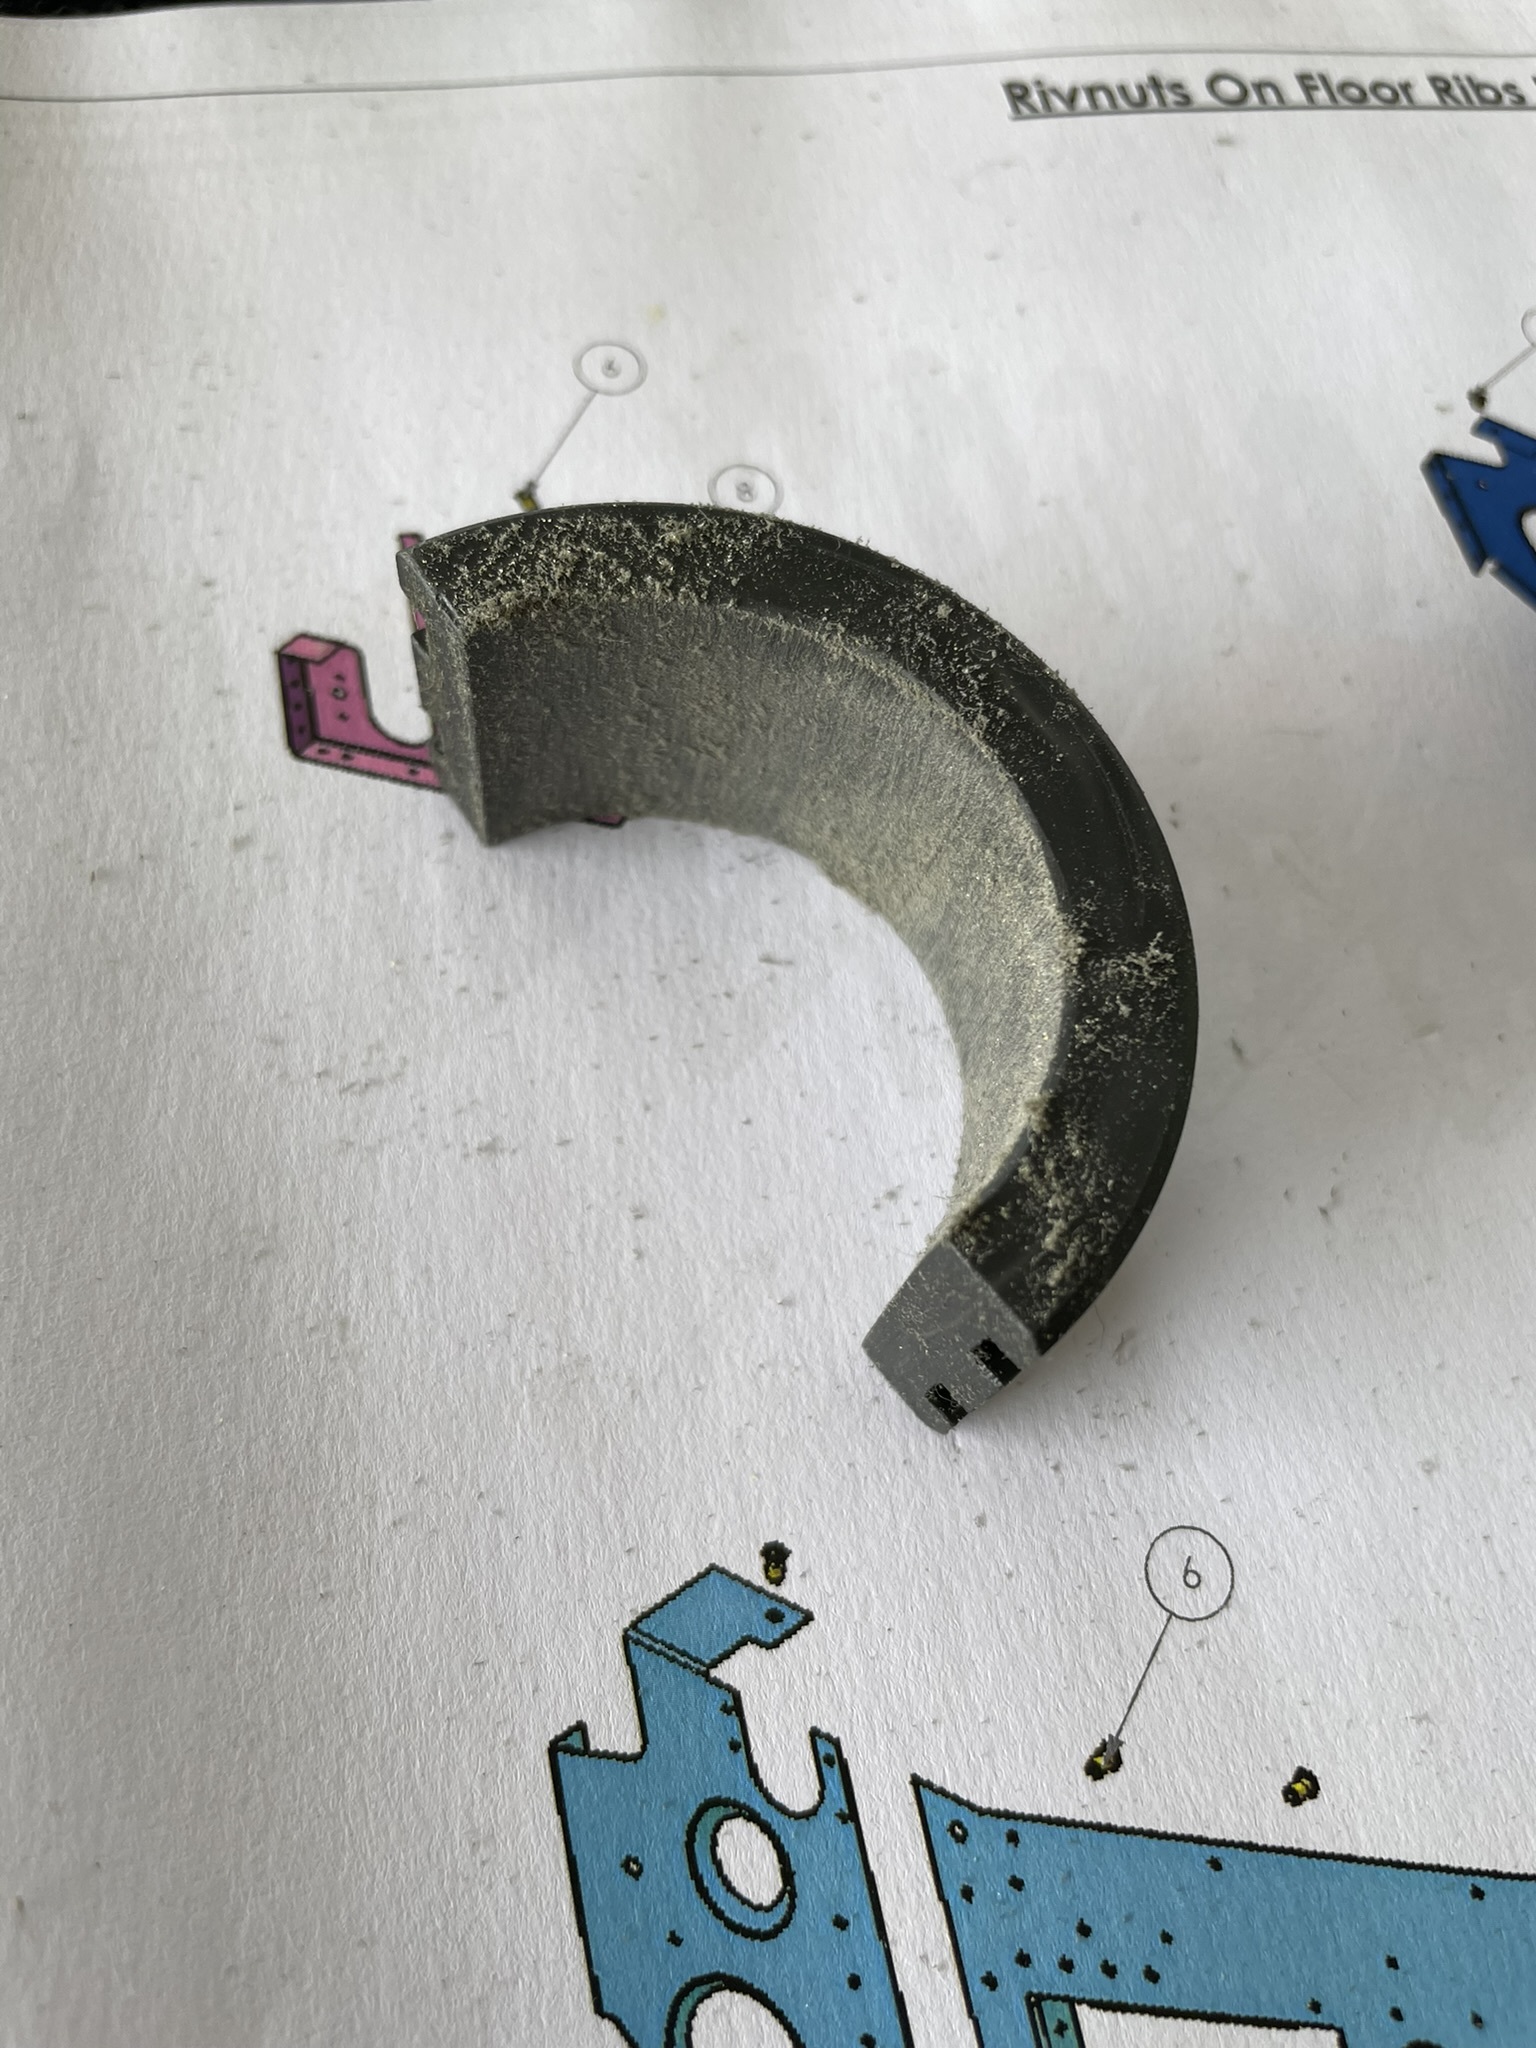
As other builders have noted, it is tricky getting the lower nose gear bushings installed as the act of cutting them in half seems to have been done with a large saw kerf, reducing the inner diameter once they are mated.
I chose to sand mine down with 150 then 600 and 1200 grit sandpaper rather than remove the powdercoating from the gear leg. This is tedious as lots of trial and error is required so that too much material is not removed.
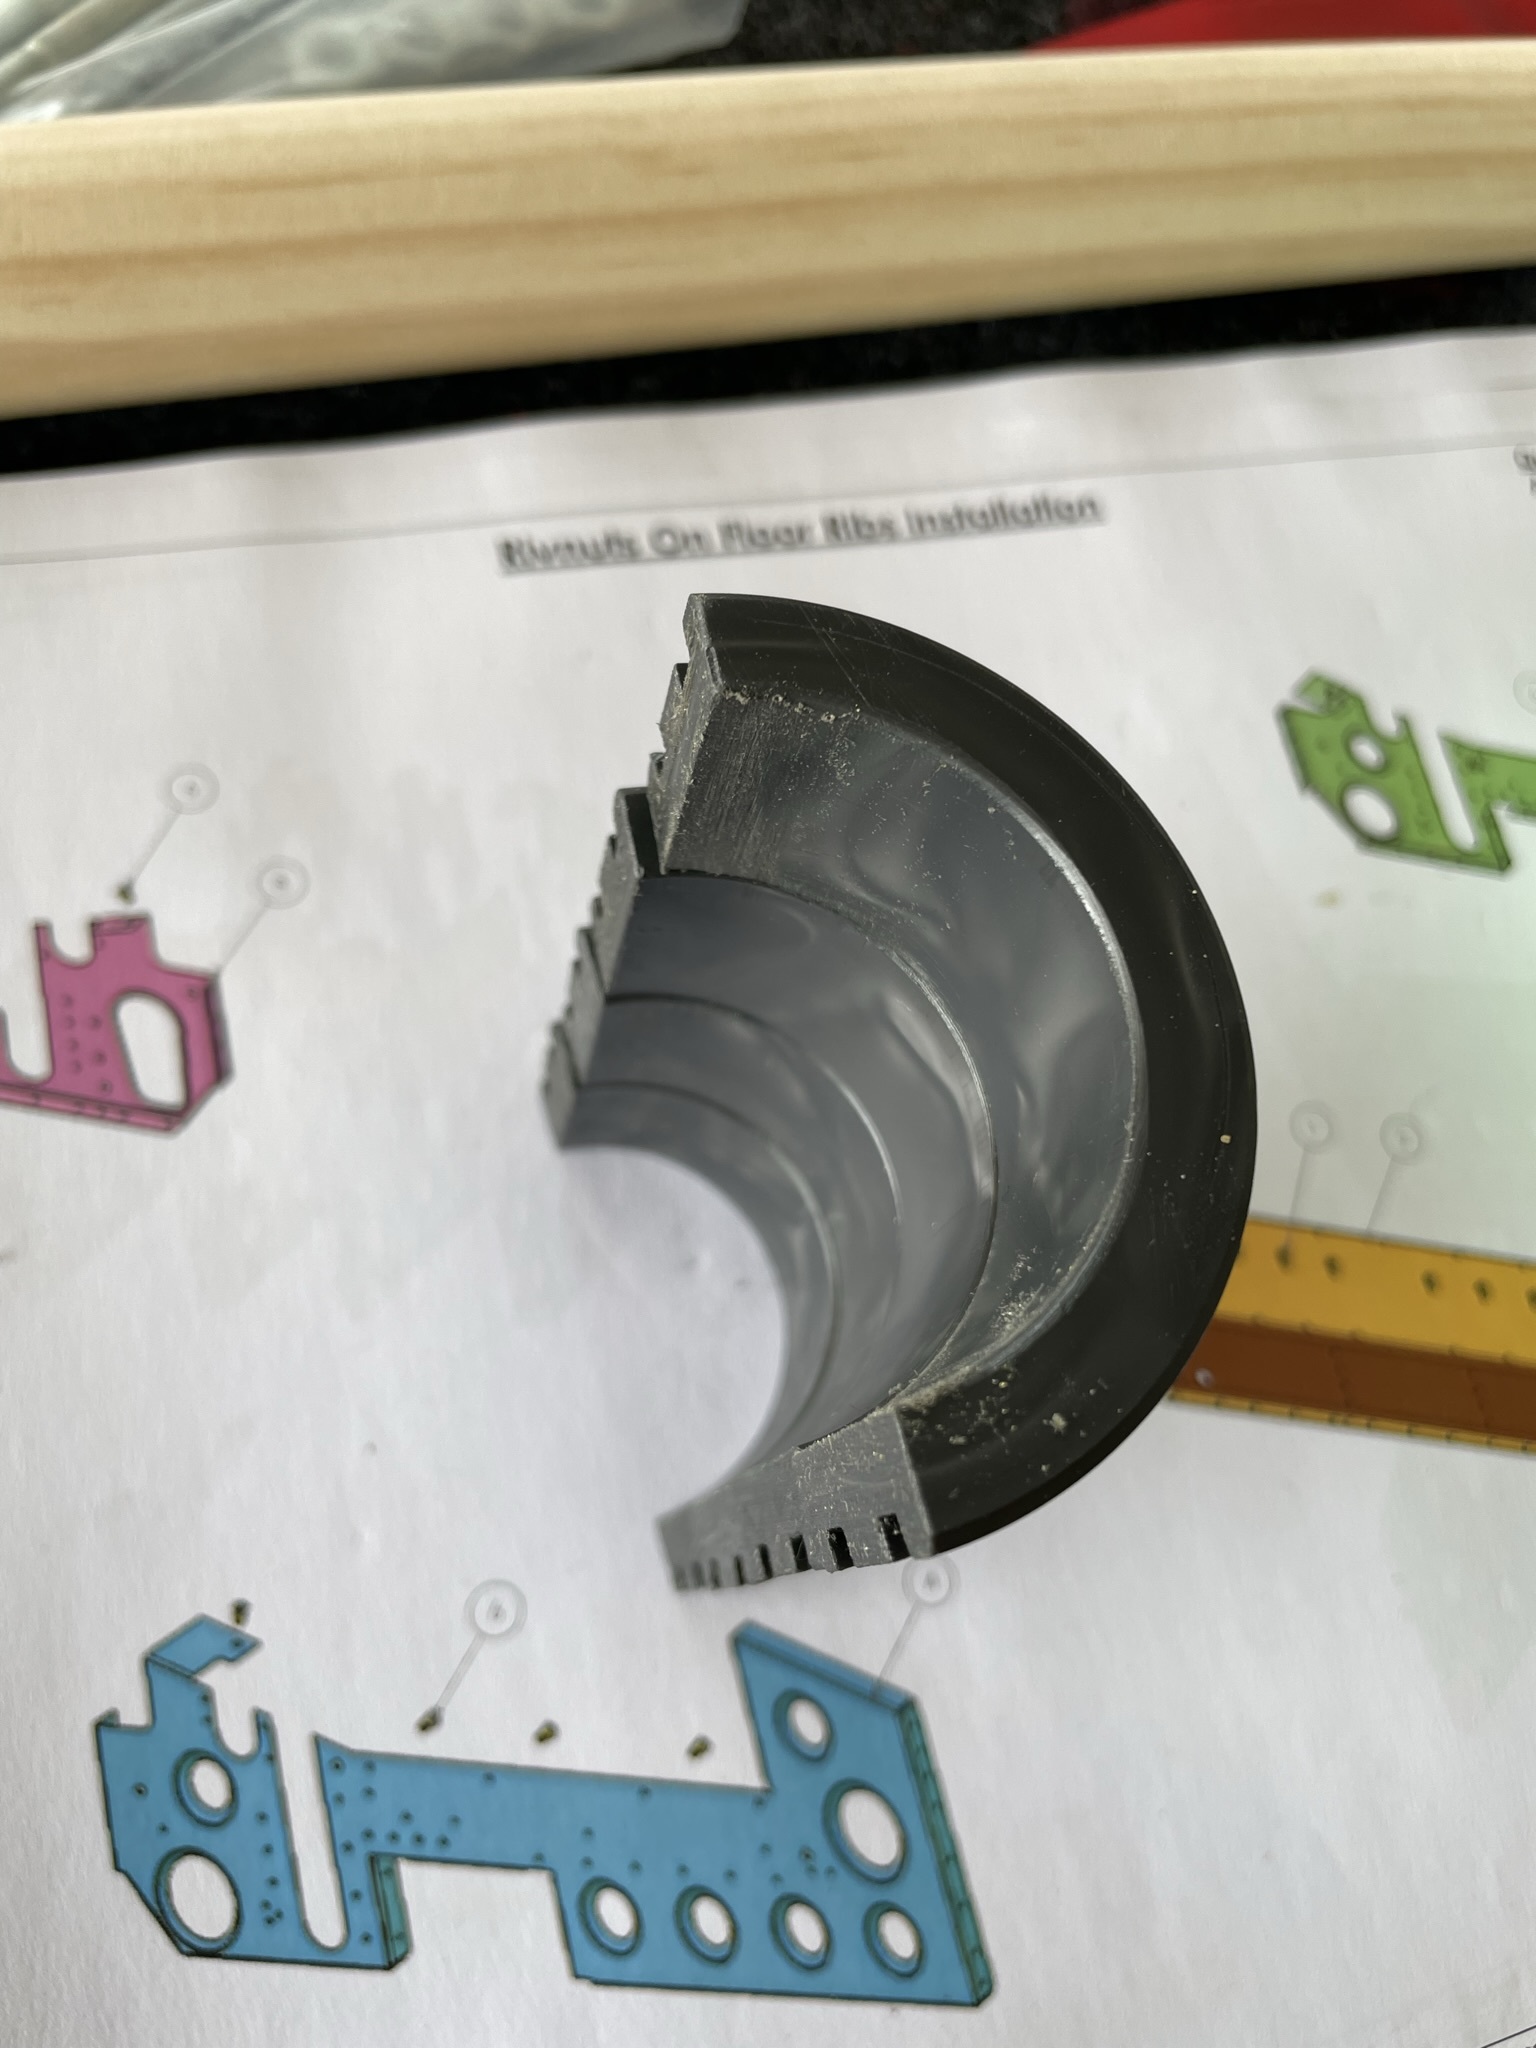
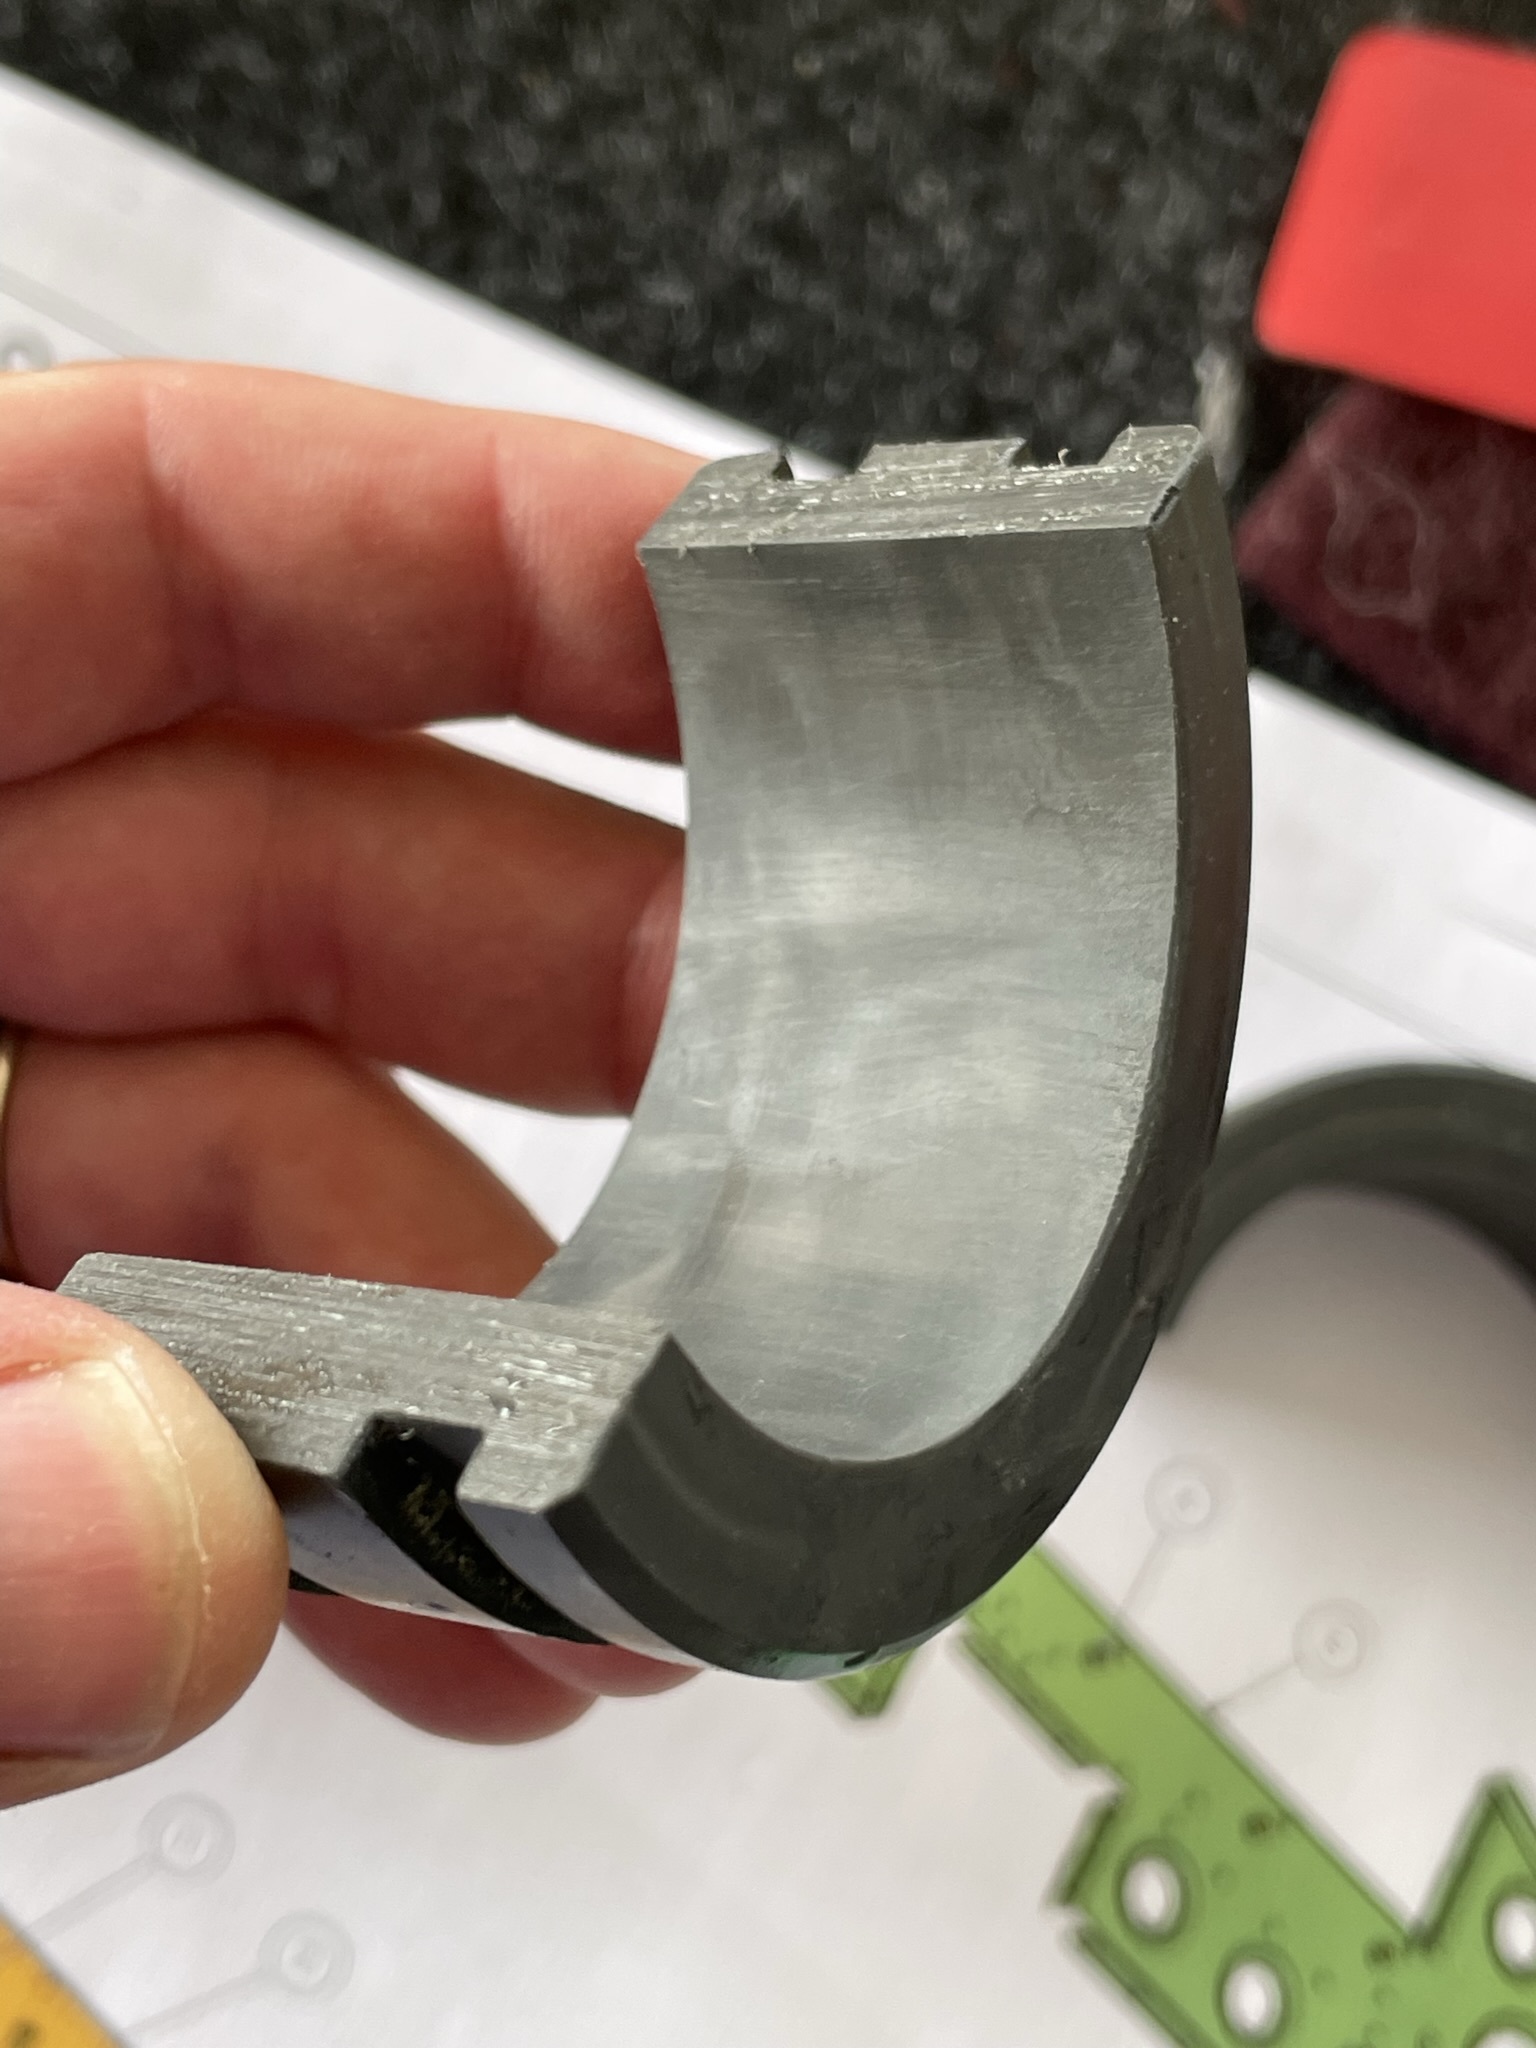
Eventually these are just right and in combination with lithium grease inside the bushings, the nose gear turns smoothly with minimum resistance.
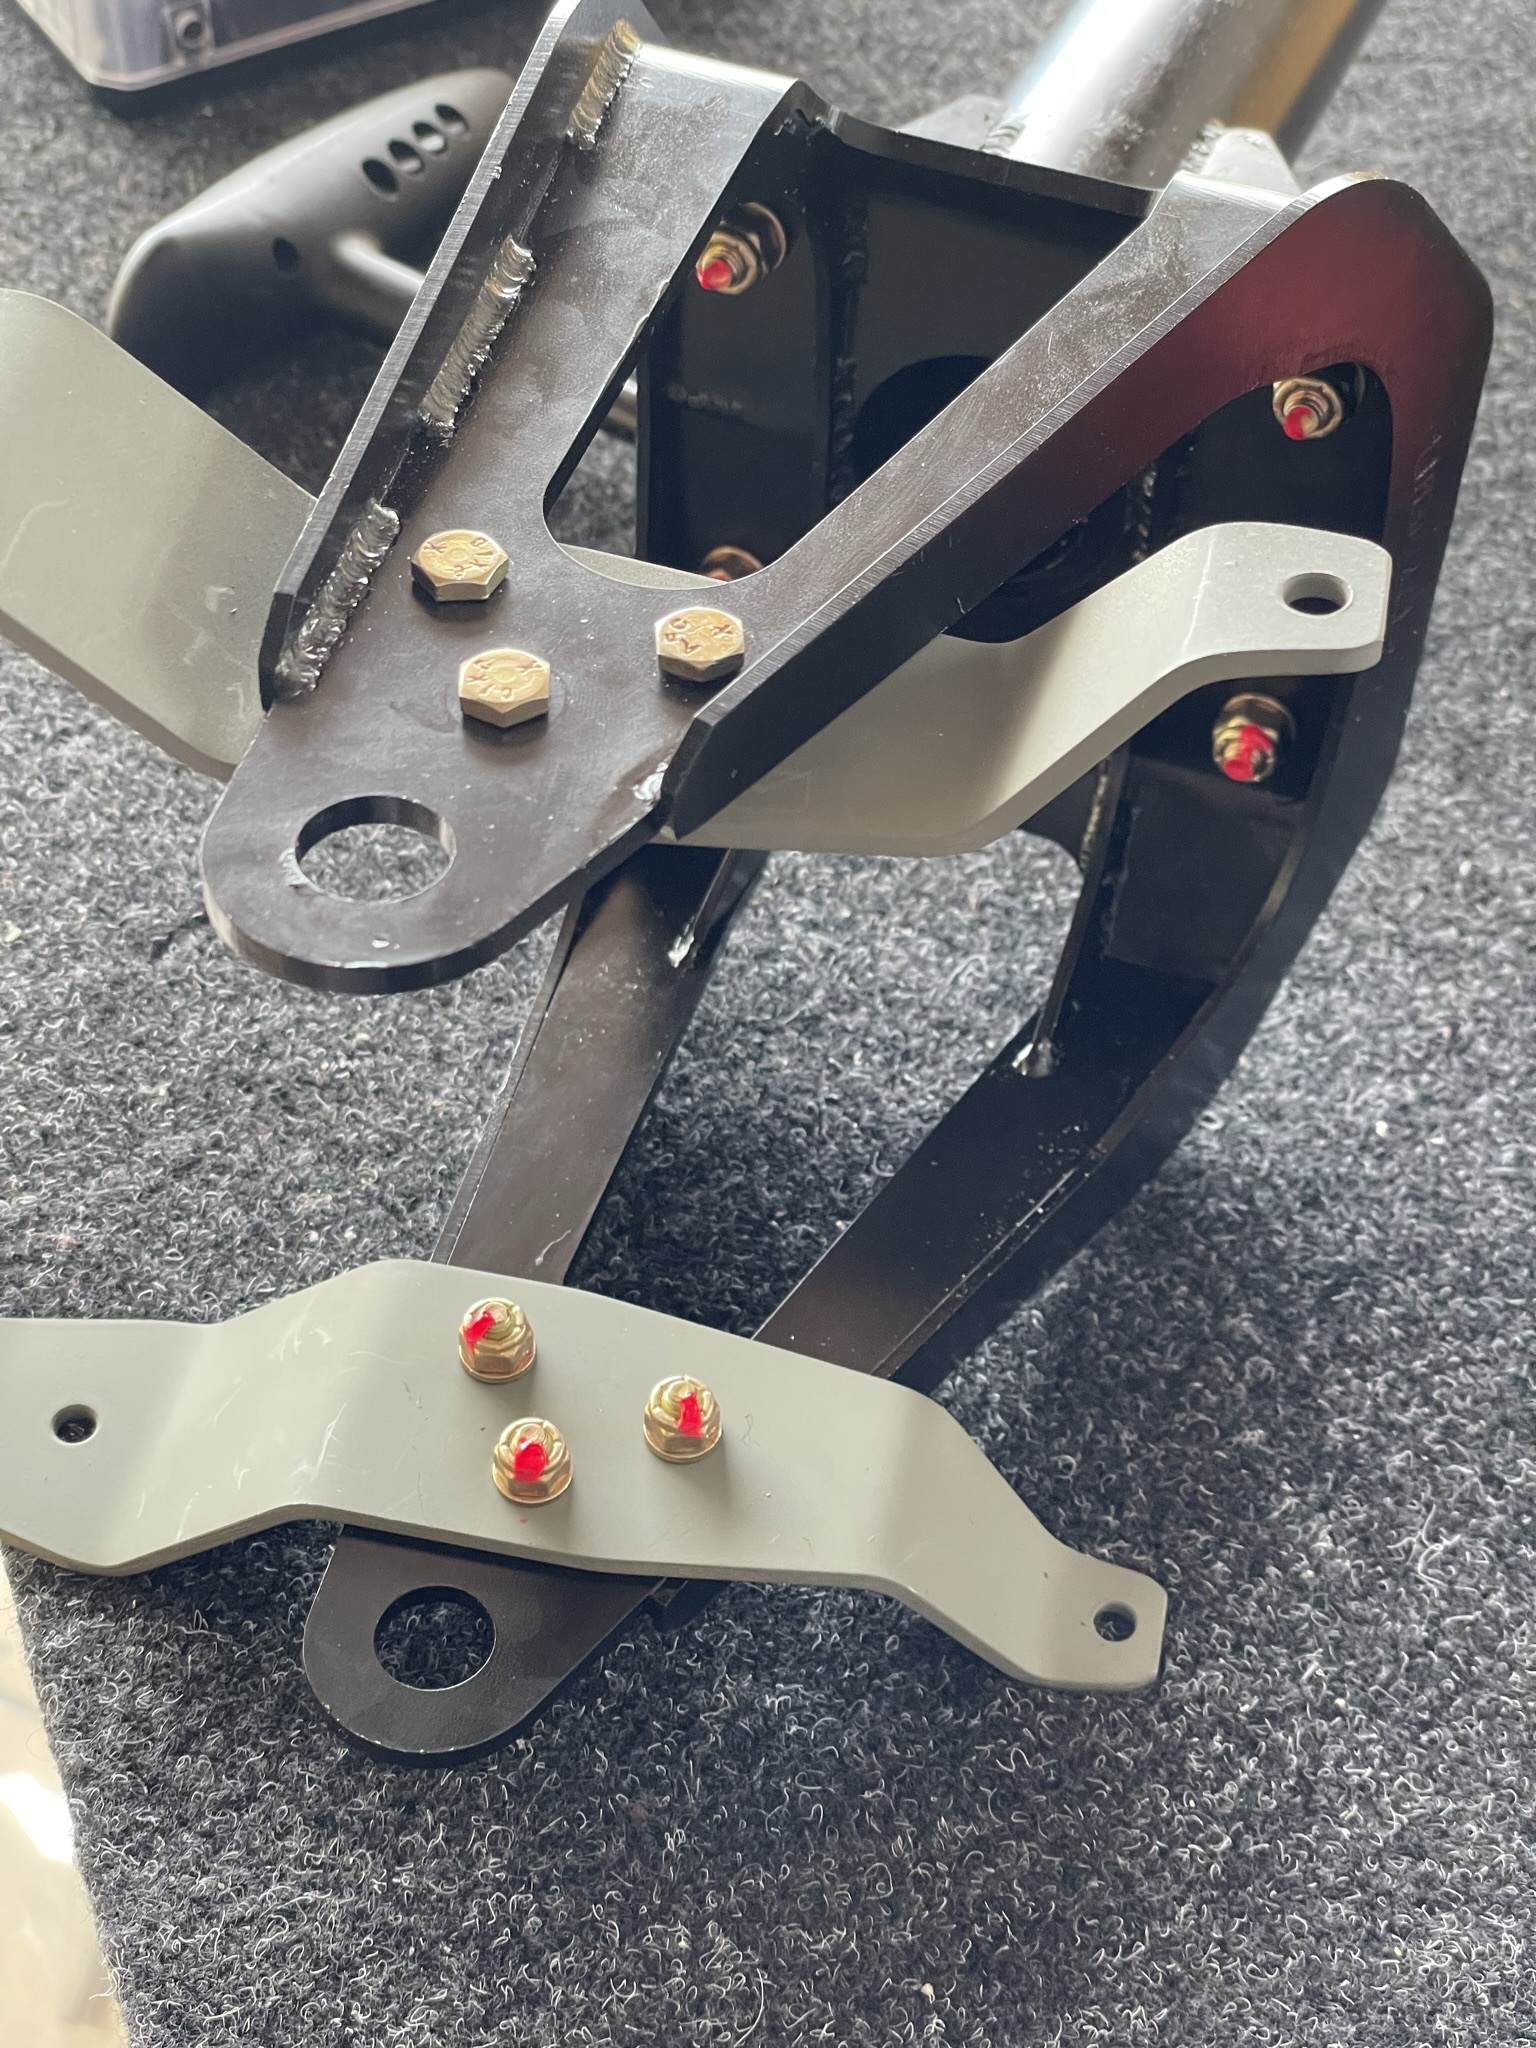
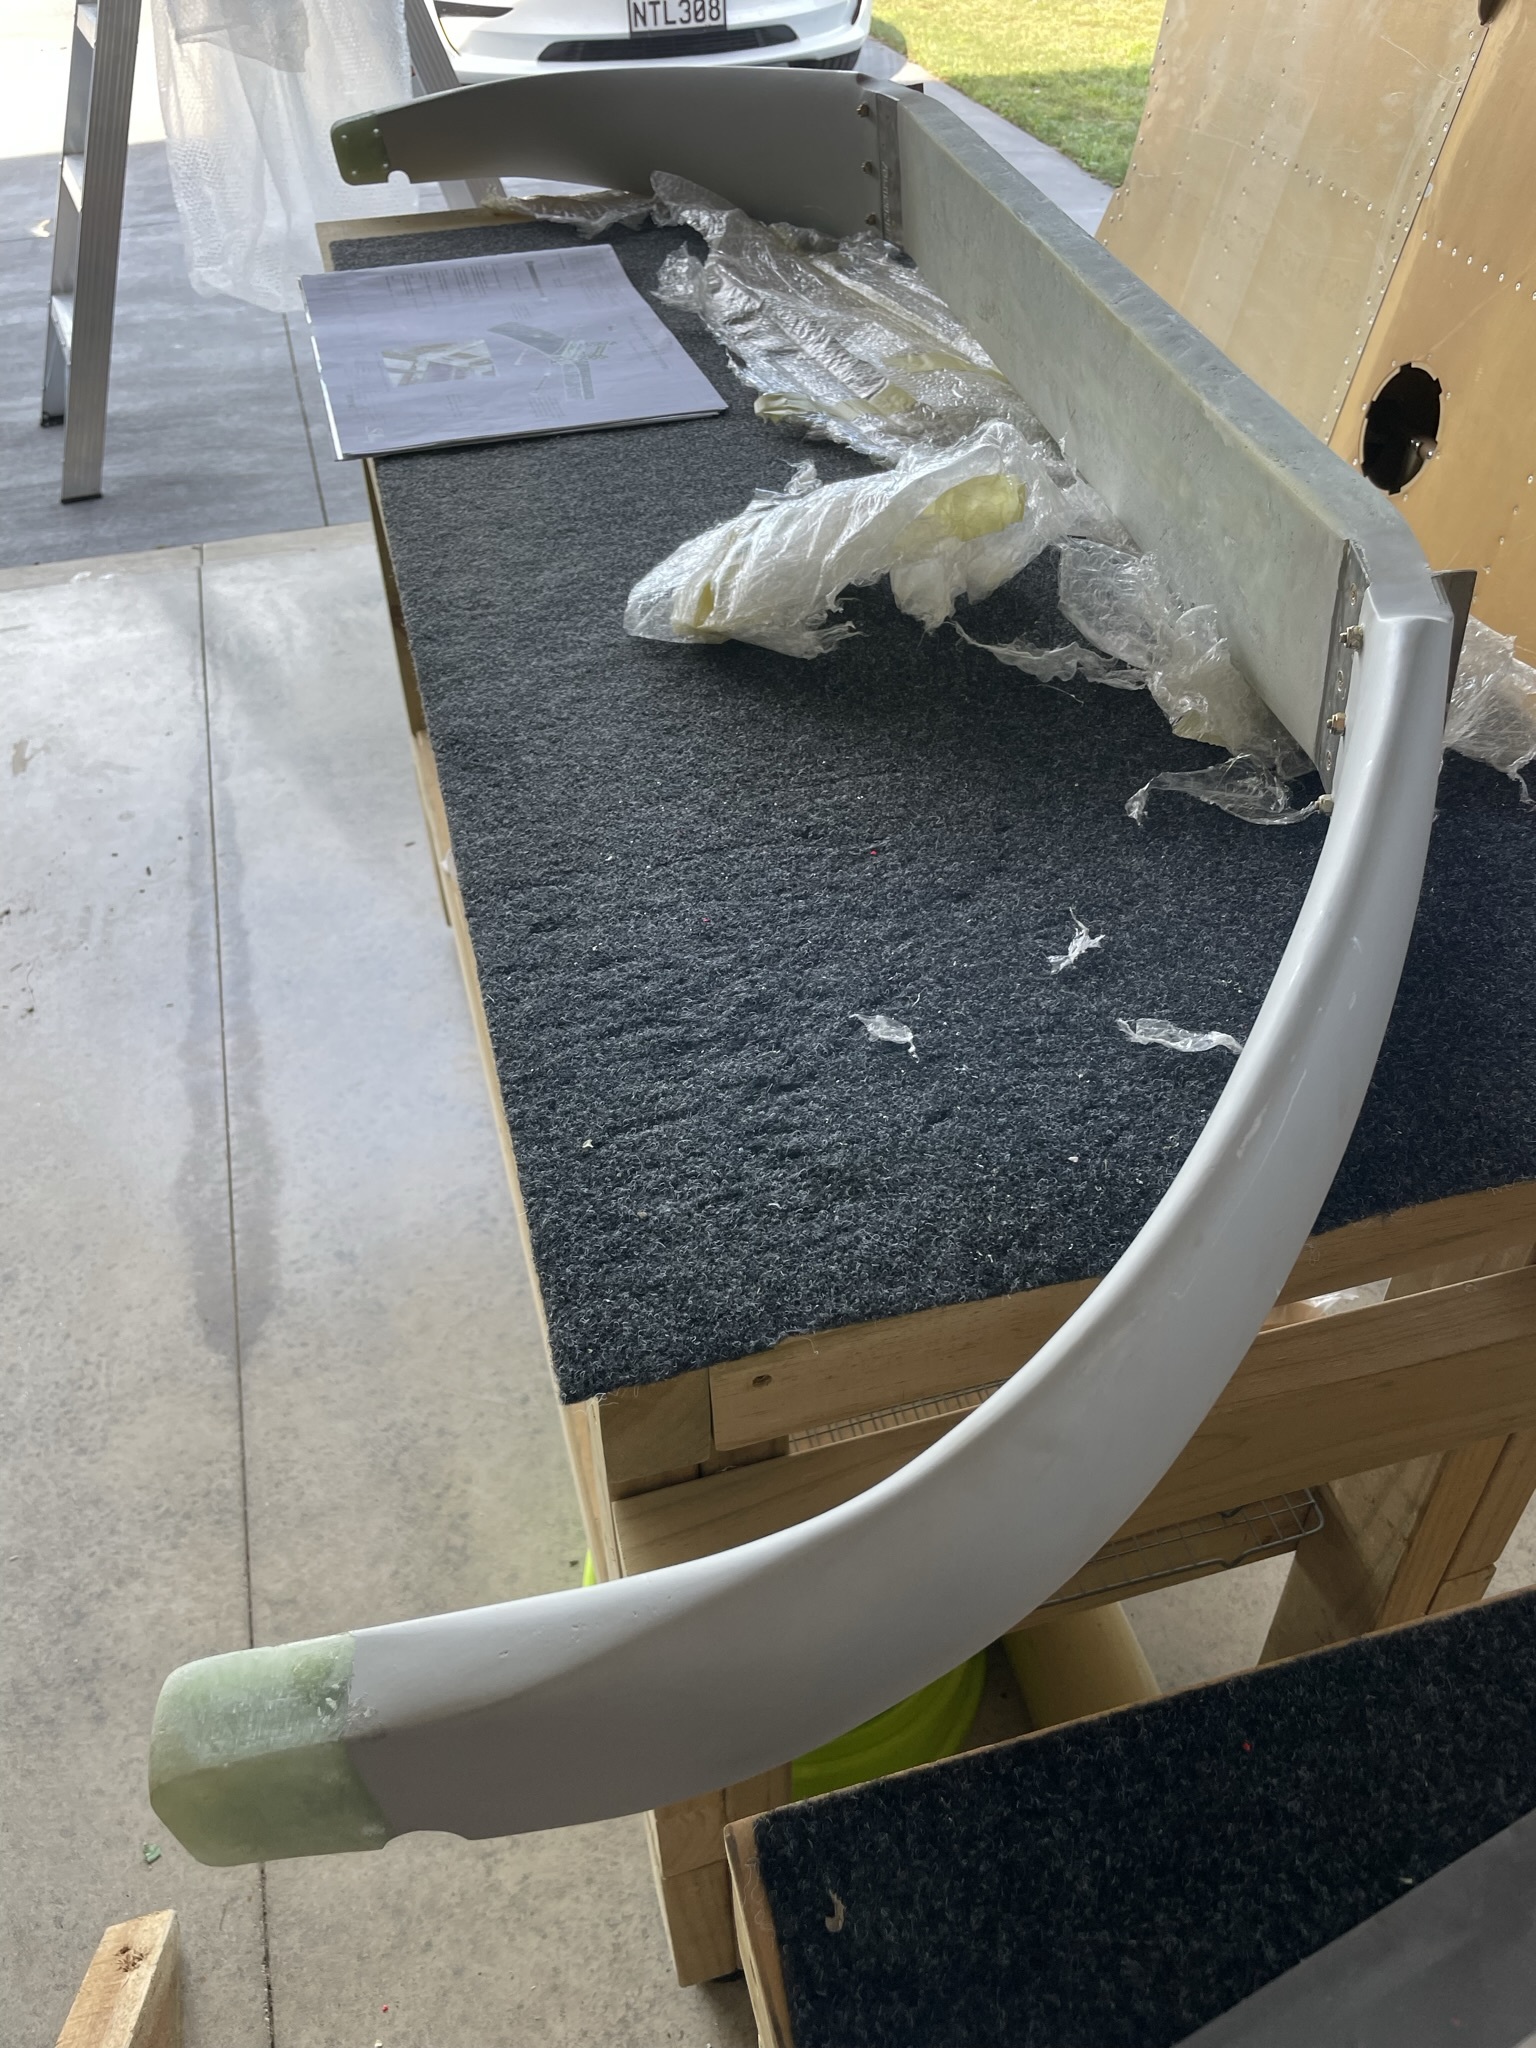
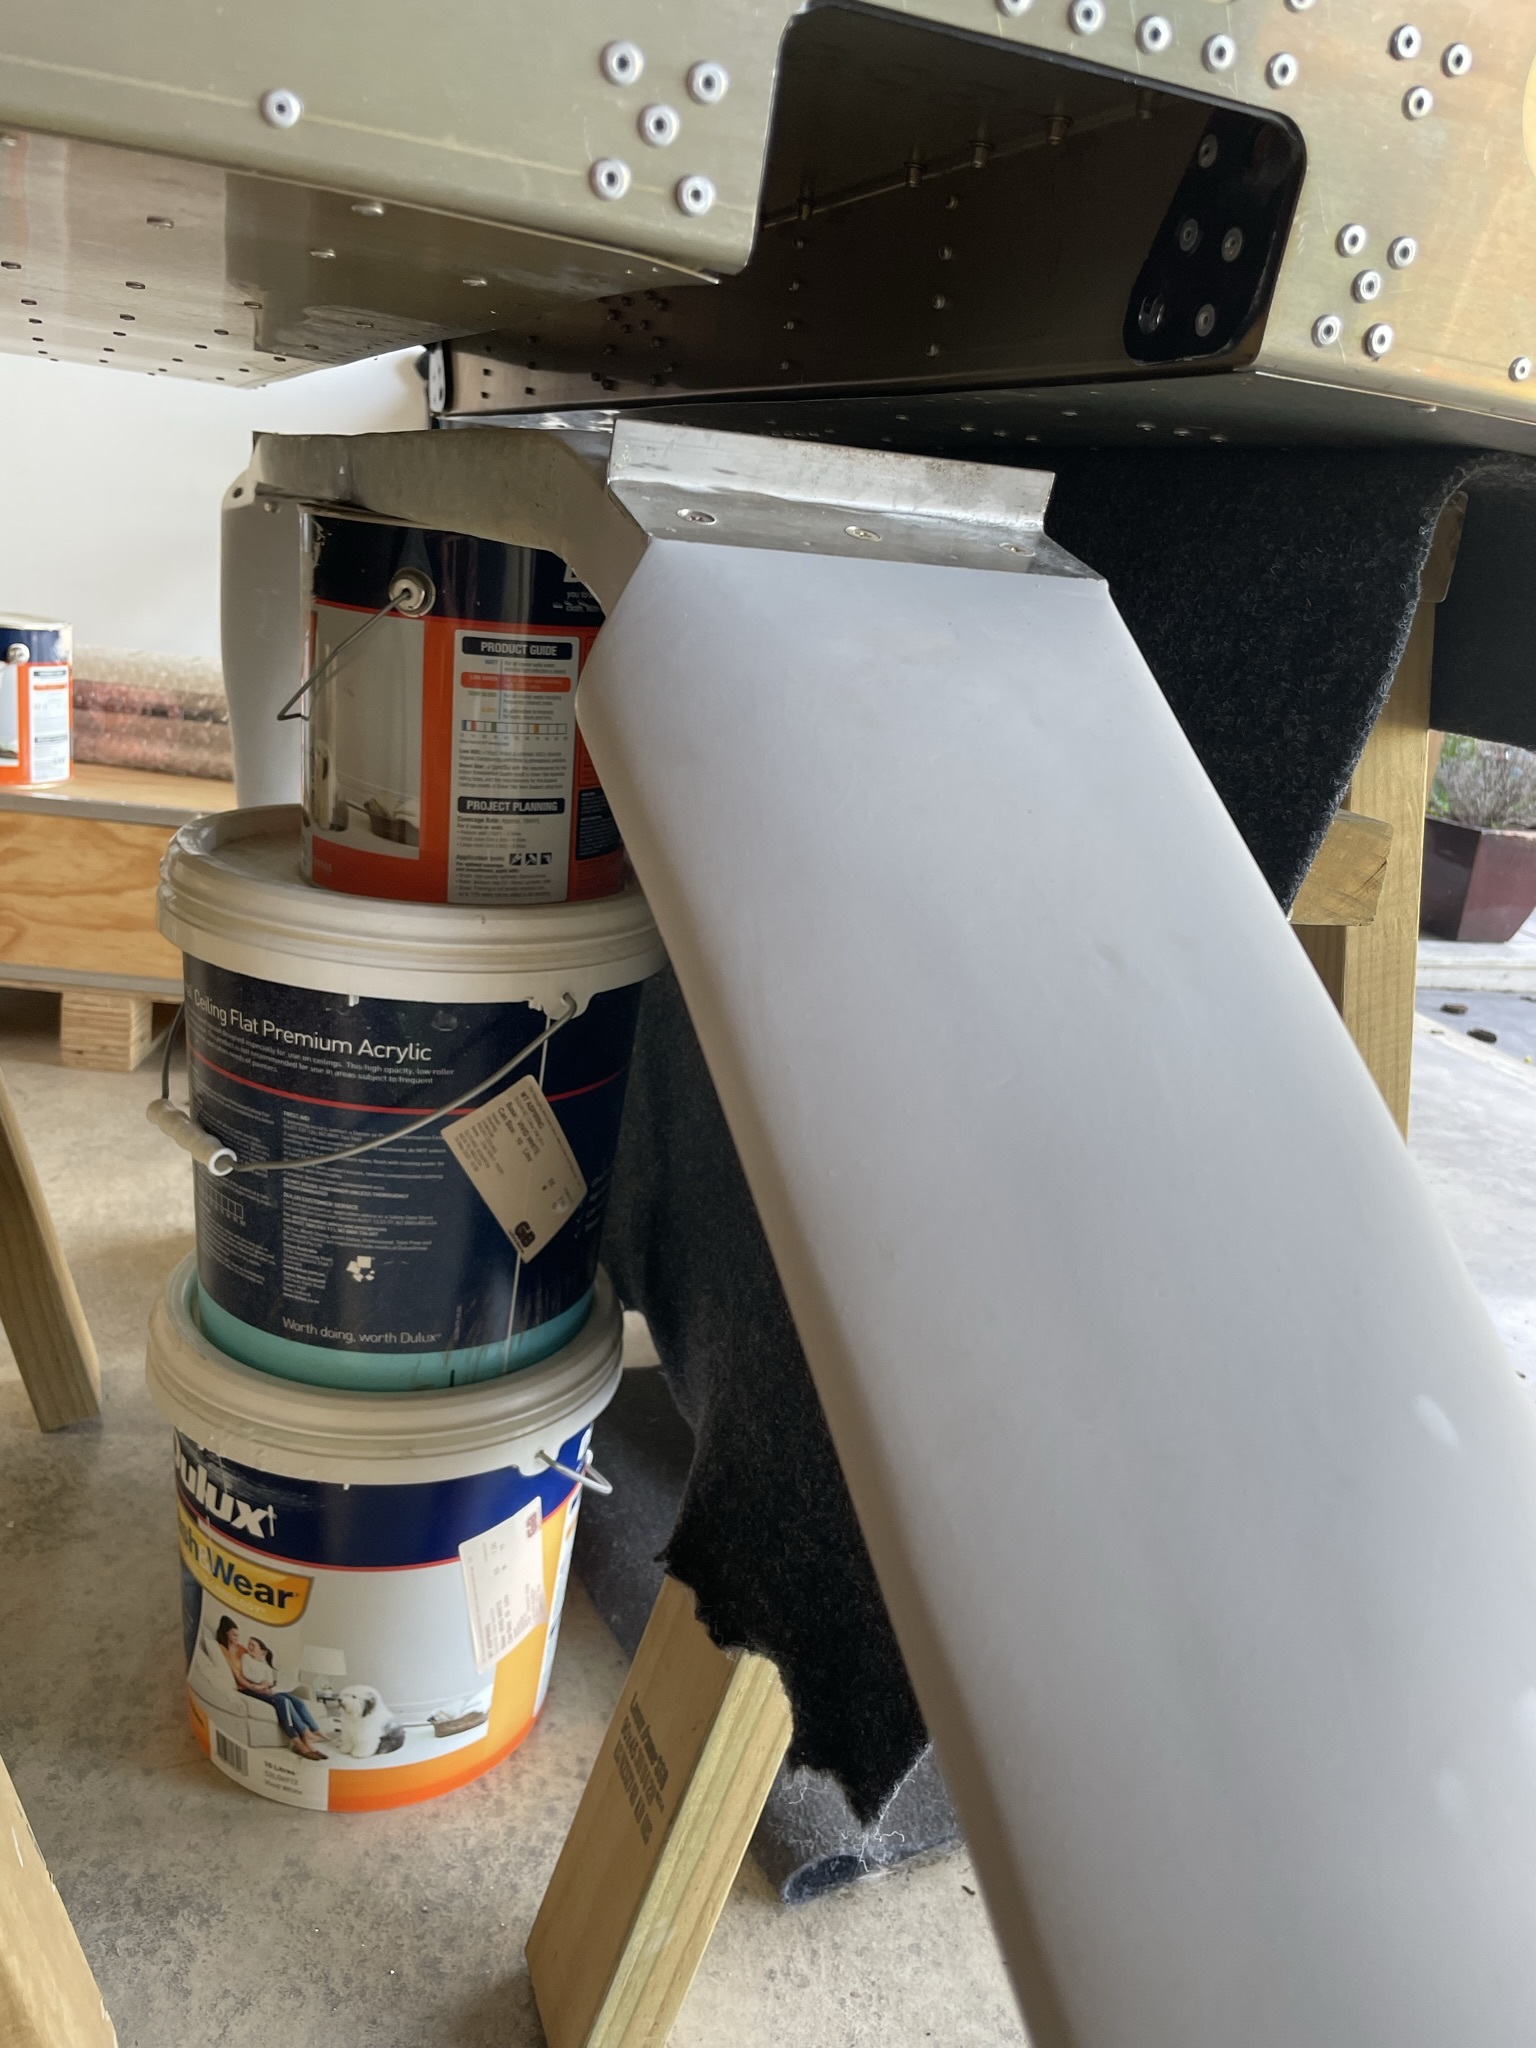
Main Gear Leg
My main wheel hubs have been delayed, but I figured it was worth getting the main gear leg on in readiness. This was a difficult job and needs at least two people, as you need to manipulate it outside while the bolts are threaded inside the fuselage.
There are two bolts that hold each side of the leg, and they are in fact above and below the leg, rather than through it, so it can flex on landing.
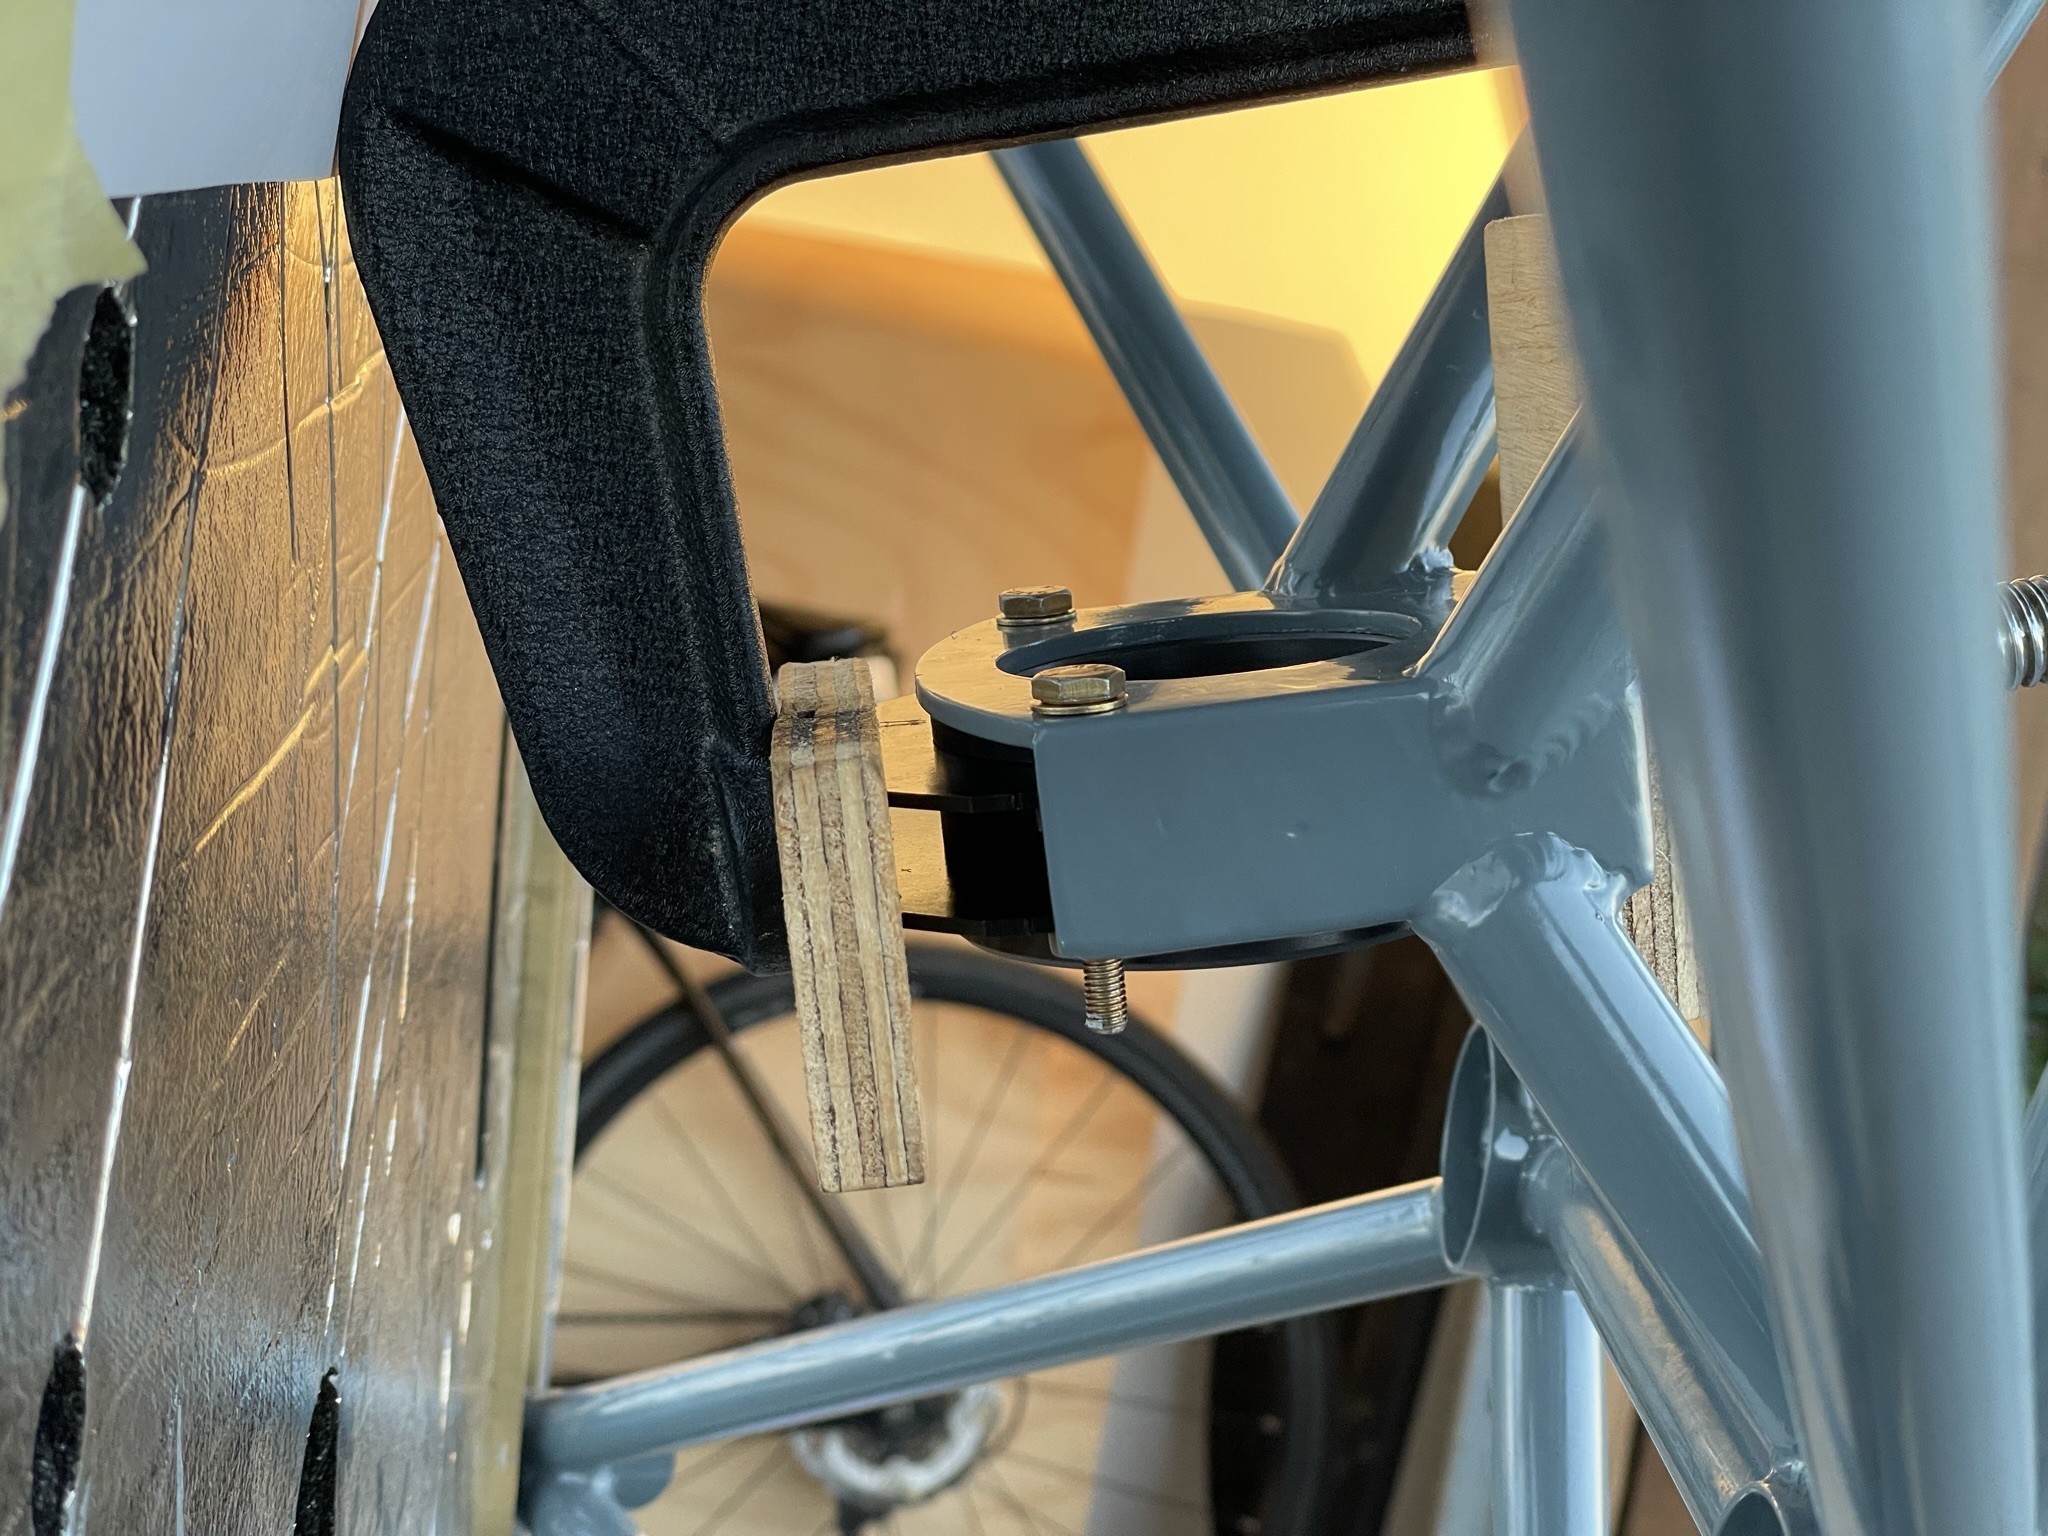
The tolerance to pass these bolts is incredibly tight and they just do not fit without some (lots of) pressure on the legs to bend them in or out to align them with the bolt holes in the fuselage.
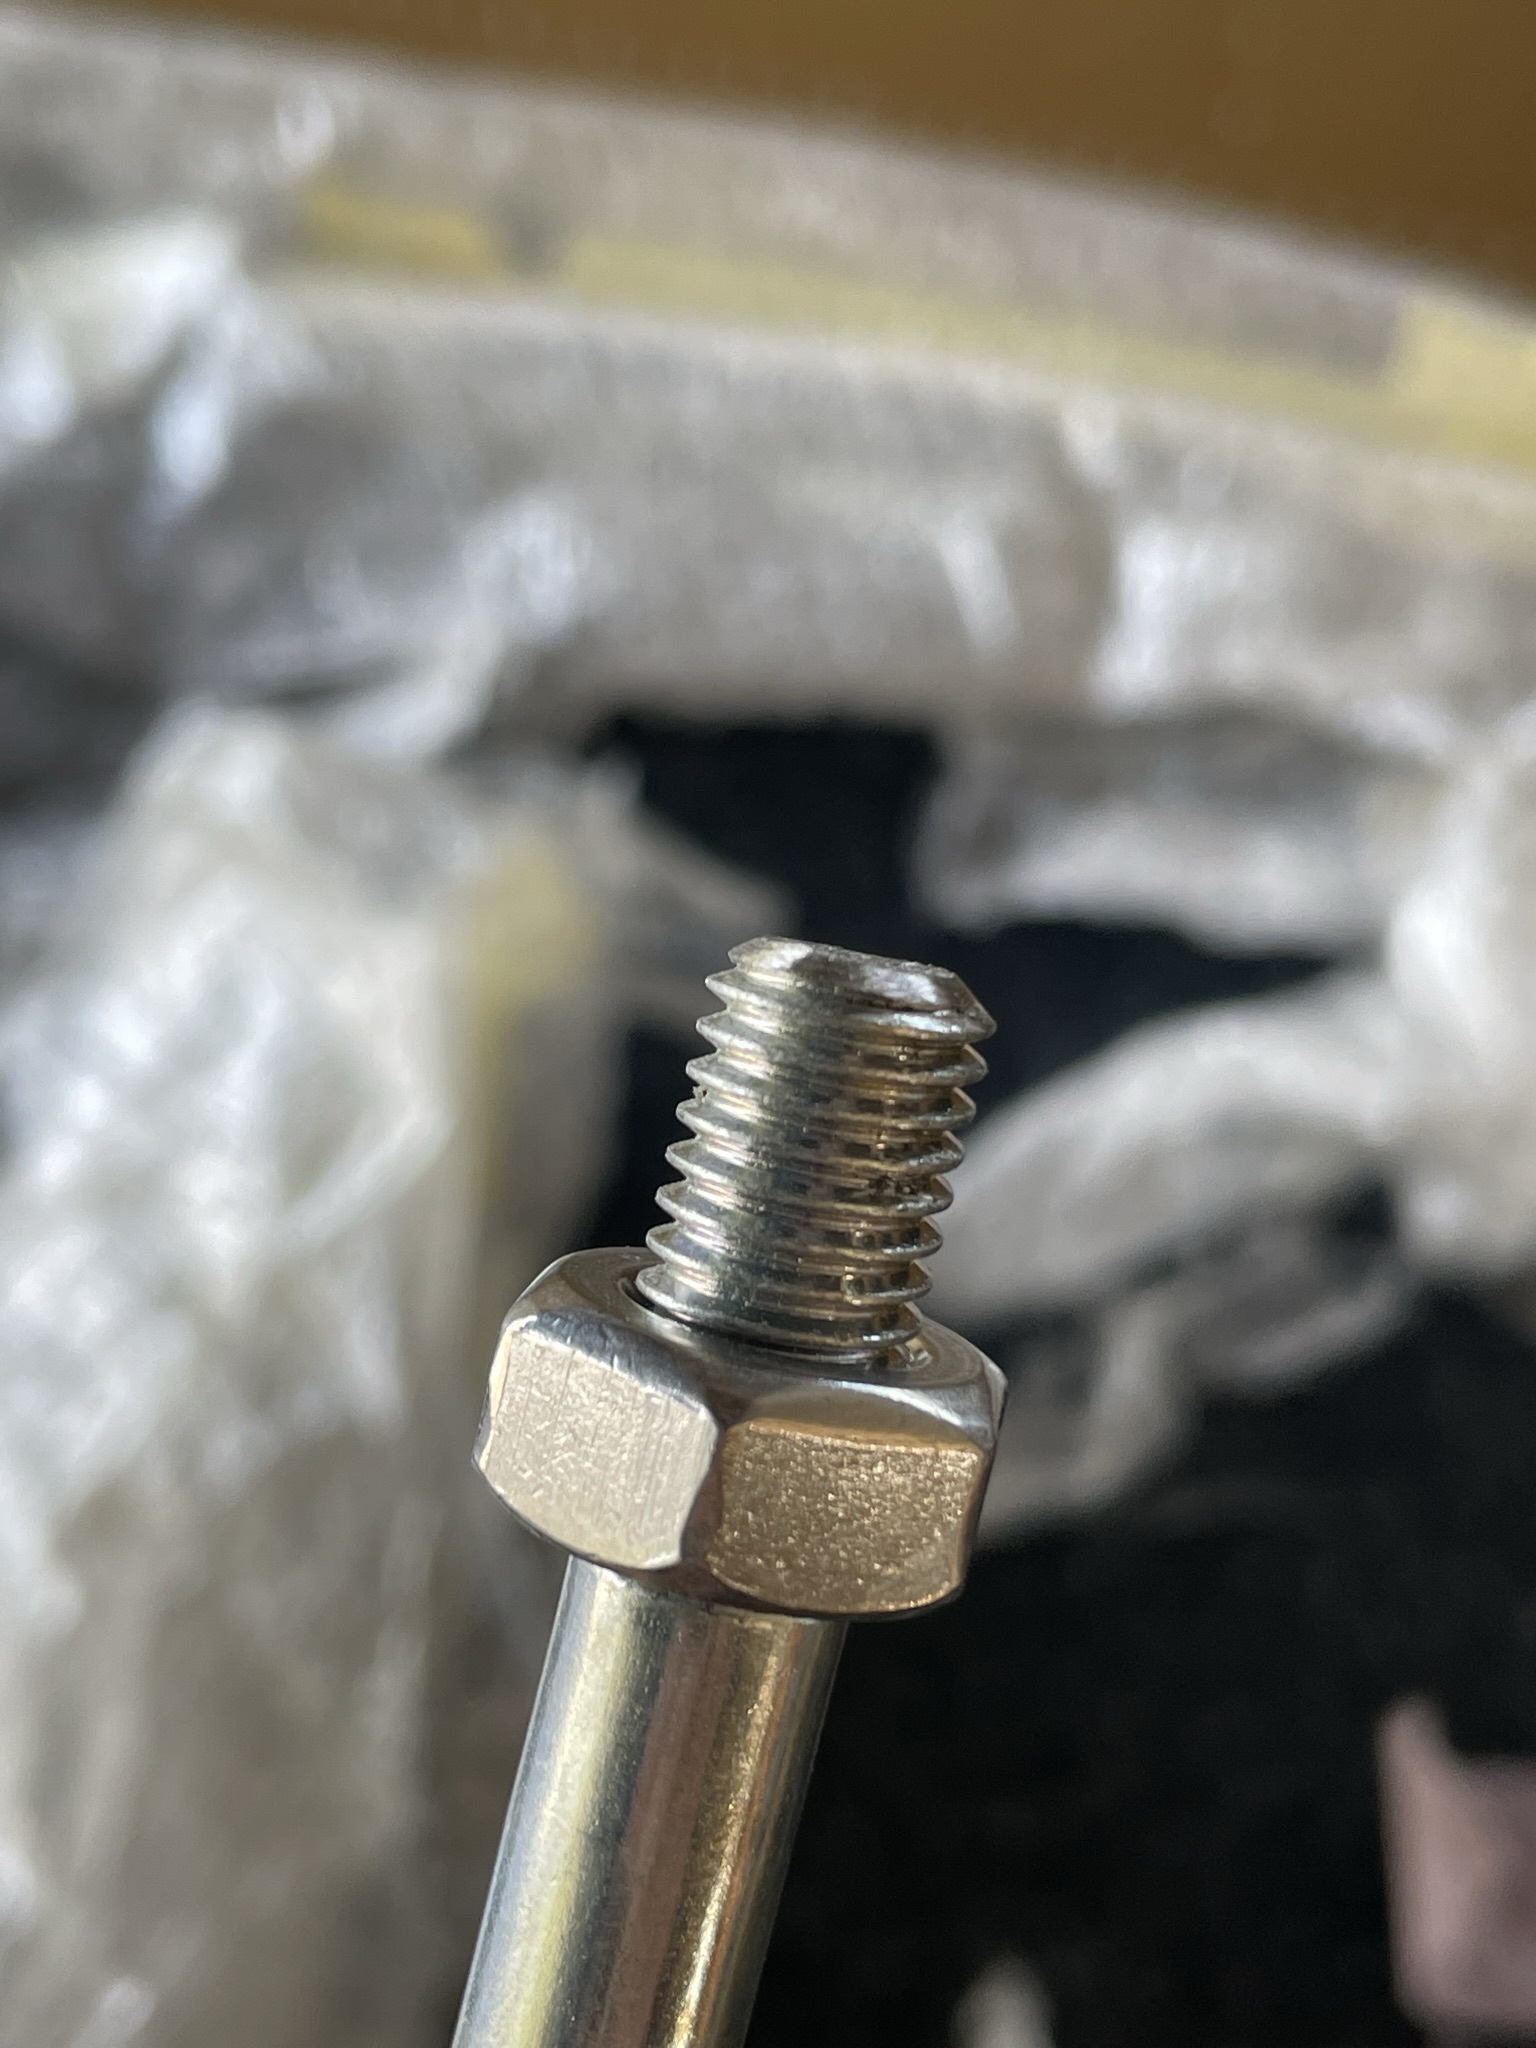
After hammering out the transport bolts and wood spacer, I shortened the bolts to 135mm using a 32tpi hacksaw blade. If you clamp the sacrificial end and thread a spare nut on before cutting, removing the nut straightens any damaged thread at the end.

You can then dress the end of the bolt with a grinder at a 45° angle and it comes out very nicely. Its a good idea to taper the bolt somewhat to make it easier to pass through the holes.
I ended up using a car jack and 2x4 as a spreader to get the two top bolts in, and in fact the leg can be held with just these two bolts as the metal bolt guides in the leg are angled outwards. Then the bottom two are fitted with the legs pulled in using a ratchet tie-down.
