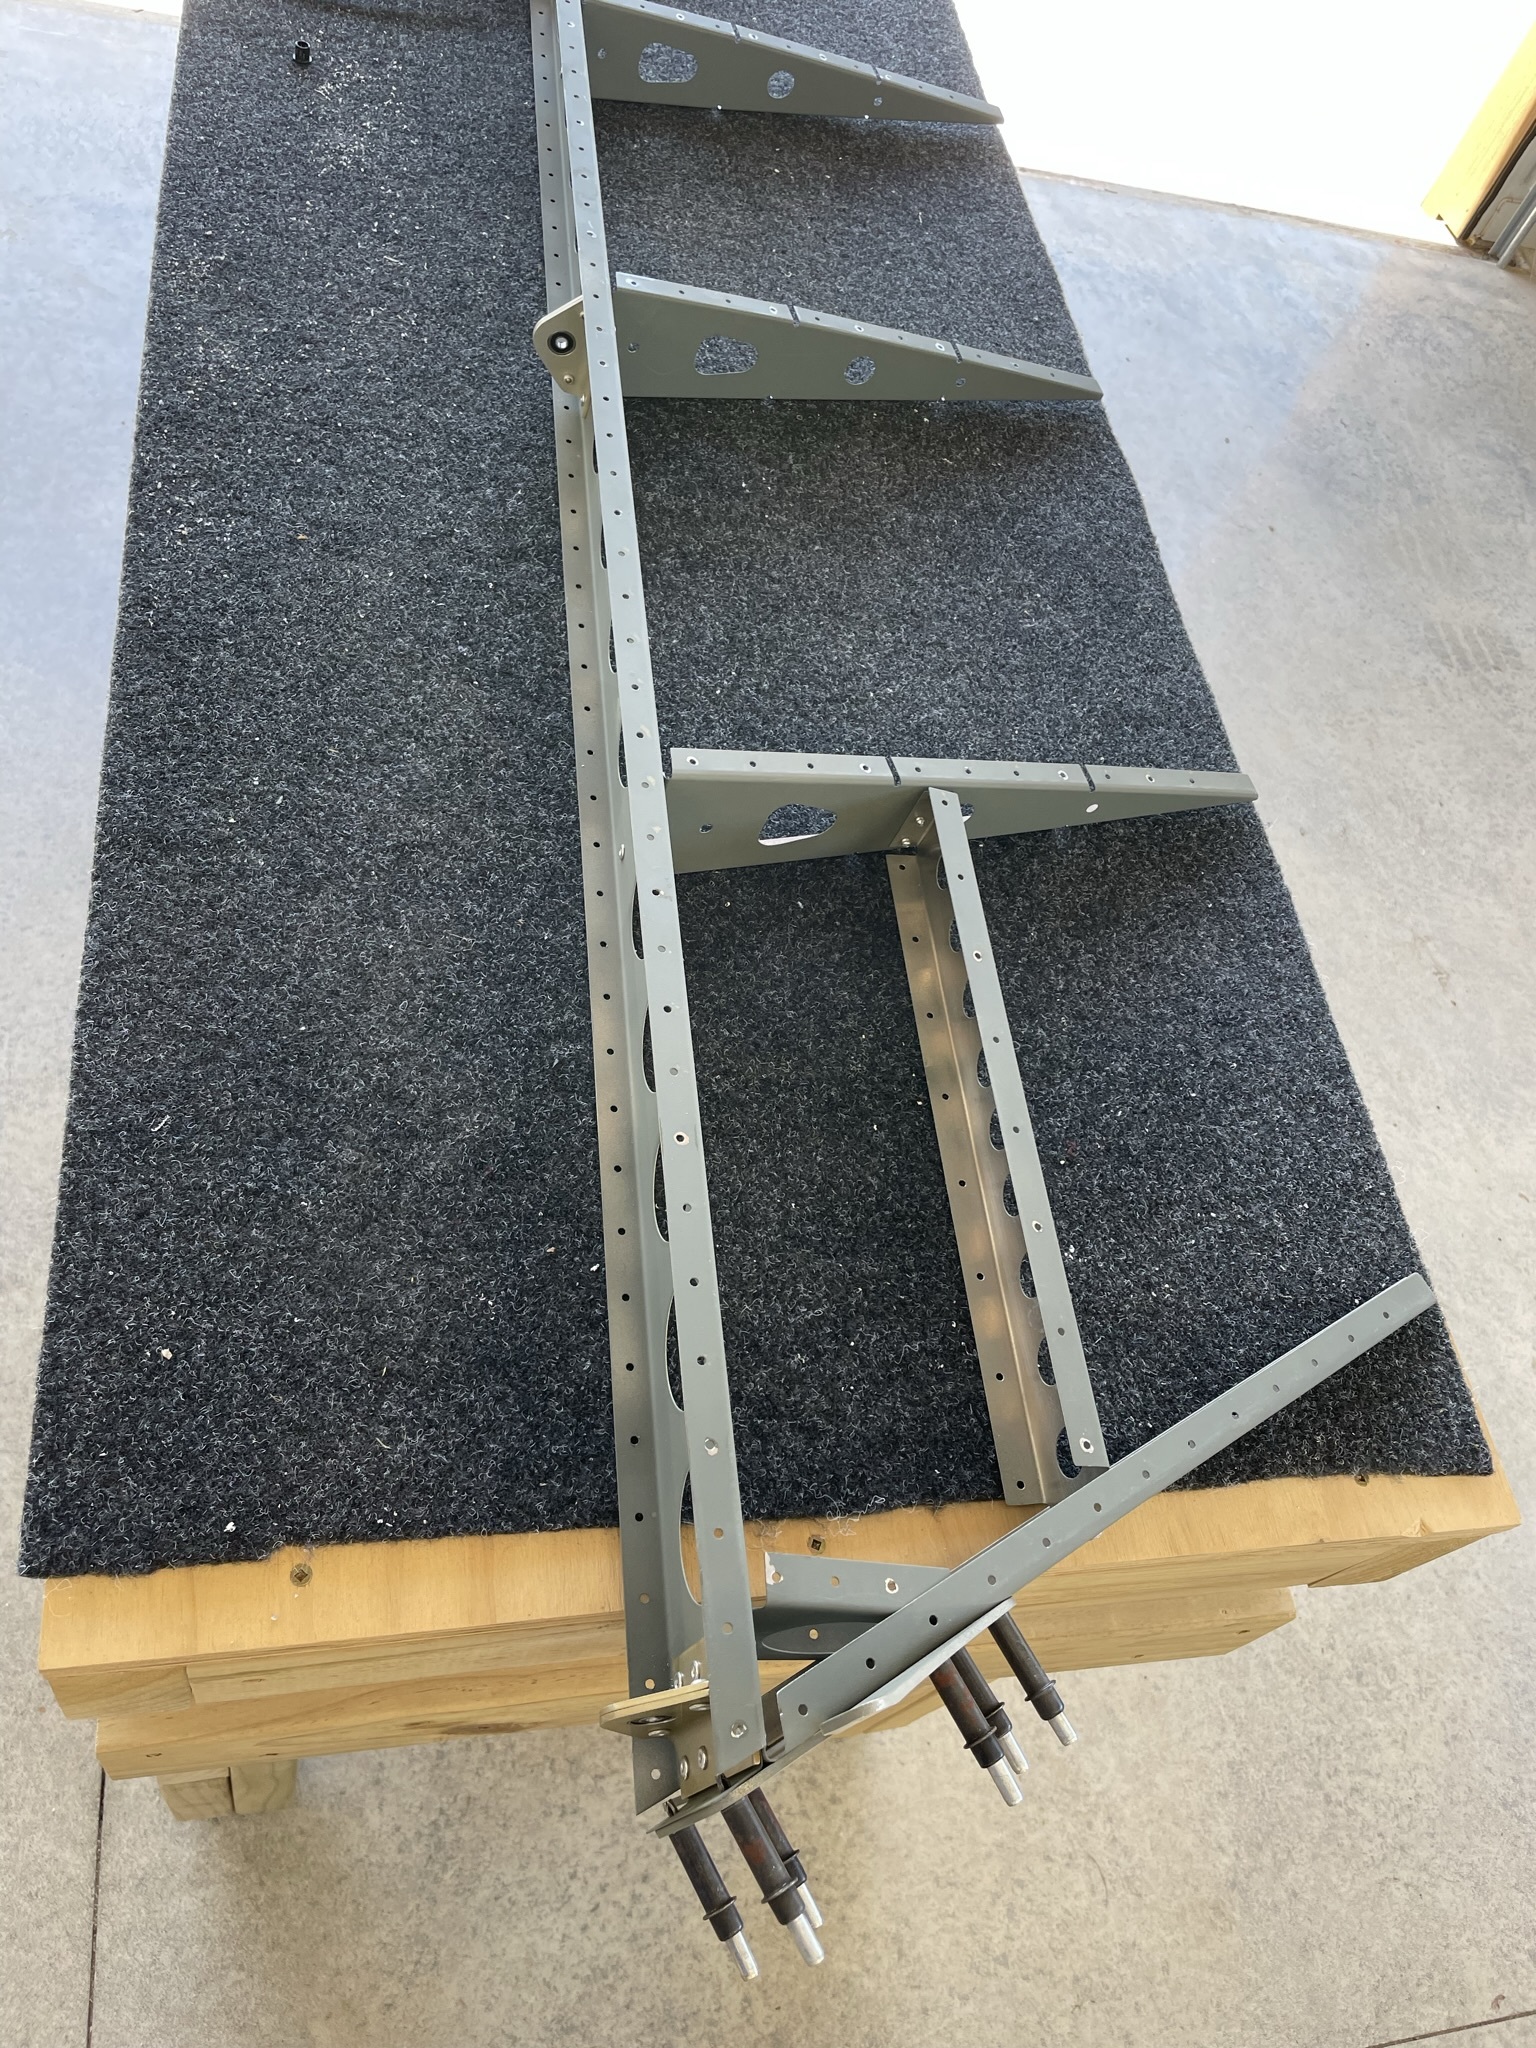
Rudder Completion
Rudder systems completion
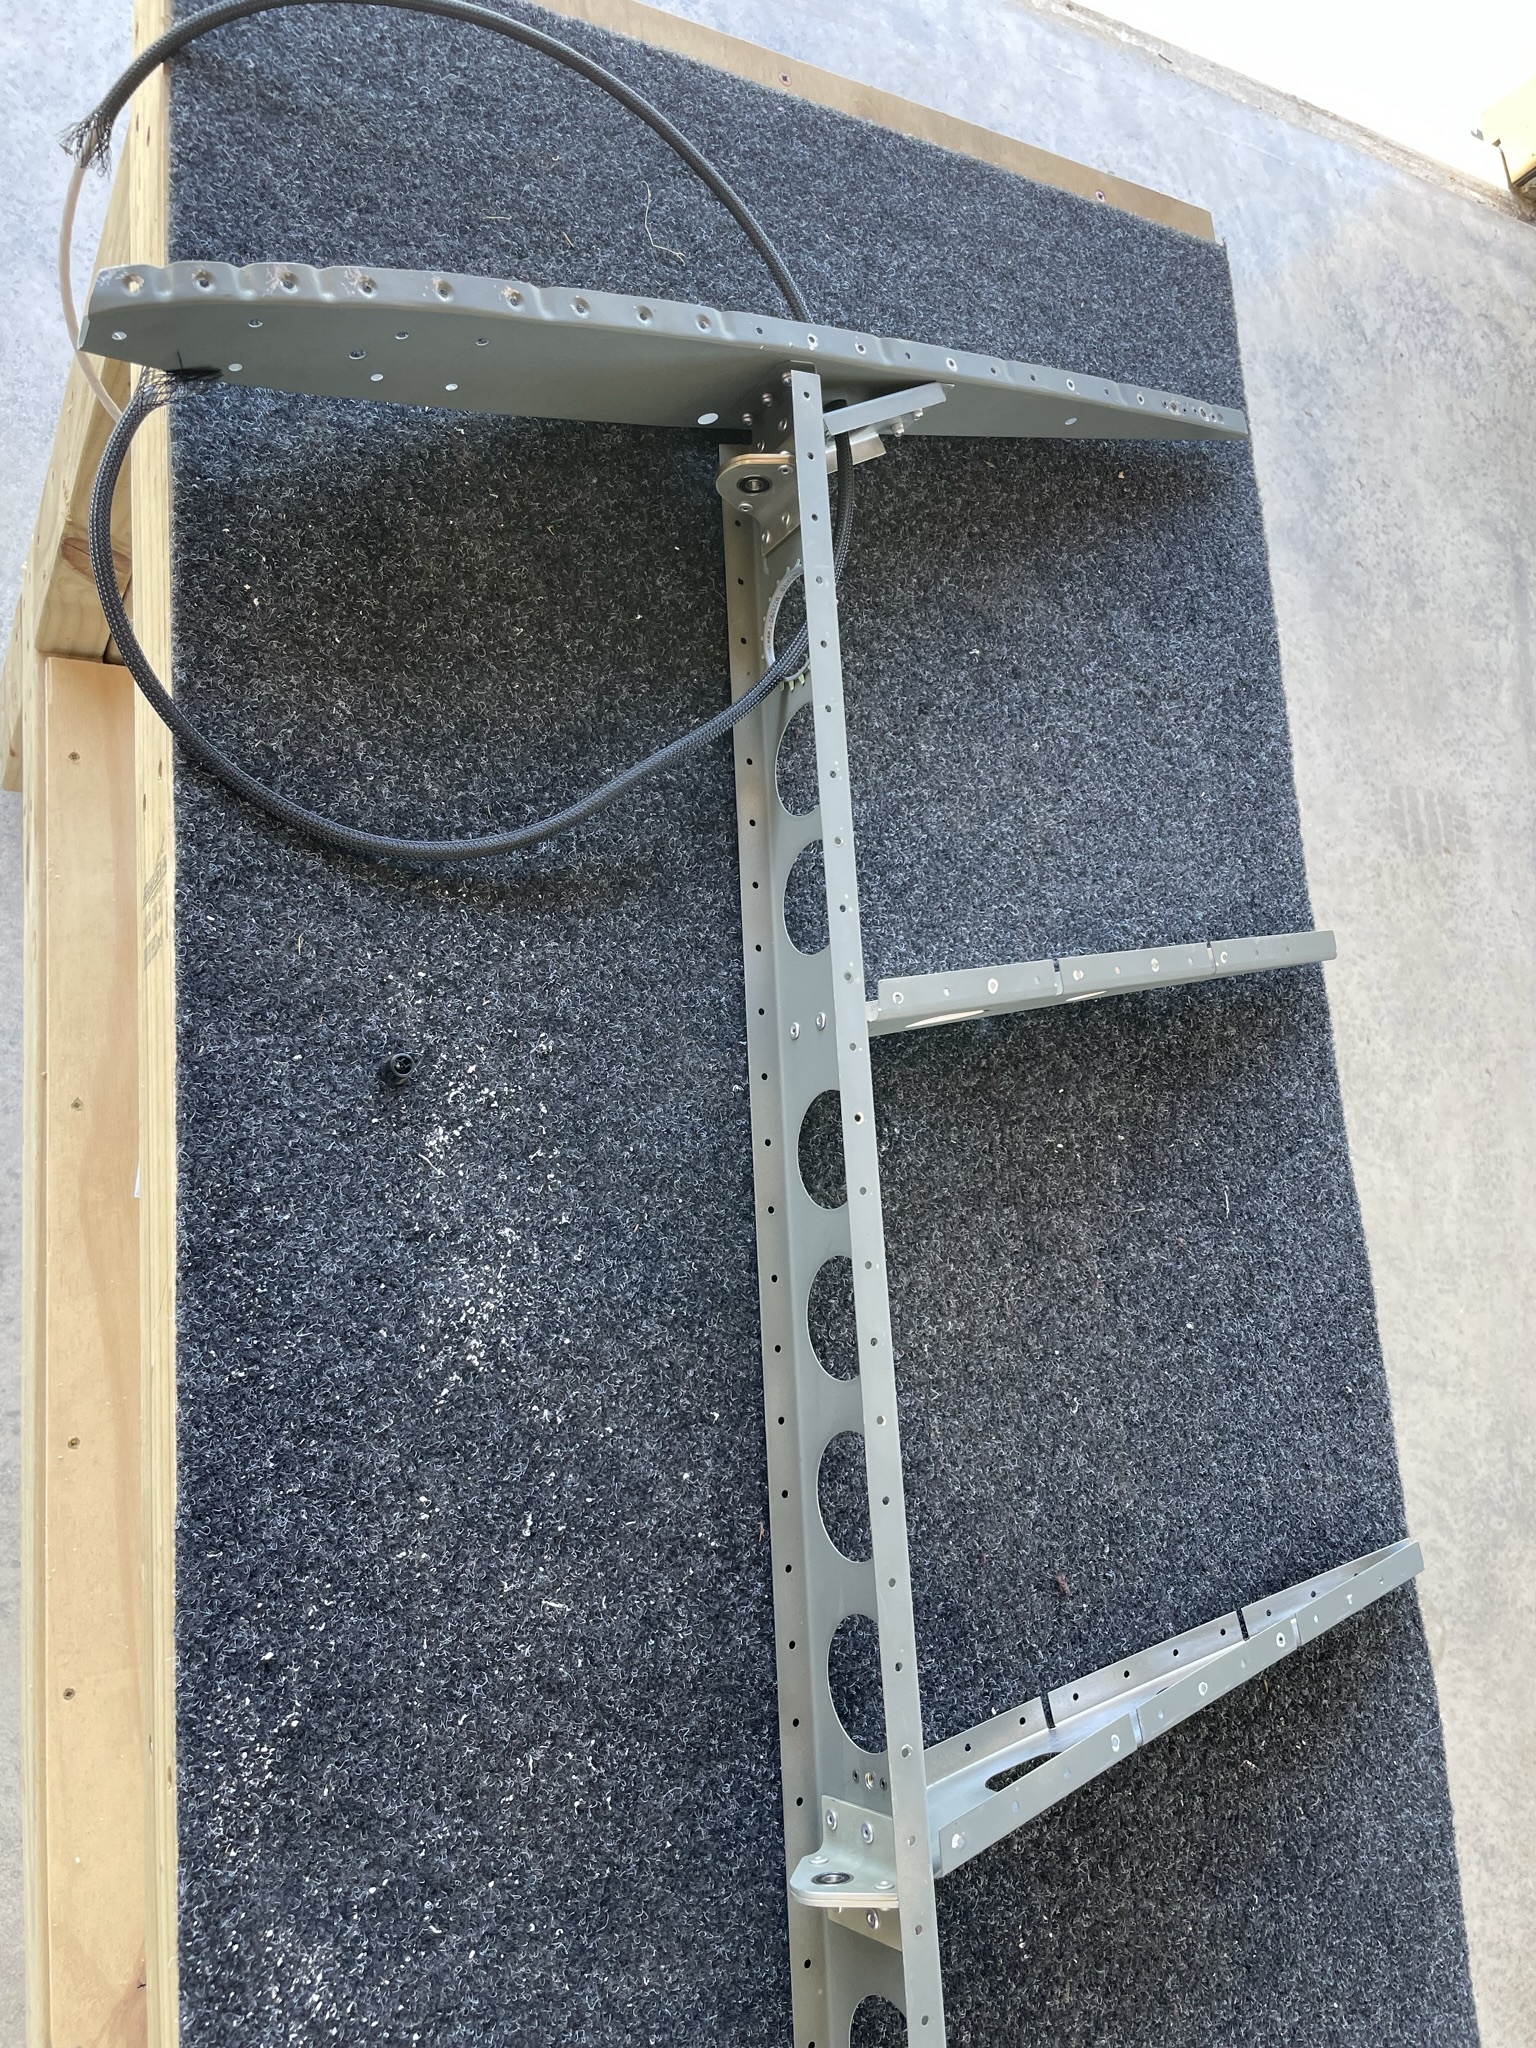
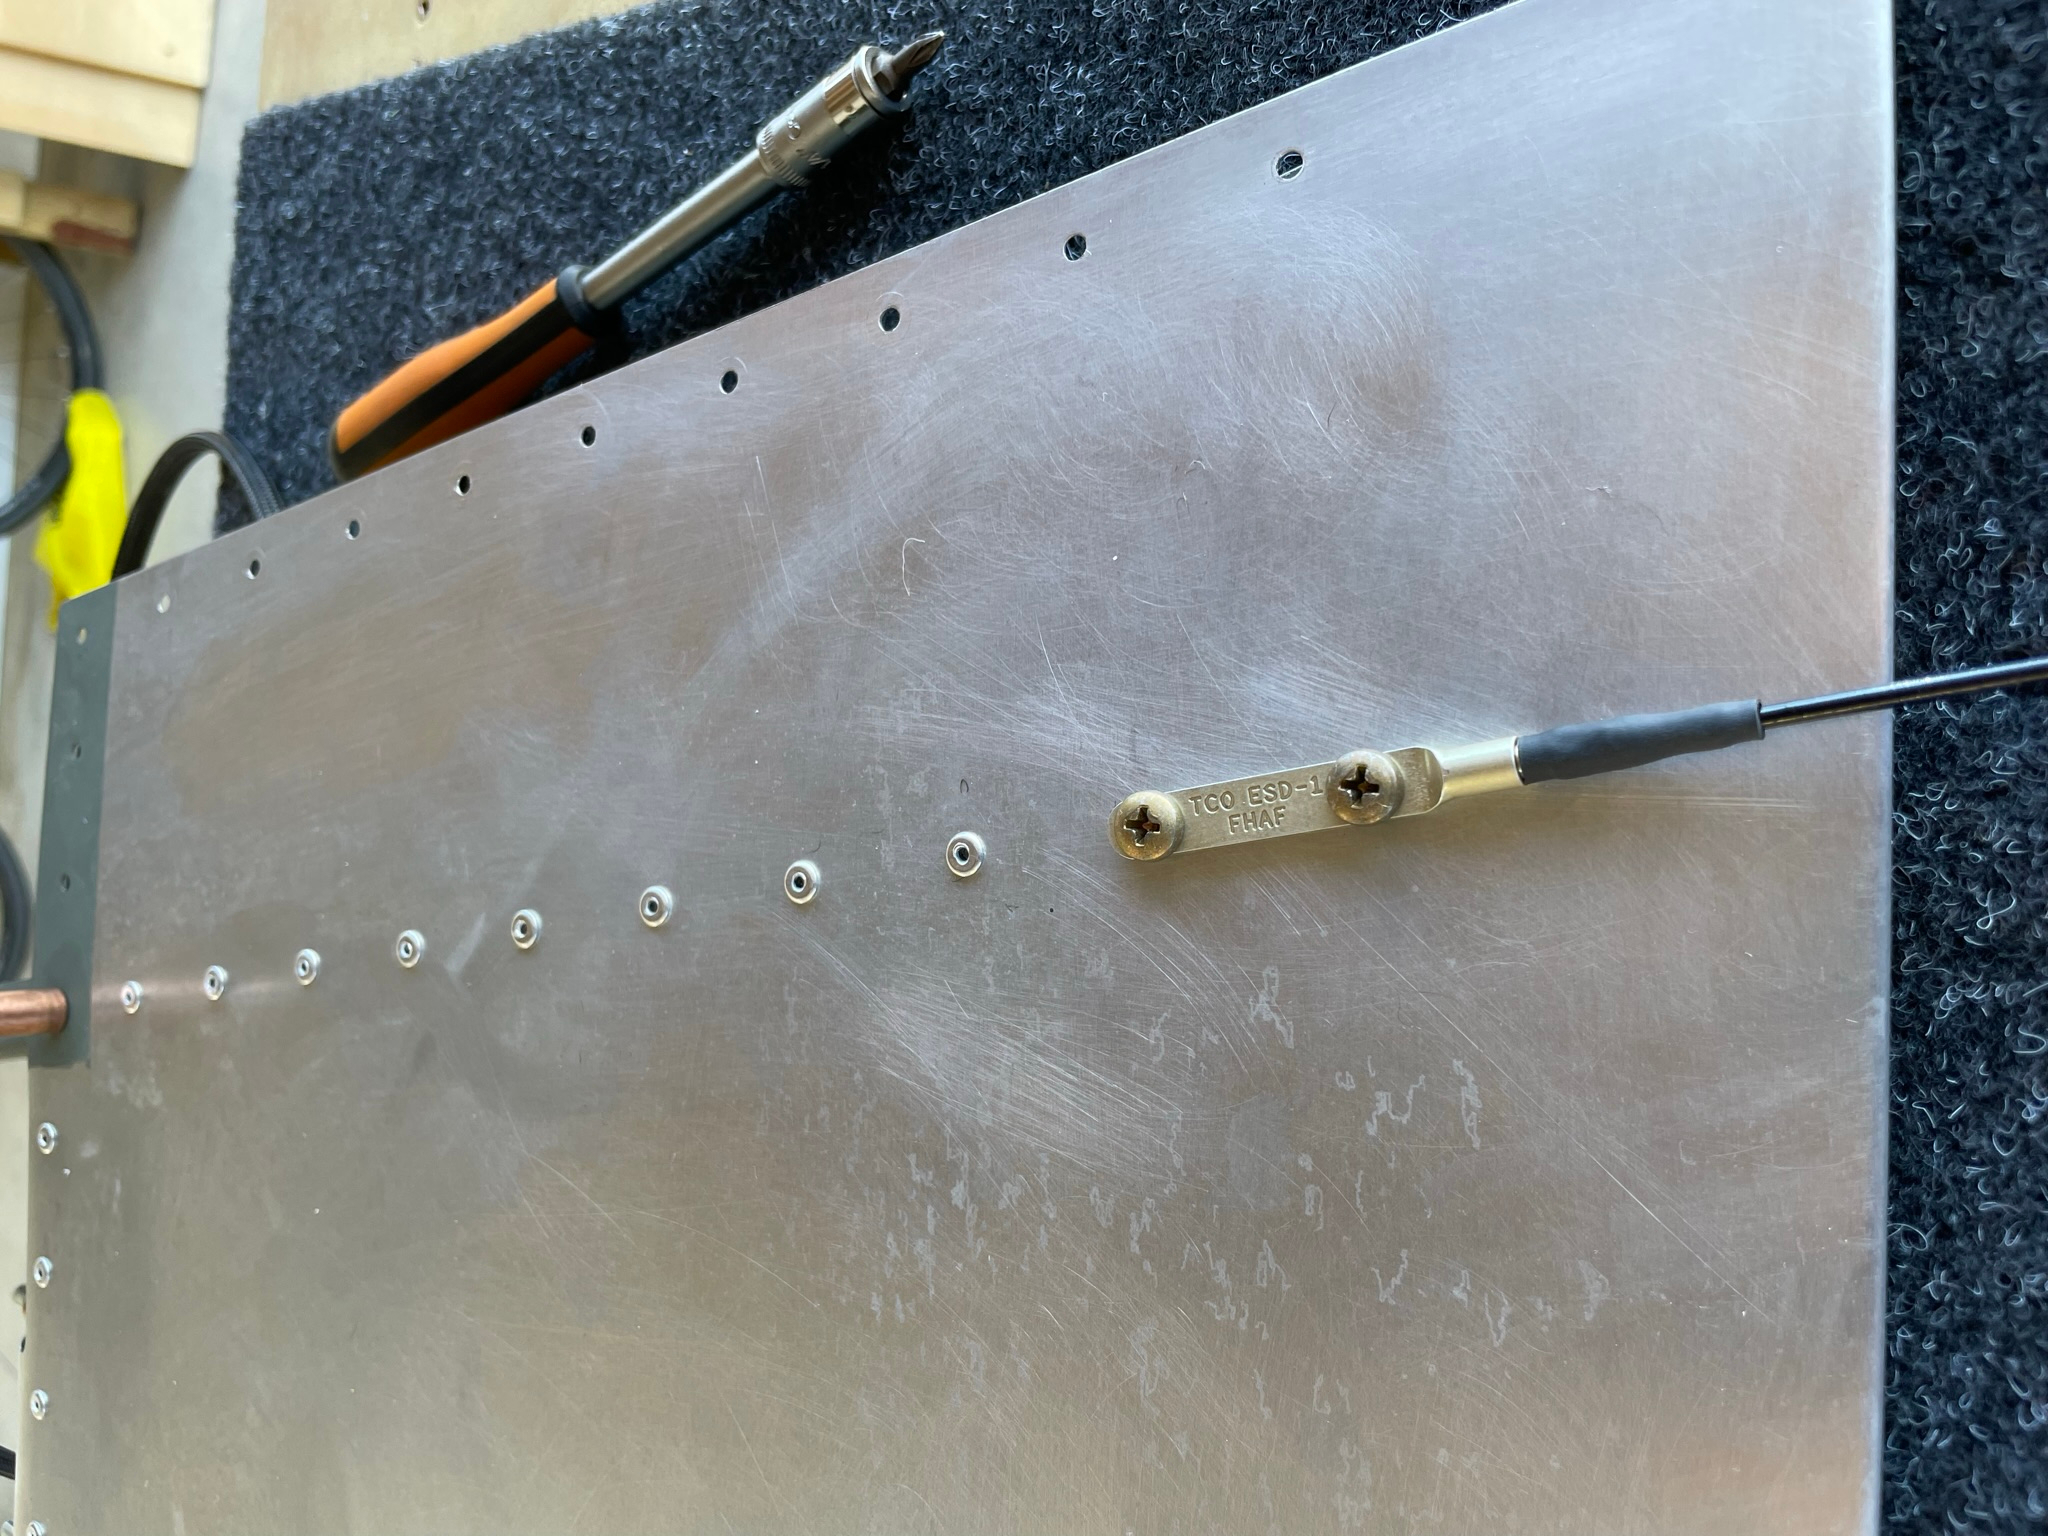
Static wick nutplate installation
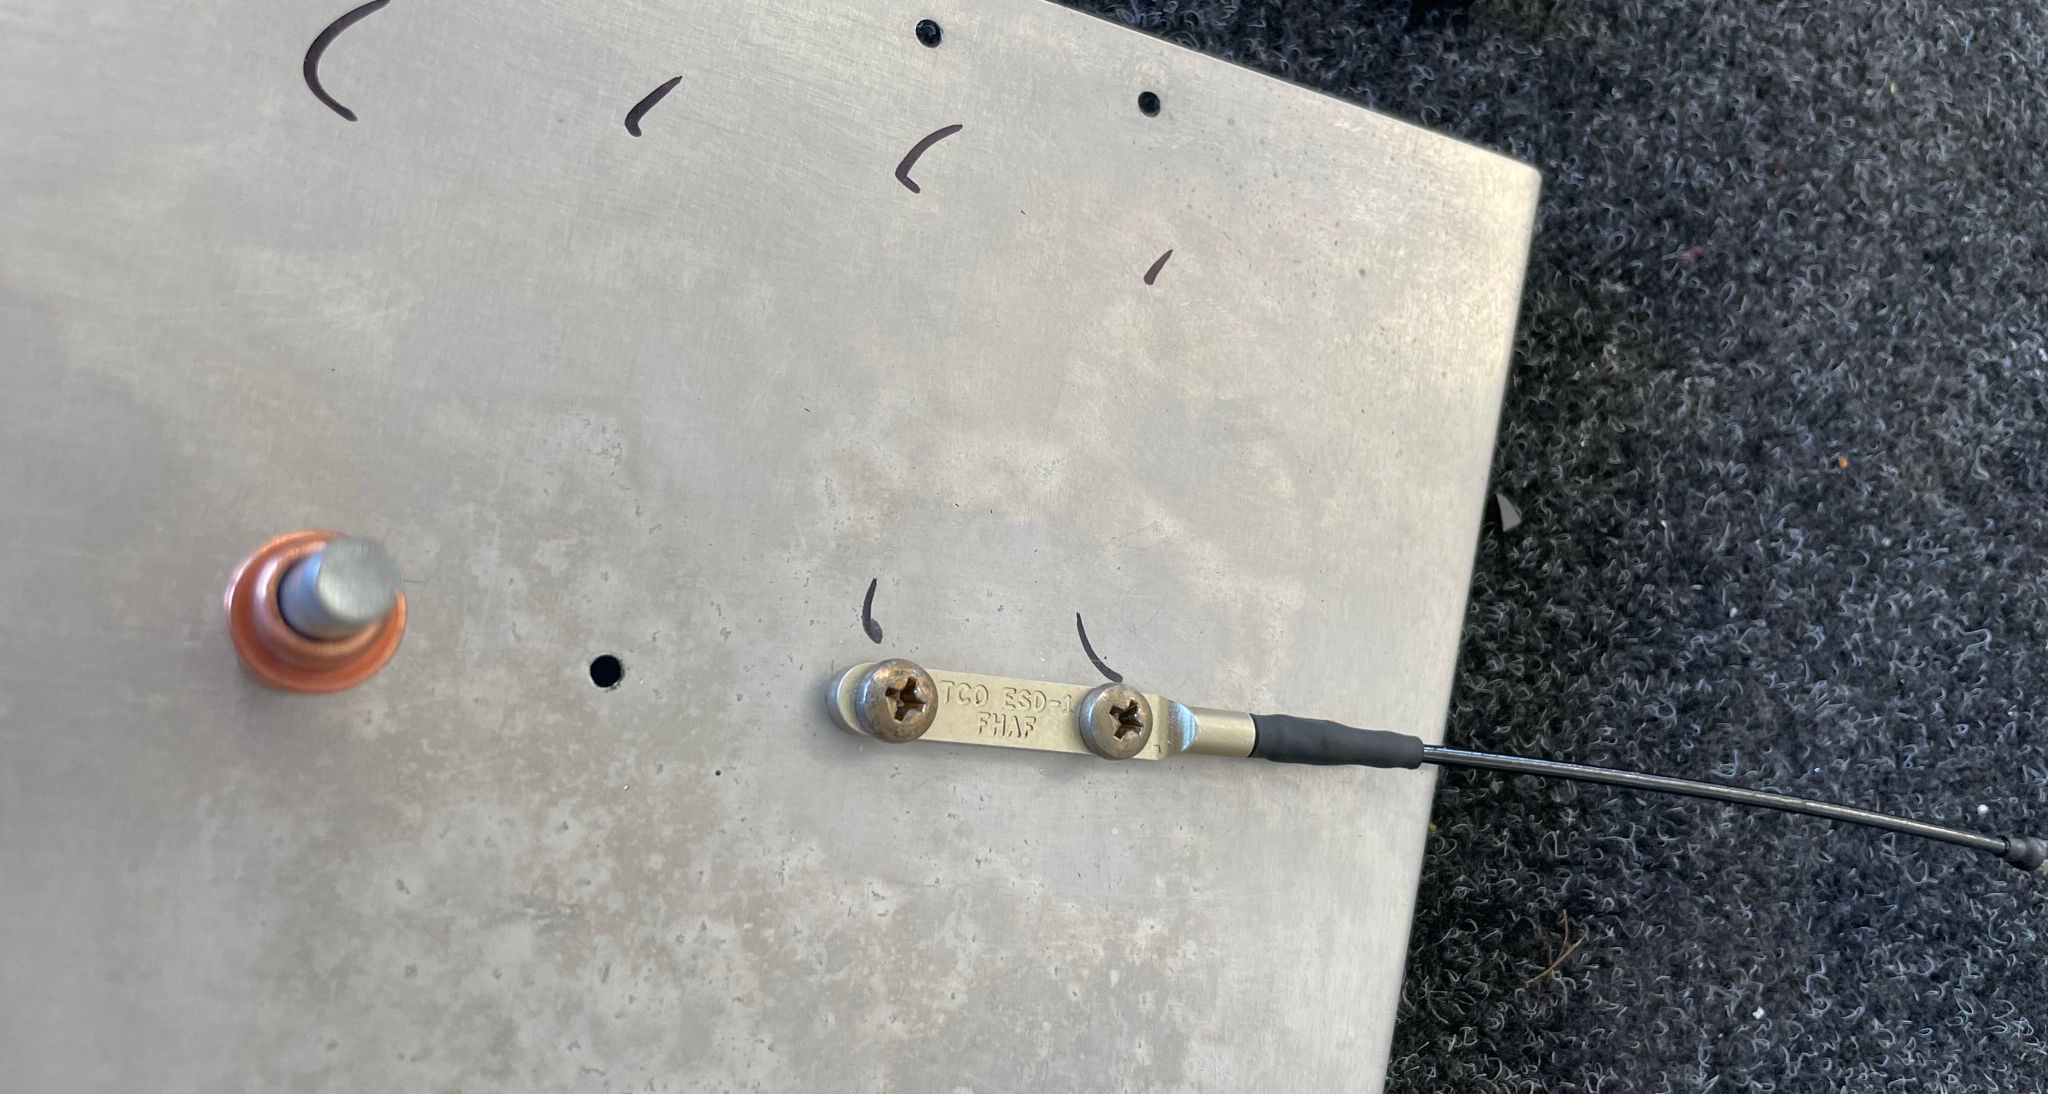
As I've put in a VOR antenna and intend to fly IFR, it seemed a good idea to go the whole hog and install static wicks and a bonding strap in the rudder and each aileron as suggested by the factory.
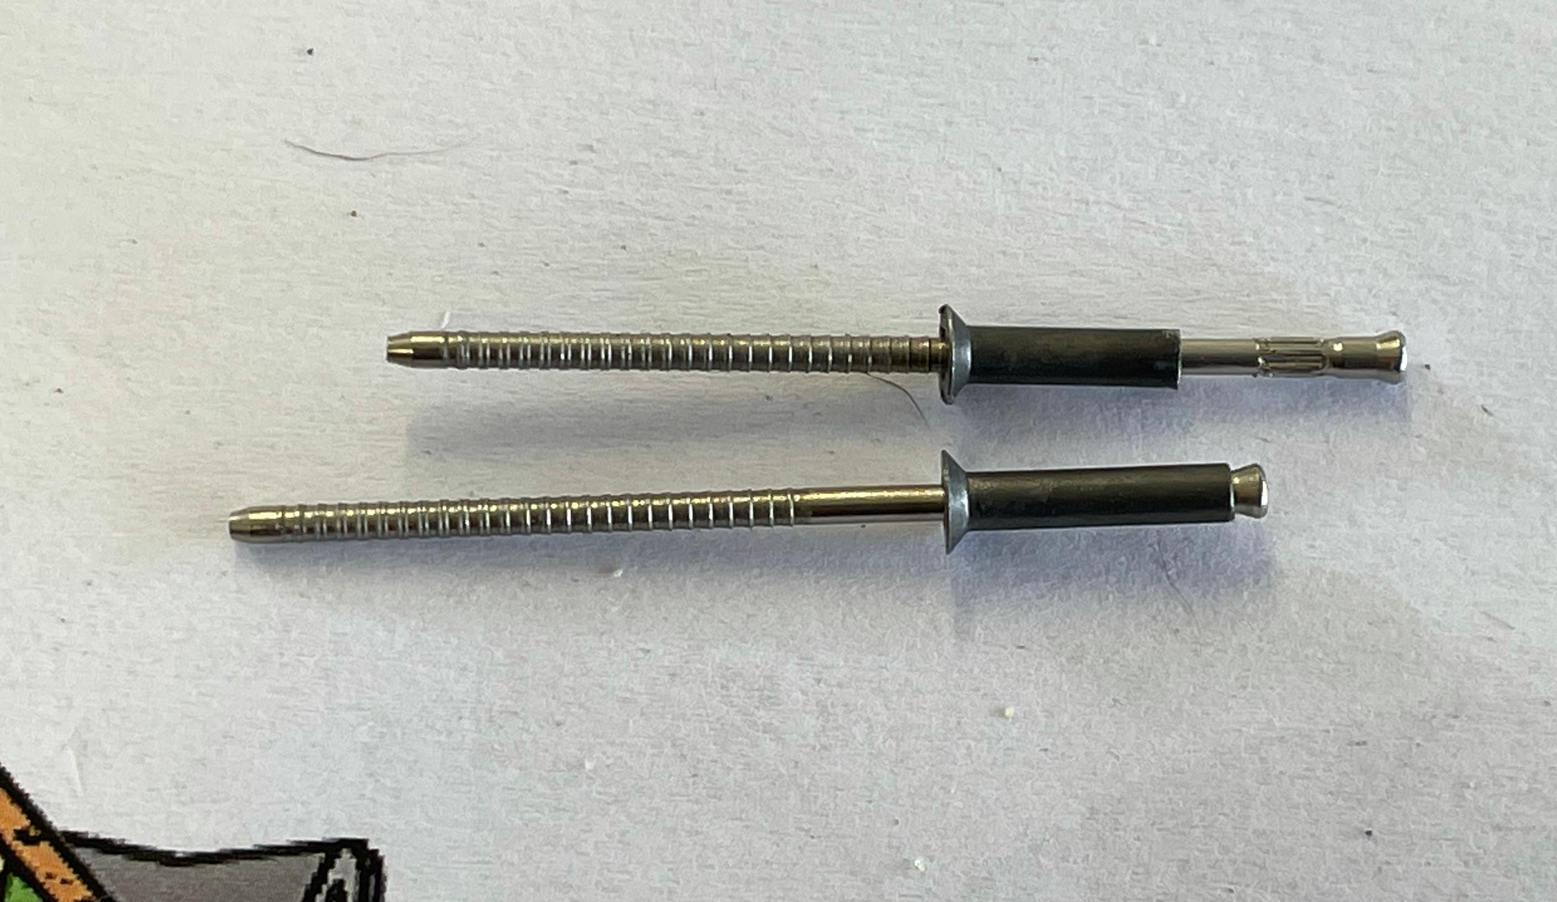
I had assembled most of the parts required to add these, but the nutplate rivets recommended took some finding, eventually I managed to get them from an Australian supplier. These needed a bit of shortening, but in the end was easy enough to get this all installed.

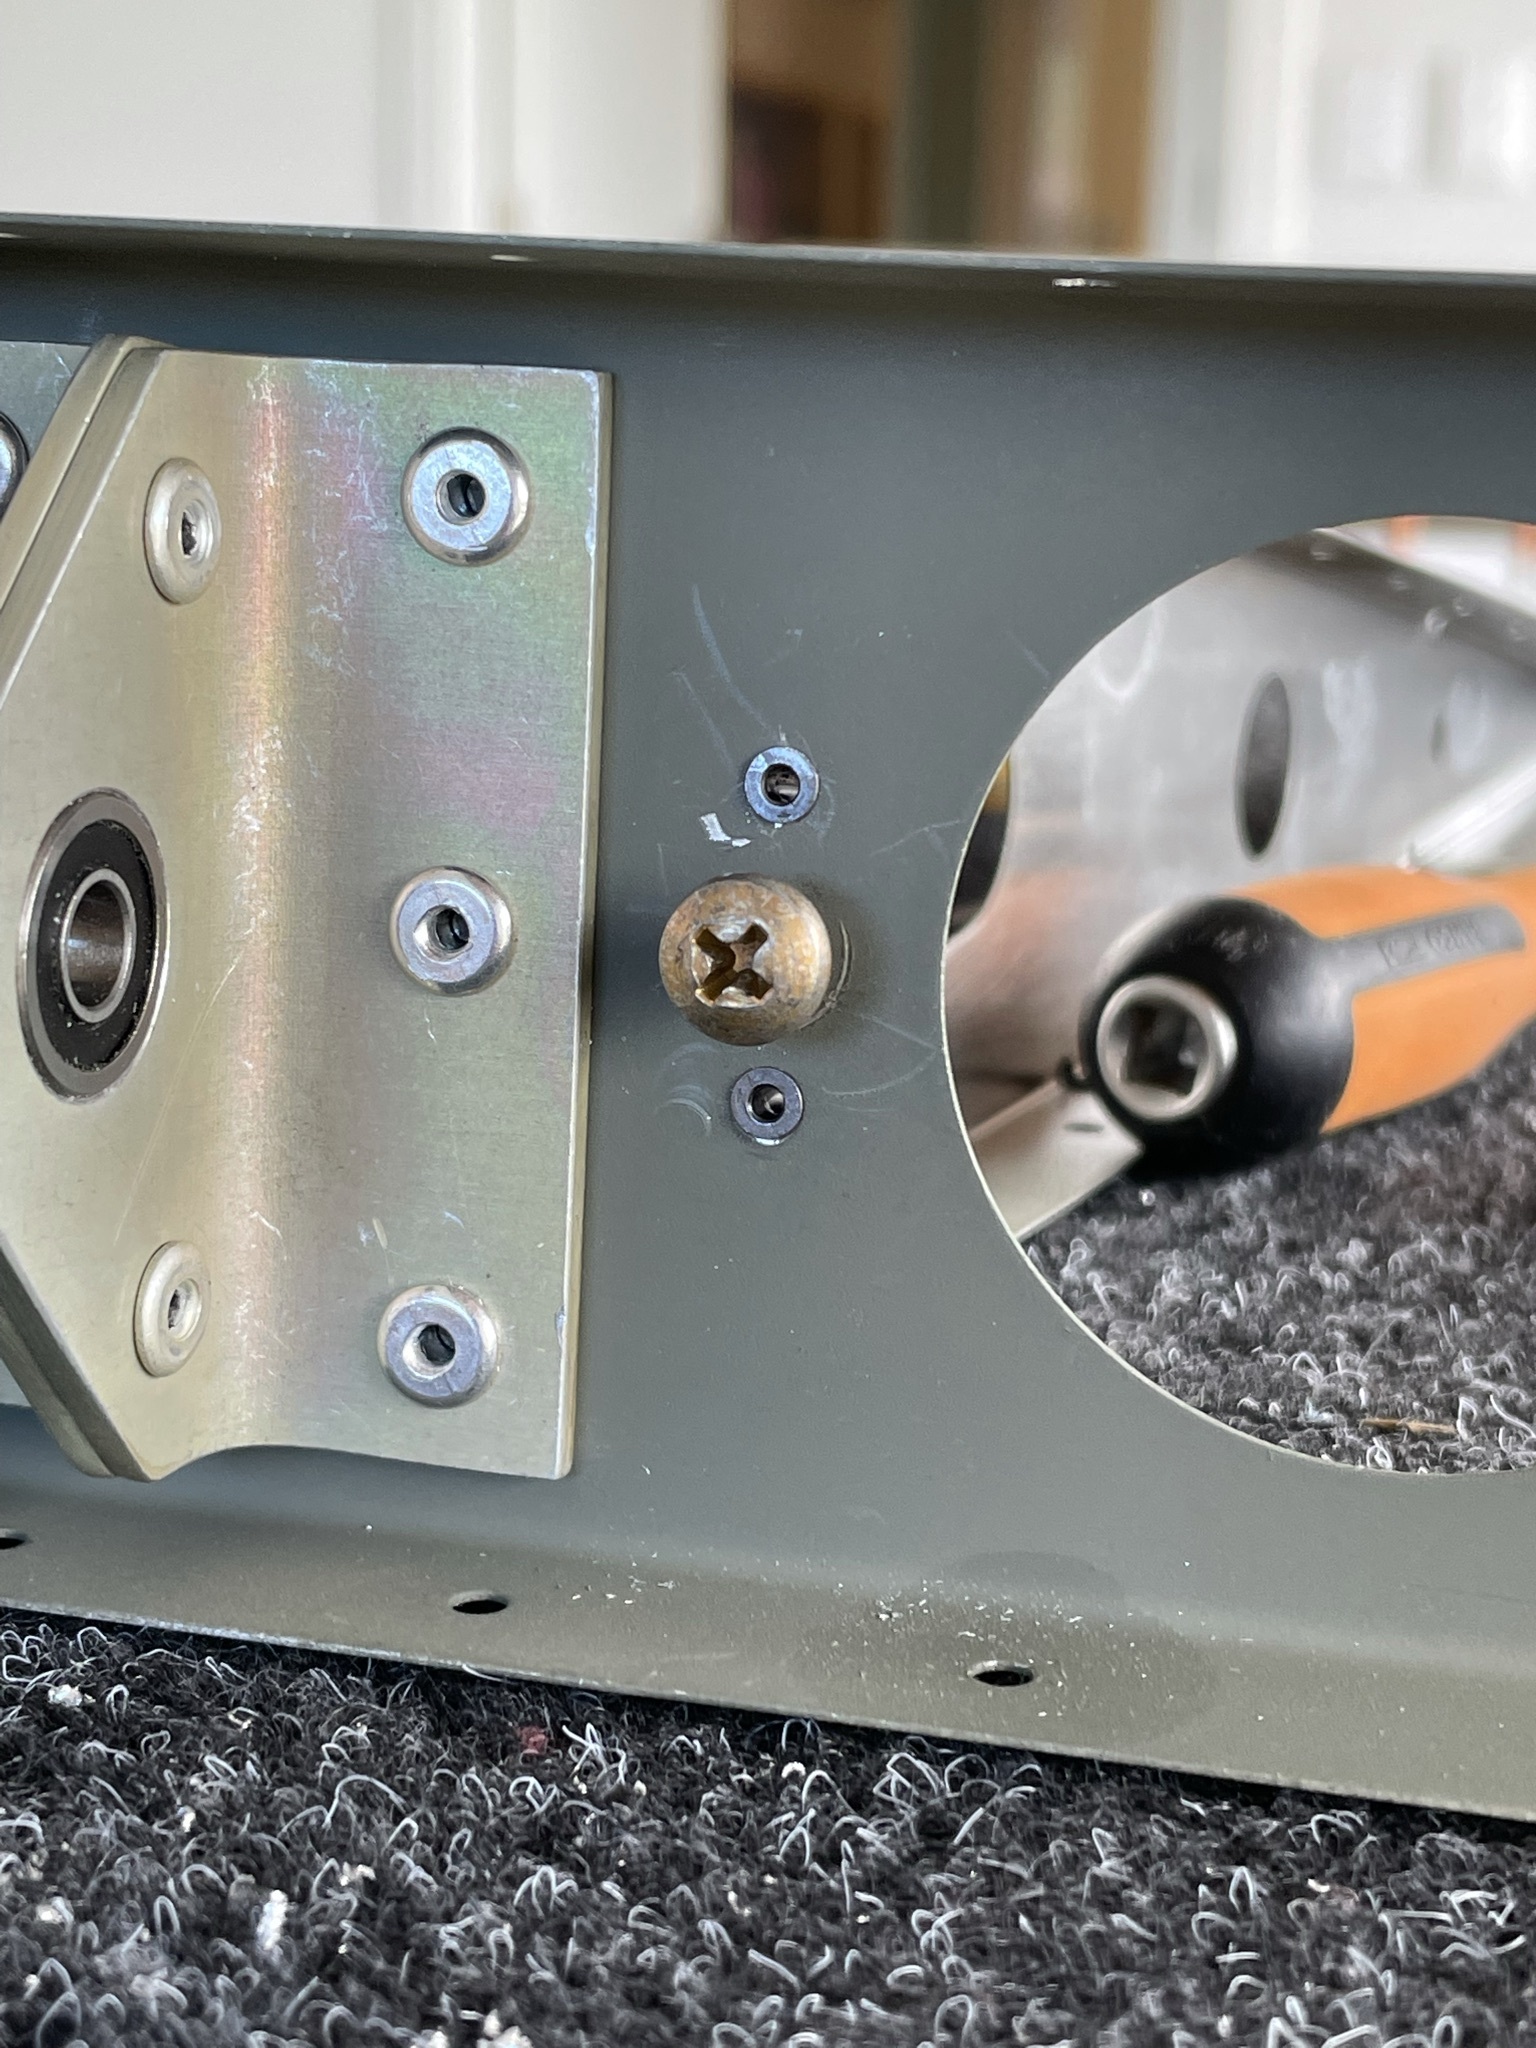
Beacon light wiring
As mentioned I've move the beacon light routing behind the spar so it will not interfere with the top rudder hinge.
Bonding strap mount

The bonding strap is just a wire braid with lugs crimped on the ends. I will sleeve it for a bit of protection but installing it with a nutplate and screws rather than riveting will mean it is easily replaced if damaged. This will be routed through a hole in the leading edge as for the beacon wiring.
Transport and Toy Museum
This is a neat museum immediately adjacent Wanaka airport (NZWF), and has a huge if slightly uncurated collection of modern and historic toys and vehicles, including this DC-3... built in 1943, apparently ex-Naval Air Transport Service.

Well worth a visit if you are in this beautiful part of the world.
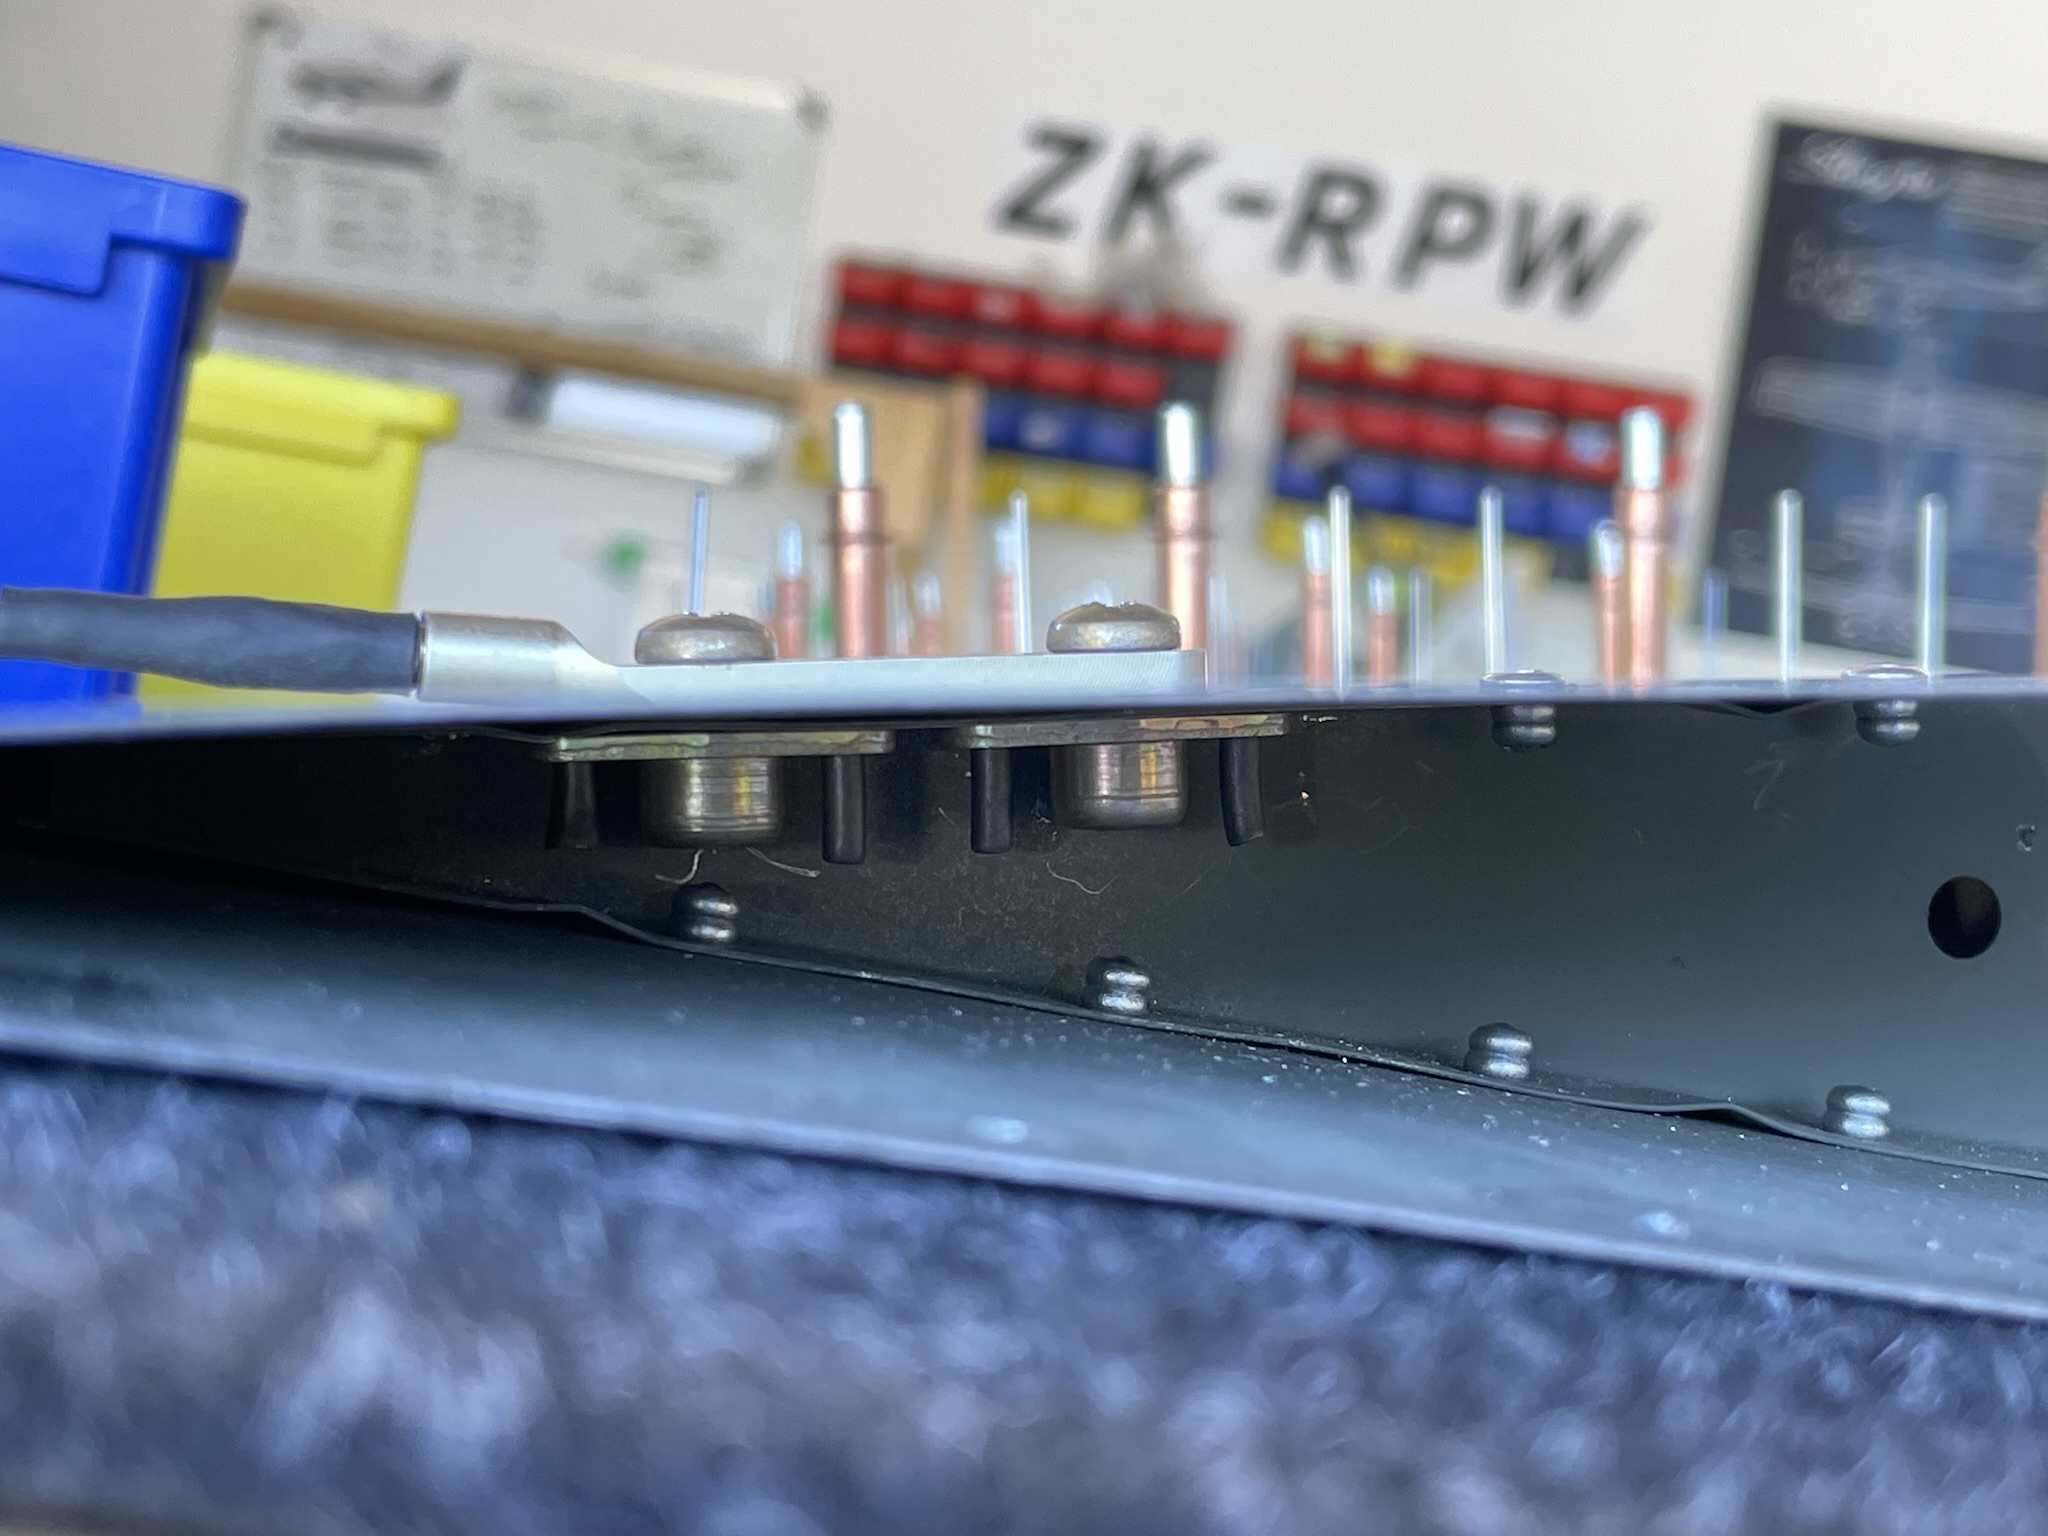
Skin riveting
With all the systems work done it's time to rivet the skins.

Now I just need the beacon light (coming with the rest of the kit) to connect up and install the rudder tip, and the entire empennage is complete!