Elevator Assembly
Somewhat slow progress the last fortnight as the weather hasn't really played ball to get much priming done, and I'm still waiting on the last few parts for the rudder and elevator.
However, I have managed to get a few things done...
Flying
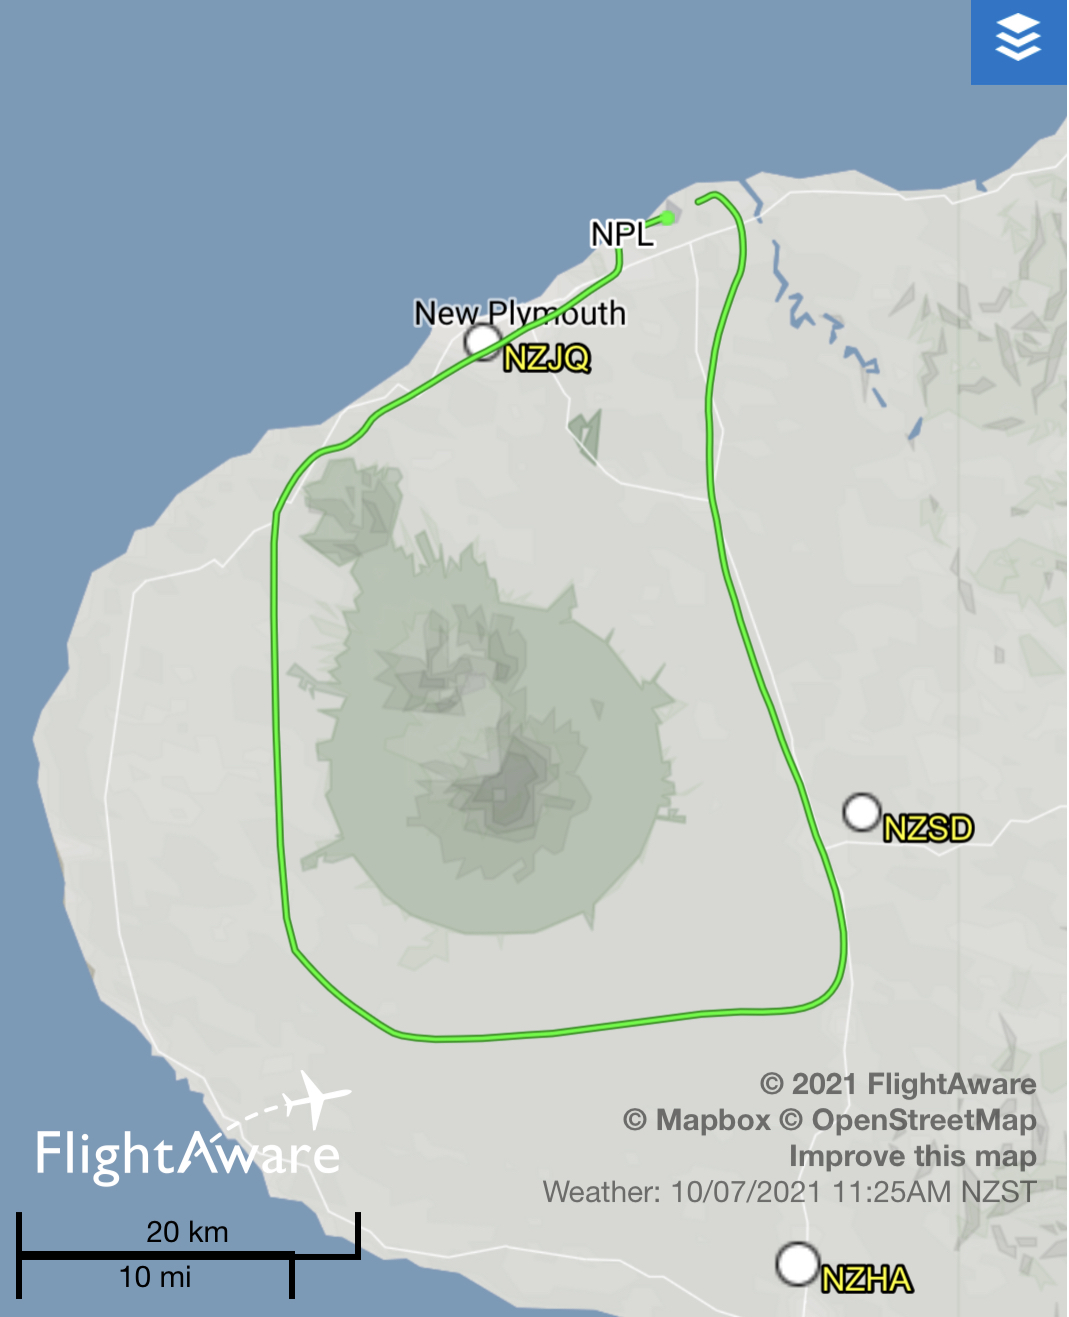
The flying school has leased a new C-172N so I was lucky enough to take that that up for a spin with my brother and daughter for a quick jaunt round the Maunga.
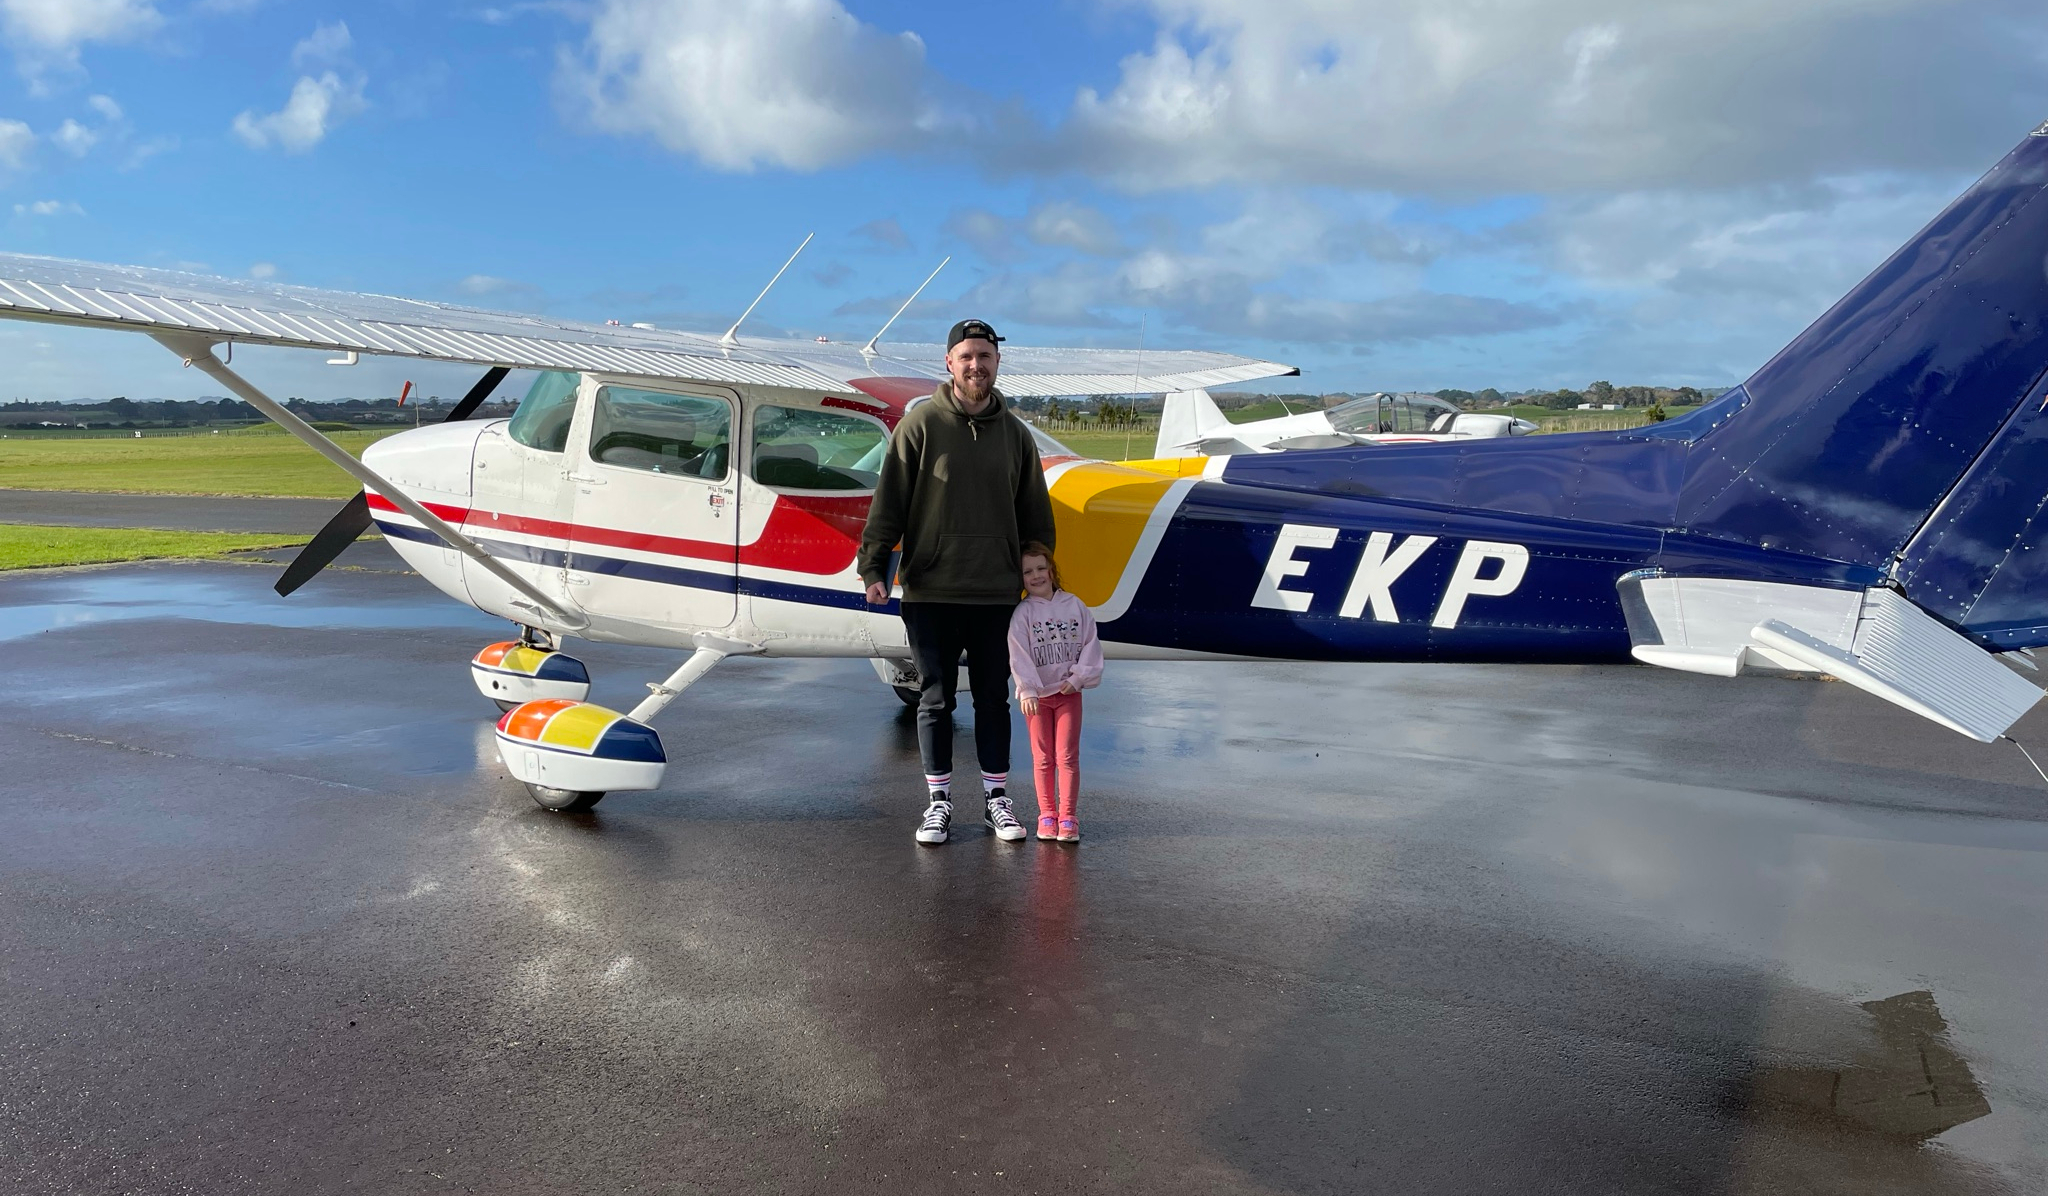

This one has the Penn Yan 180HP O-360-A4M SuperHawk conversion so a bit more sprightly, and an ADS-B transponder, so nowhere to hide from ATC... does make for easier logging though.
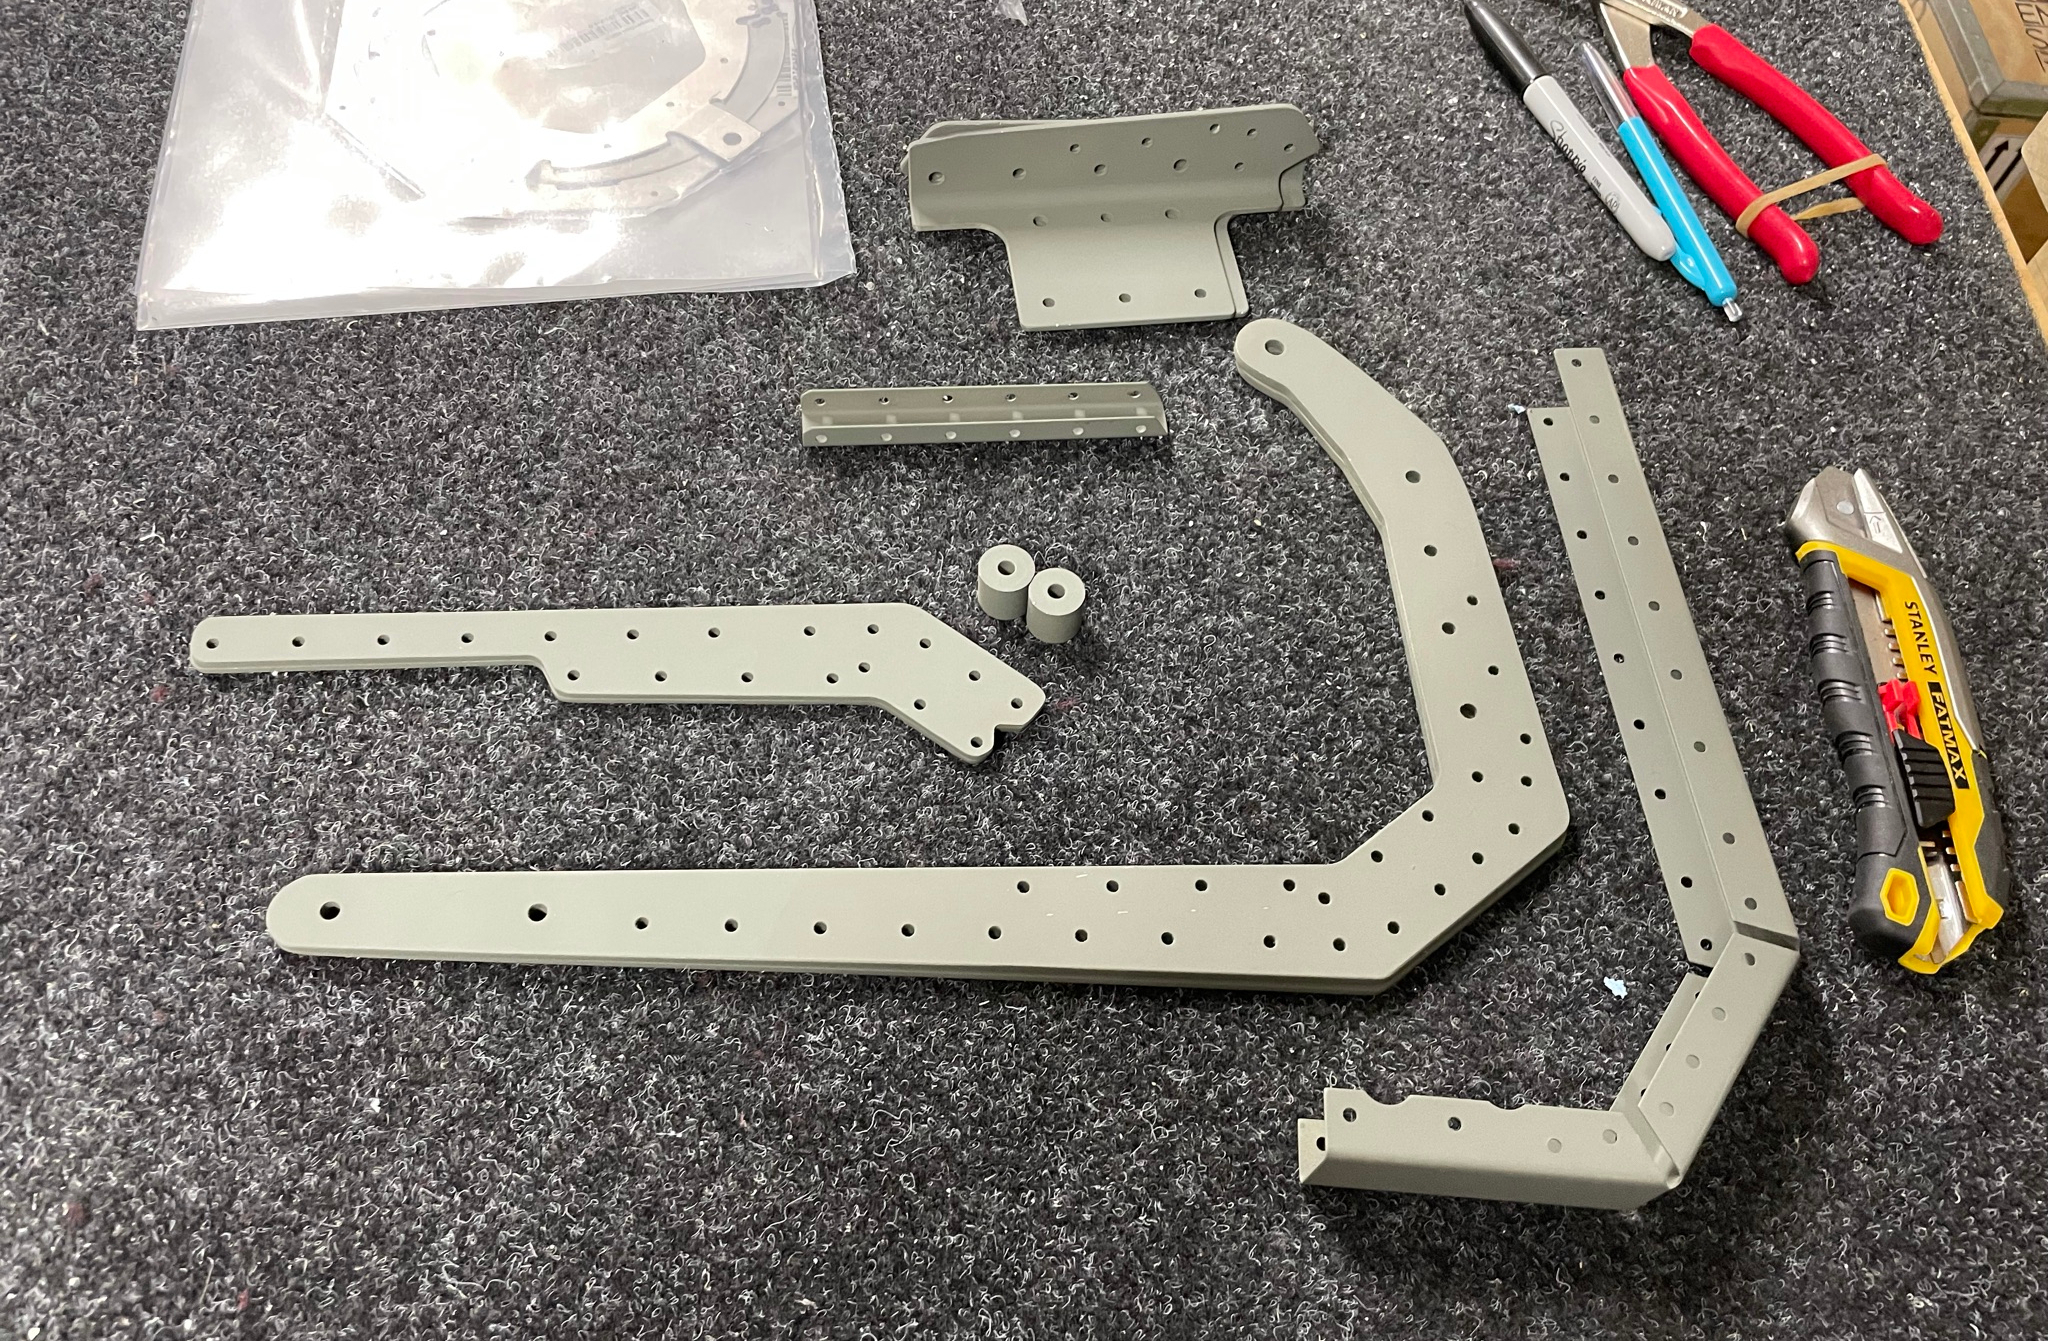
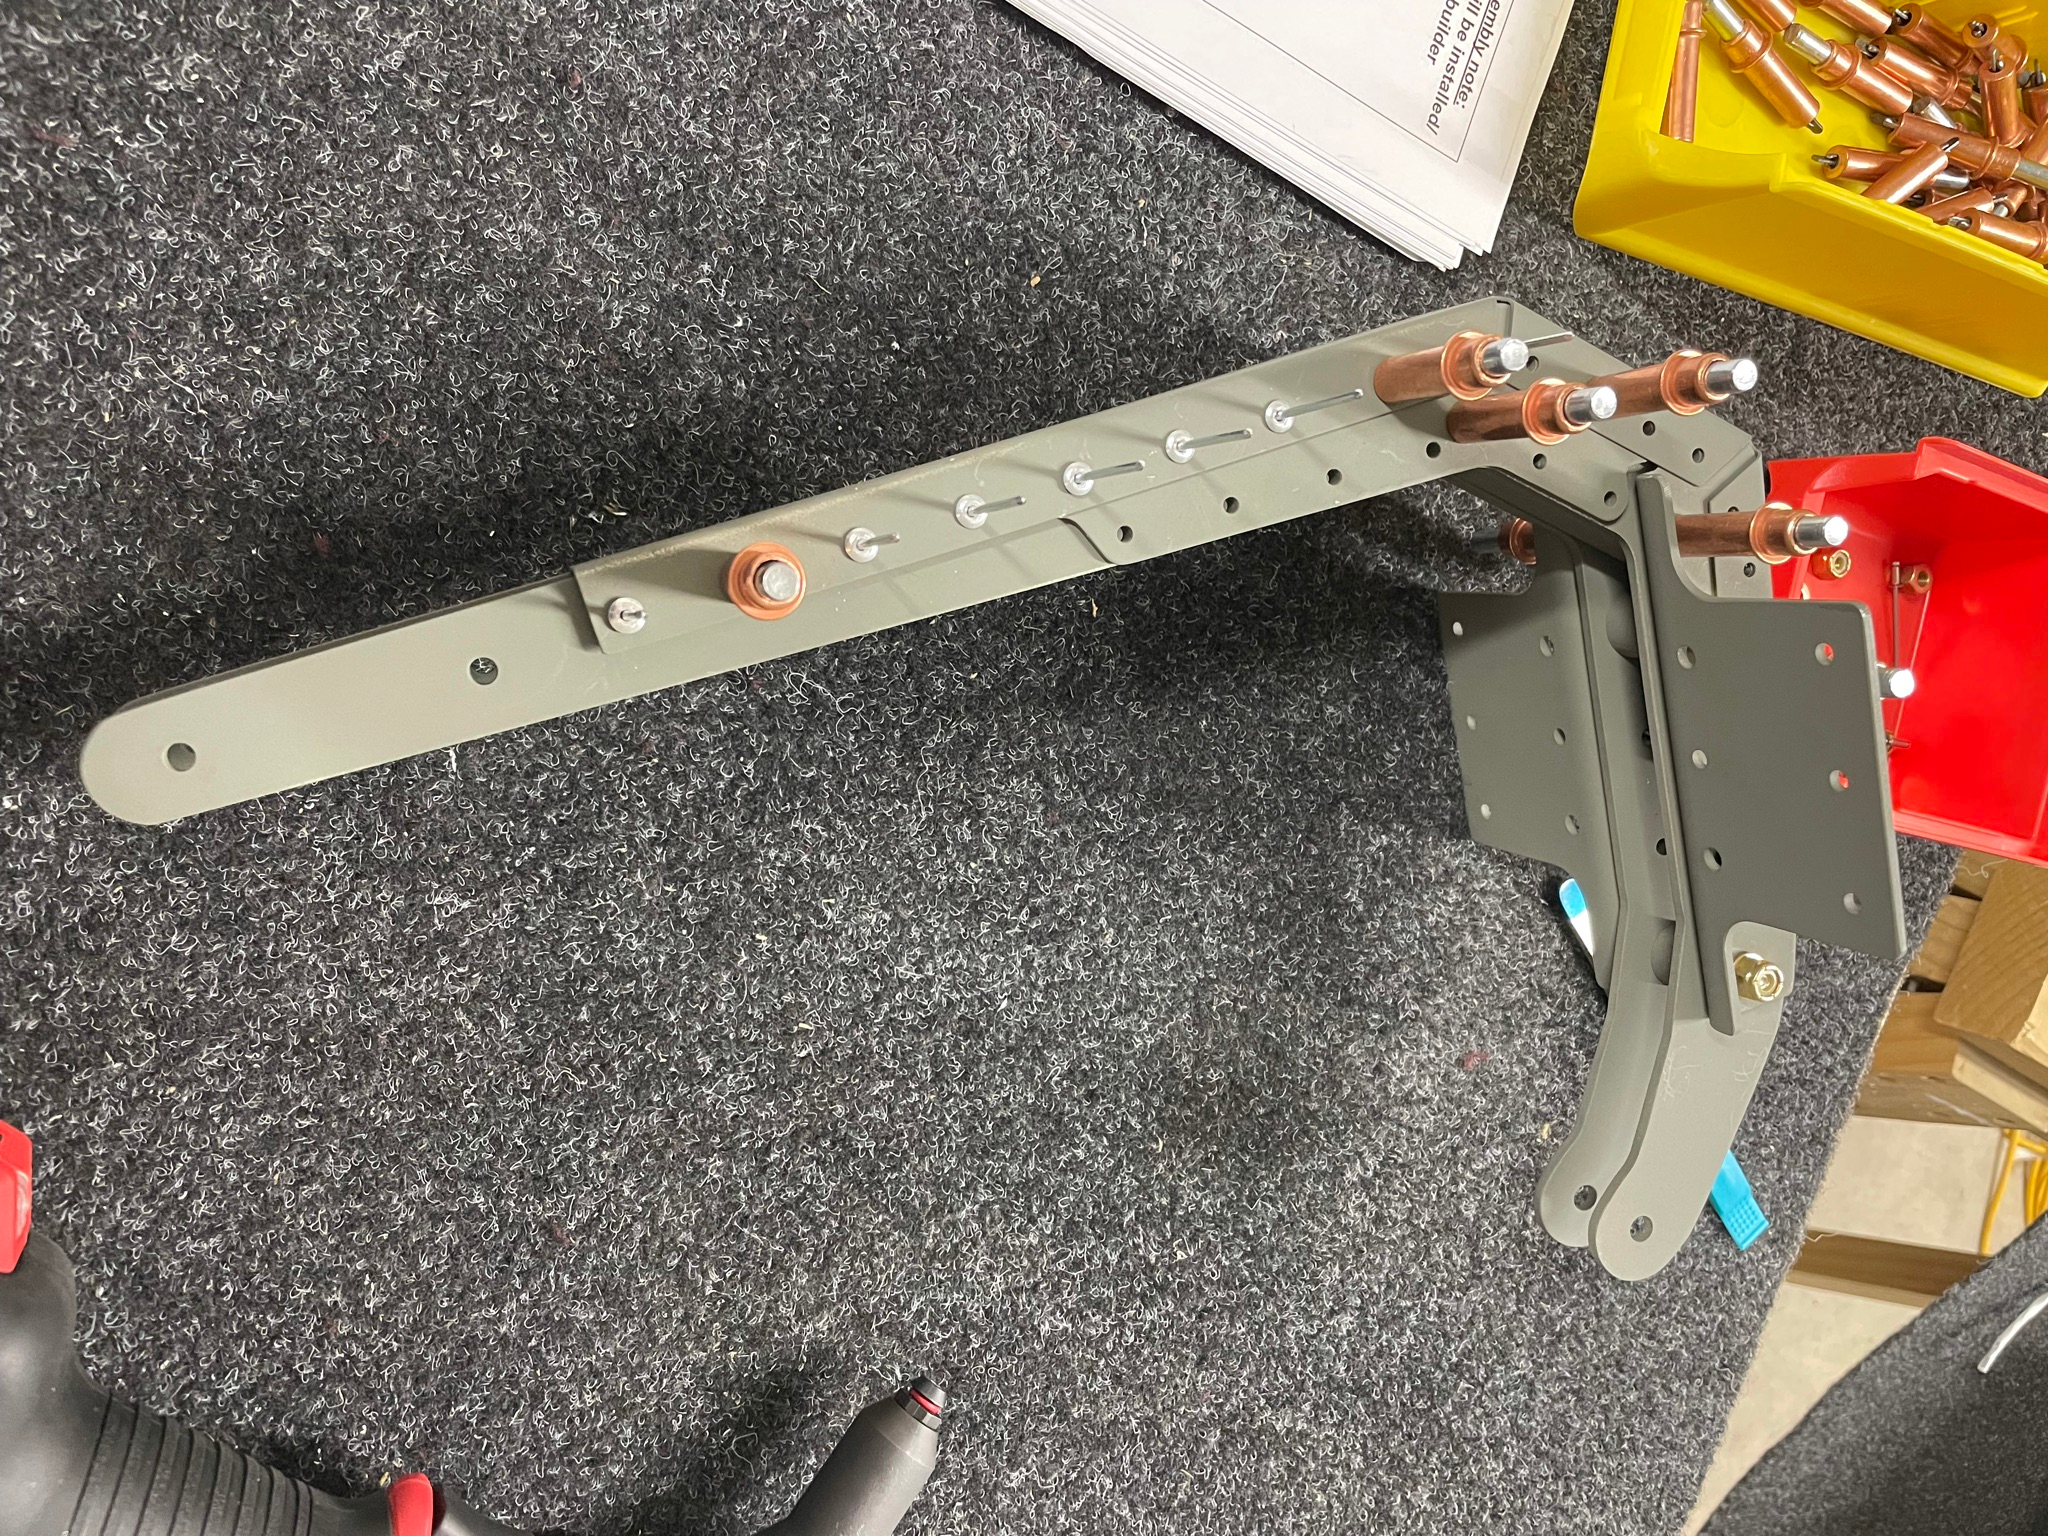
Elevator Assembly
The manual and Evan both suggest treating the elevator as separate sub-assemblies, namely the balance counterweight, main spar, and then the elevator itself.
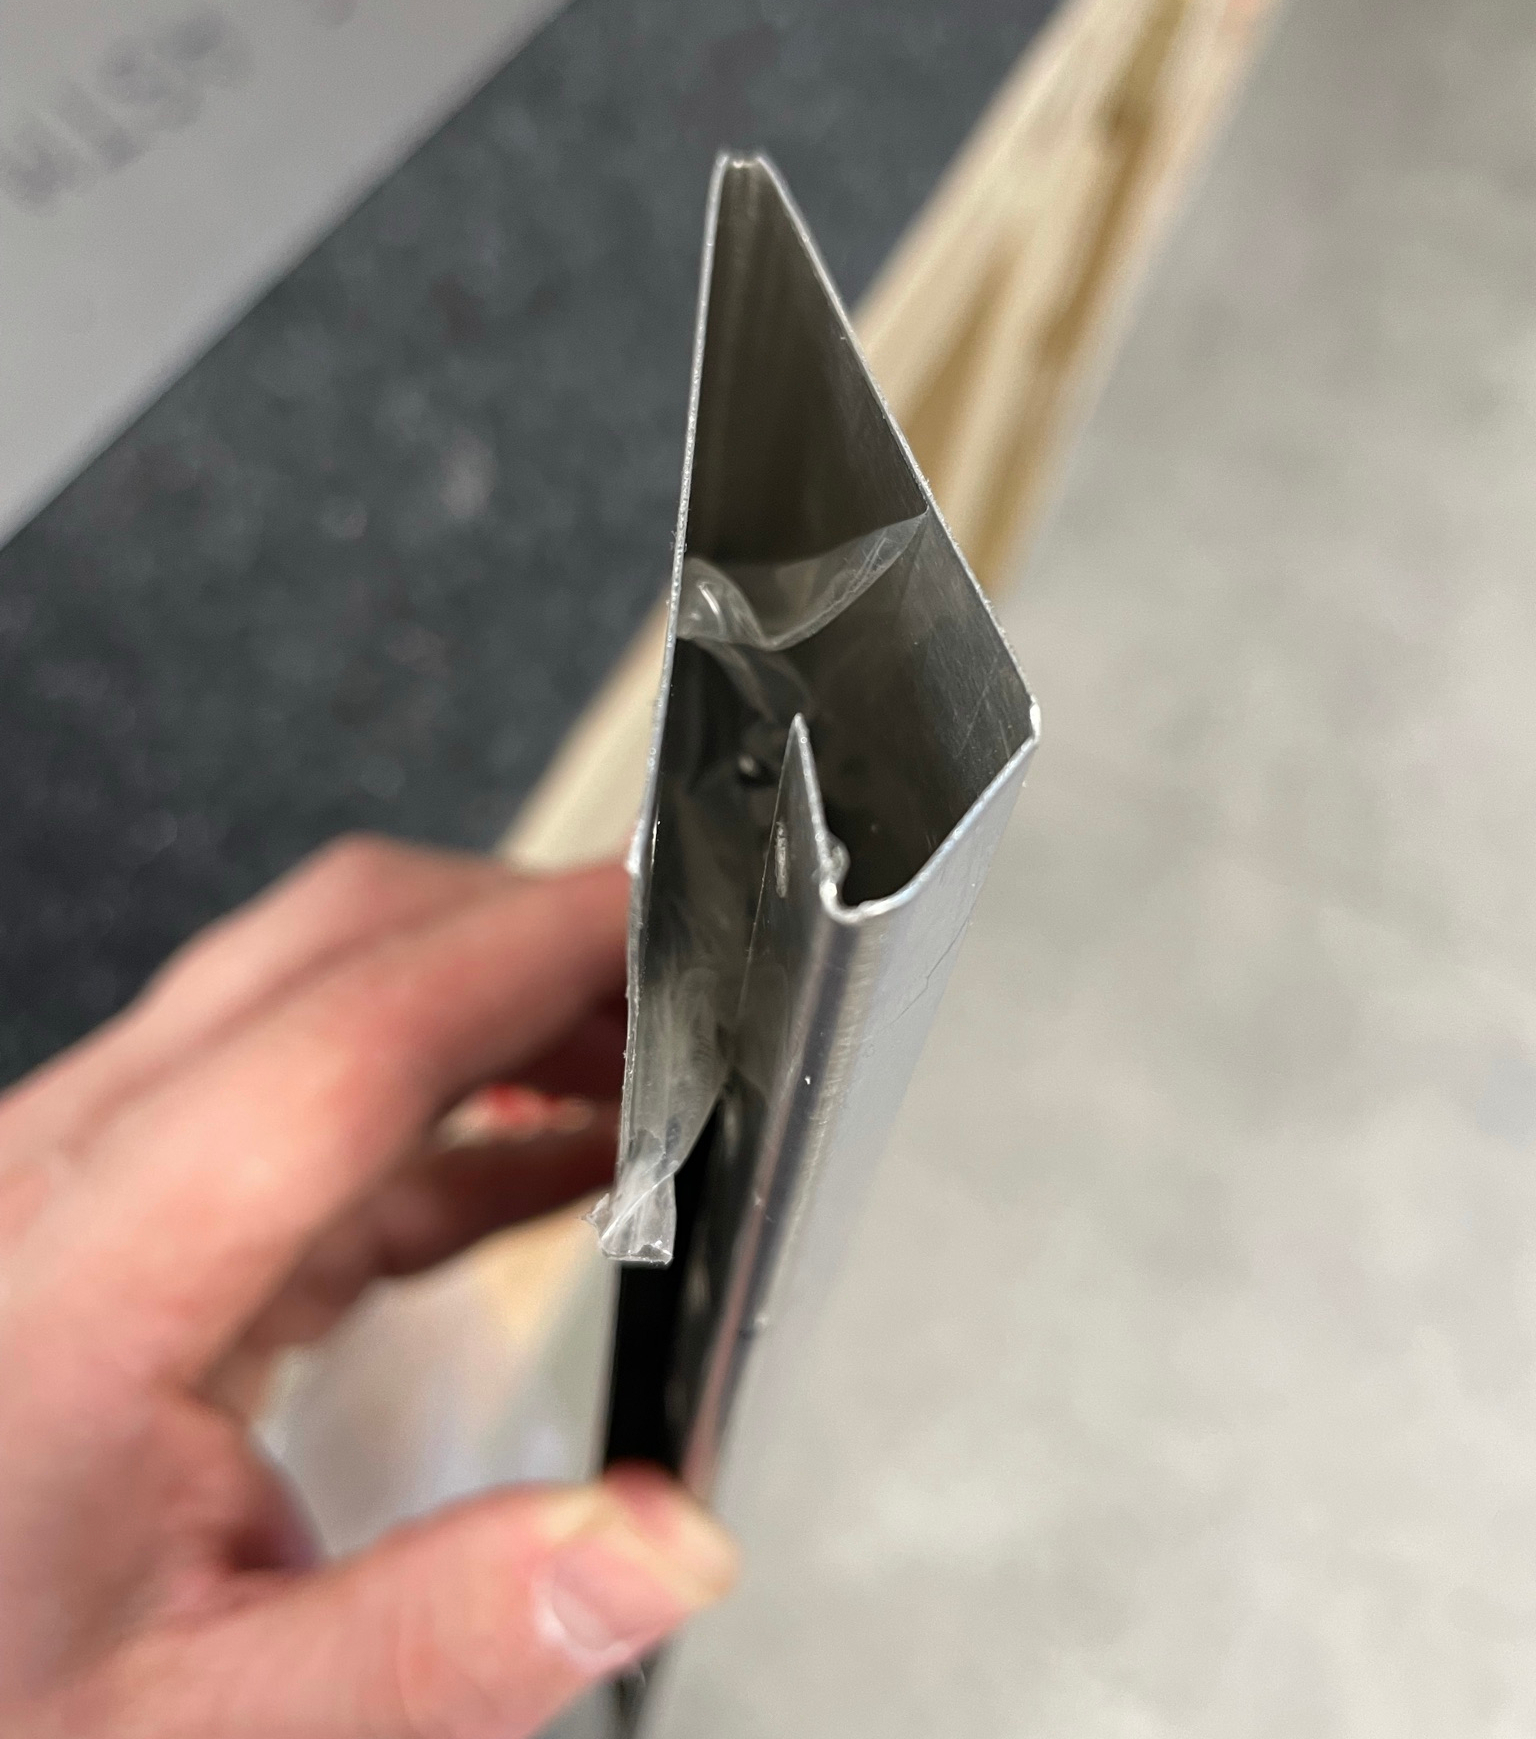
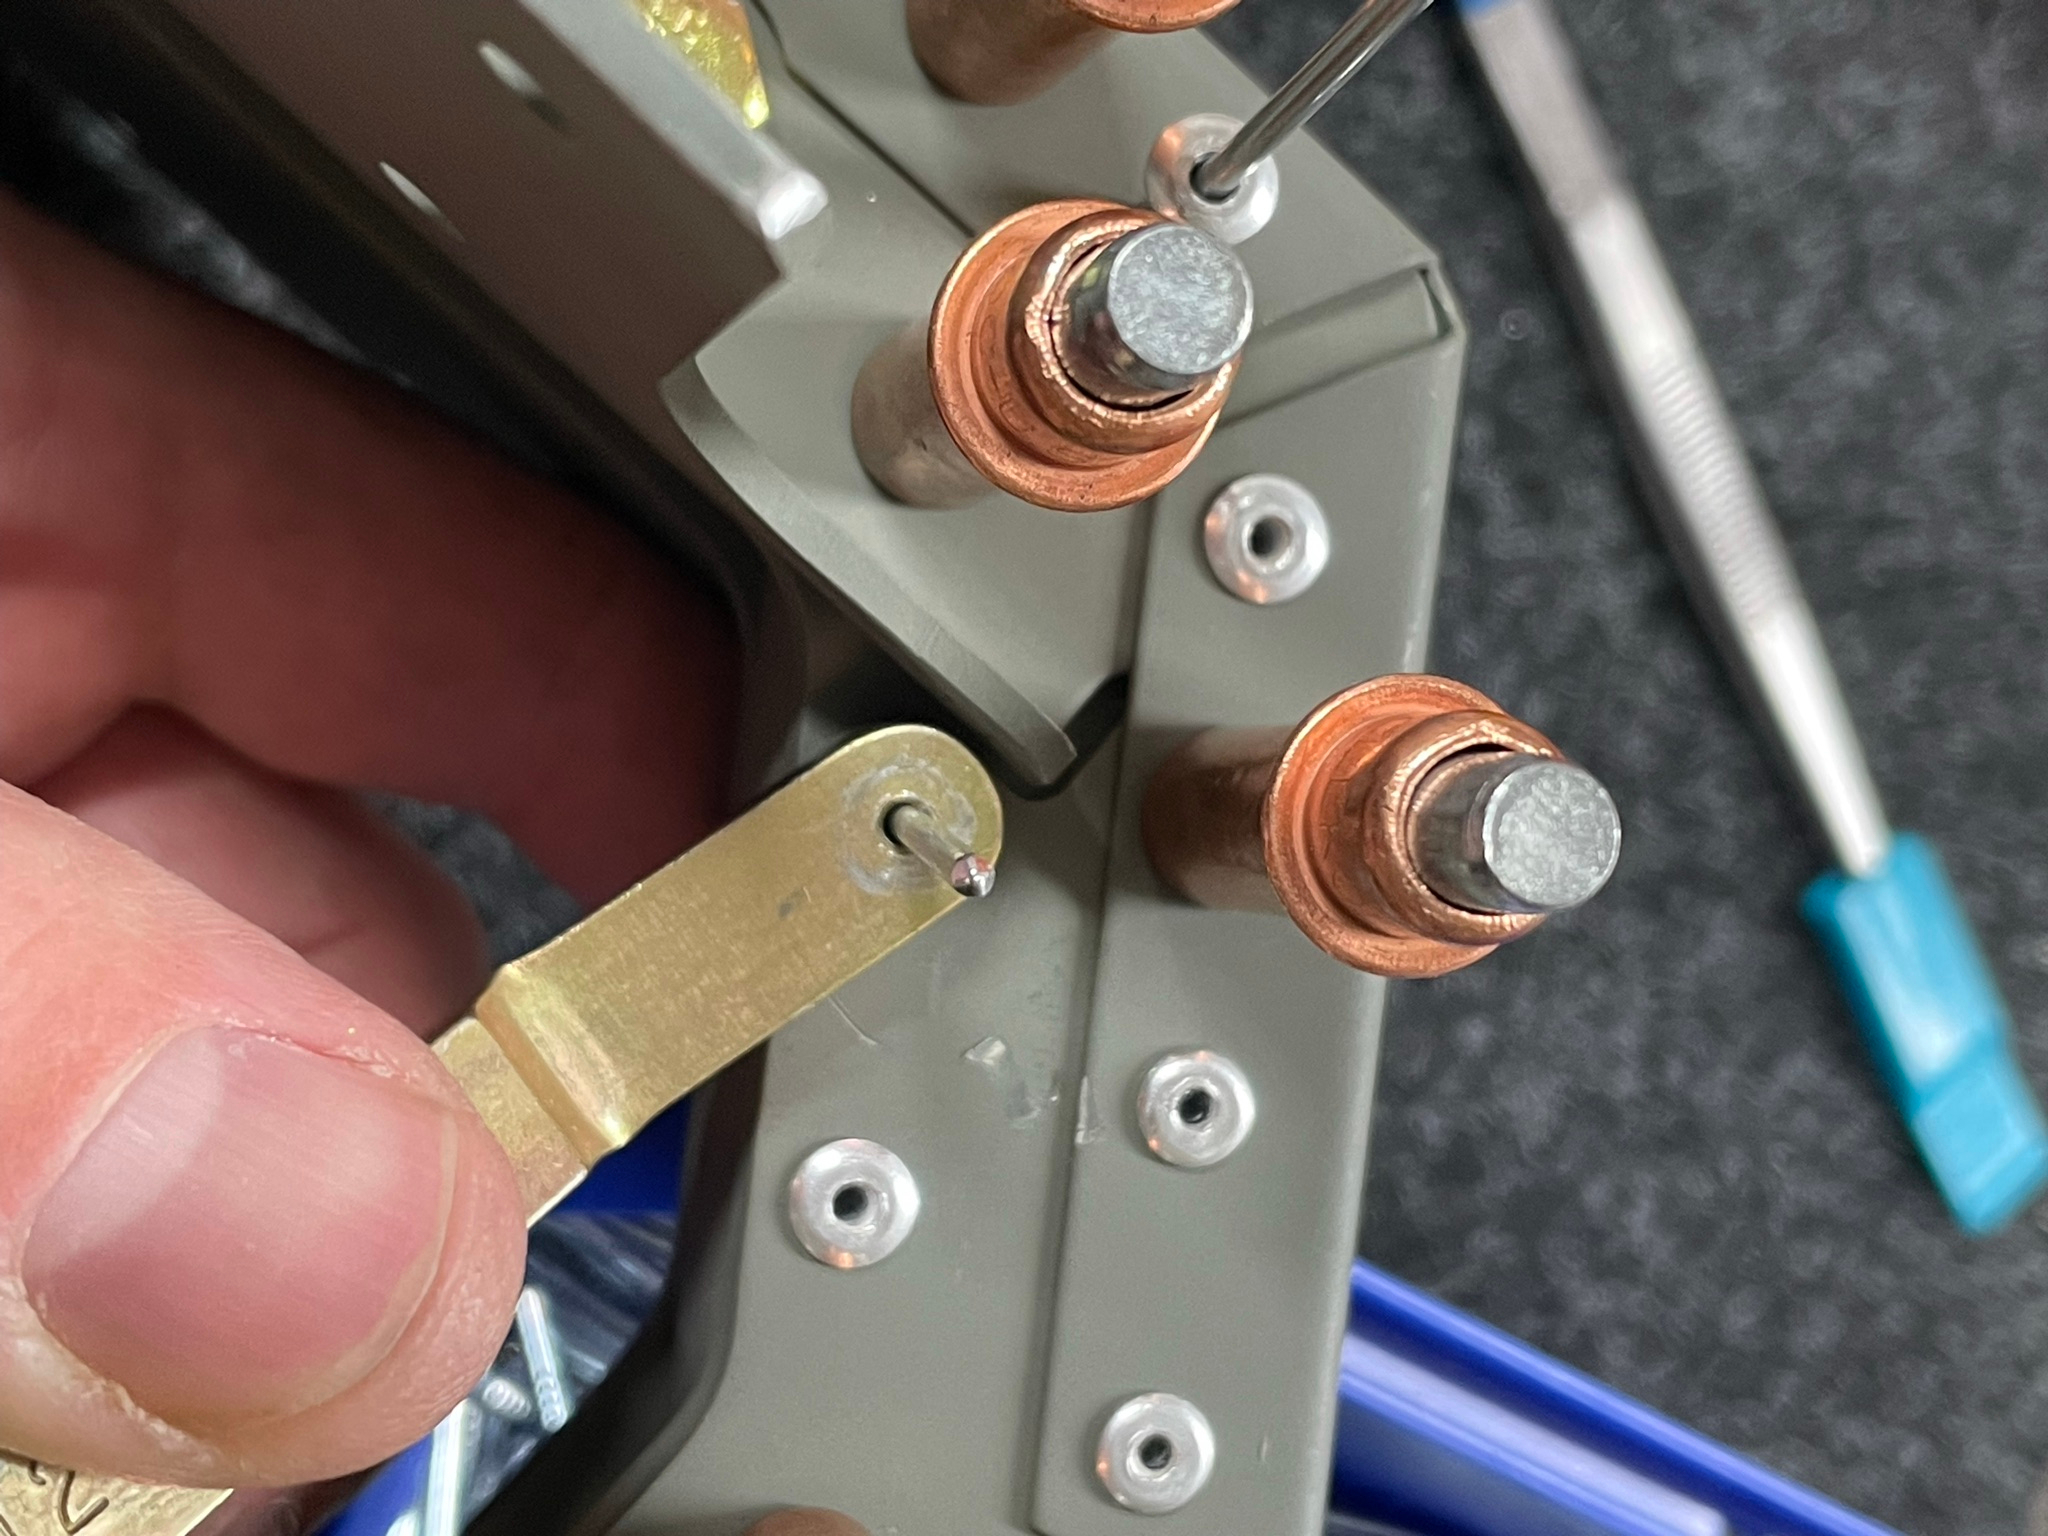
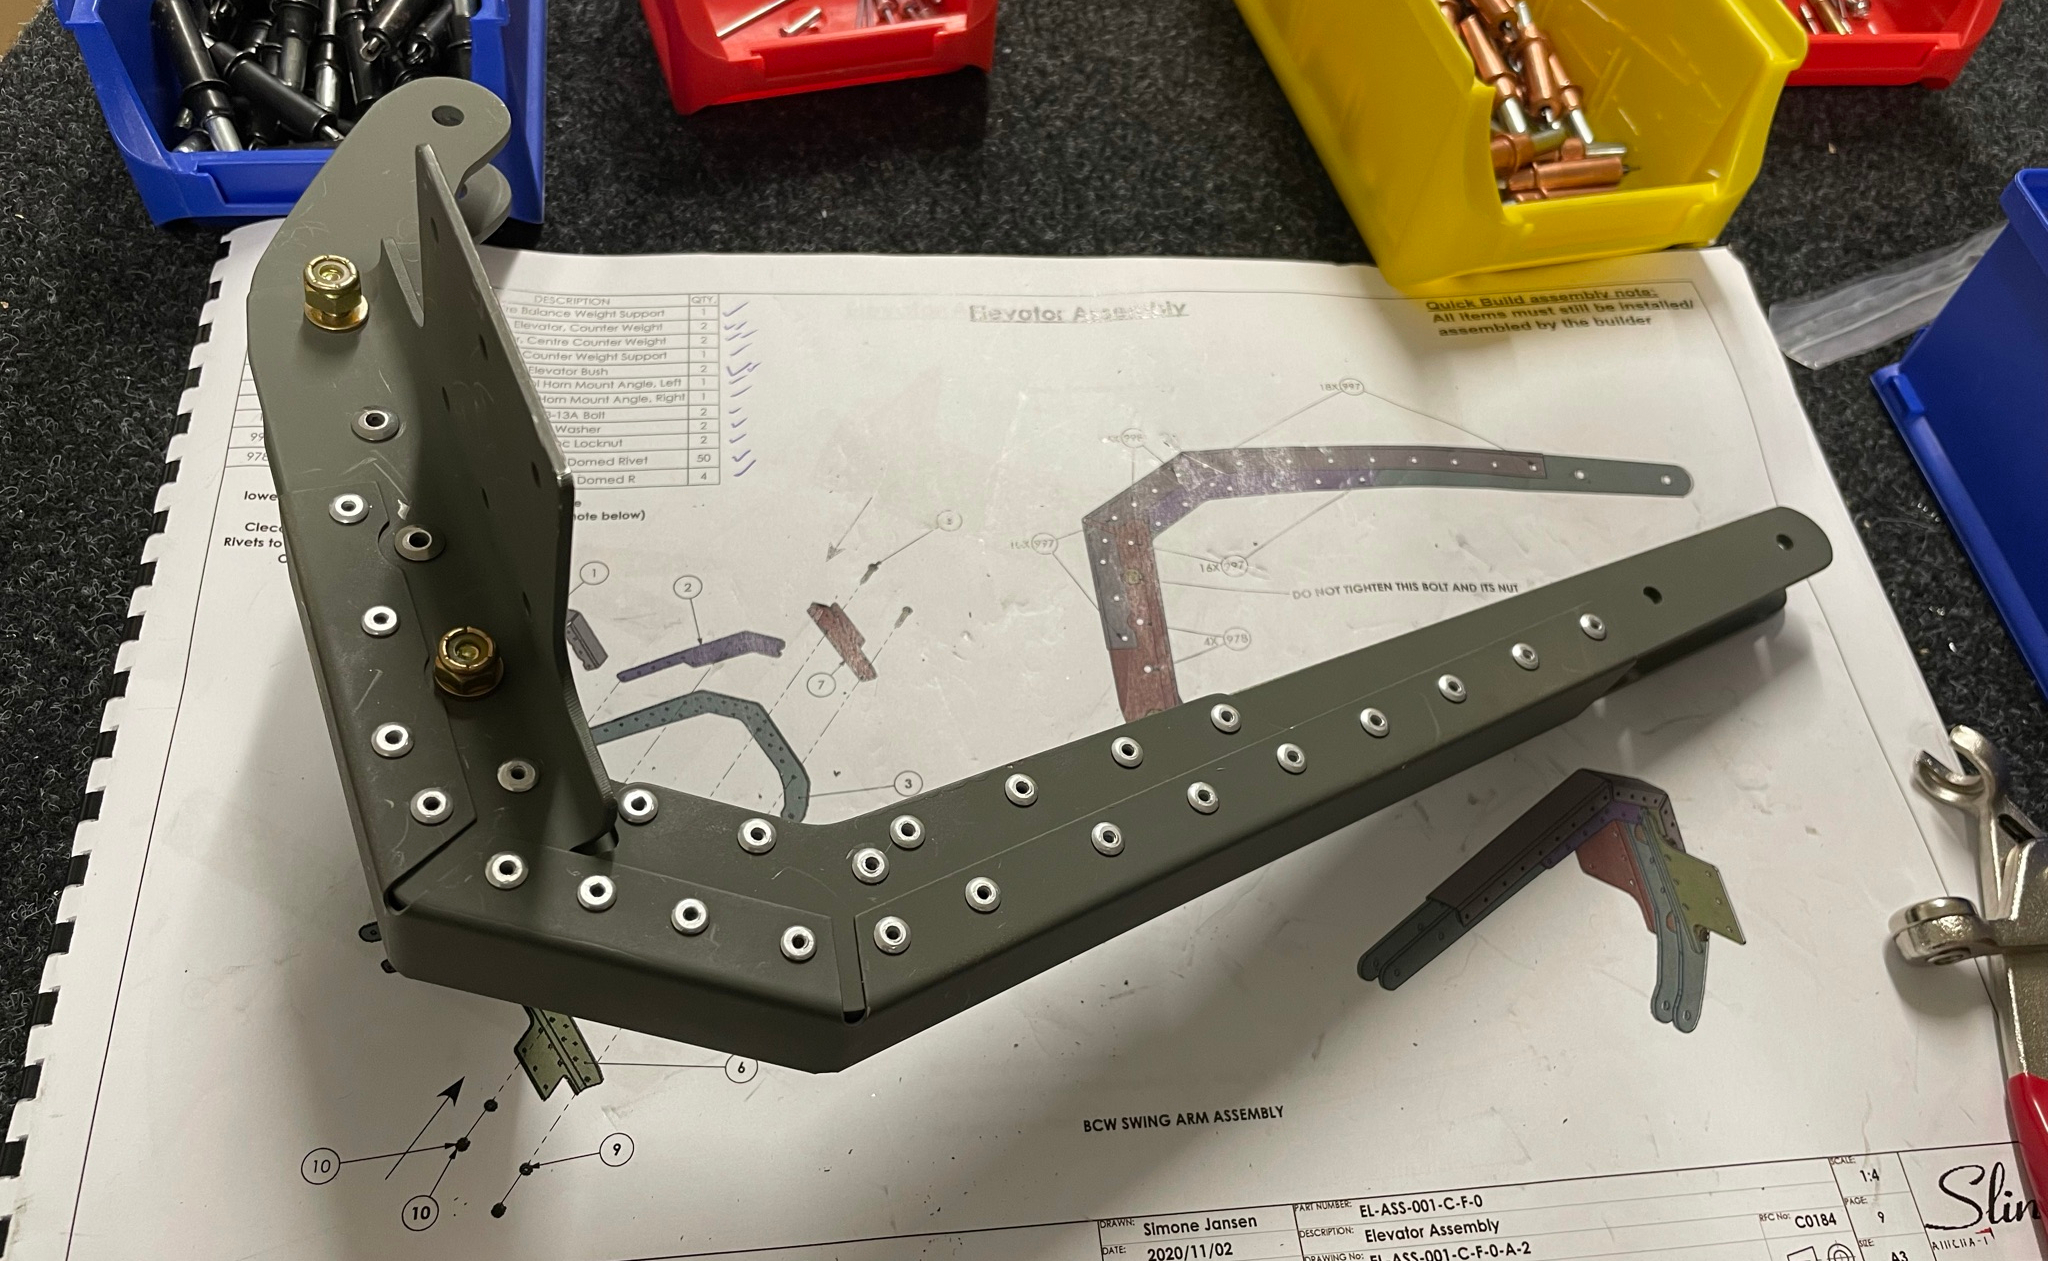
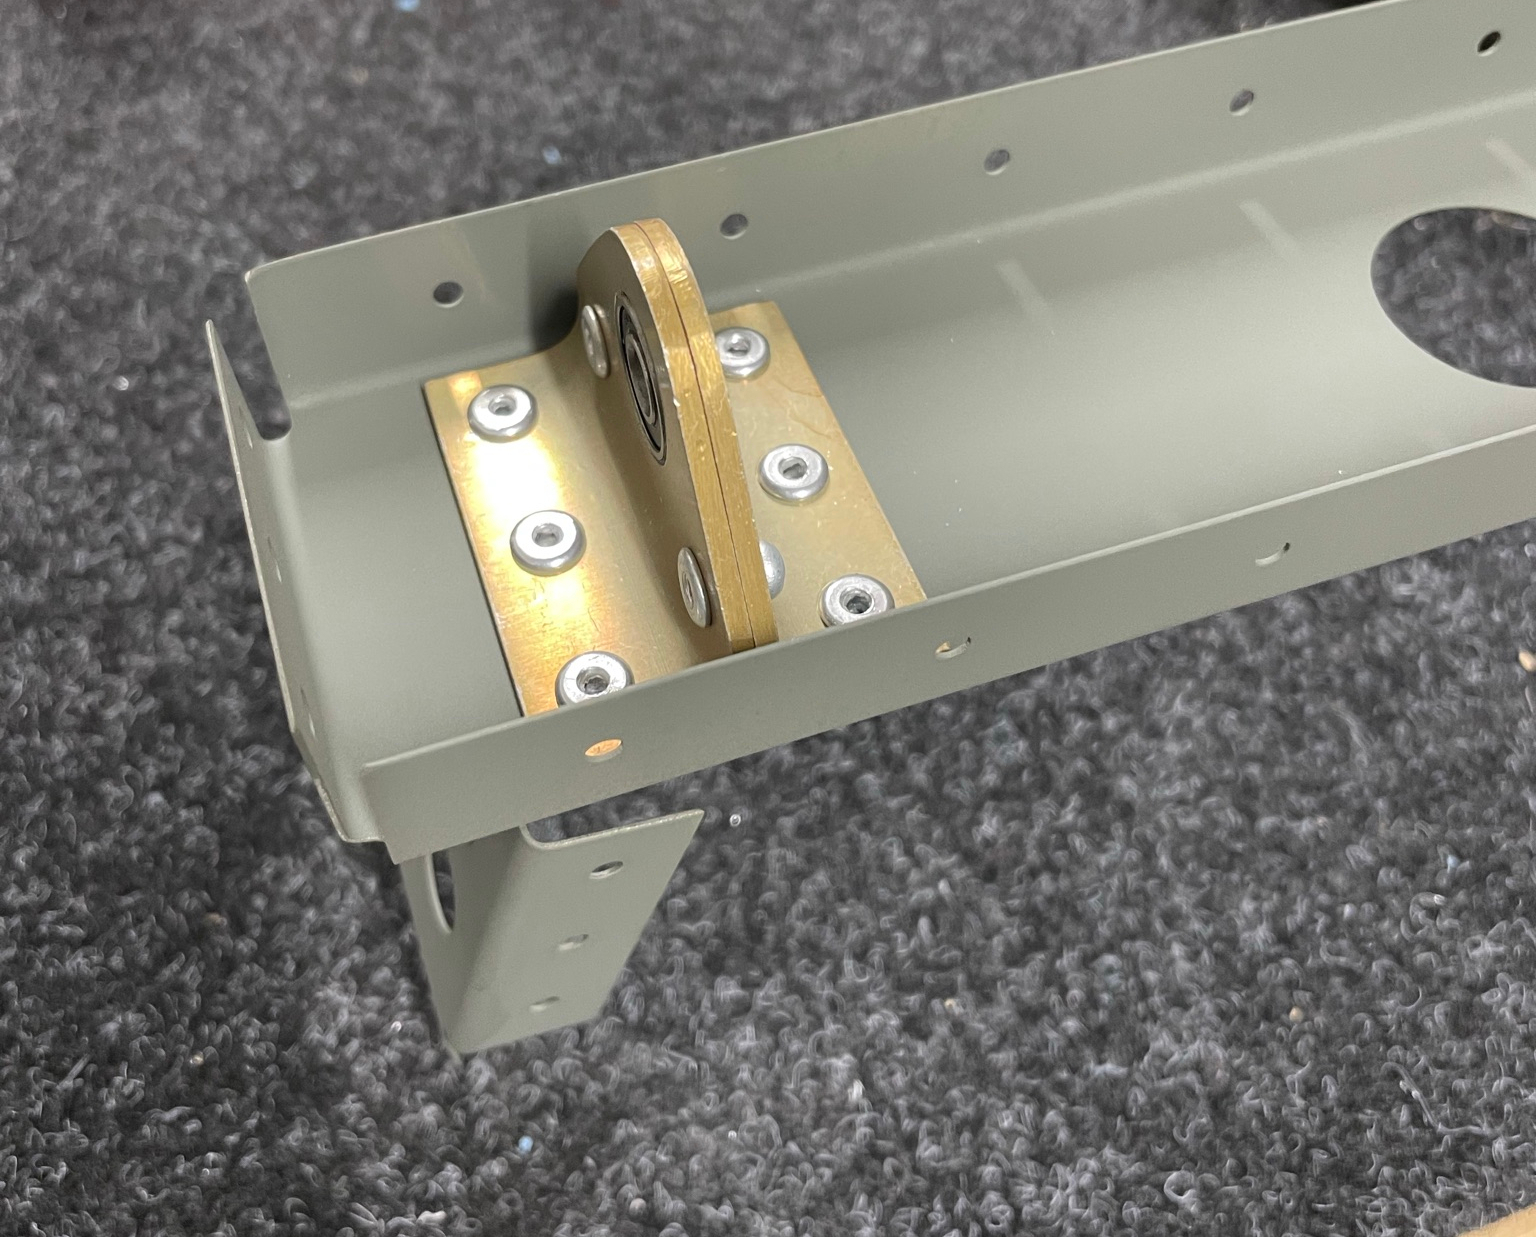
Balance counterweight
This is the first part of the elevator to go together as a separate subassembly.
The counterweight mounts in the centre of the elevator, but projects above and below the elevator and wouldbe difficult to work around if it is riveted/bolted in when suggested by the manual, so it is best assembled then put to the side until the elevator is complete.
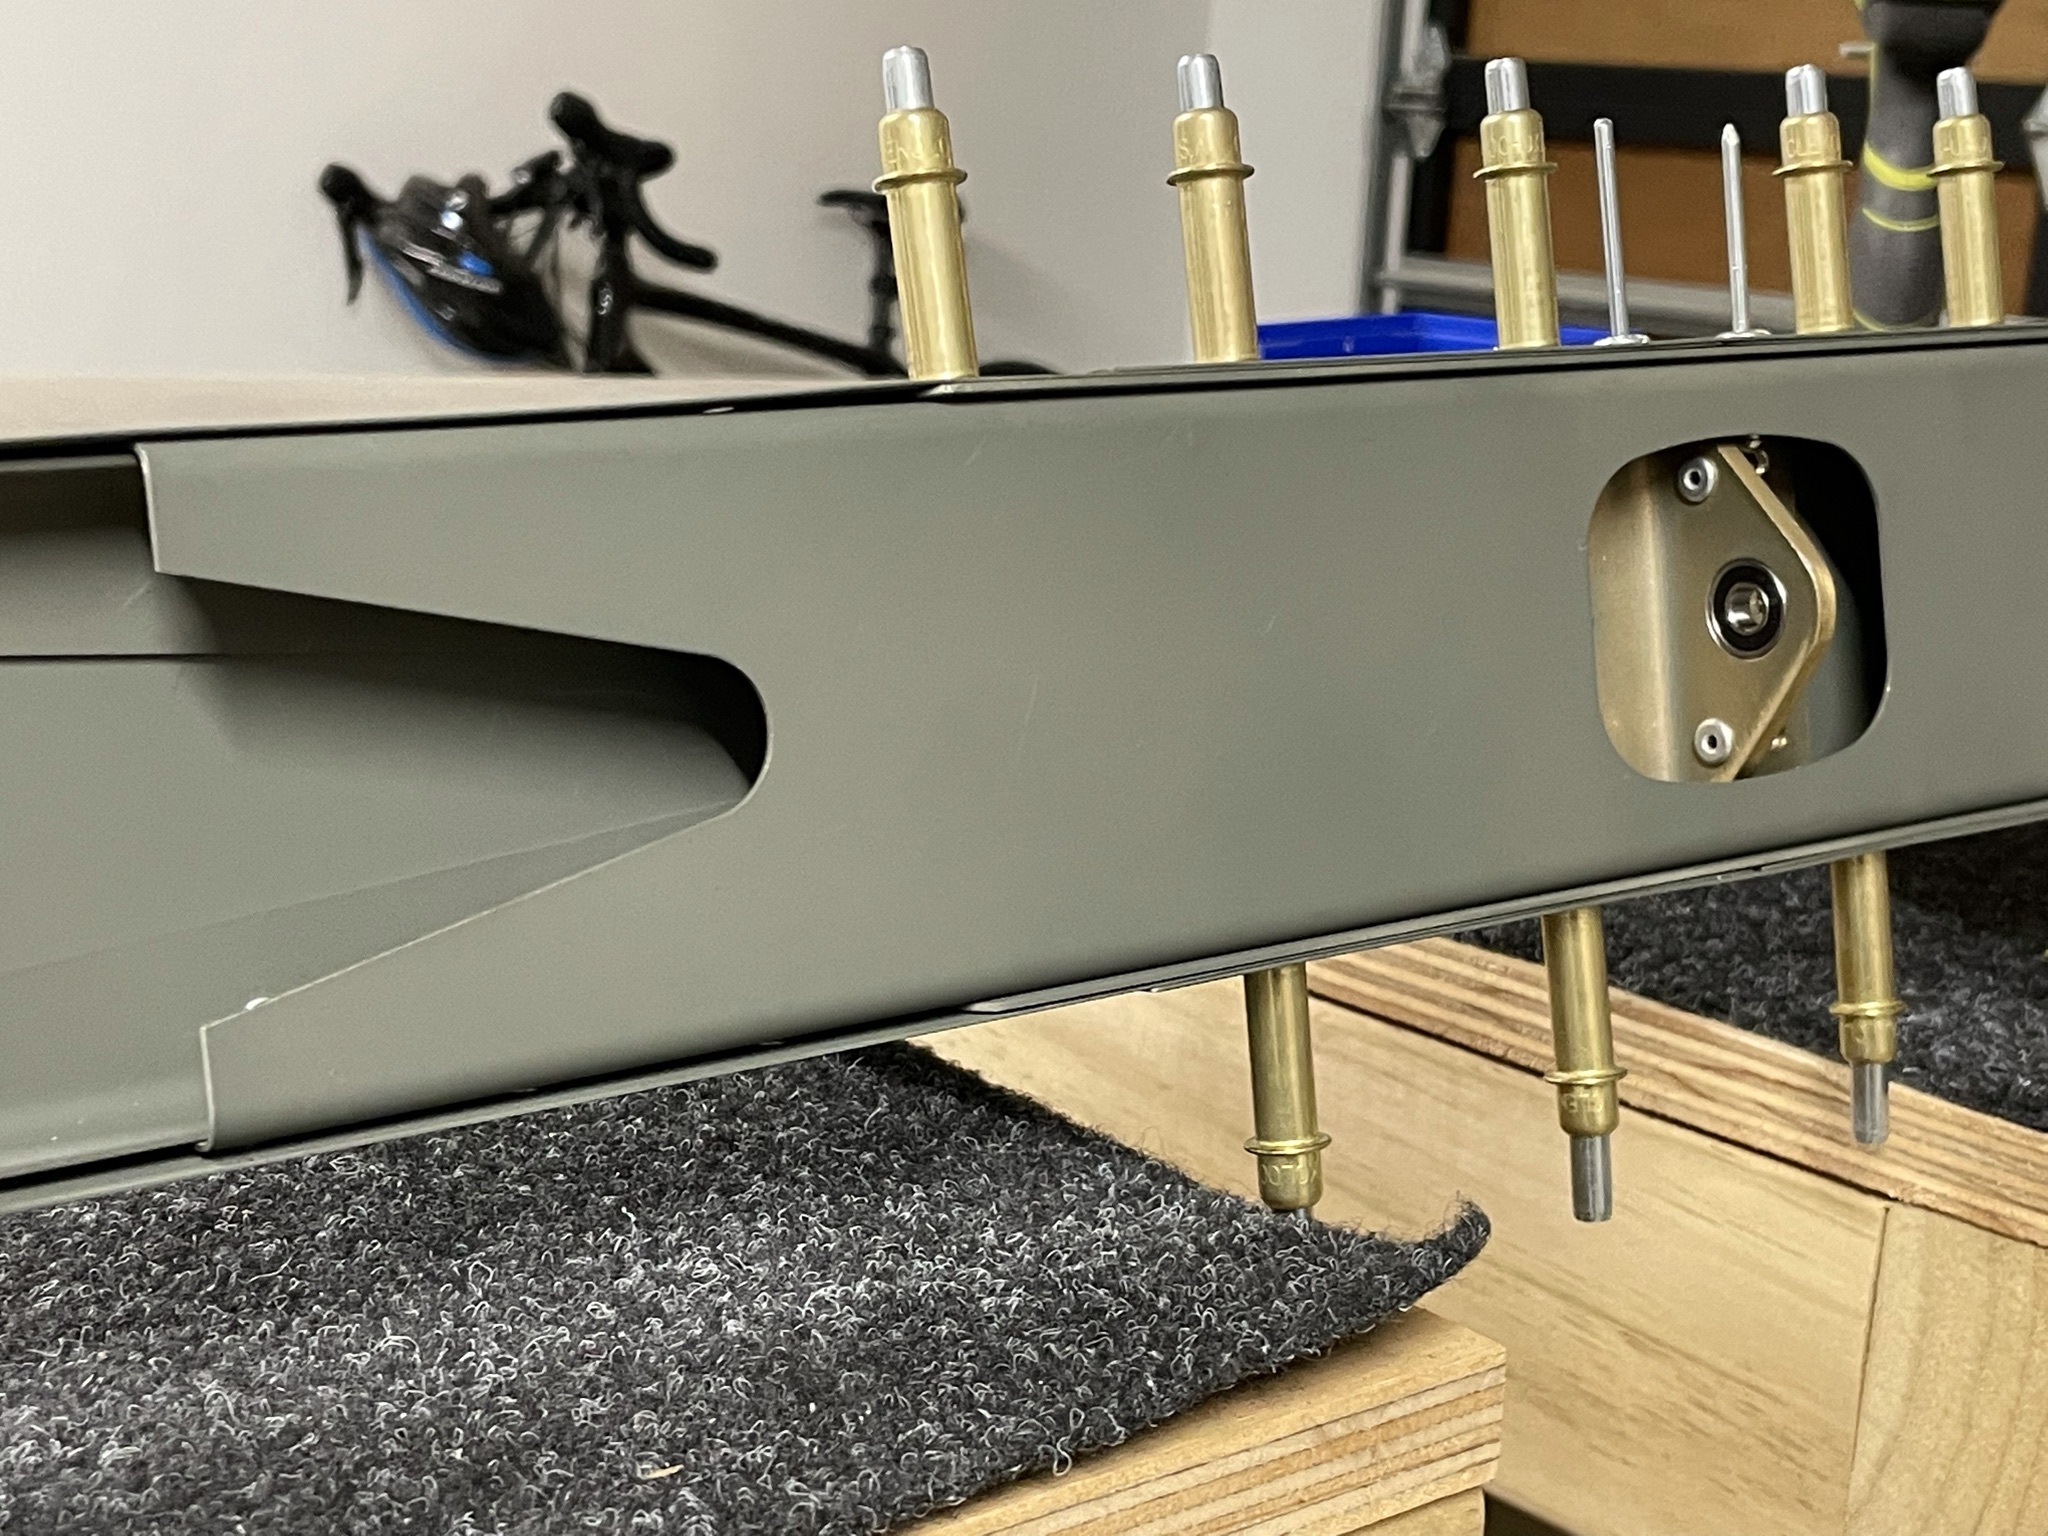
It needs careful attention as there are three rivet types including 4 stainless steel ones, and two AN3 bolts requiring torquing to the correct value. Unfortunately the torque required for an AN3 bolt is only 2.0-2.7 Nm, and my large torque wrench only reads down to 10 Nm.
In search of a low-torque wrench, I came across this cheap but accurate bicycle one, which reads down to 1 Nm. It uses a carbon fibre rod as a torque bar. It is intended for use with hex bits, but is easy enough to fit a small socket to.
Unfortunately the torque seal I ordered from the US got stuck in sea freight and is likely to be expired before it arrives so I will order some locally before tightening these bolts.
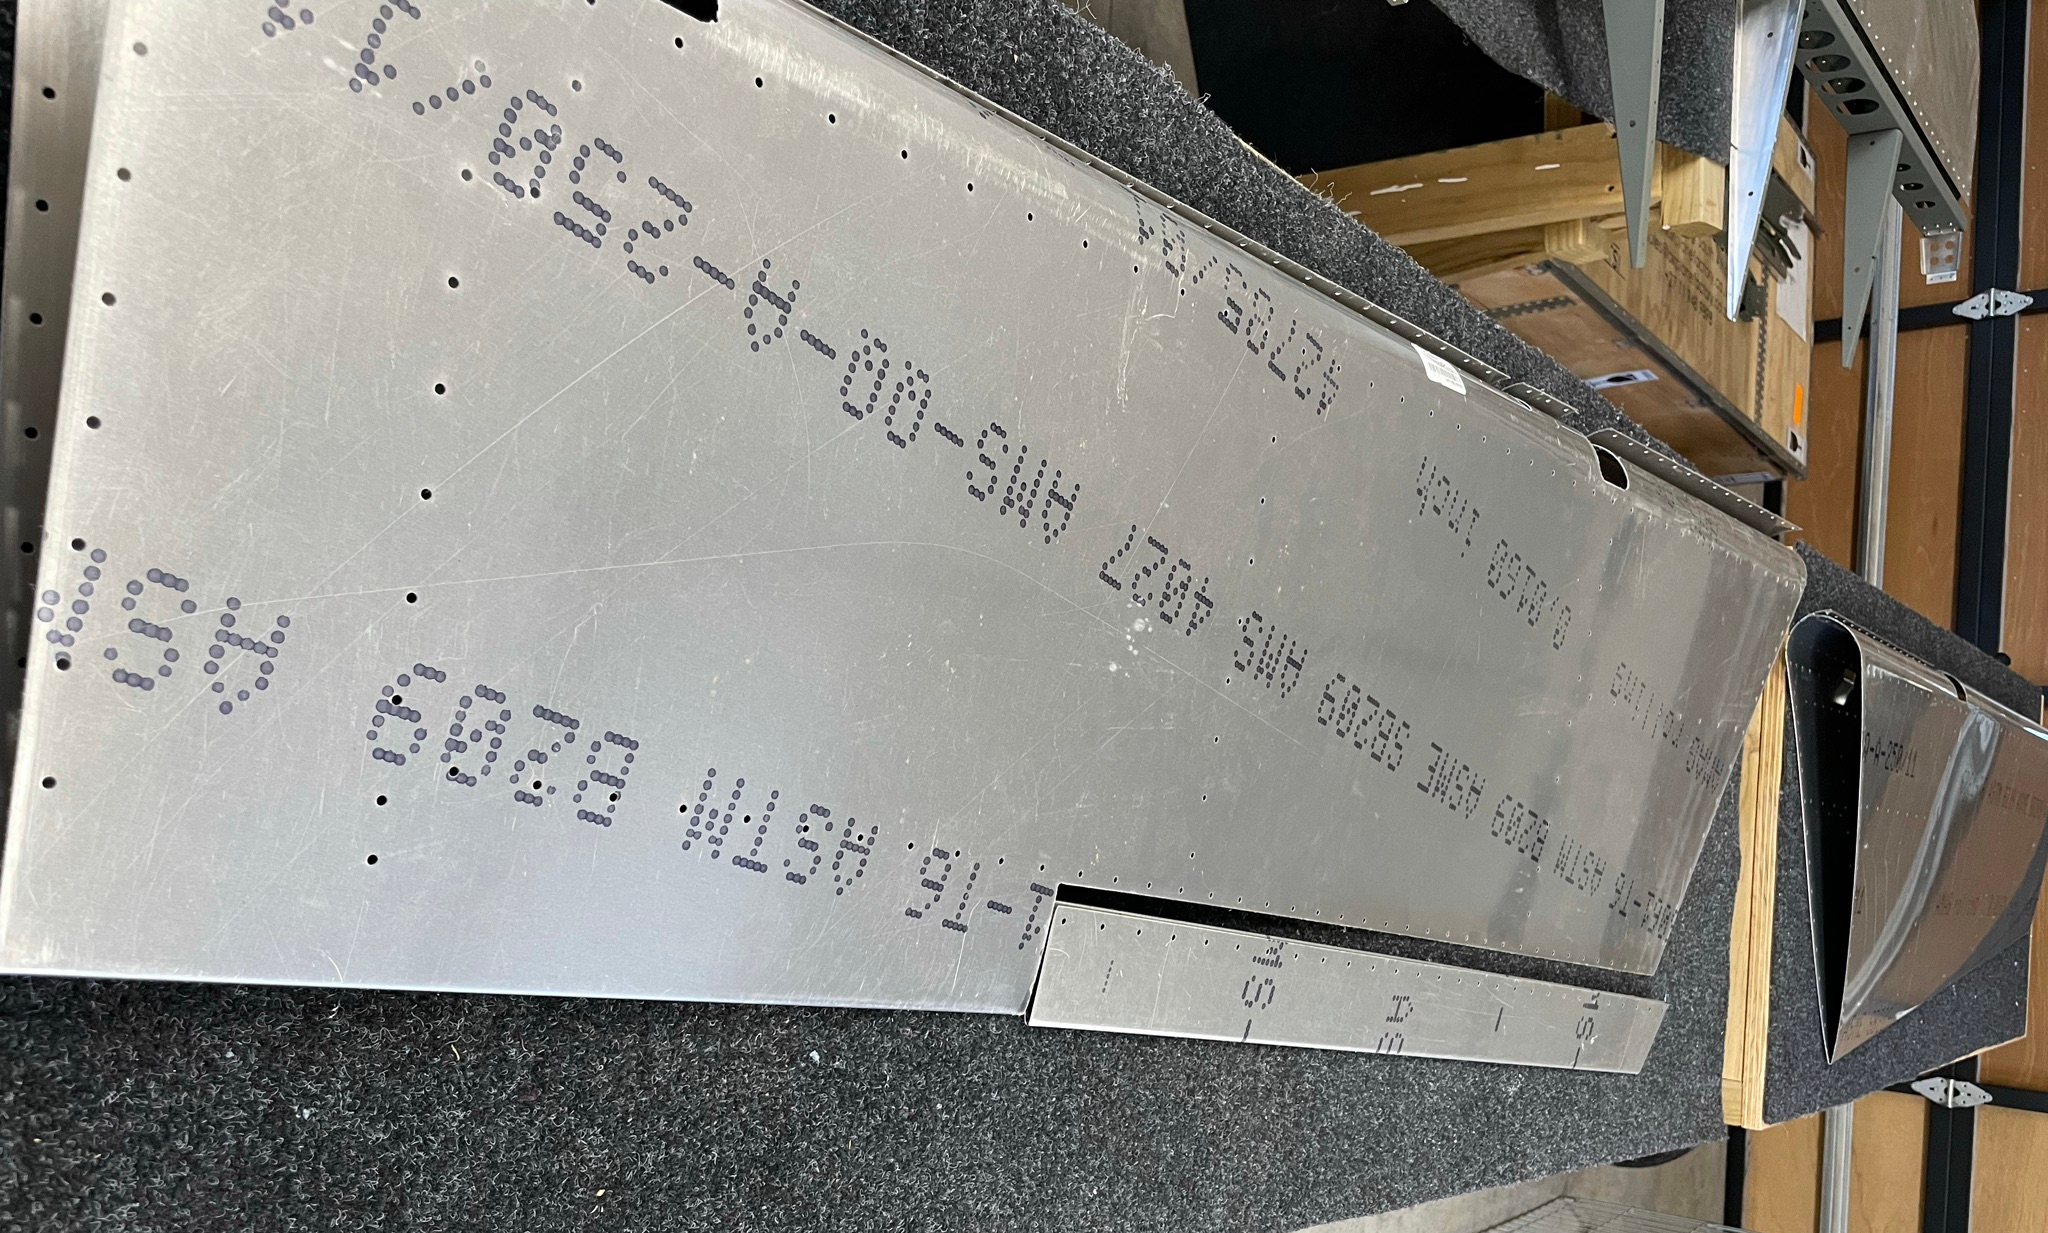
Elevator Spar
Pretty standard spar and rib construction initially.

Again straightforward enough after the HS spar, although some care does need to be taken as there are a few overlapping reinforcing/doubling plates with tight tolerances.
Skin Prep