Elevator Completion
Slow and steady...
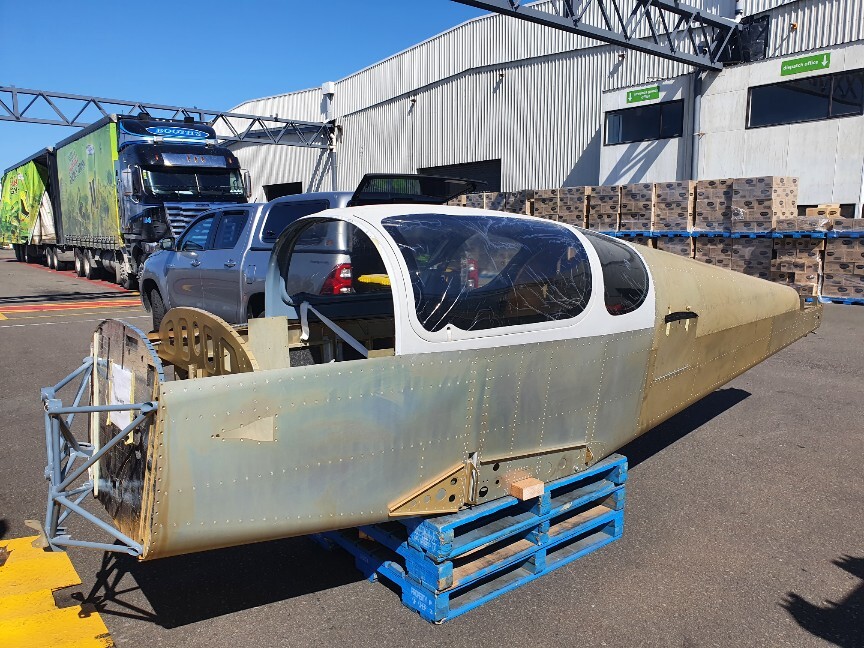
The last few months have been fairly hectic, with a few work and pandemic-related externalities... However good news on the build front, after significant shipping delays, the container with the remaining components of my quickbuild (fuselage, wings, canopy and finishing kit) shipped from Durban in November, spent a month on the wharf in Singapore, and arrived into Wellington on at the end of January. The local dealer should be up tomorrow with the kit on a truck, so I thought it was high time I updated the blog!

In the meantime I've been making slow and steady progress on completing the elevator and rudder. The static wick and bonding strap hardware arrived from Aircraft Spruce, and the factory has air-freighted me the remaining missing ribs and fibreglass components.
Flying
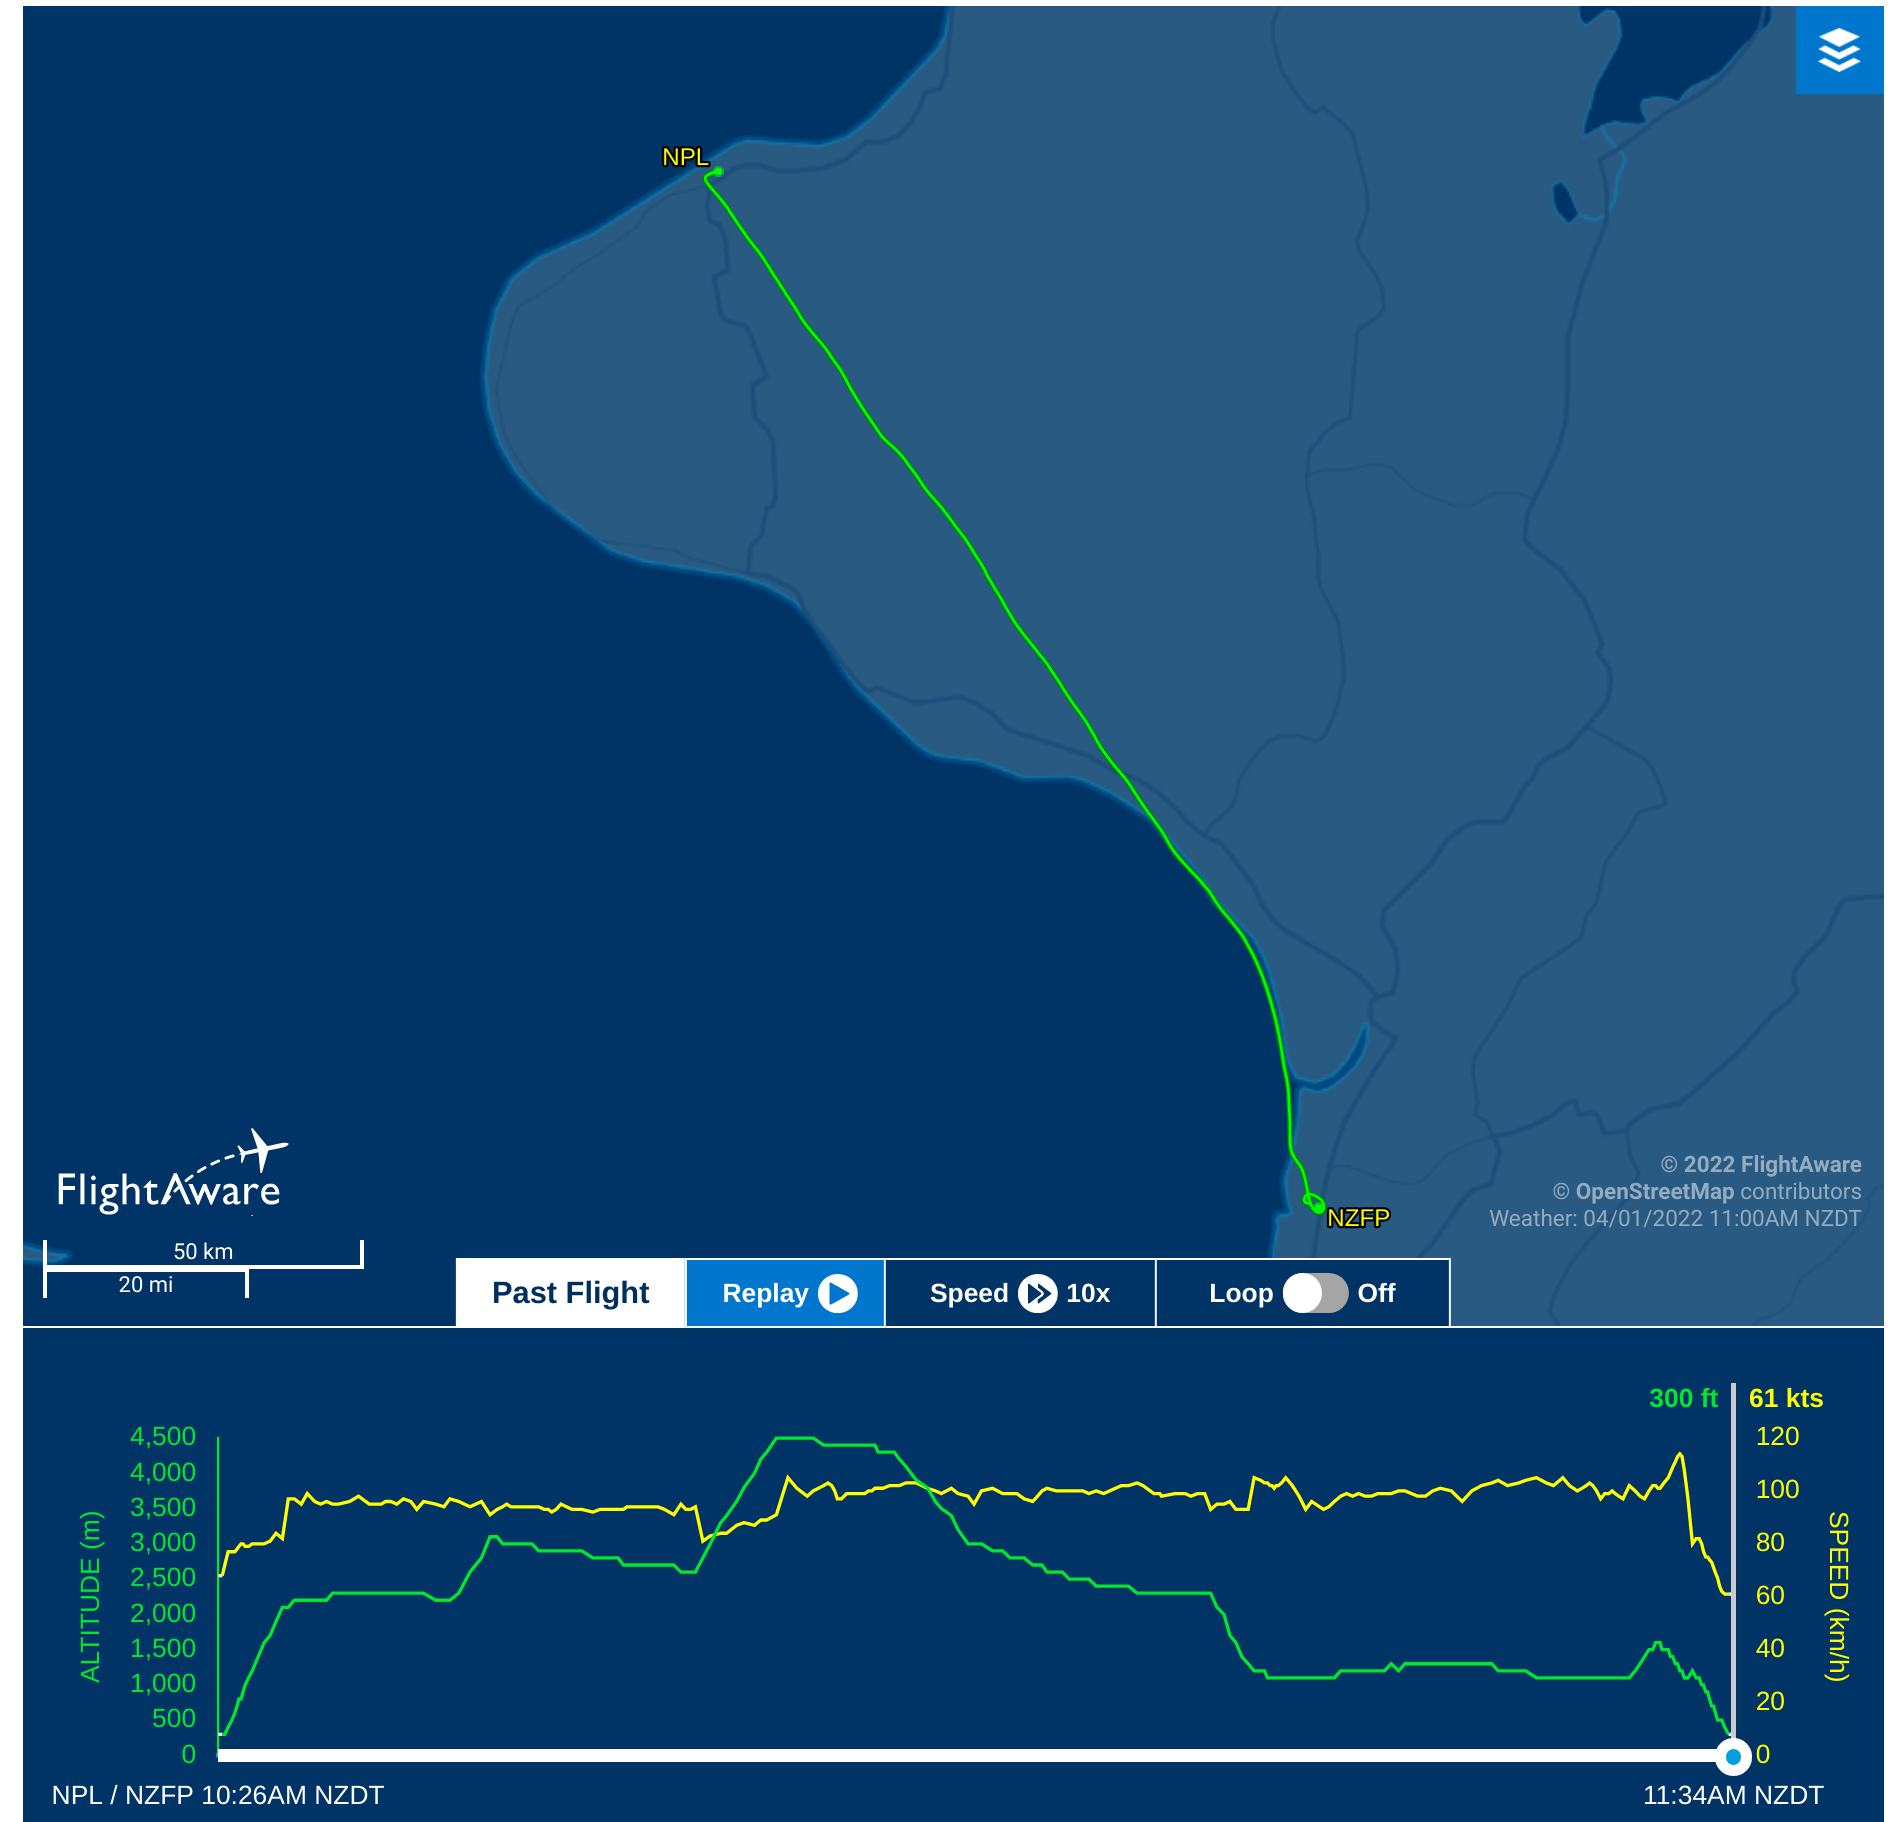
Not too much flying in the latter part of last year after lockdown in August and a busy lead up to Christmas, but managed to get the whole family in the 172 for the first time for a $100-dollar hamburgerpicnic at Foxpine Airstrip (NZFP) at the start of January. Great weather for it!
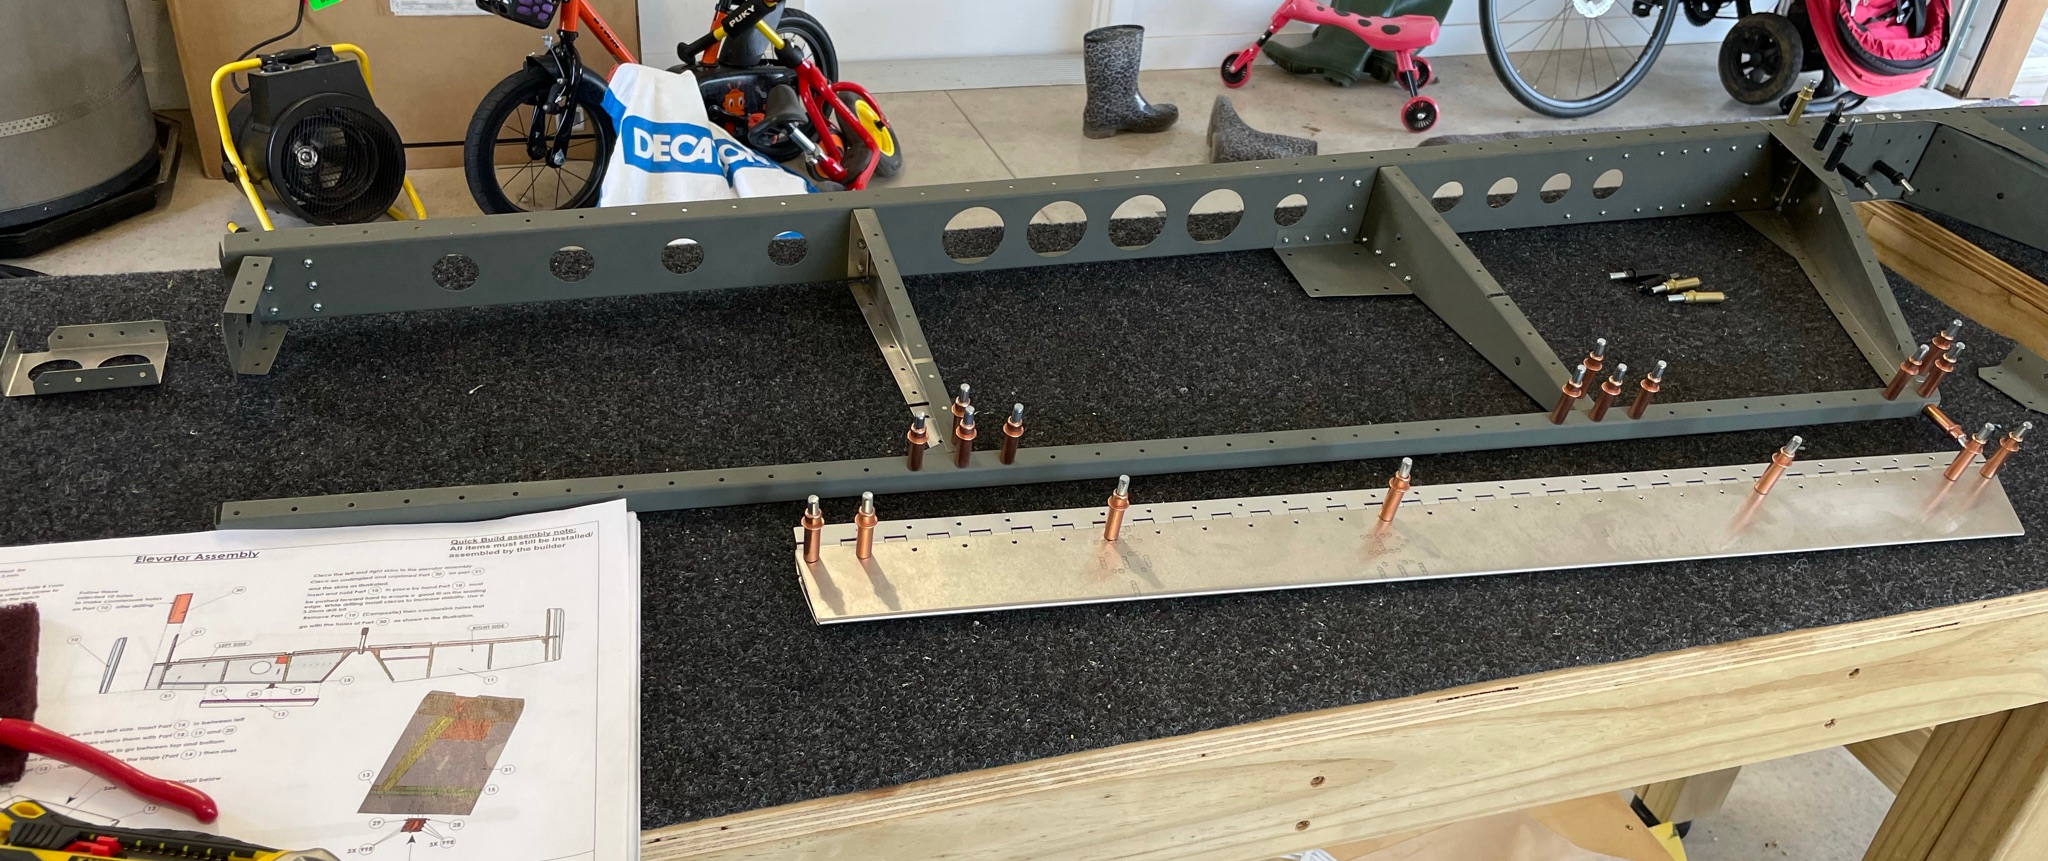
Elevator Spar Completion
Elevator Skin
The left elevator skin has an inspection hatch for the trim tab, which is precut with but has a reinforcing plate that needs match drilling and riveting to the skin
The cover itself is in two parts, so after priming internally and applying the provided plastic cover, it is riveted together. A rivnut is installed to accept a retaining screw. Two holes are left unriveted to facilitate inserting pins to rotate the cover and remove it.
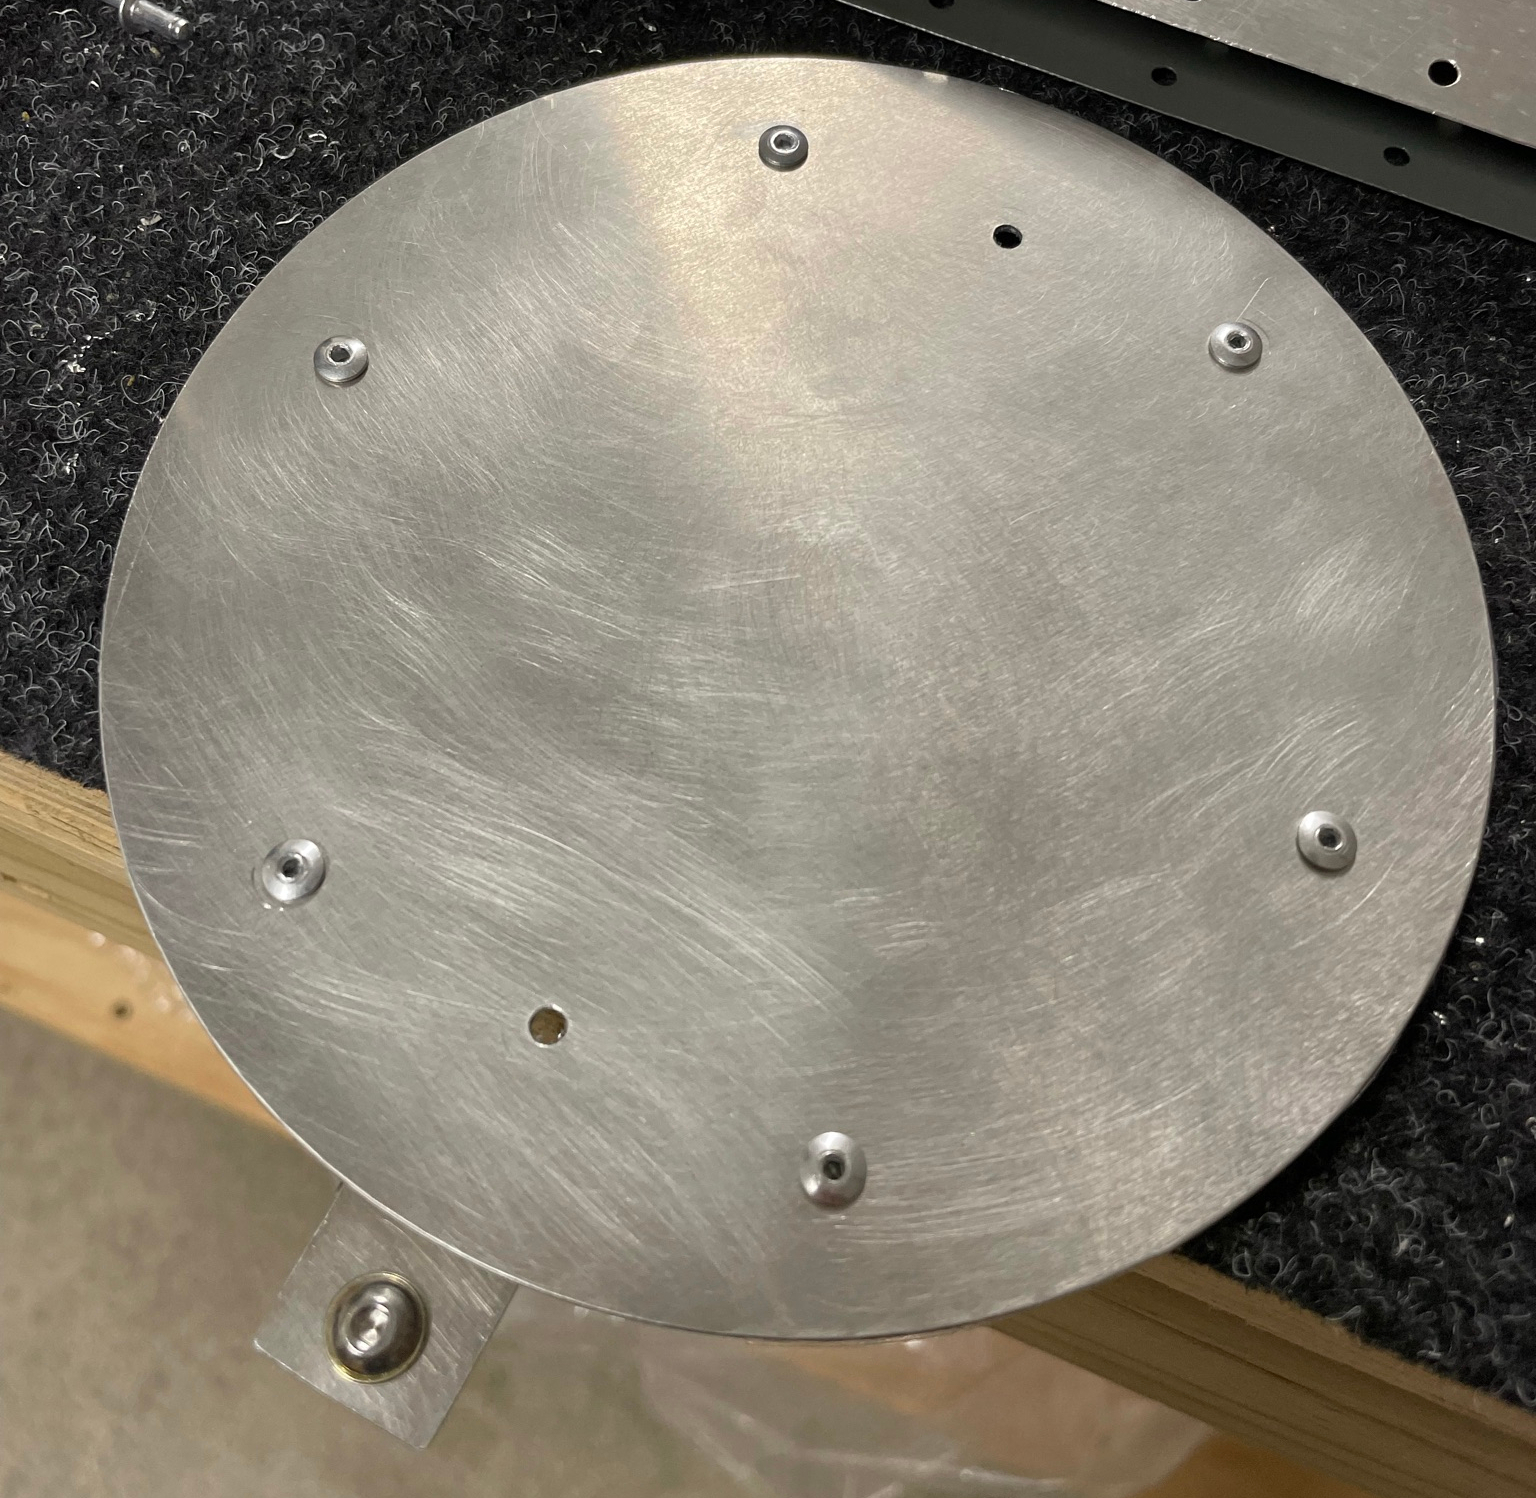
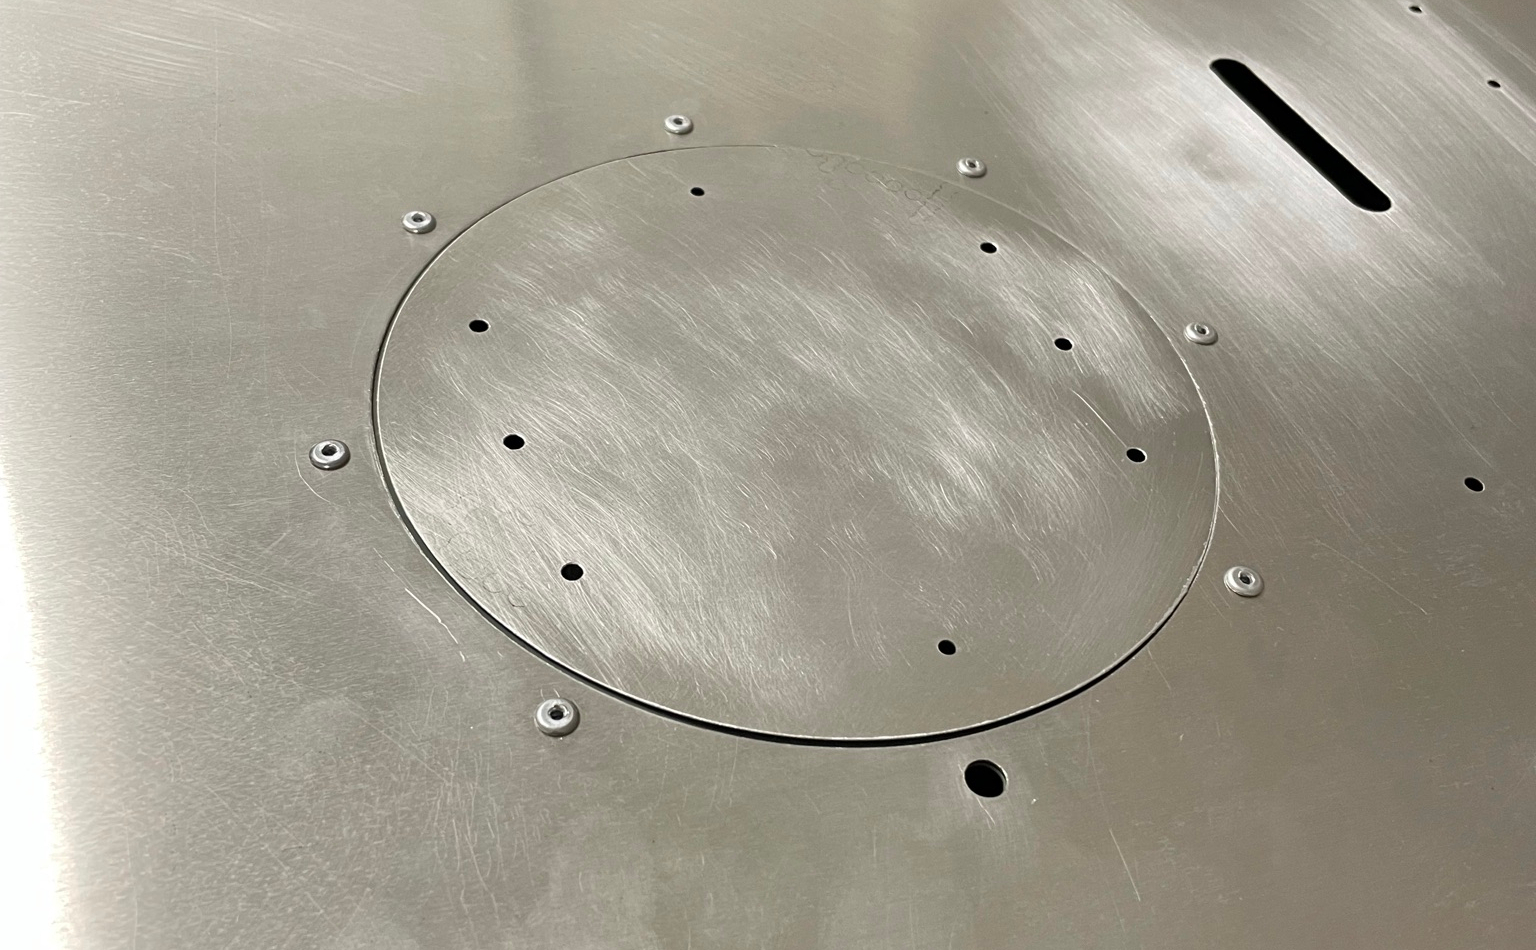
Somewhat foolishly I started enlarging the hole in the skin rather than the hole in the hatch cover for the rivnut, which is why it looks a bit bigger than the rivet holes... Luckily I realised this before making it too big to retain the screw. In fairness the screw prevents rotating so would have still been fine, but not very visually appealing. As always, assemble ahead!
Trim tab and reinforcing installation
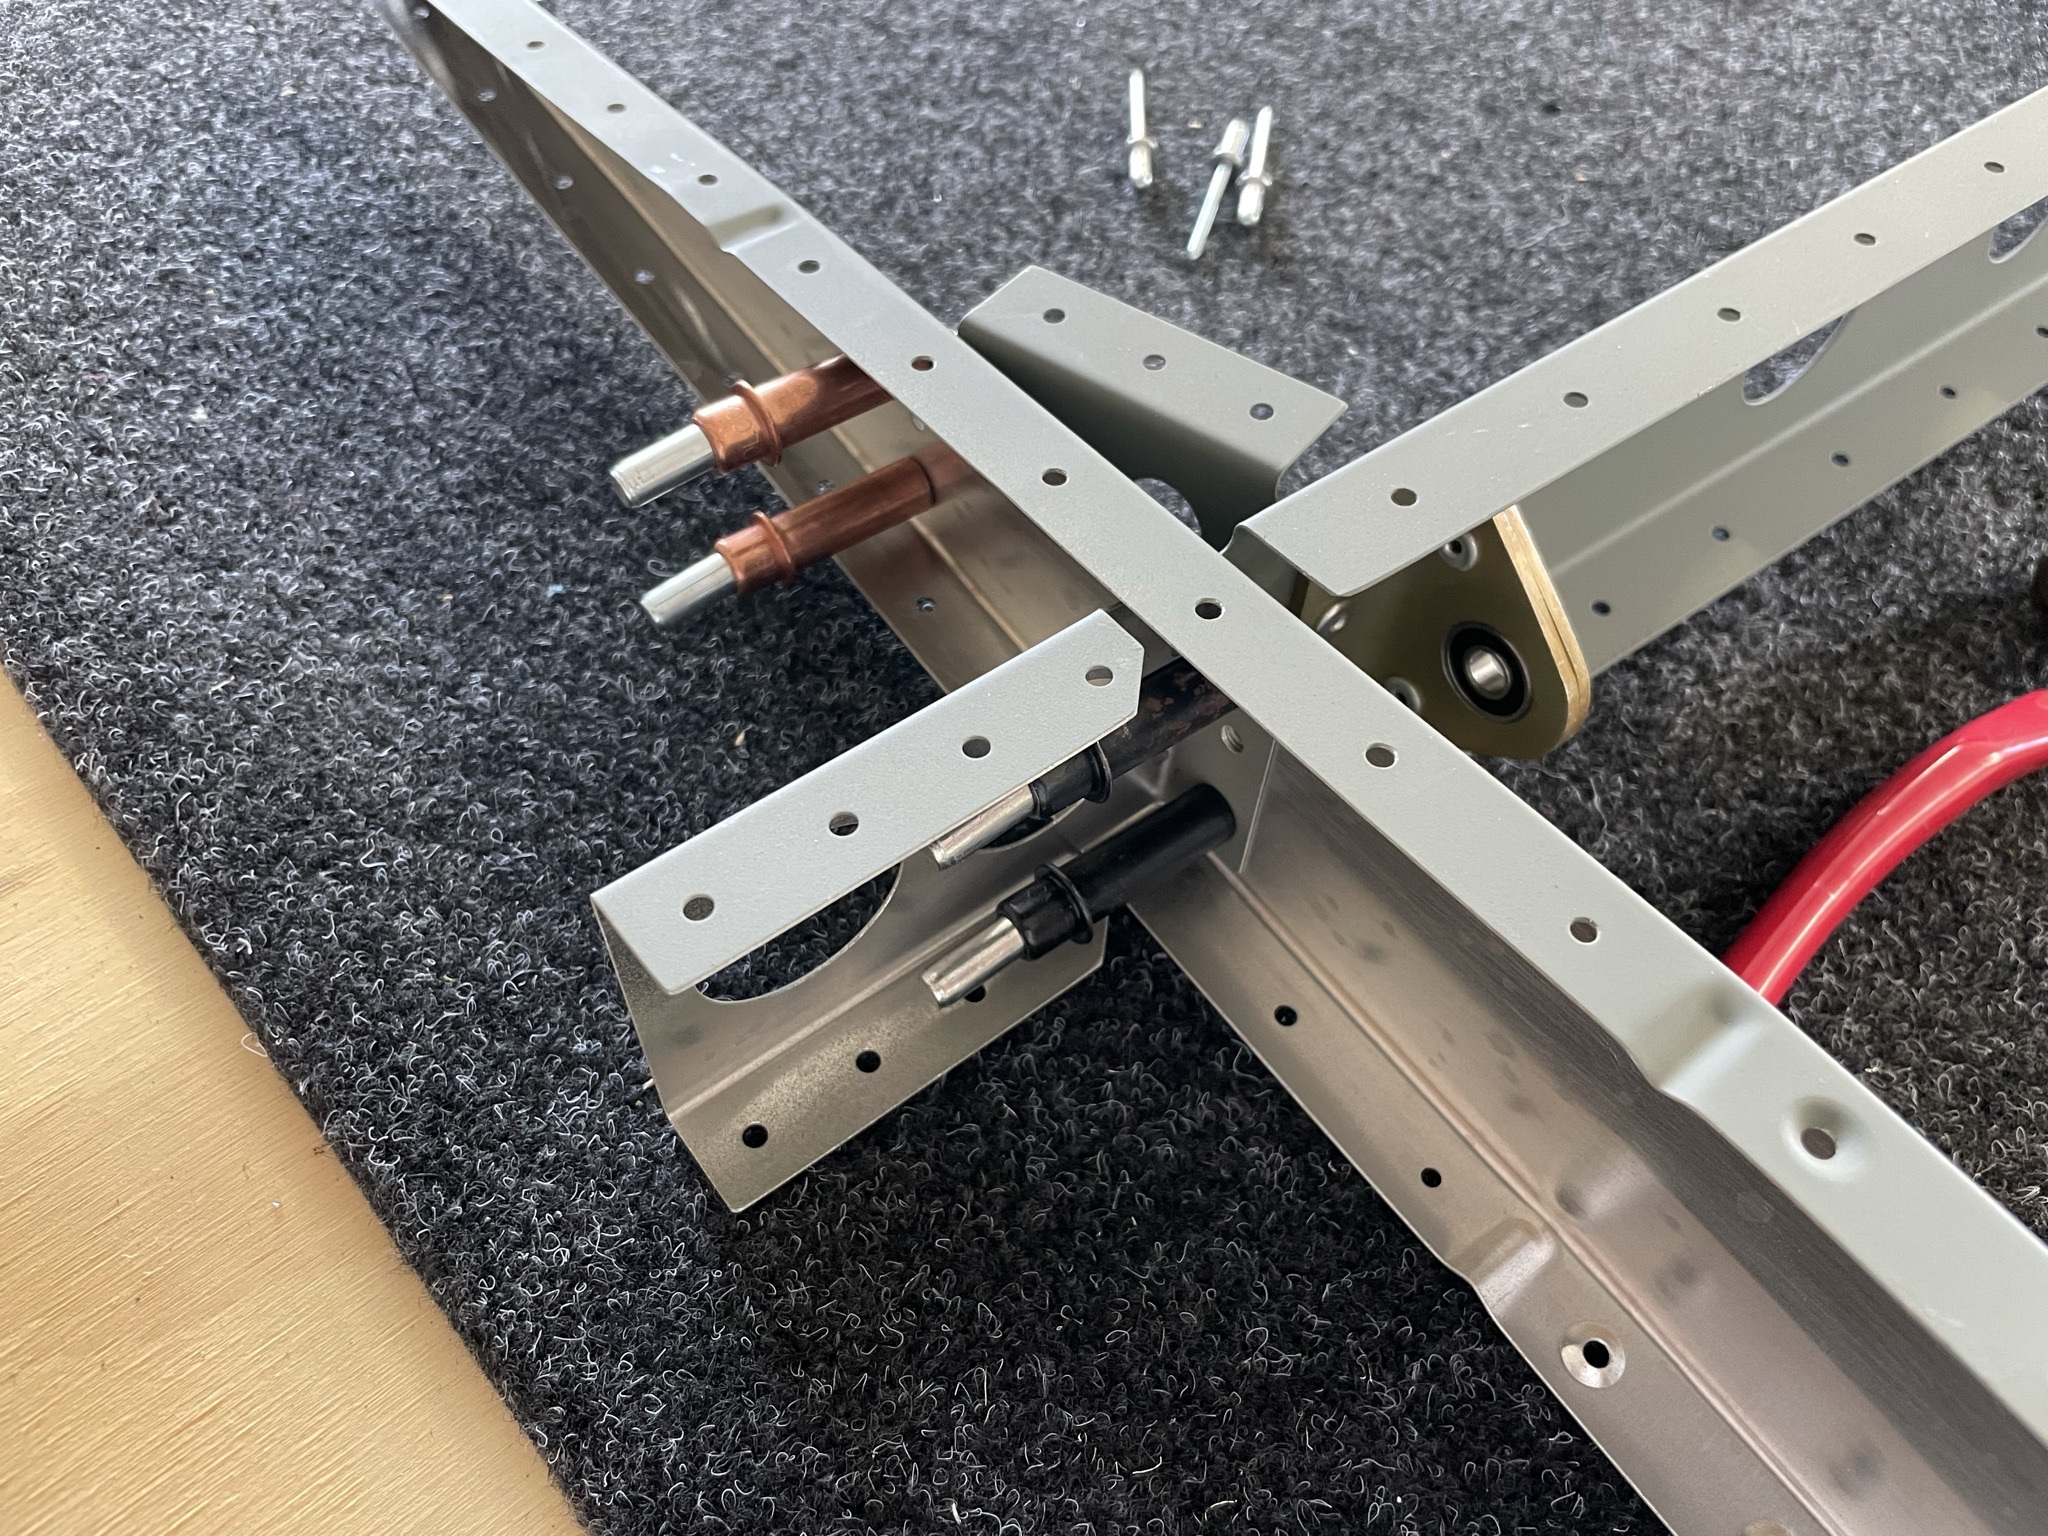
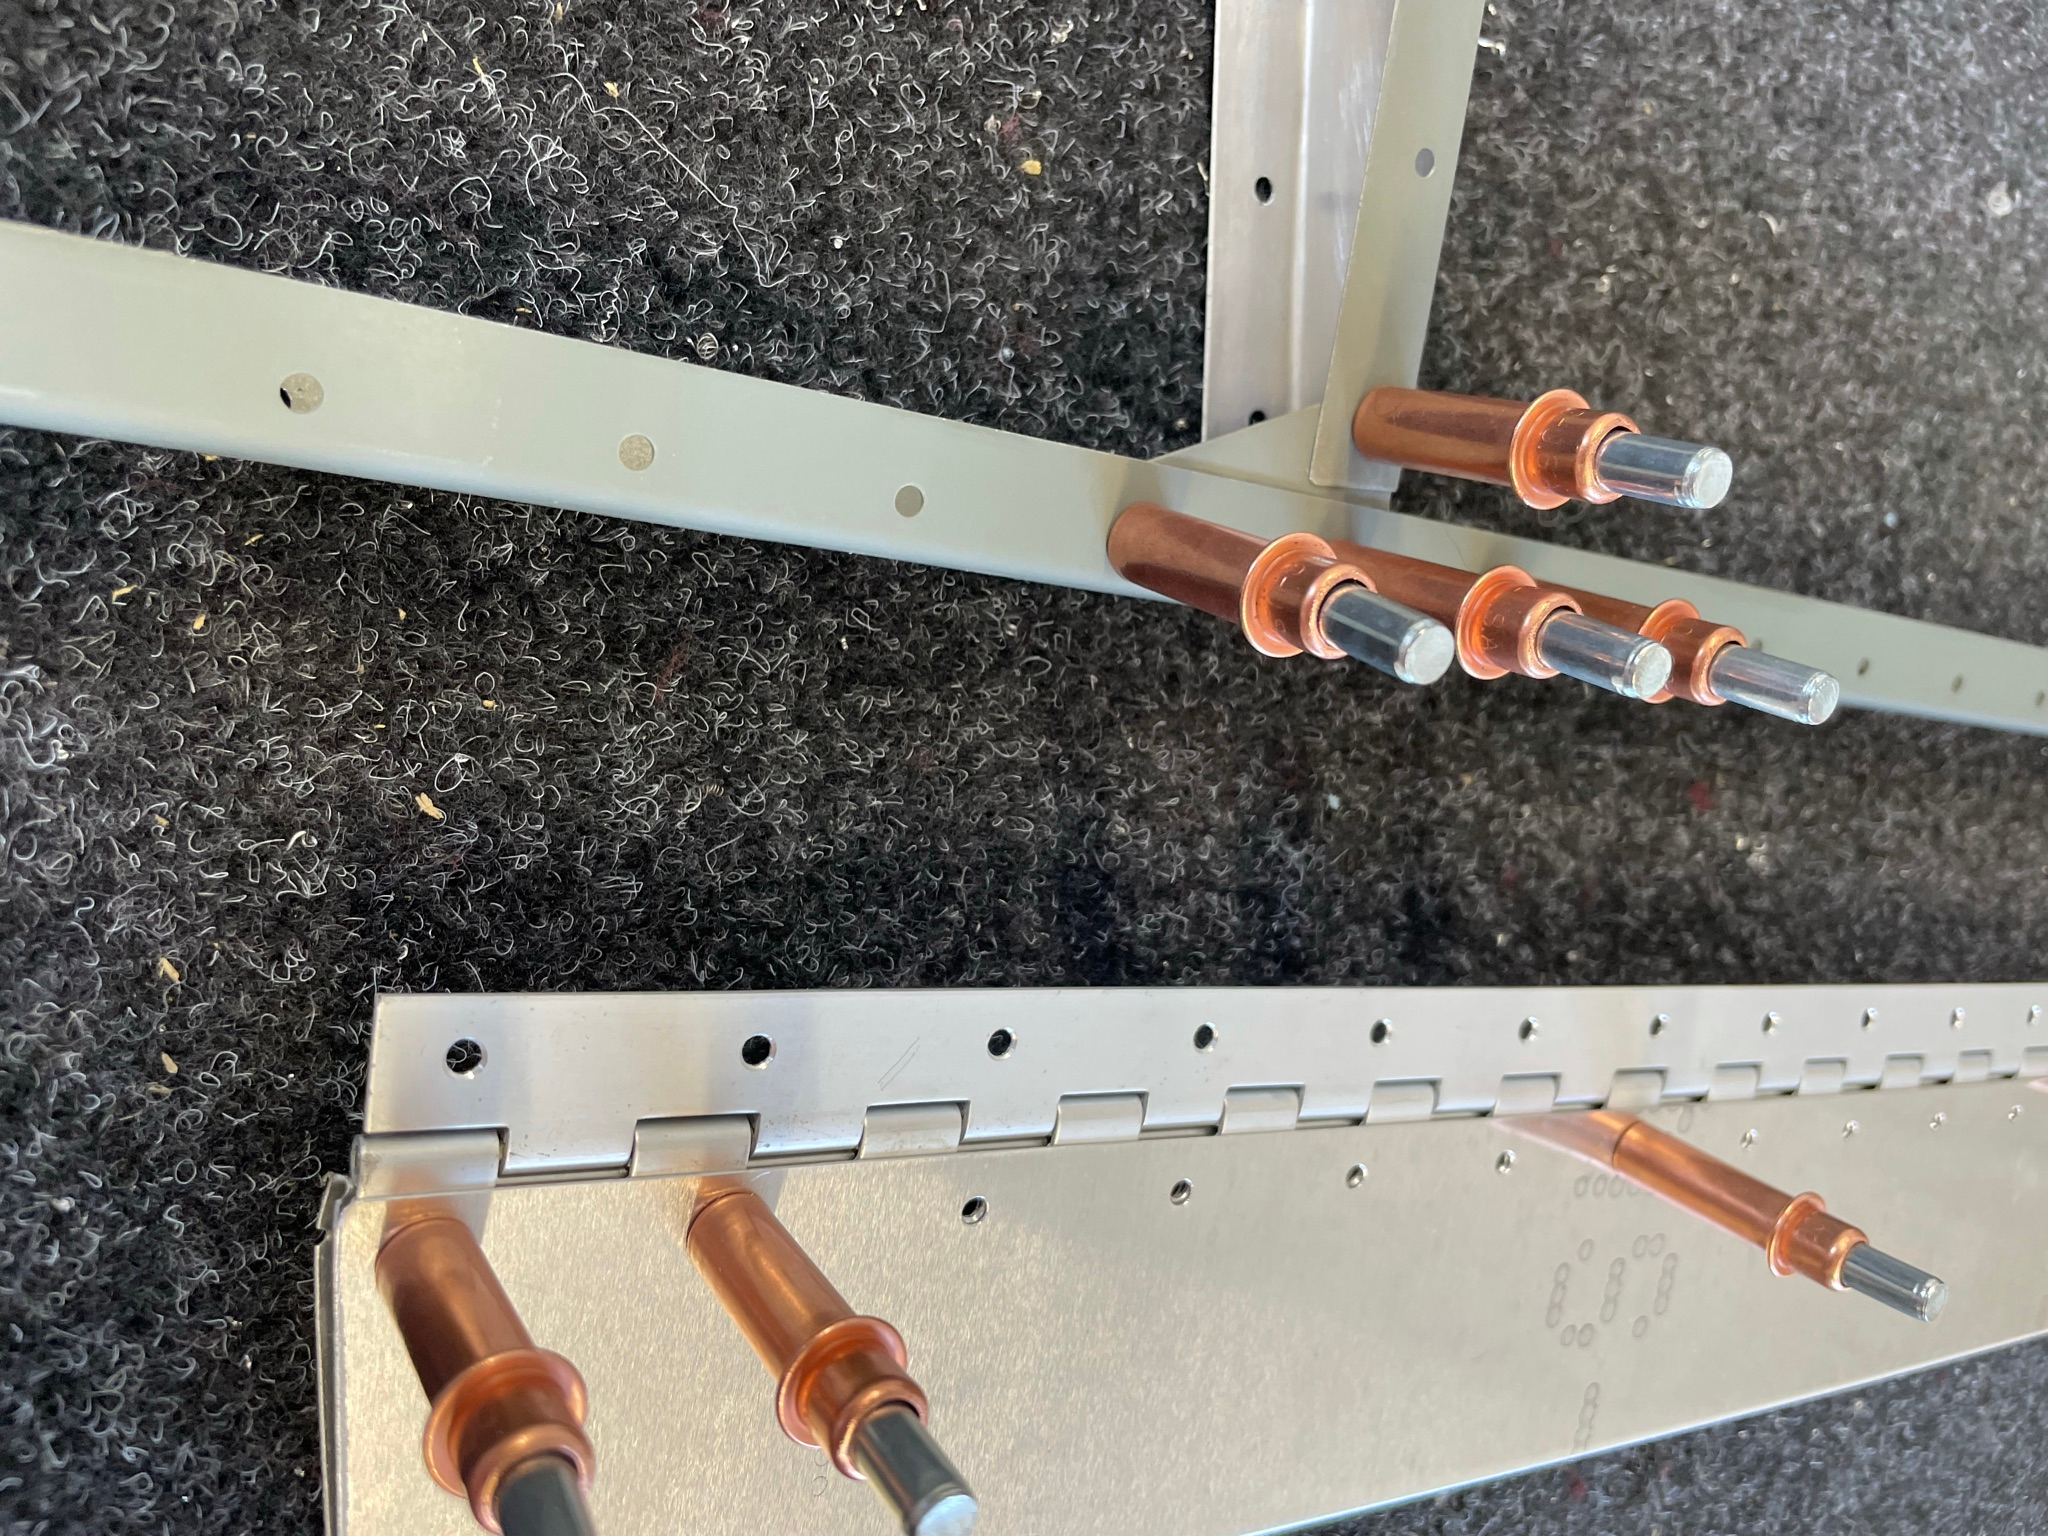
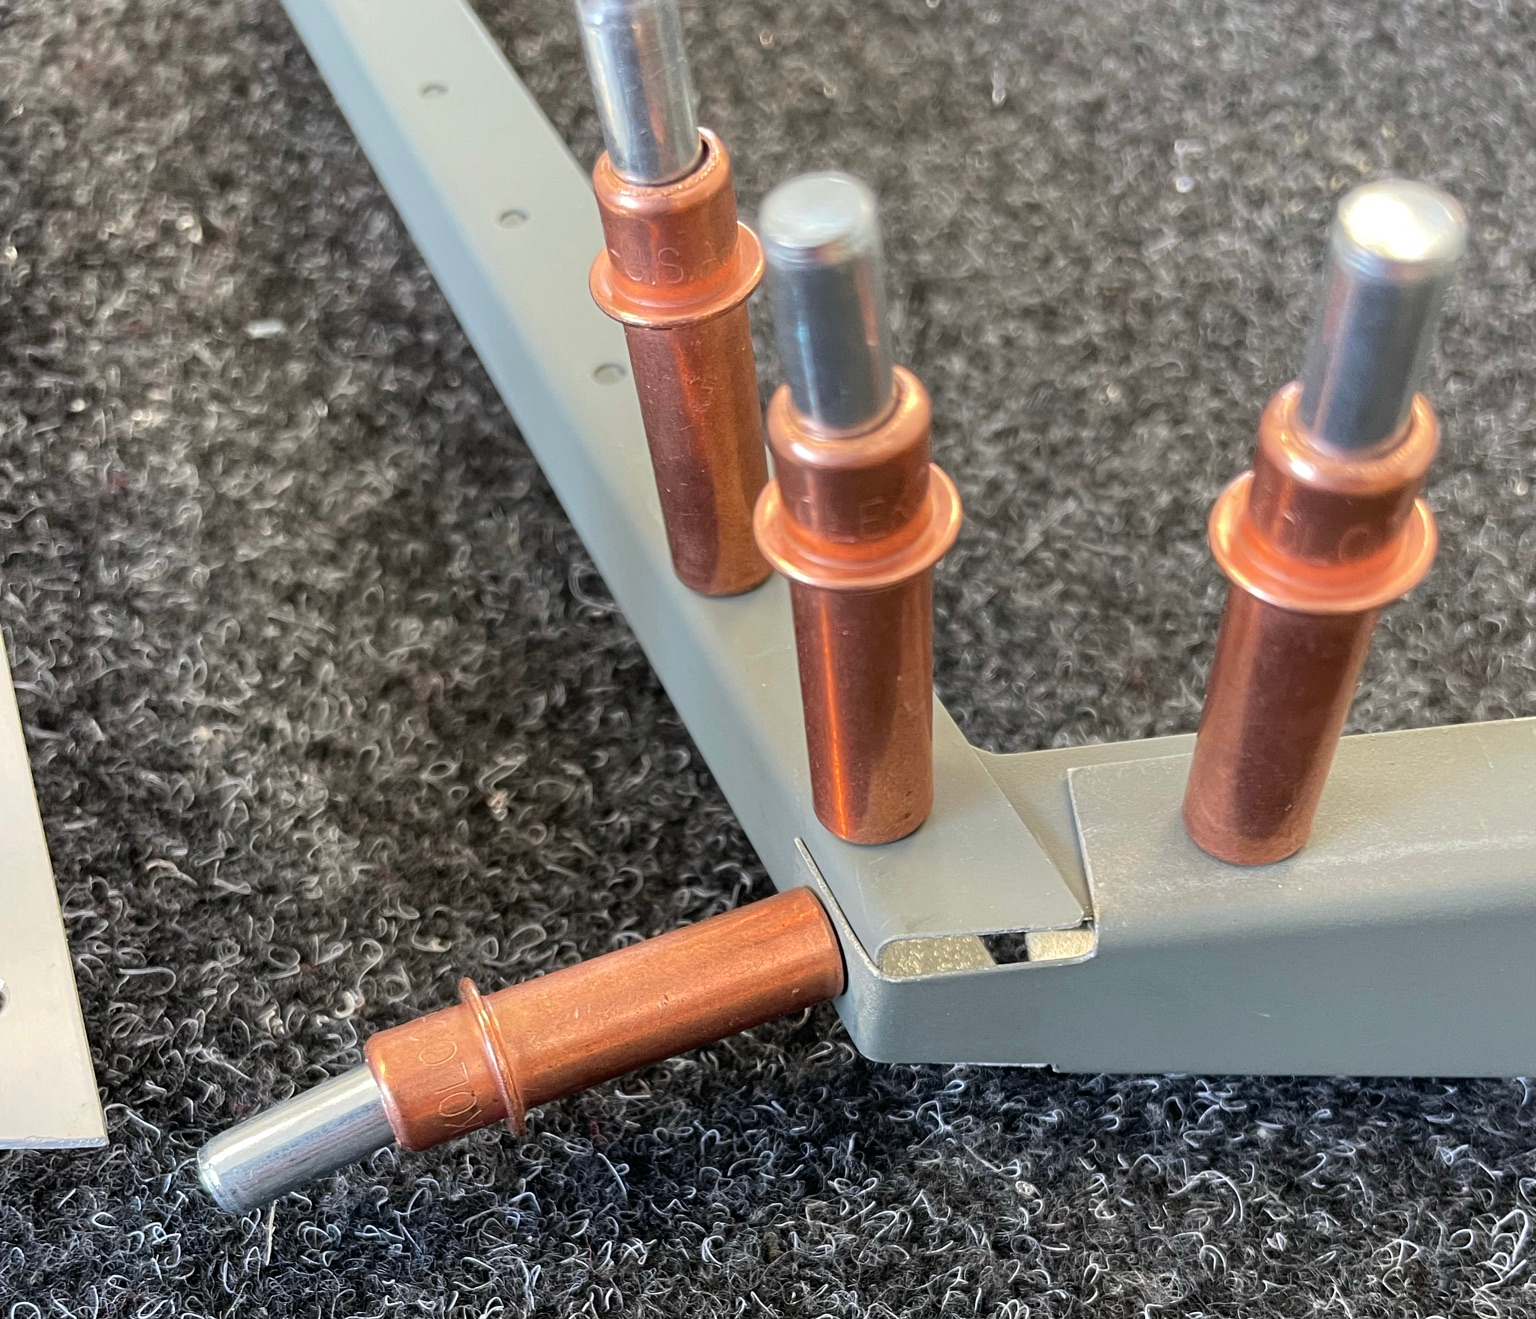
The other complication to the left side of the elevator is the trim tab itself. The hinge is clecoed into the trim tab skin, then the other side of the hinge clecoed to the rear of the elevator skin with a number of reinforcing brackets and a small spar.

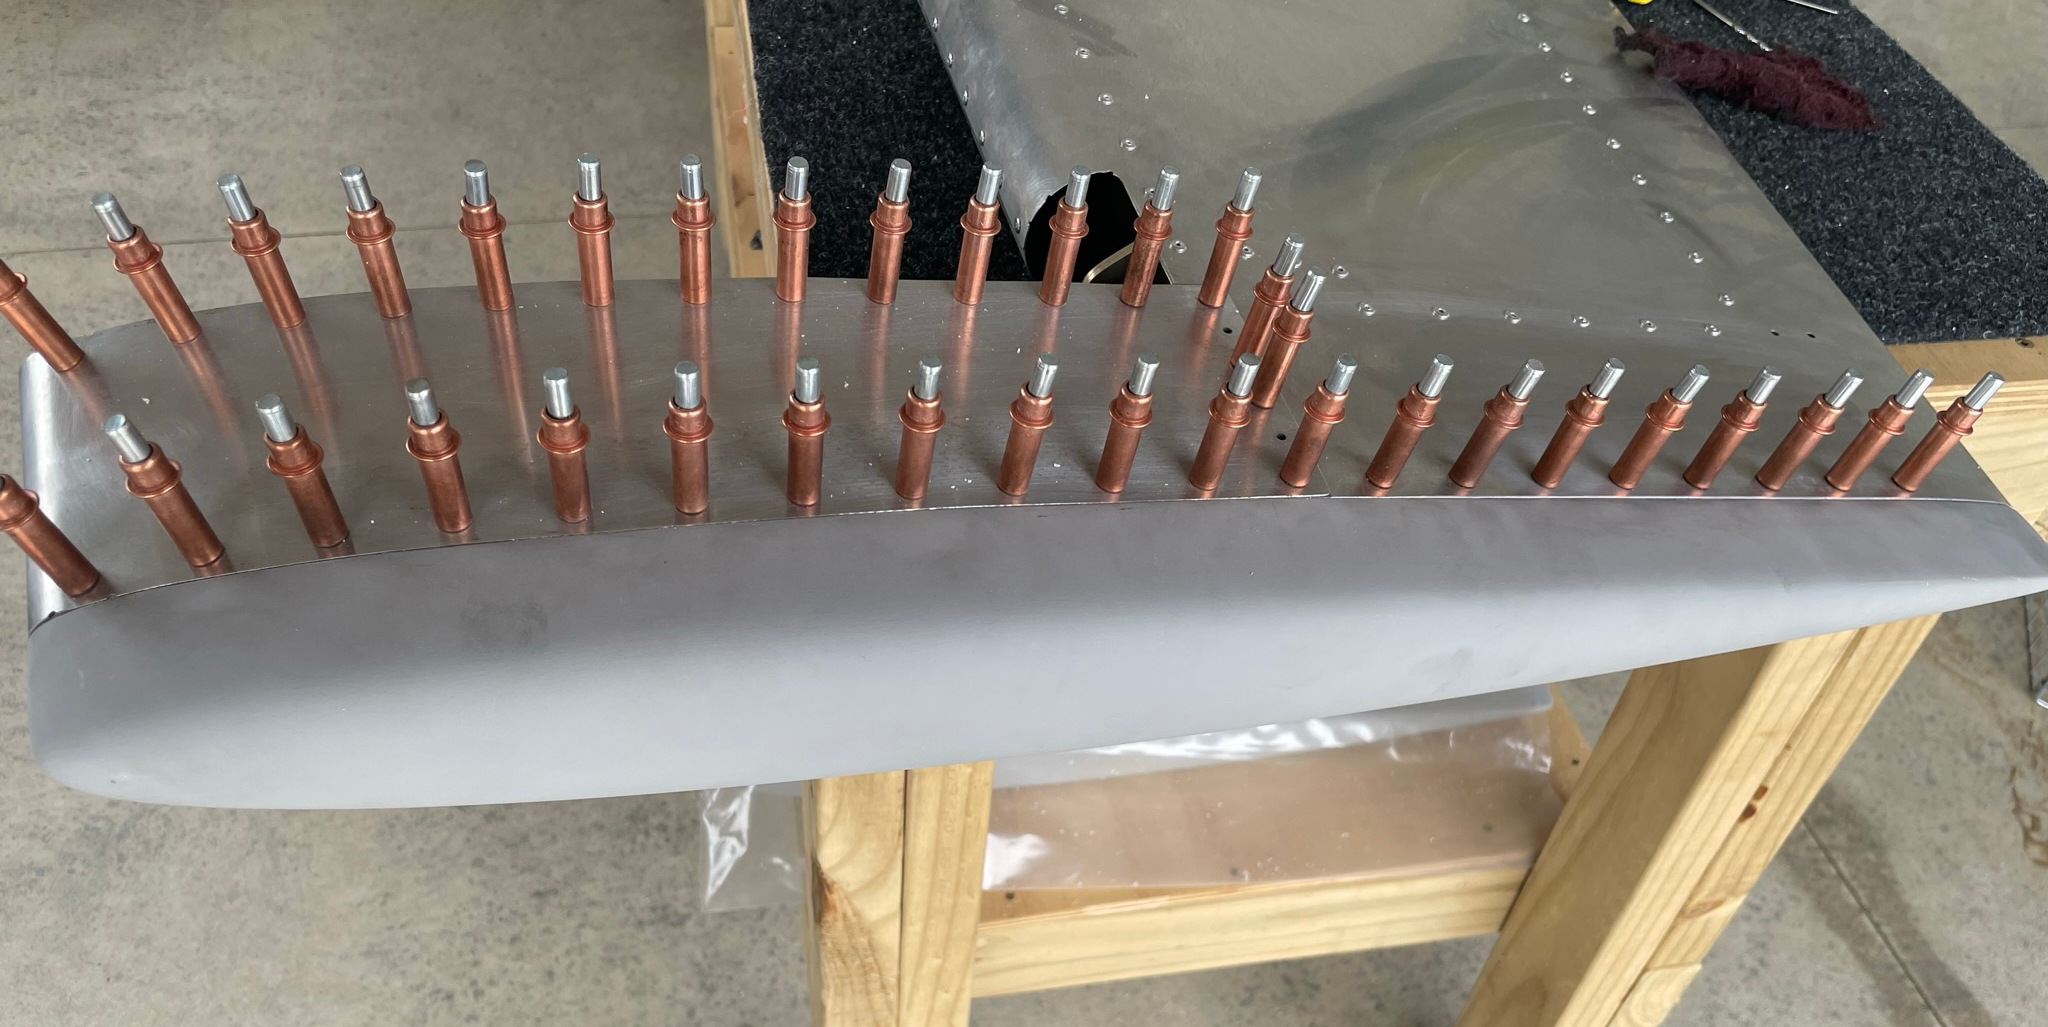
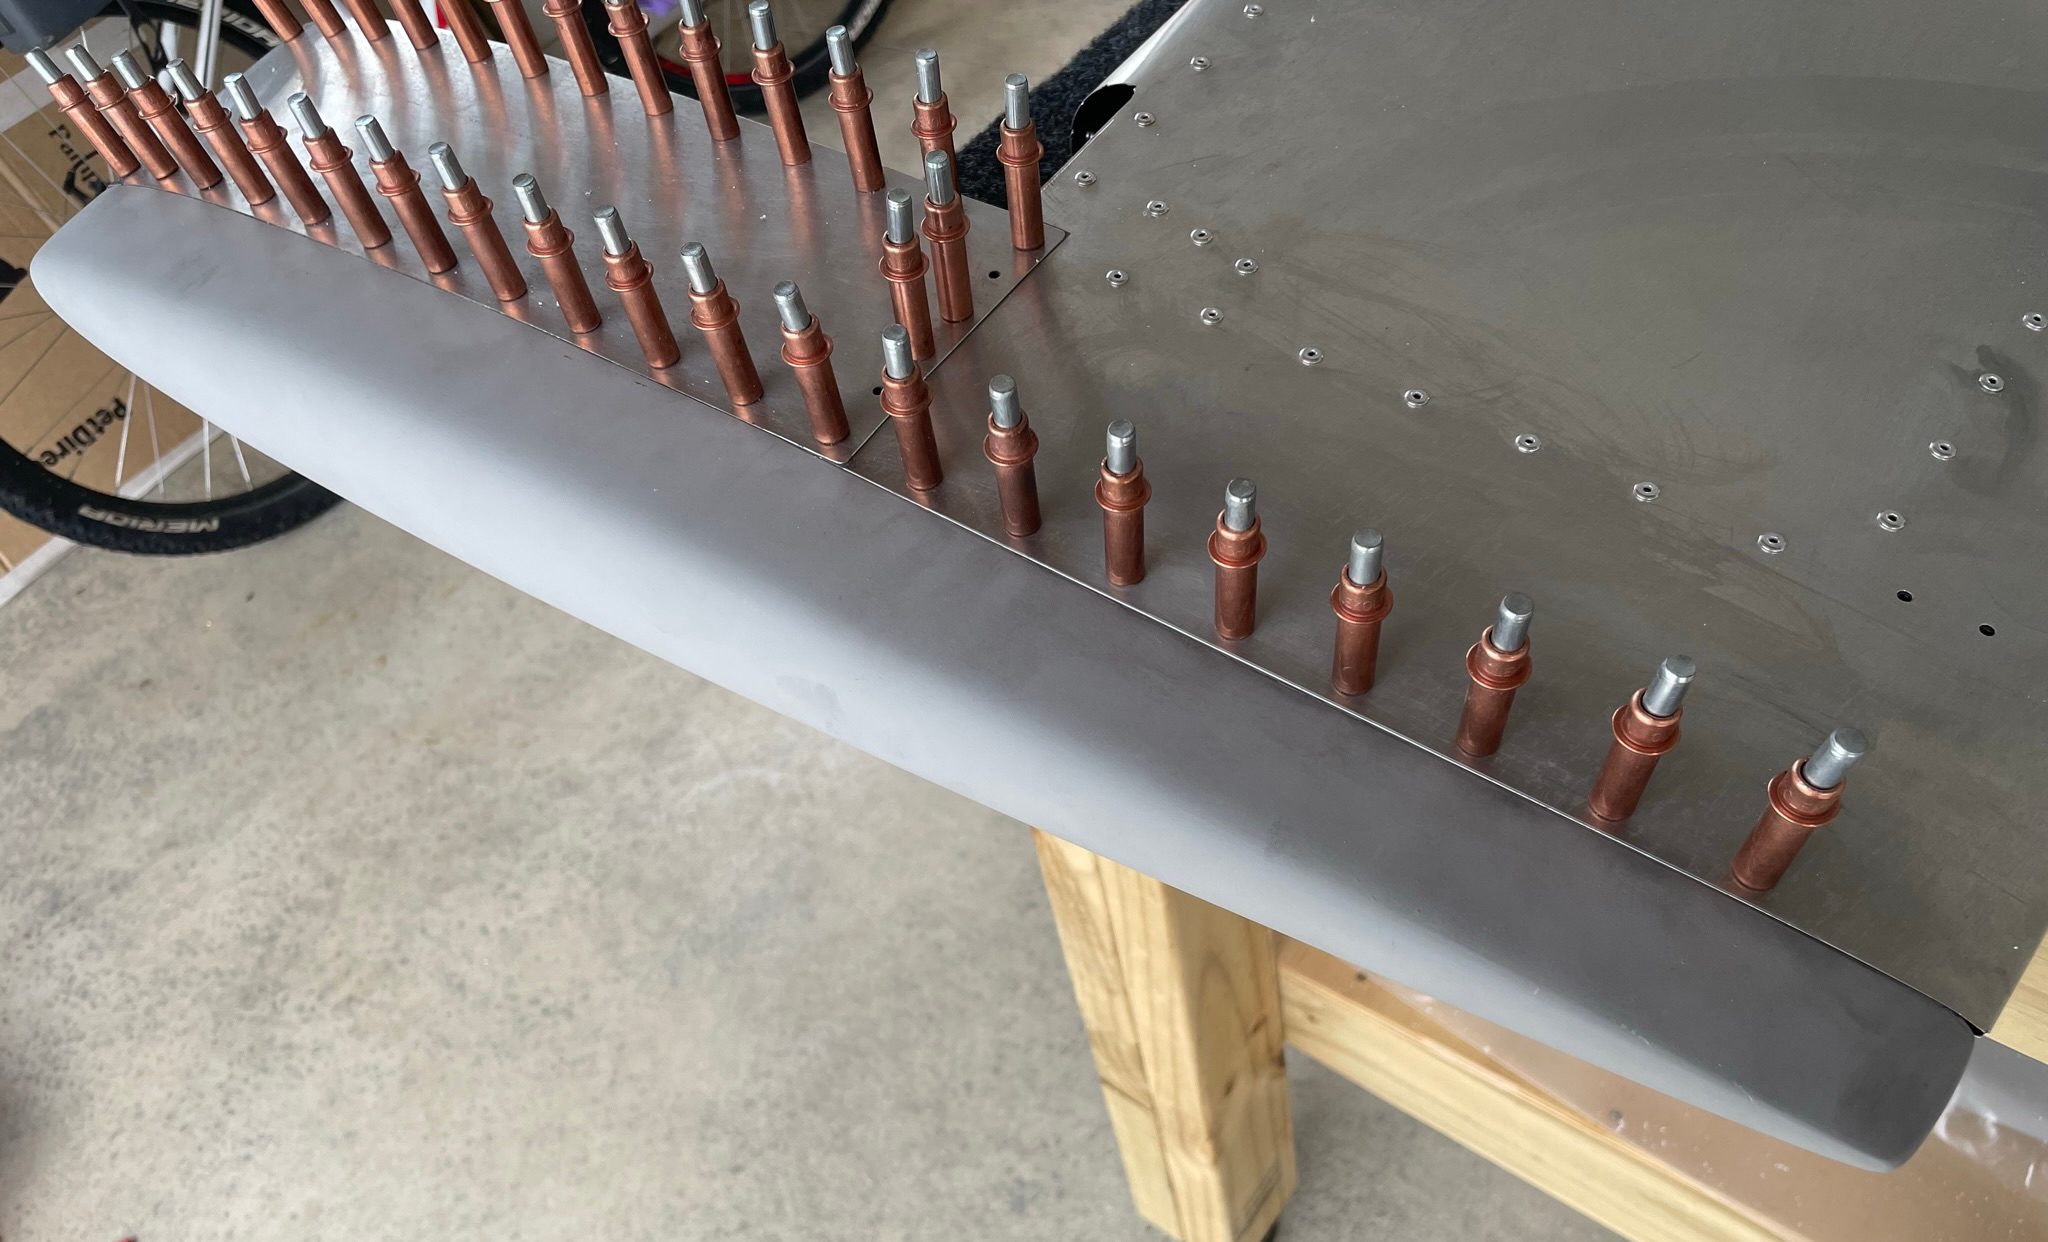
Skin fitting
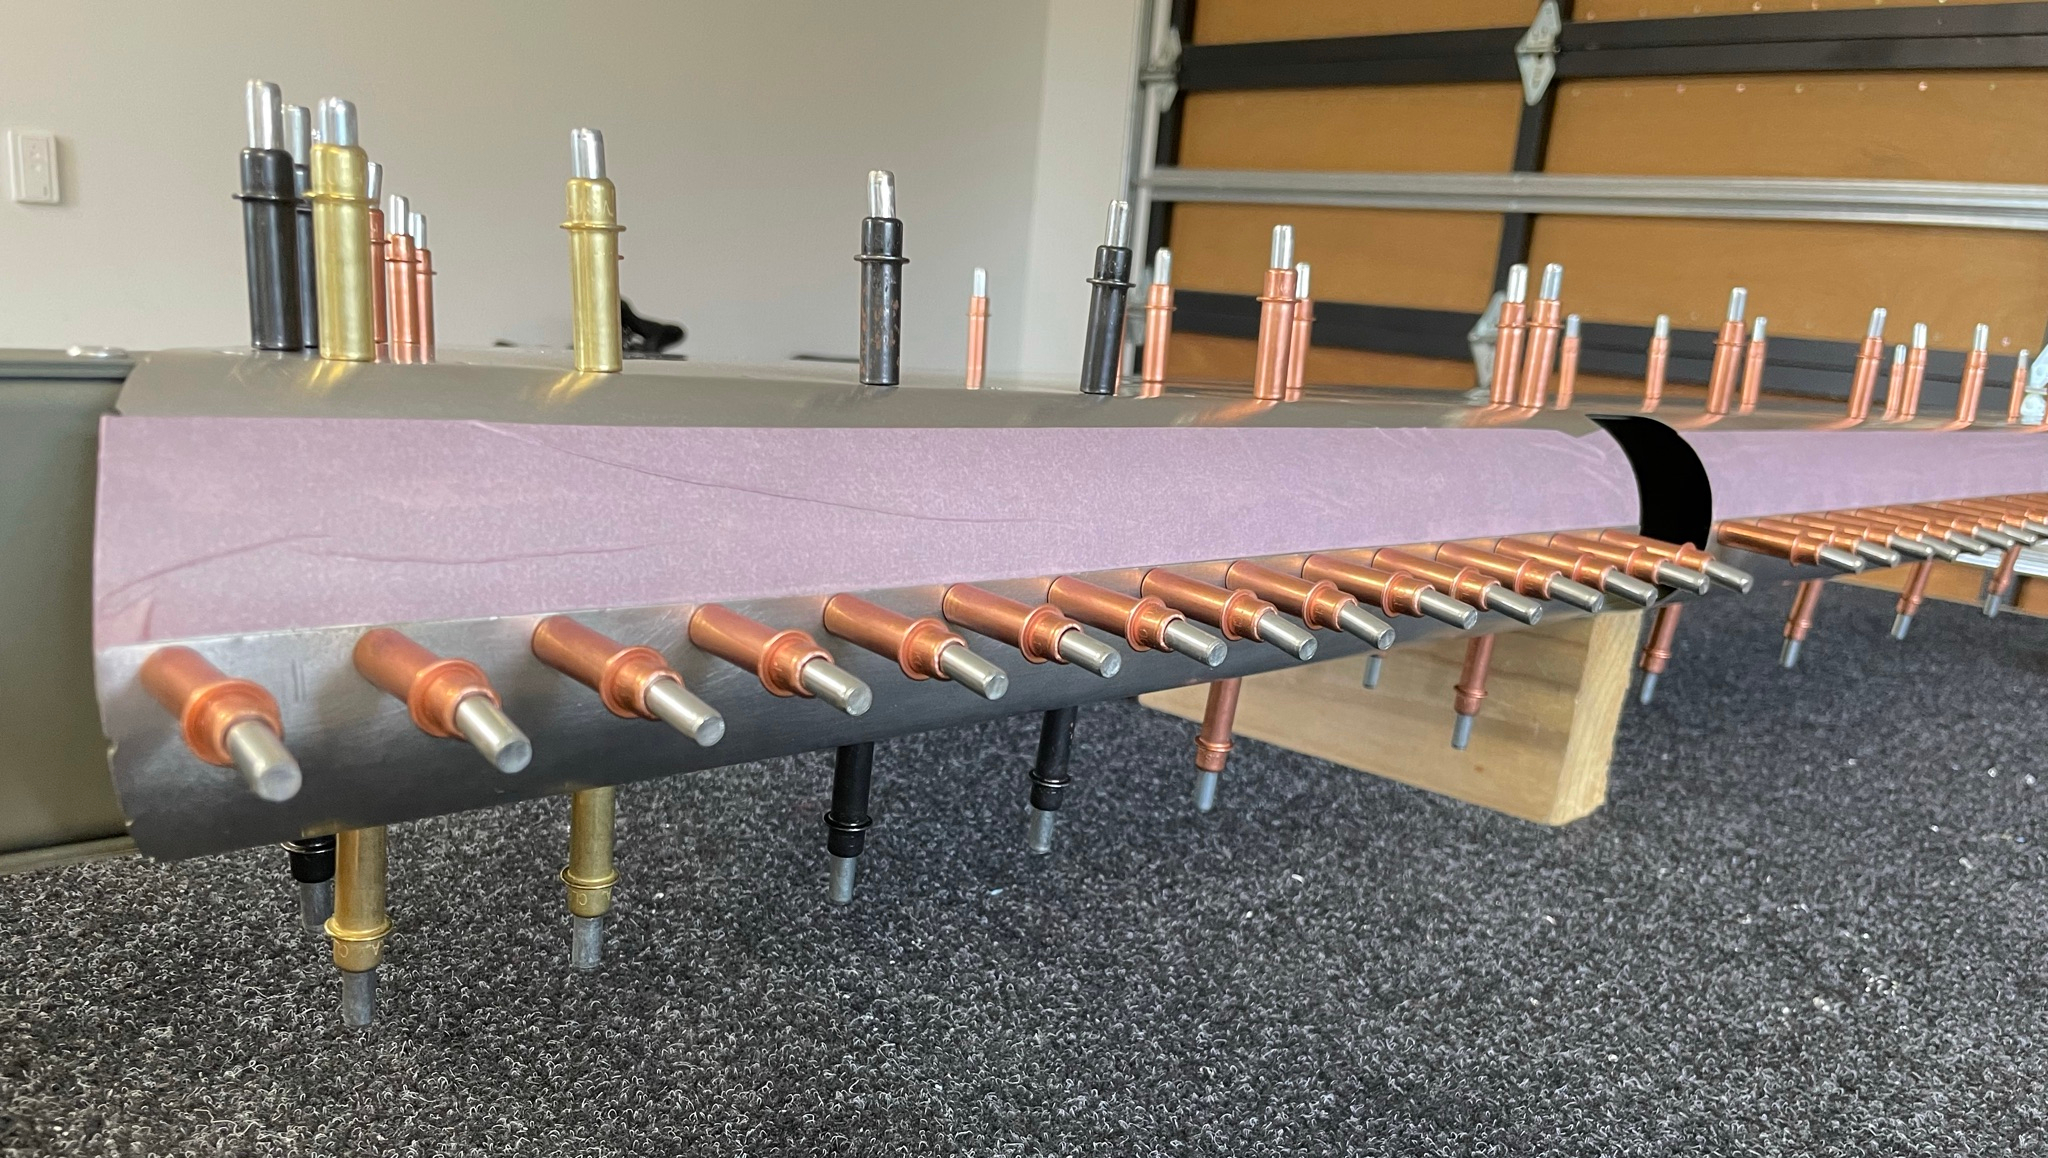
The right side doesn't have any extra internal systems so can be clecoed up and riveted straight away, although as for the other riveted leading edges I'm priming the overlap so this is masked up here.

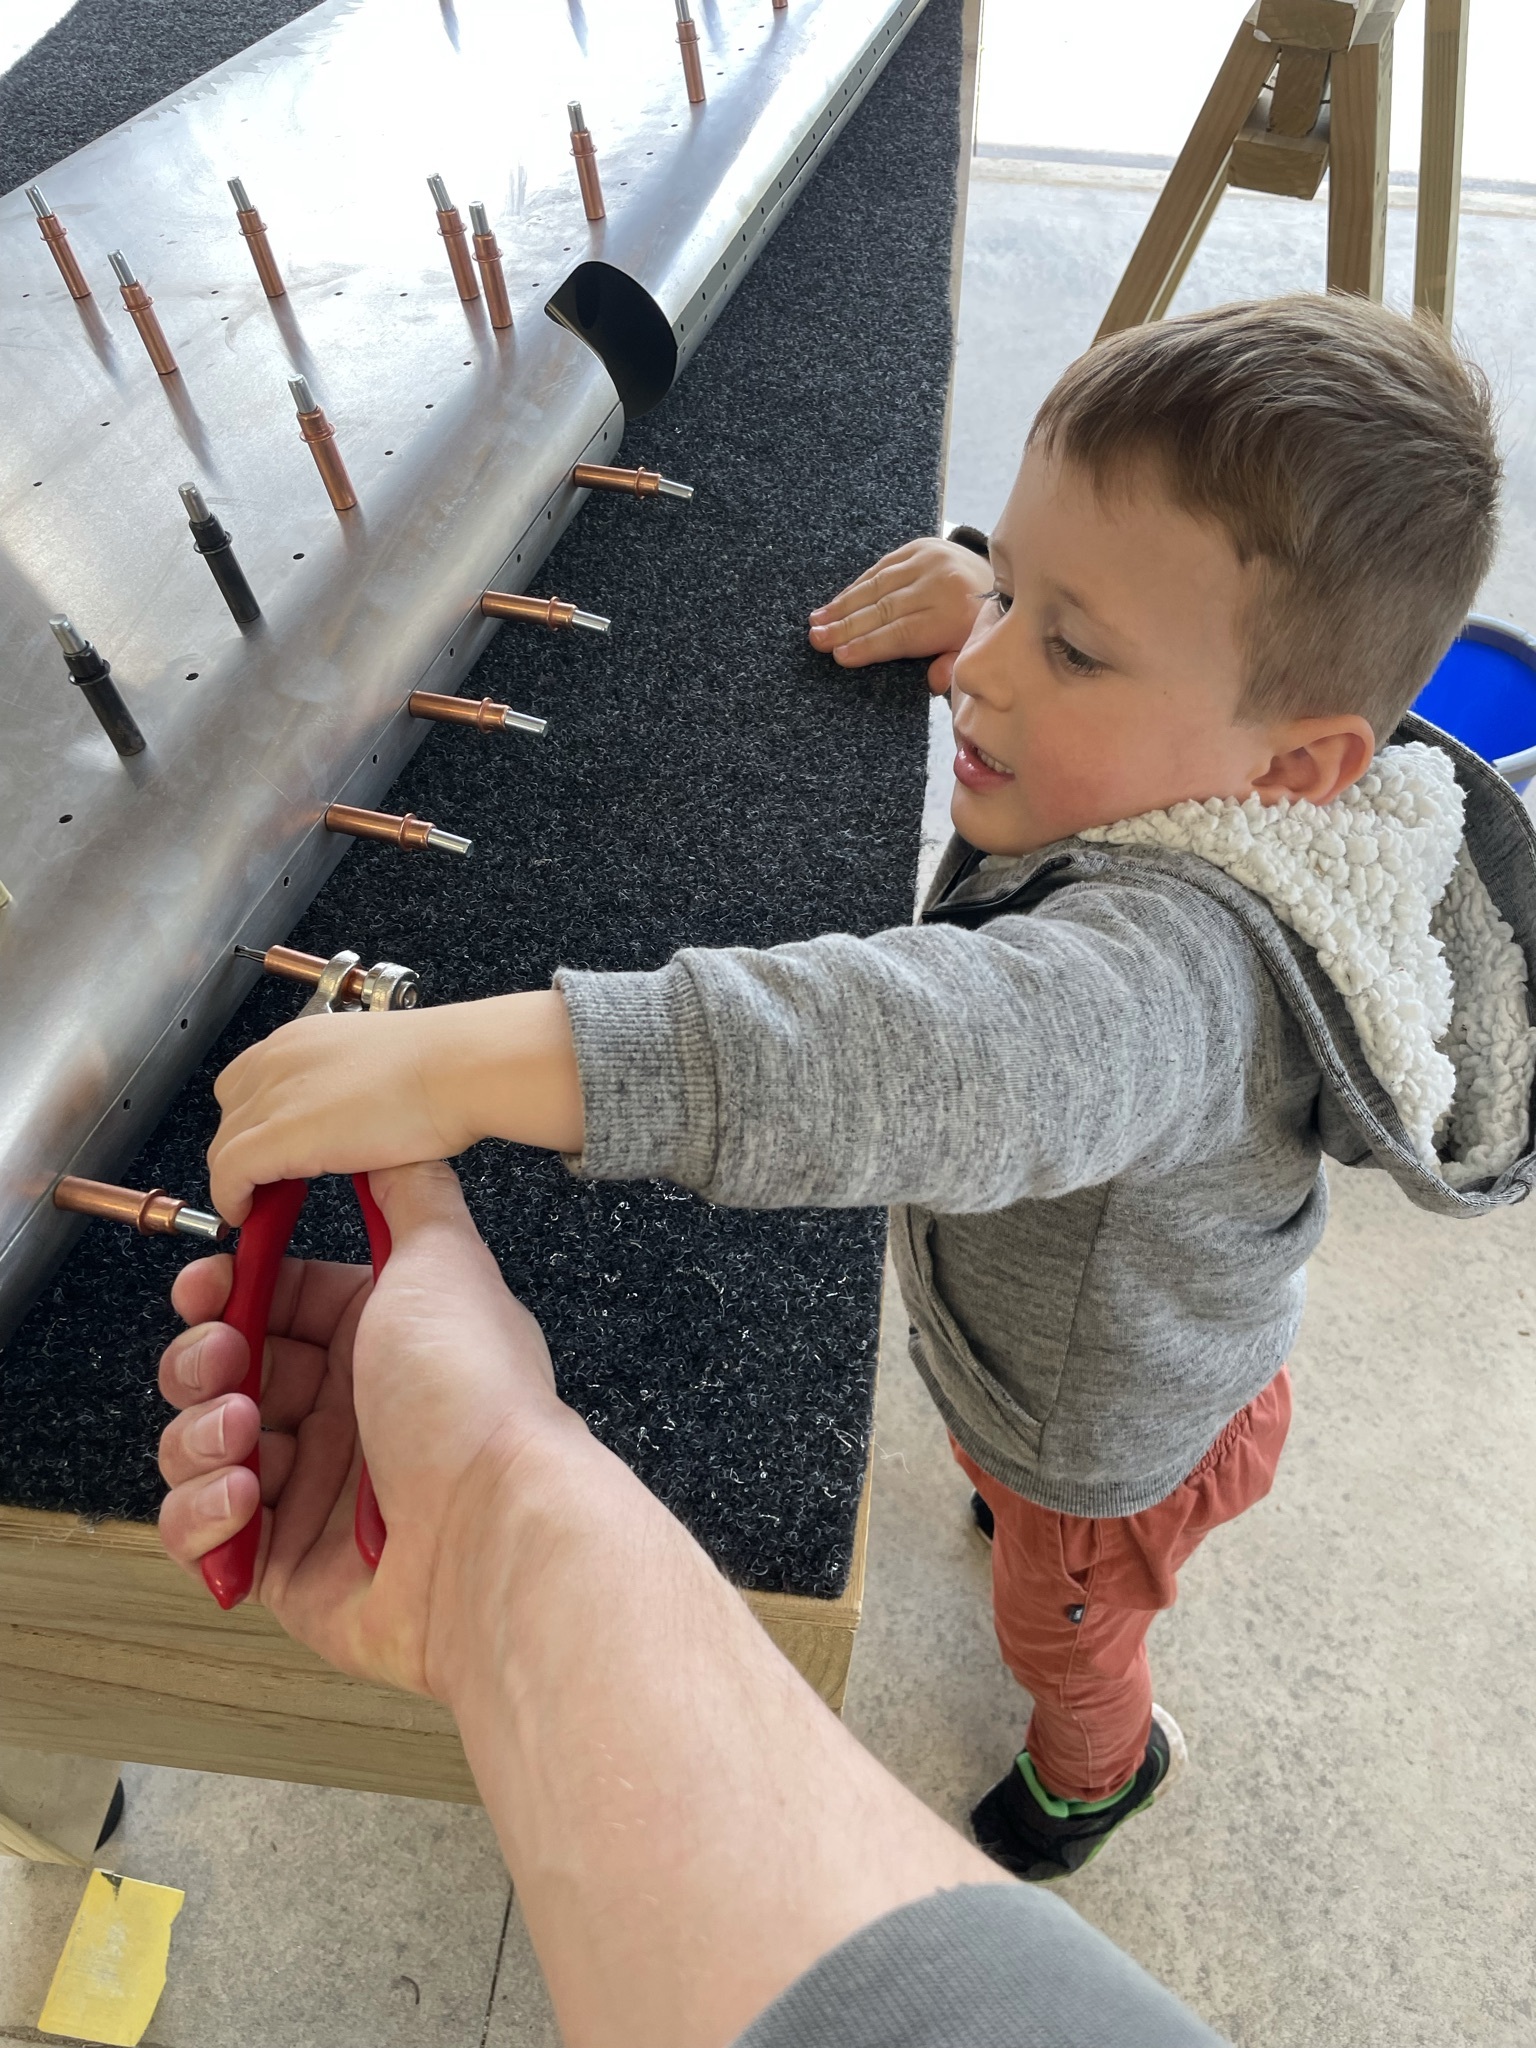
Trim tab safety wiring
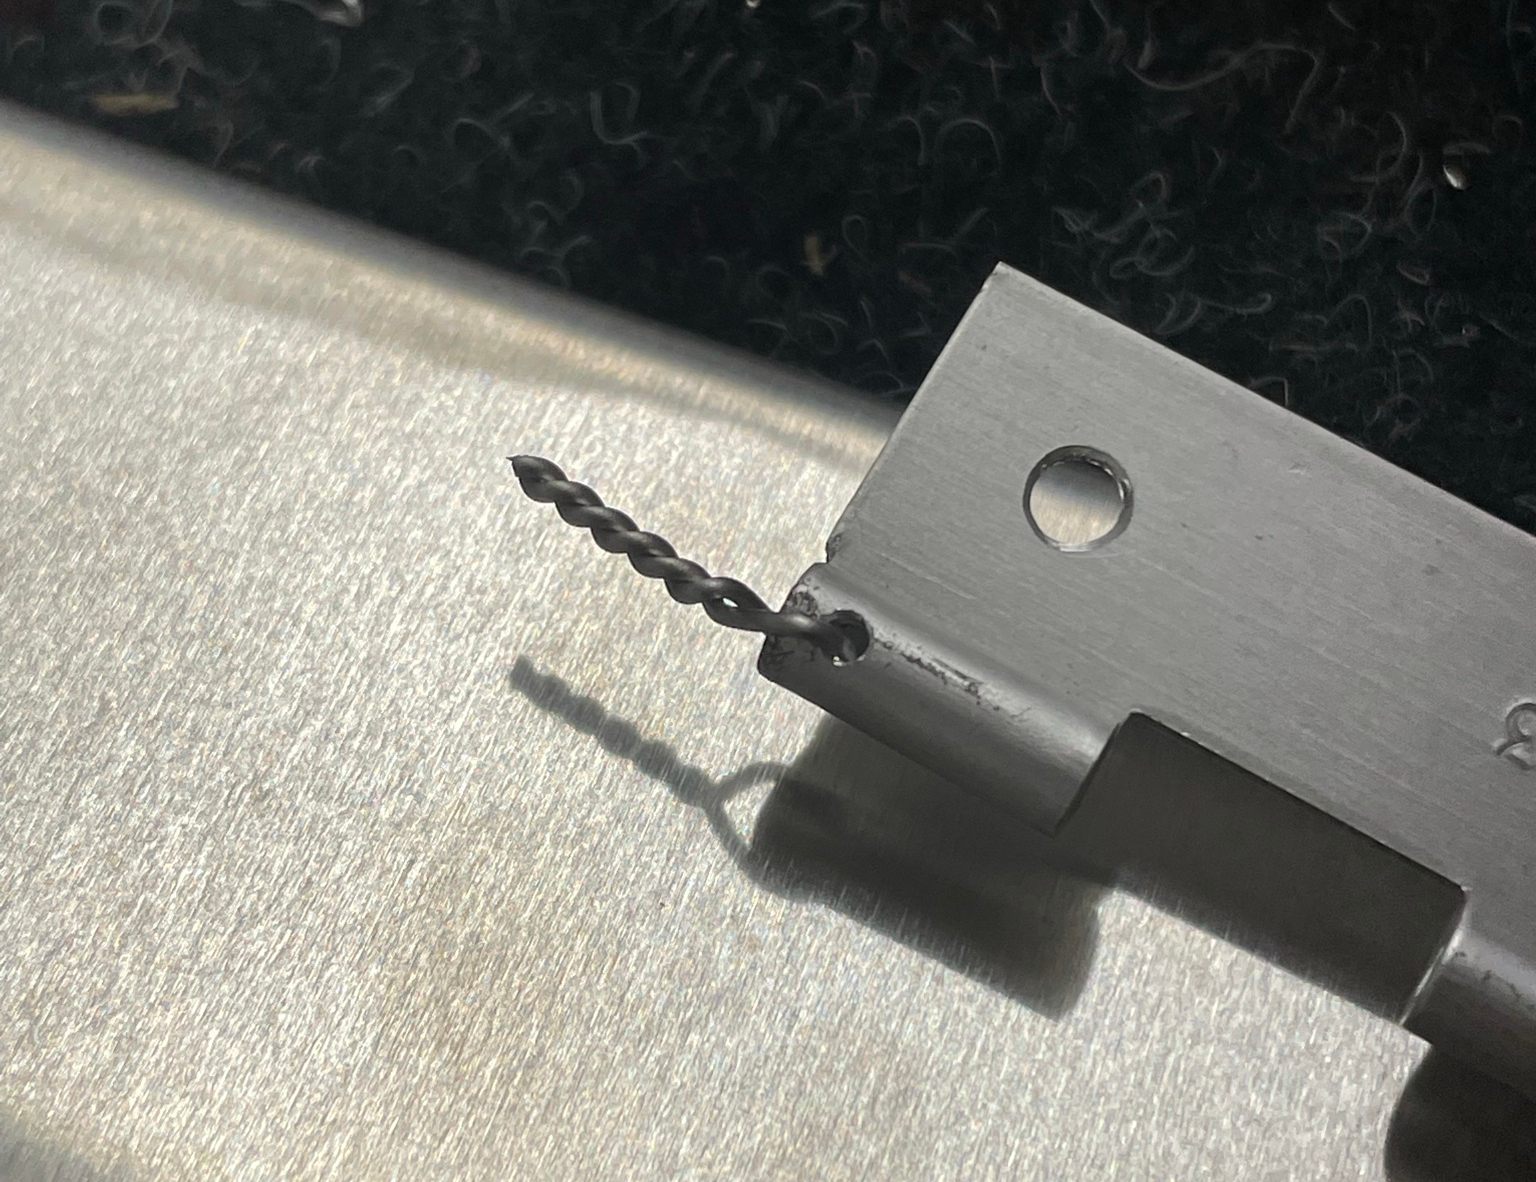
Its recommended to install safety wire at each end of the trim tab to prevent the hinge rod from migrating out with in-flight vibration. A small pilot hole is drilled through each end and the wire installed and trimmed to length using safety wire pliers.
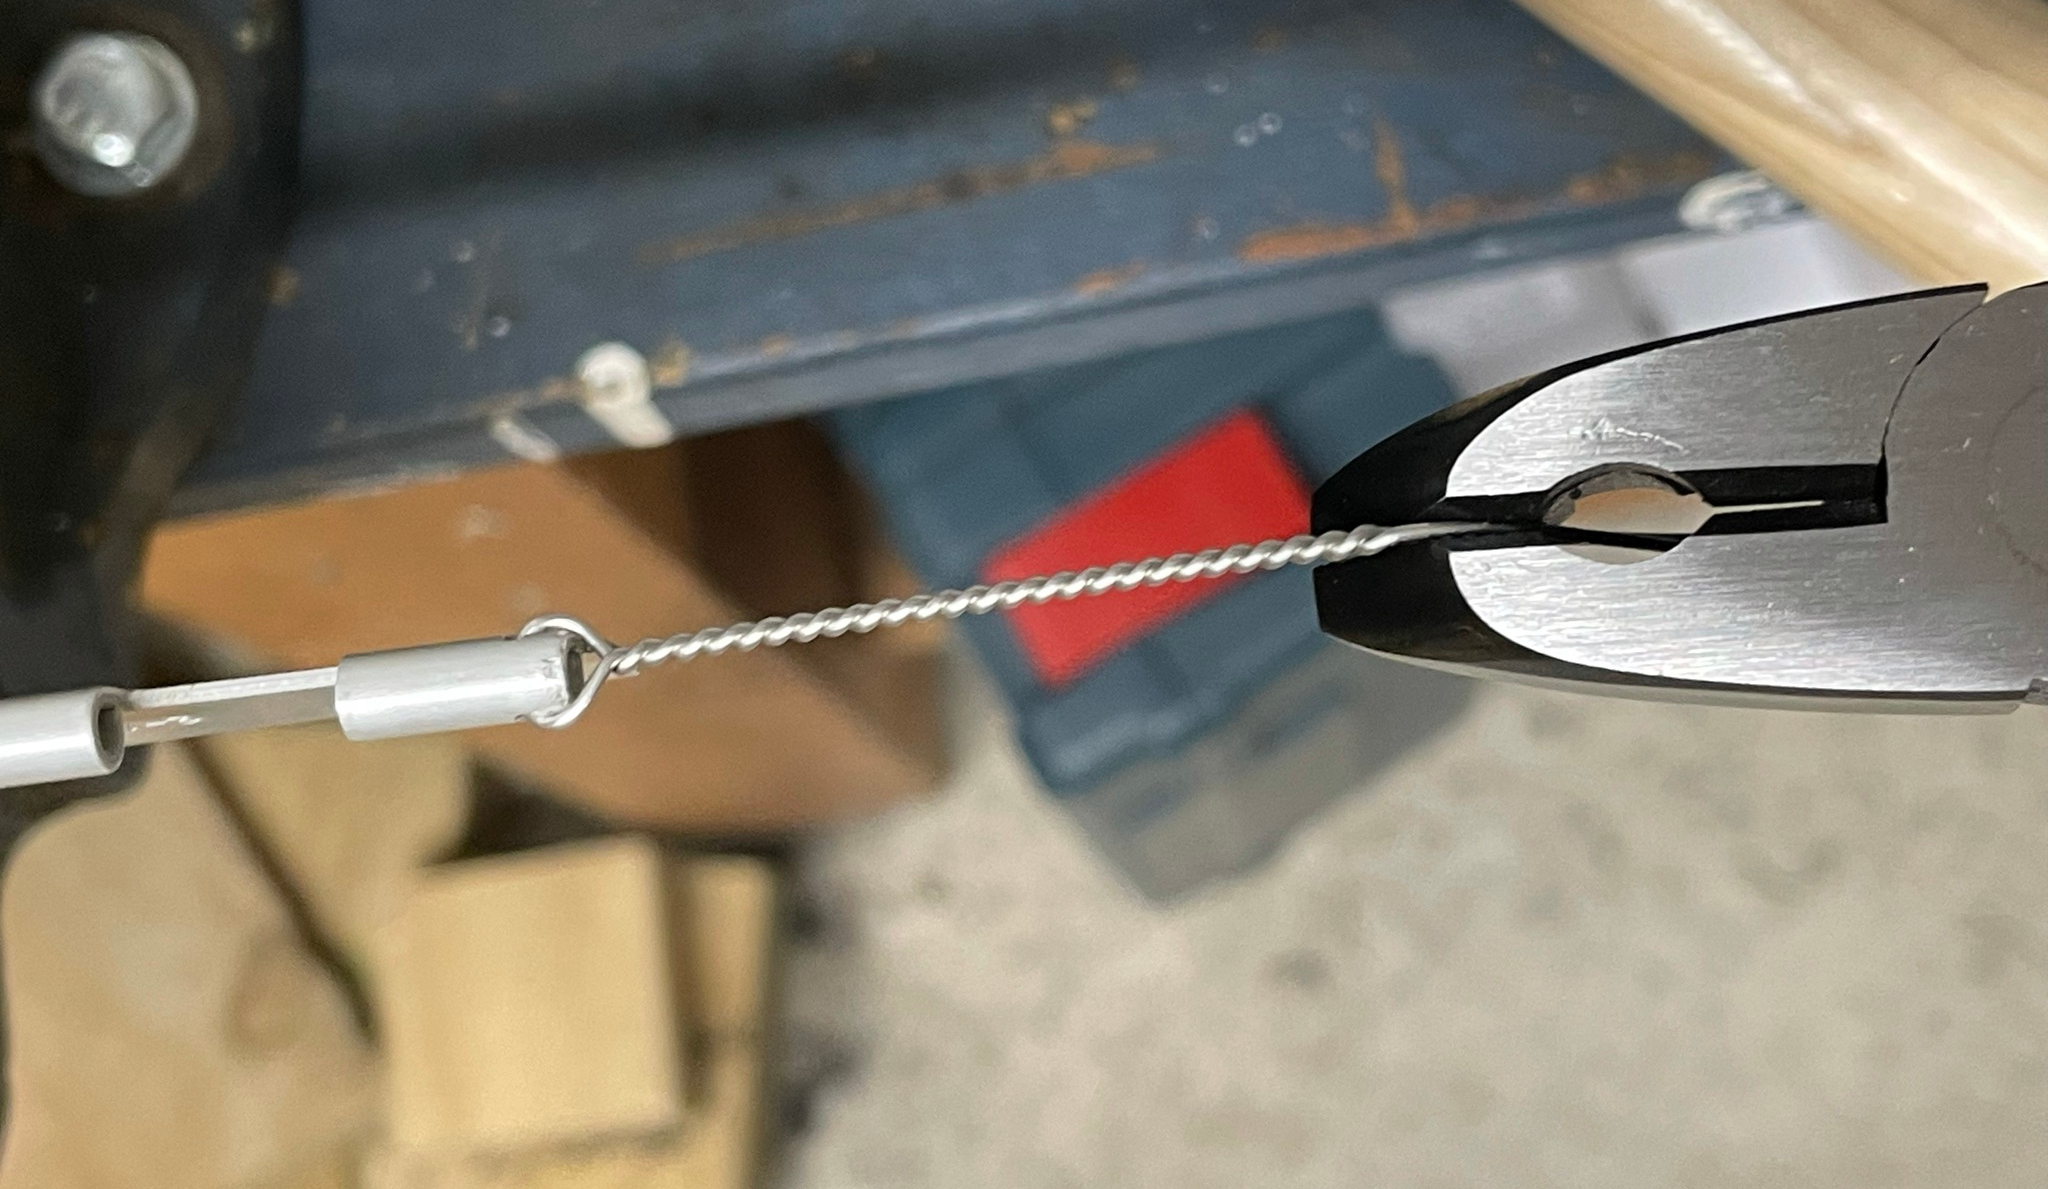
Bit of a knack to the tool but it is straightforward enough after watching the video and a couple of test runs.
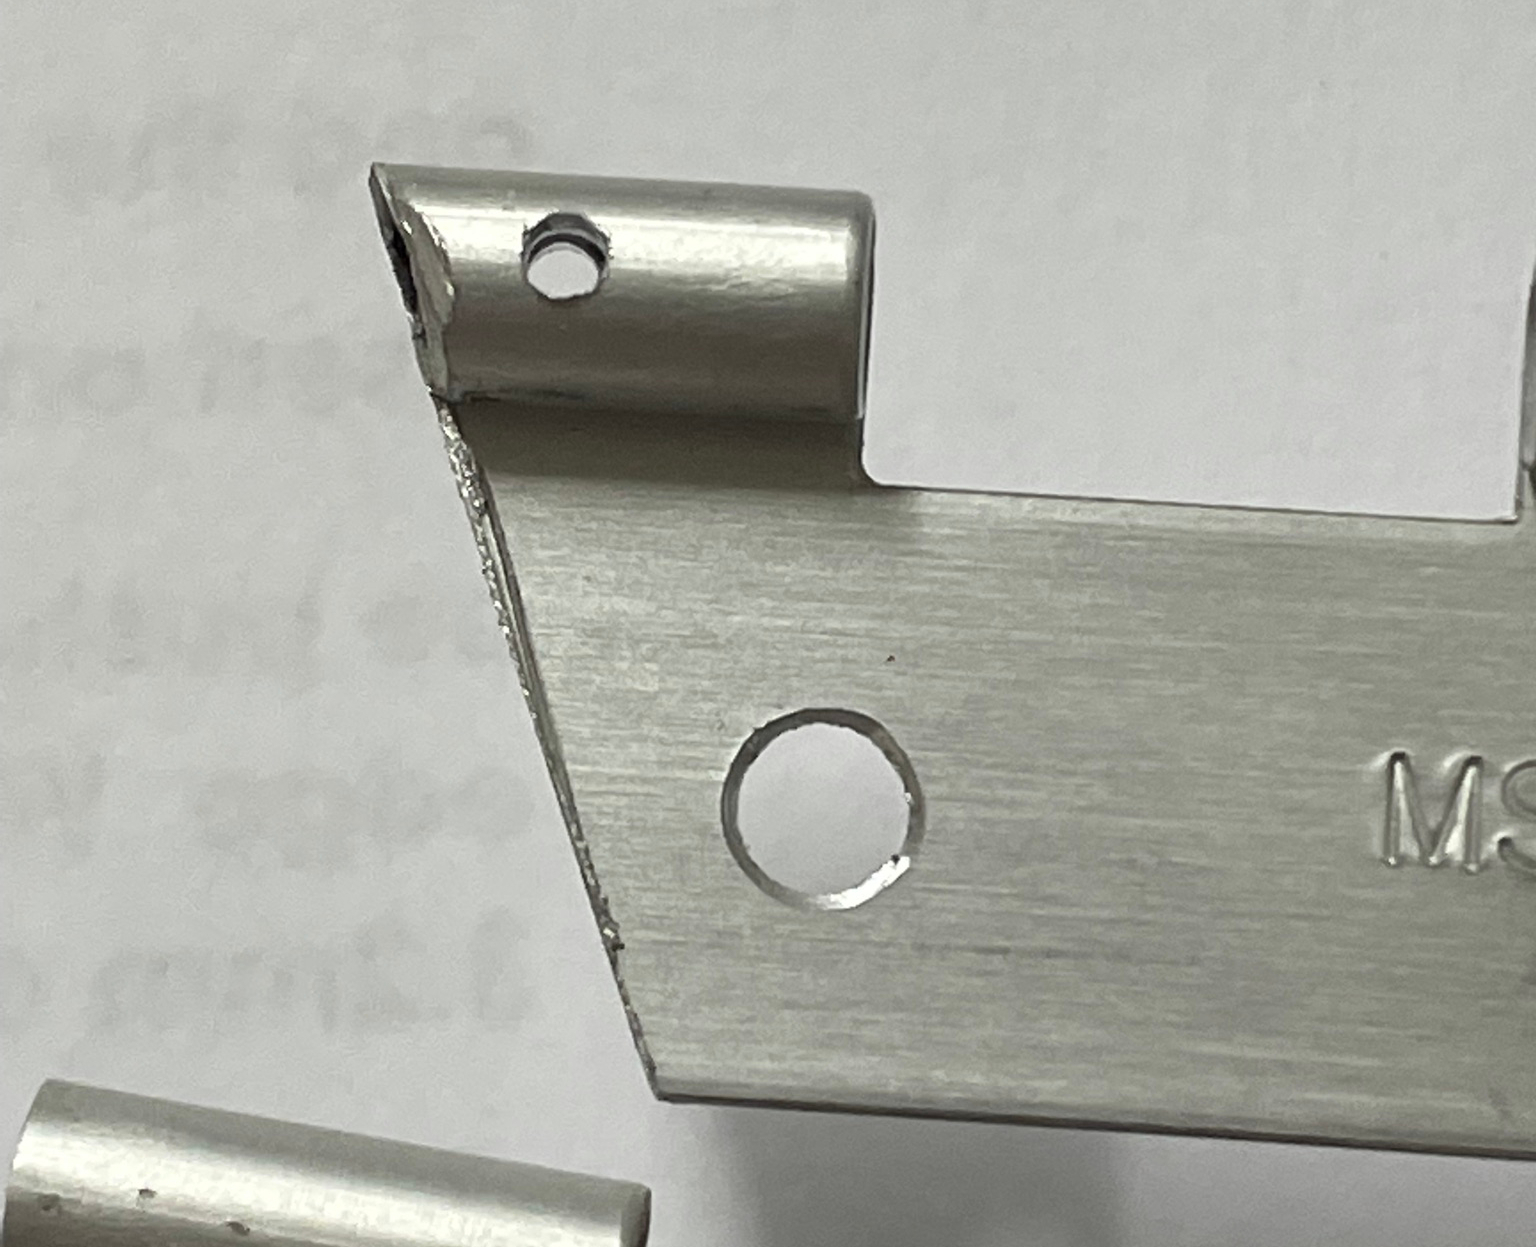
Edge protector
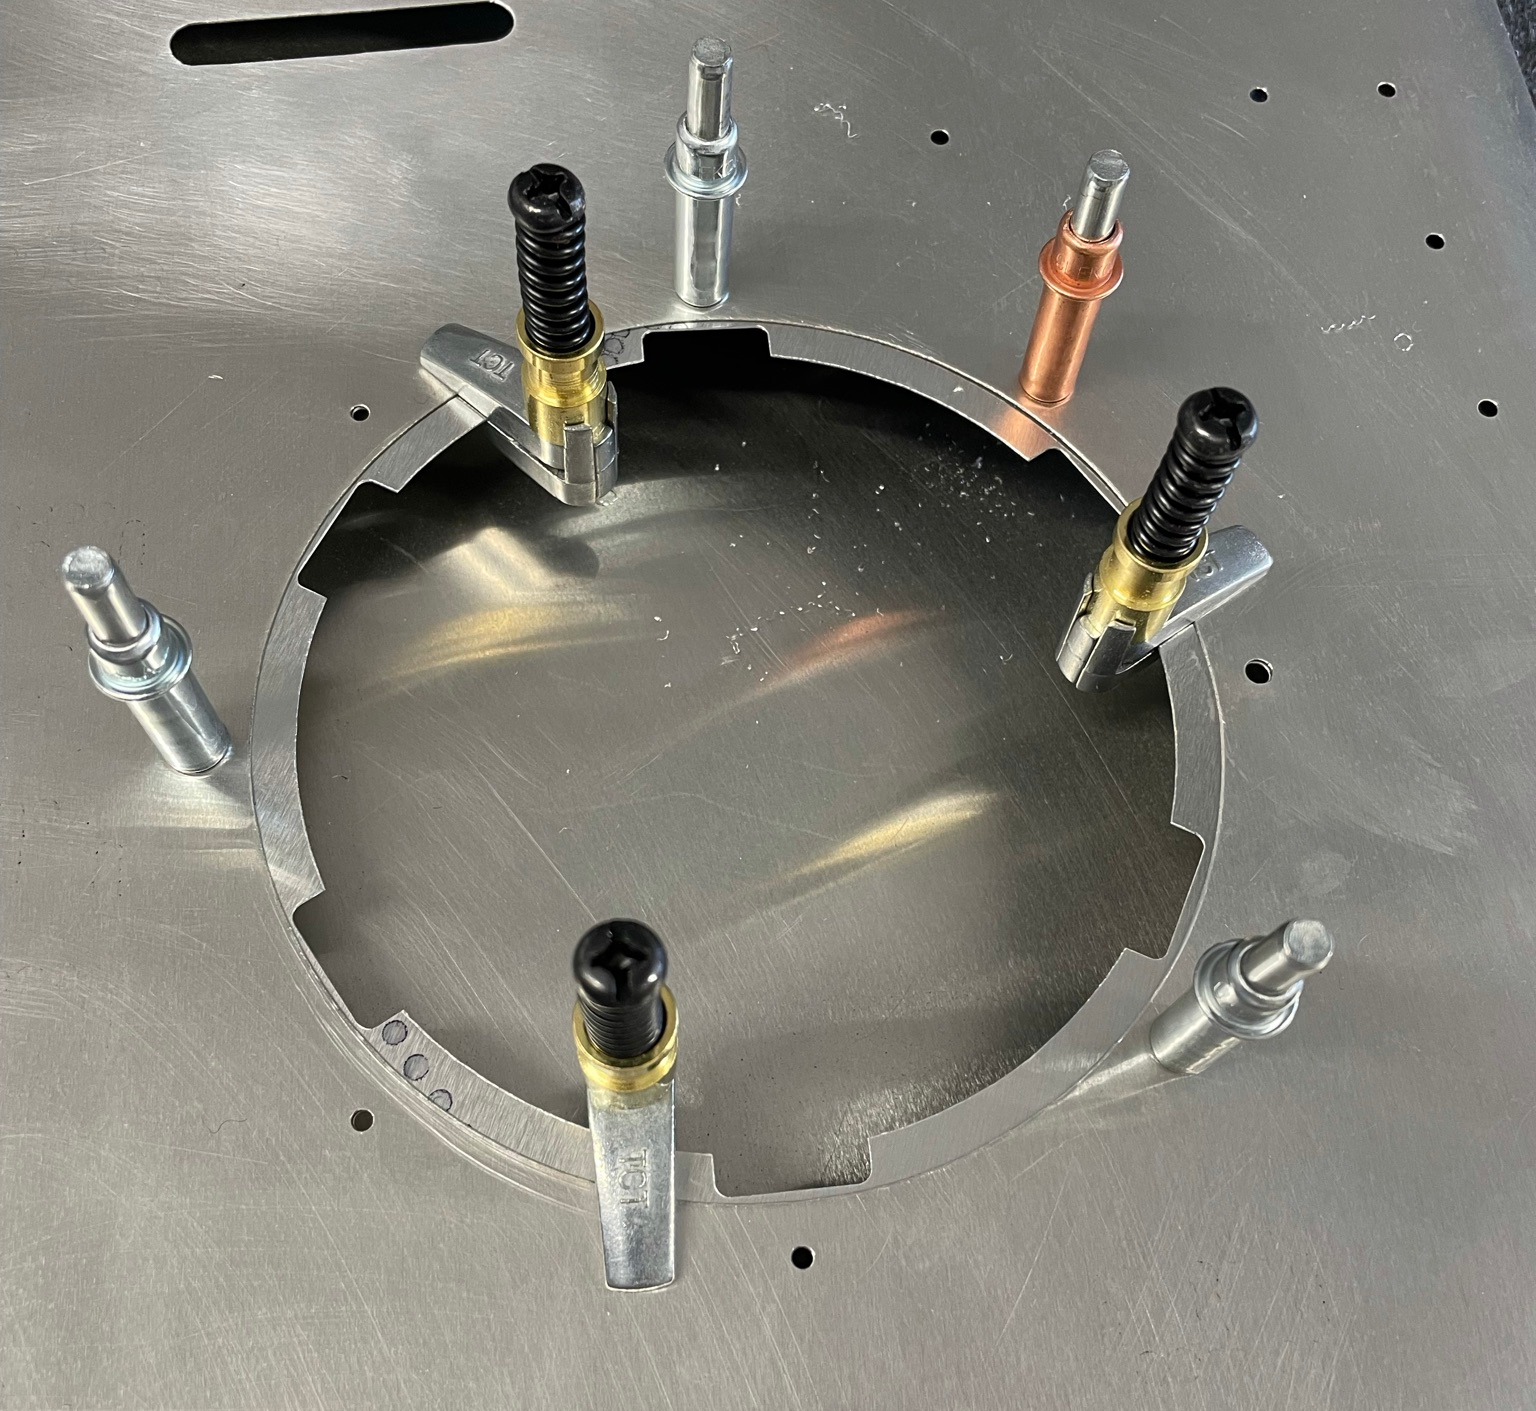
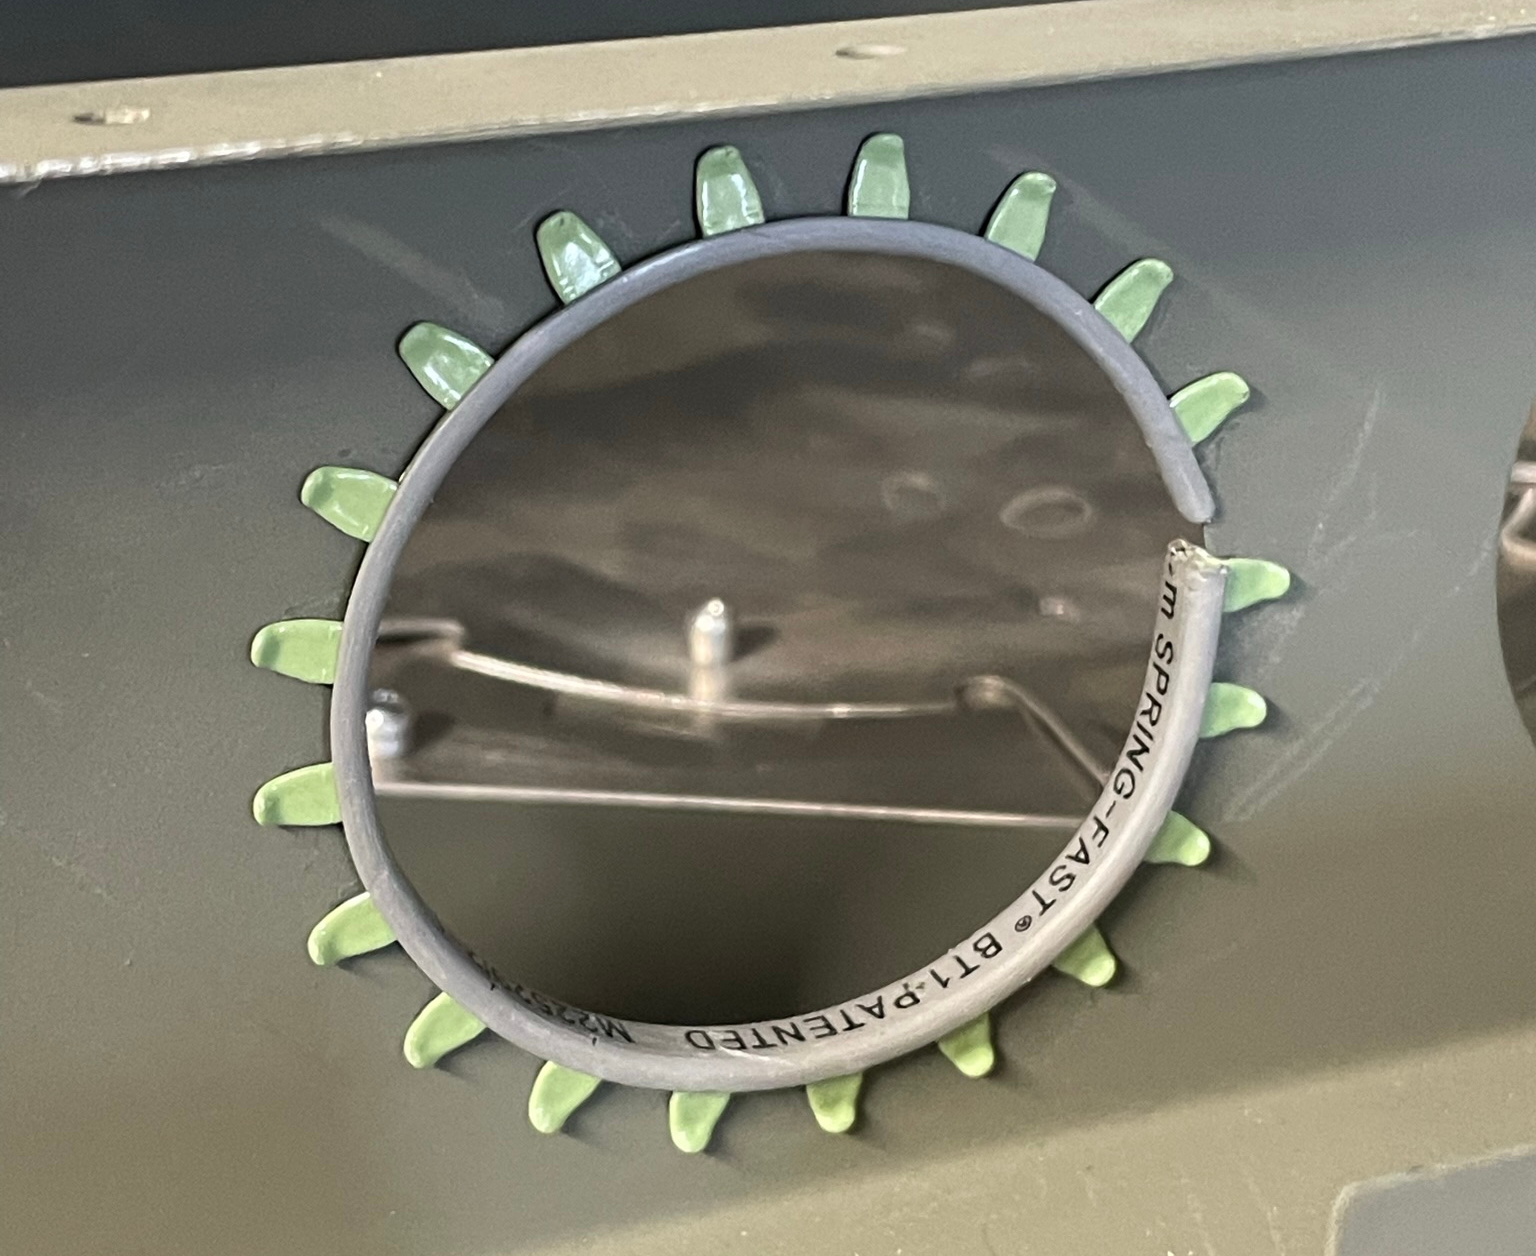
As suggested by the manual, I've installed edge protector on the spar lightening hole where the trim tab wire will pass. I suspect the associated hole in the skin will also need it, but will install that after painting.
This is M22529/2-1R grommet edging, I picked up a few feet from Aircraft Spruce. The advantage of this is that it is press-fit and does not need to be glued, but needs to be matched to the thickness of the material it is being applied to.
Skin riveting
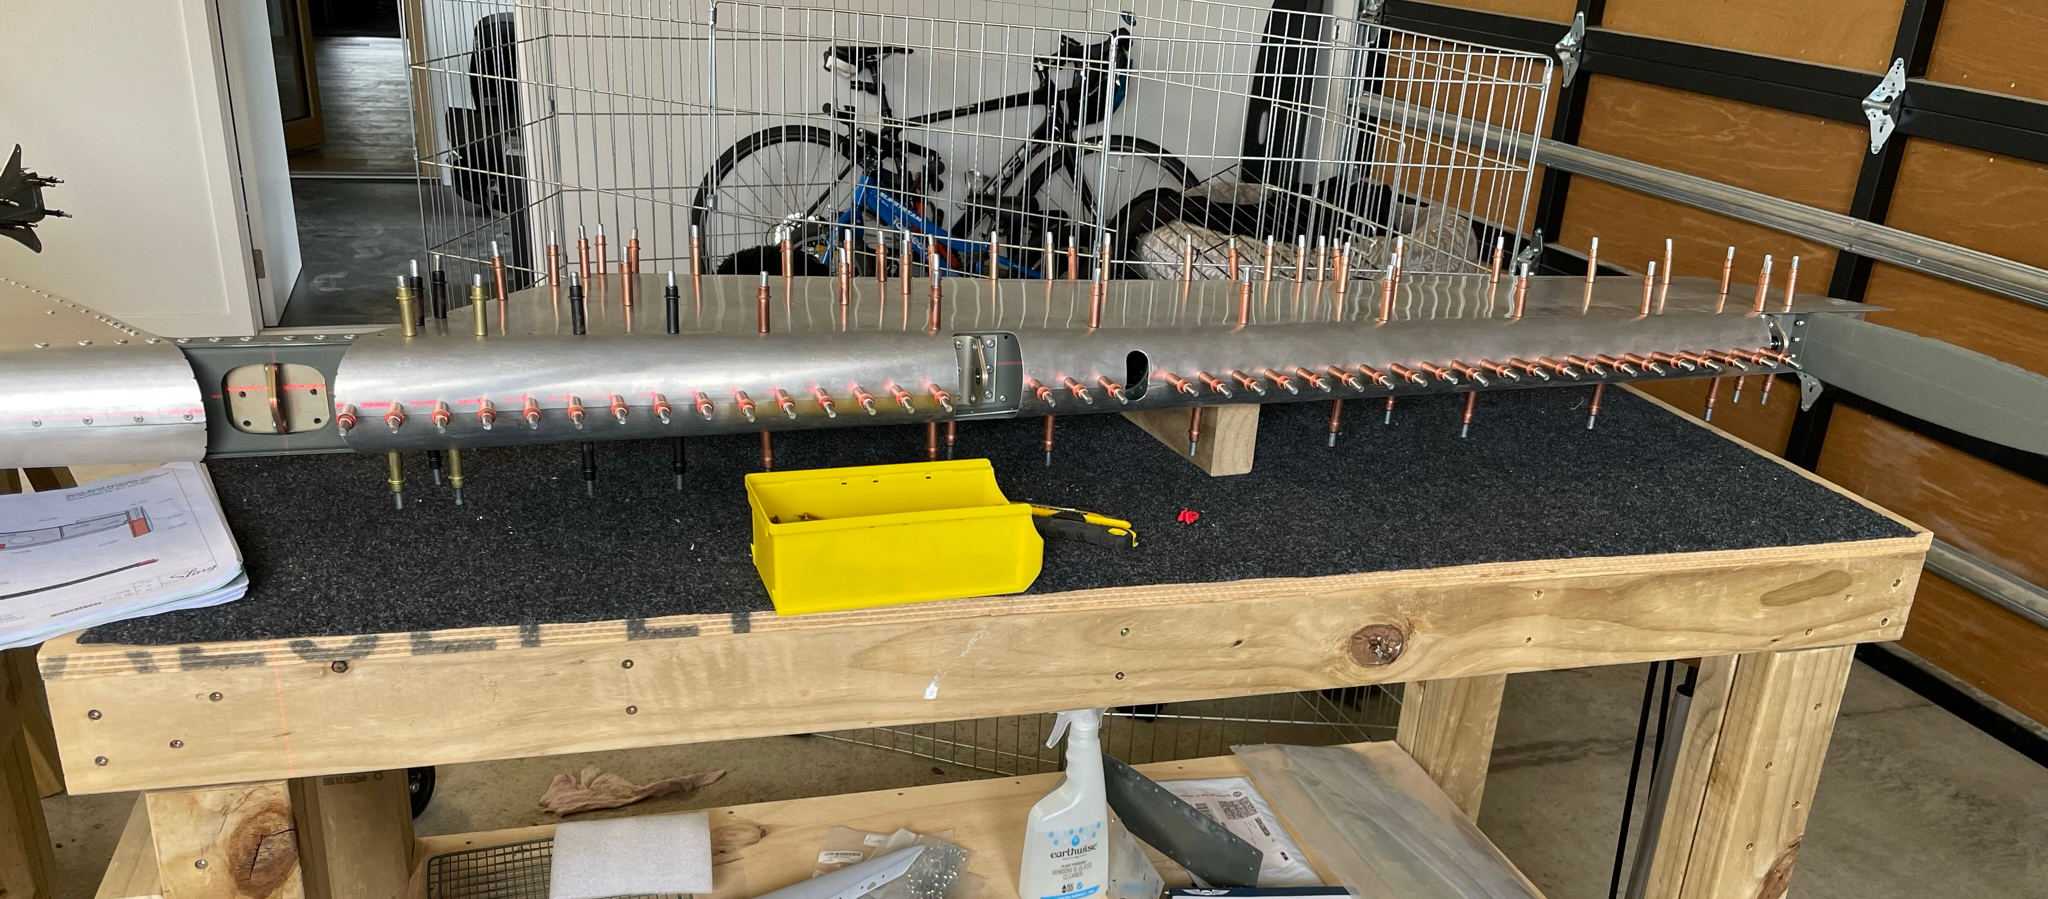
The right elevator main skin is straightforward, the left requires more care given the trim tab.
The manual suggests shortening all the trim tab rivets and the last row in the elevator skin ribs on each side. They will definitely interfere on the elevator itself, but on the trim tab a test fit suggested I could get away without it. However when the rivet is pulled it will momentarily push on the underside of the trim tab opposite so I recommend shortening them all.
Evan has a neat trick of using his DRDT-2 to push the mandrel out, but the same can be achieved with a notched bench vise plastic jaw, which I have handy. Then an angle grinder makes short work of shortening. The hole does need a bit of tidying and reaming back out to the mandrel diameter however.
Elevator tip fitting
As an aside, don't leave masking tape on too long...
Like the rudder tip, the tip skins need to be clecoed, then the fibreglass tip held in position with the joggle under the skin, then match drilled and clecoed from front to back. Once this is done, the fibreglass can be countersunk and the skin dimpled to accept a flush rivet.
My elevator tips are quite thick so I won't need to add aluminium washers as reinforcing, but I will for the rudder tip.

Finally, all that's left is to rivet!

Notification 0009
Just before christmas the above service notification was posted to the Sling Aircraft website regarding the elevator centre balance counter weight. Essentially there is a mild longitudinal instability causing a slow pitch up after disturbing the elevator during trimmed flight at VY or slower at full aft CG. This will eventually cause a stall.
The recommended fix is the removal of the elevator centre counterbalance weight from its bracket. The pros are elimination of this instability and conformance to Part 23. The downsides are an unbalanced flight control surface (although according to the notification this will not cause flutter), and a tendency of the elevator to drop when stationary/taxiing.
There is an additional (small) benefit to moving the CG forward about 1".
Evan has some comments about this in his latest video, and both he and the factory state there is no alteration to the flight characteristics. I agree with his rationale and won't be installing my weights, although the bracket is obviously still required for the pushrod connection.